Slit lamp techniques.pptx
58
SLIT LAMP BIOMICROSCOPY AND DIFFERENT ILLUMINATION TECHNIQUES Raju Kaiti Optometrist Dhulikhel Hospital, Kathmandu University Hospital
-
Upload
raju-kaiti -
Category
Health & Medicine
-
view
599 -
download
13
Transcript of Slit lamp techniques.pptx
SLIT LAMP BIOMICROSCOPY AND
DIFFERENT ILLUMINATION TECHNIQUES
Raju KaitiOptometrist
Dhulikhel Hospital, Kathmandu University Hospital
INTRODUCTION
• Slit lamp biomicroscope was invented in 1911 AD by Gullstrand.
• It is named so because it enables the practitioner to observe the living
tissues of the eye under magnification in slit and wide view.
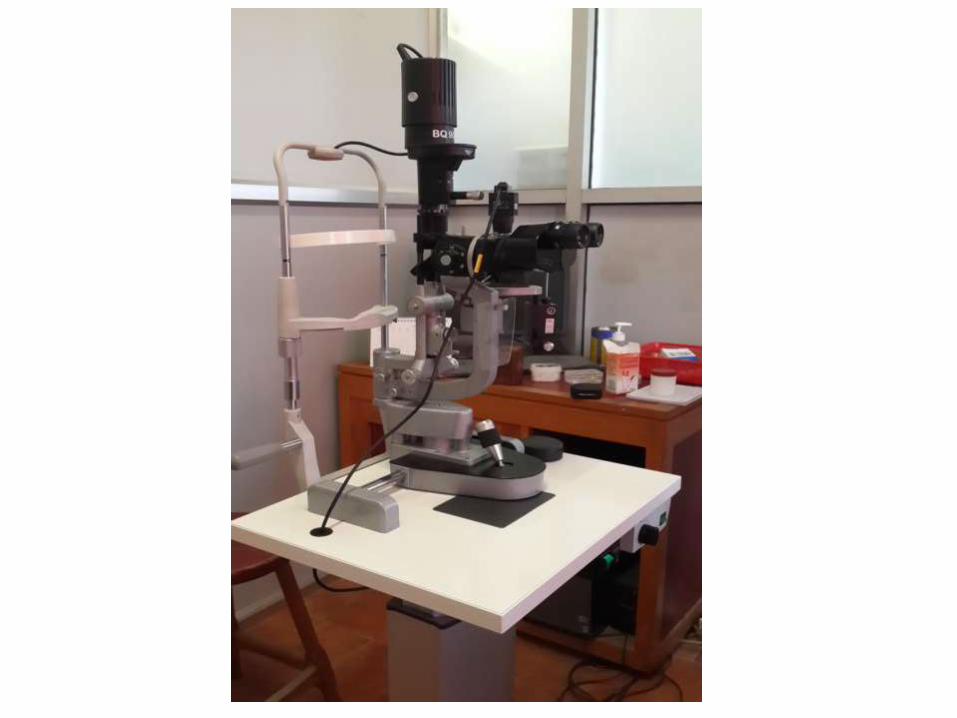
Introduction
• An instrument consisting of a high-intensity light source that can be focused to shine as a slit.
• Used in conjunction with a microscope.
• The lamp facilitates an examination which looks at anterior segment, or frontal structures, of the human eye, which includes the
– Eyelid
– Cornea
– Sclera
– Conjunctiva
– Iris
– Anterior chamber
– Natural crystalline lens and
– Anterior vitreous.
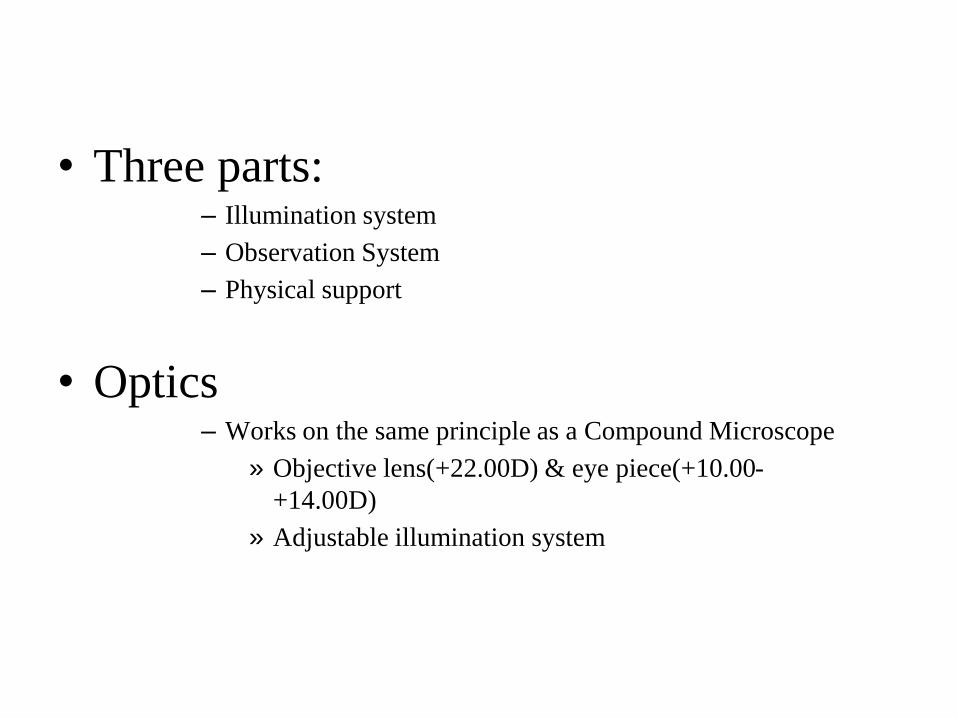
• Three parts: – Illumination system
– Observation System
– Physical support
• Optics– Works on the same principle as a Compound Microscope
» Objective lens(+22.00D) & eye piece(+10.00-
+14.00D)
» Adjustable illumination system
• The illumination system is in the form of a bright focal source of light with a
slit mechanism and circular apertures of various sizes, prism, lamp housing
unit, slit width and height control, neutral density filter, cobalt blue light, red-
free (green) filter, field size control, diffuser.
• The observation system is a binocular microscope capable of a wide range of
magnification, camera/video adaptor, observation tube, magnification changer.
• The mechanical support is provided by joystick, headrest and chinrest, screw
arrangement for moving instrument up and down, control for slit, width height
,magnification control ,on/off switch and fixation target, locking controls.

Observation system Illumination system Mechanical support
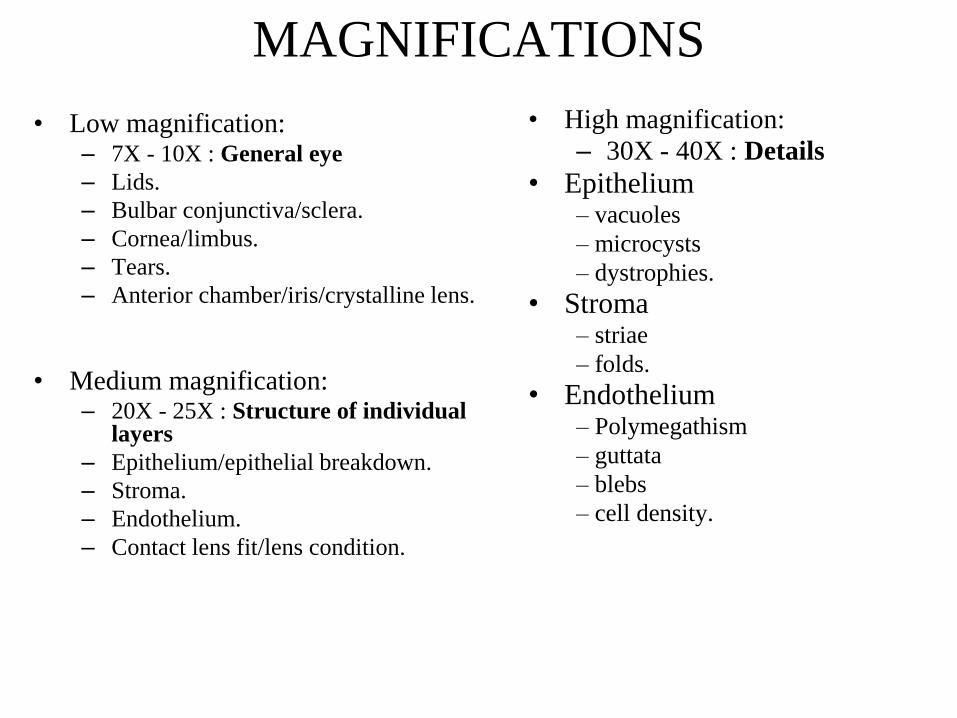
MAGNIFICATIONS
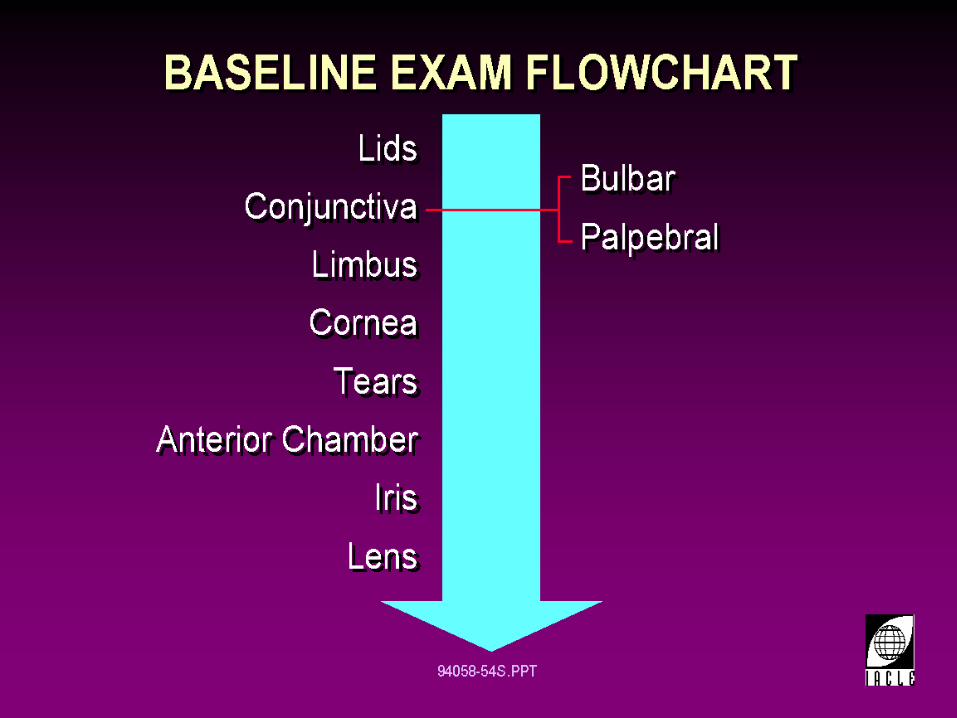
• Low magnification:– 7X - 10X : General eye
– Lids.
– Bulbar conjunctiva/sclera.
– Cornea/limbus.
– Tears.
– Anterior chamber/iris/crystalline lens.
• Medium magnification:– 20X - 25X : Structure of individual
layers
– Epithelium/epithelial breakdown.
– Stroma.
– Endothelium.
– Contact lens fit/lens condition.
• High magnification:
– 30X - 40X : Details
• Epithelium– vacuoles
– microcysts
– dystrophies.
• Stroma– striae
– folds.
• Endothelium– Polymegathism
– guttata
– blebs
– cell density.
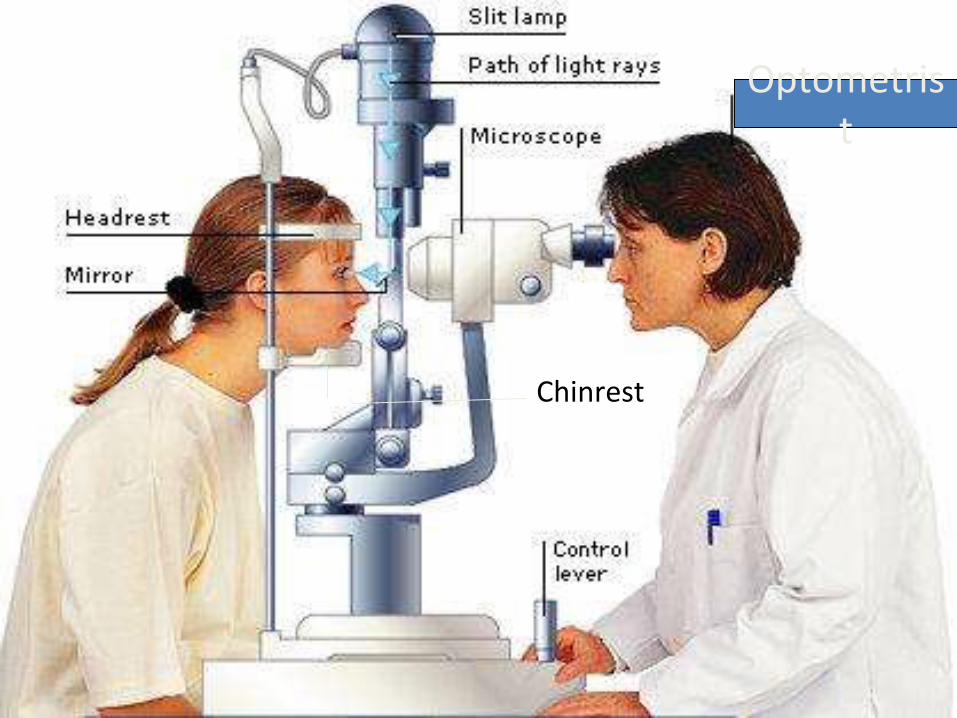
ptmetrist
Chinrest
Optometrist
PRINCIPLE
• A narrow "slit" beam of very bright light produced by lamp.
This beam is focused on to the eye which is then viewed
under magnification with a microscope
TYPES
• There are 2 types of slit lamp biomicroscope
1)Zeiss slit lamp biomicroscope
2)Haag streit slit lamp biomicroscope
• In Zeiss type light source is at the base of the instrument while in Haag
streit type it is at the top of the instrument.
How to start?
• Focus the eye piece
• Adjust the headrest
• Position the fixation target
• Decrease the room illumination
• Start with diffuse illumination
• Use appropriate magnification
ILLUMINATION TECHNIQUES
• Diffuse Illumination
• Direct Illumination
• Indirect Illumination
• Retro illumination
• Specular Reflection
• Sclerotic Scatter
• Tangential Illumination
• Oscillation Technique

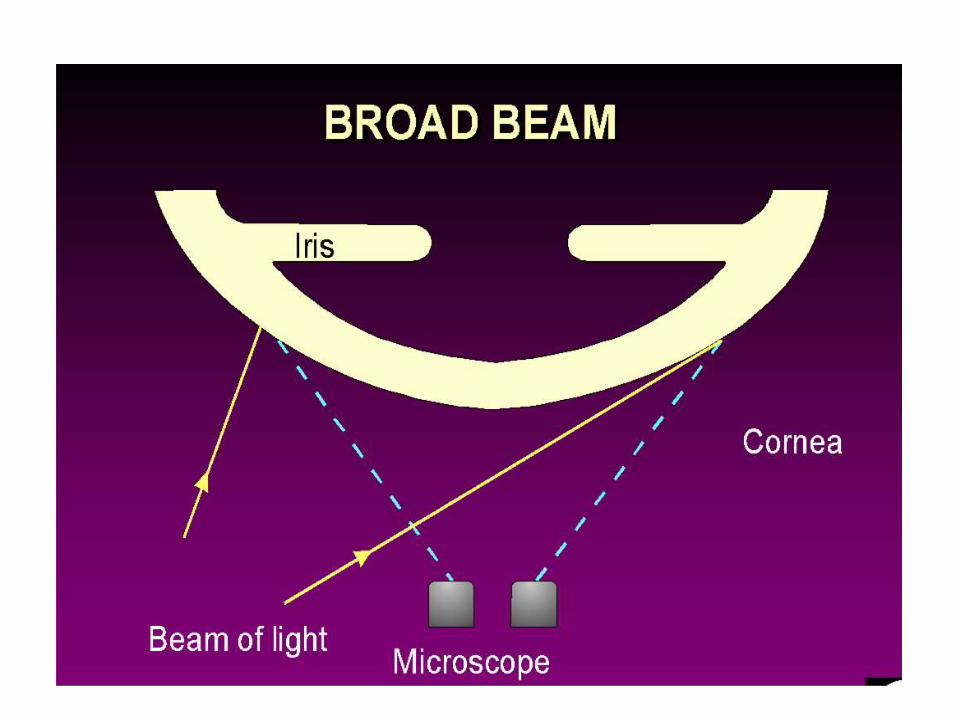
DIFFUSE ILLUMINATION
• A diffuse broad beam of light is used and general view of
anterior segment of eye is observed
• 45 degrees angle between light and microscope
• Open the slit fully
• Diffusing filter
• Variable magnification(Low to High)
DIFFUSE ILLUMINATION
• Overall View of:– Lids and lashes
– Conjunctiva
– Cornea
– Sclera
– Iris
– Pupil
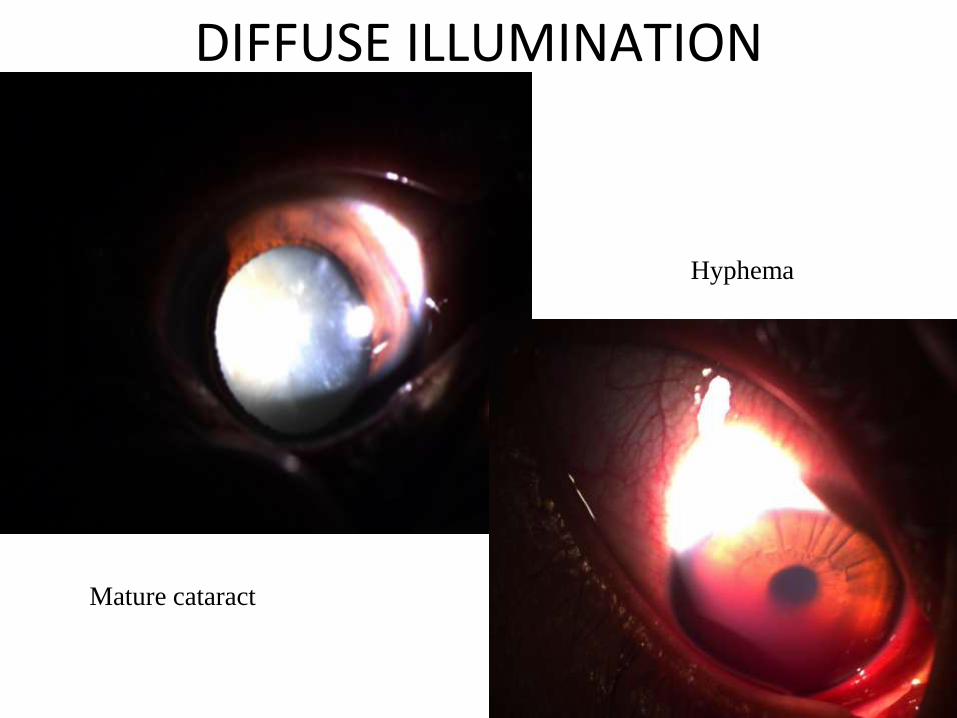
DIFFUSE ILLUMINATION
Mature cataract
Hyphema

DIFFUSE ILLUMINATION
Giant papillae in a case of VKC Iris tear with lens subluxation
secondary to trauma
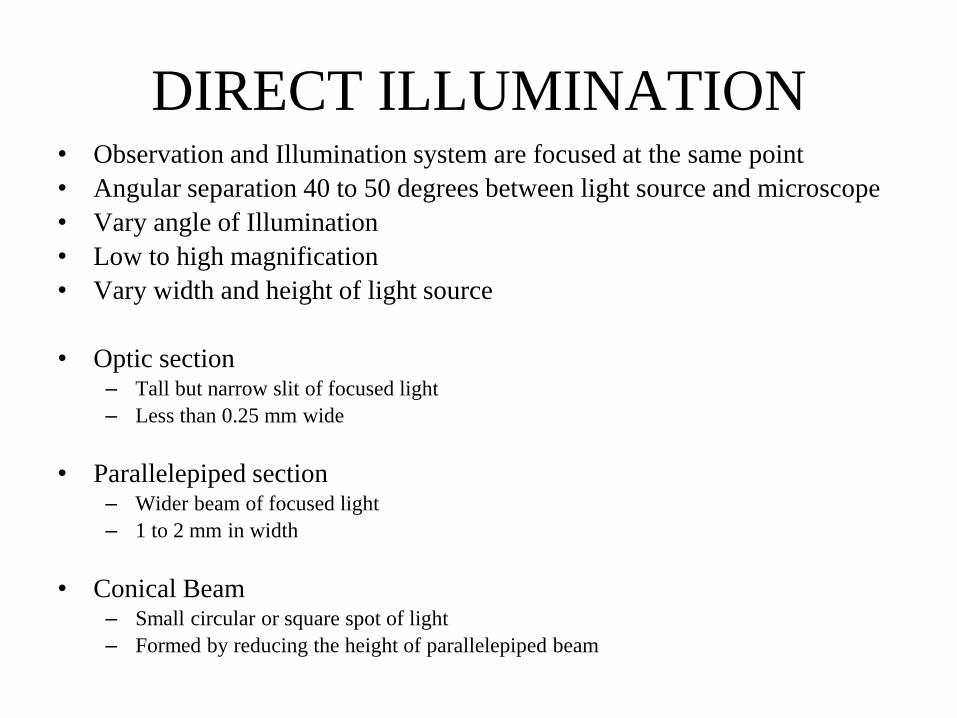
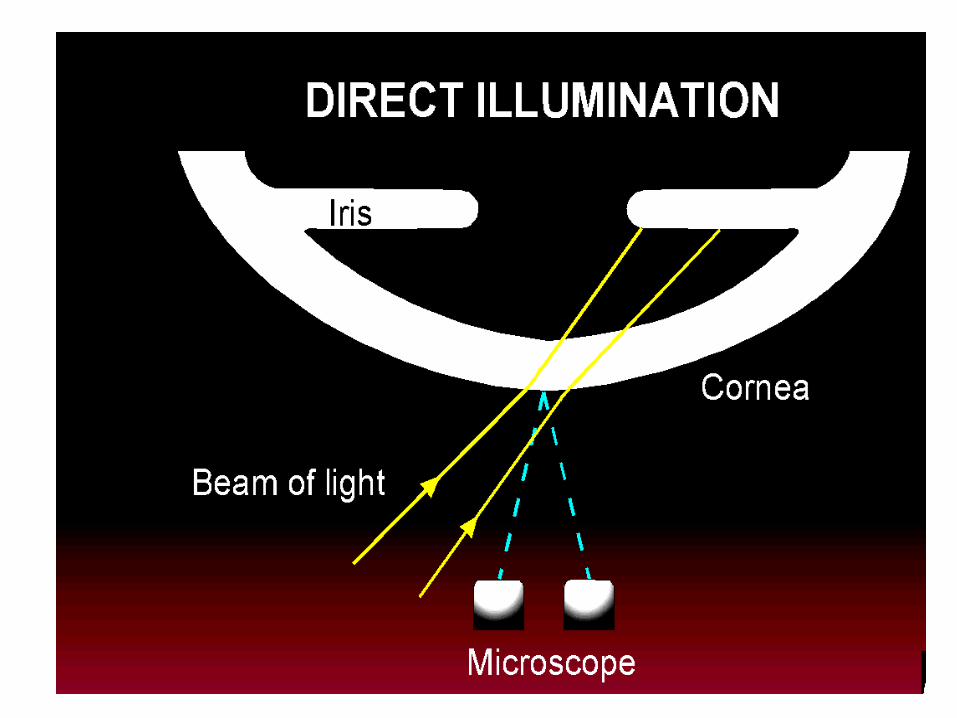
DIRECT ILLUMINATION• Observation and Illumination system are focused at the same point
• Angular separation 40 to 50 degrees between light source and microscope
• Vary angle of Illumination
• Low to high magnification
• Vary width and height of light source
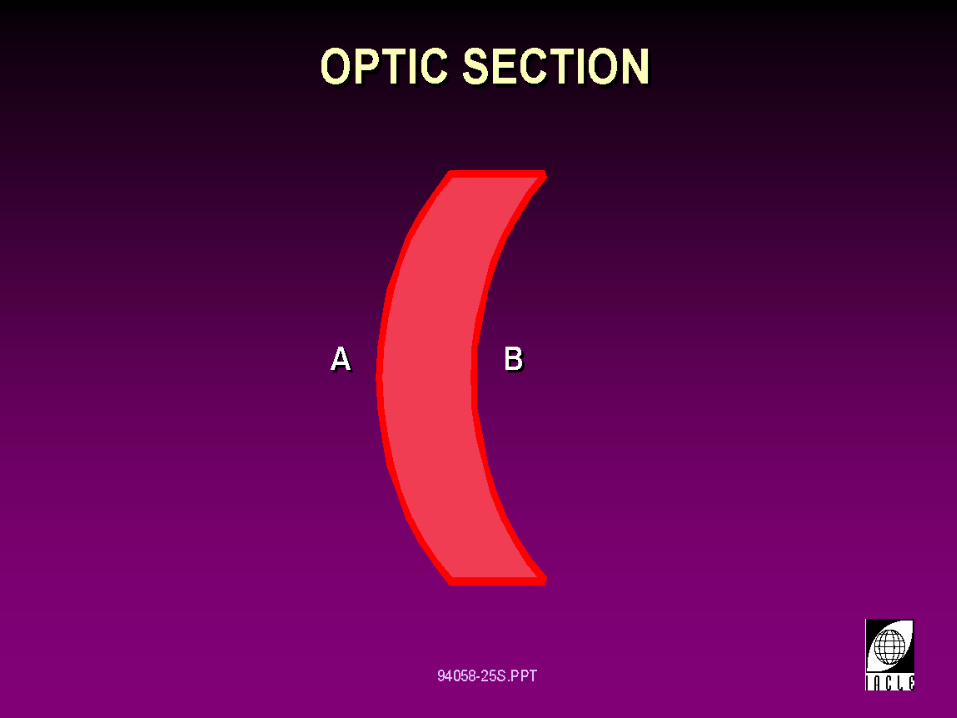
• Optic section– Tall but narrow slit of focused light
– Less than 0.25 mm wide
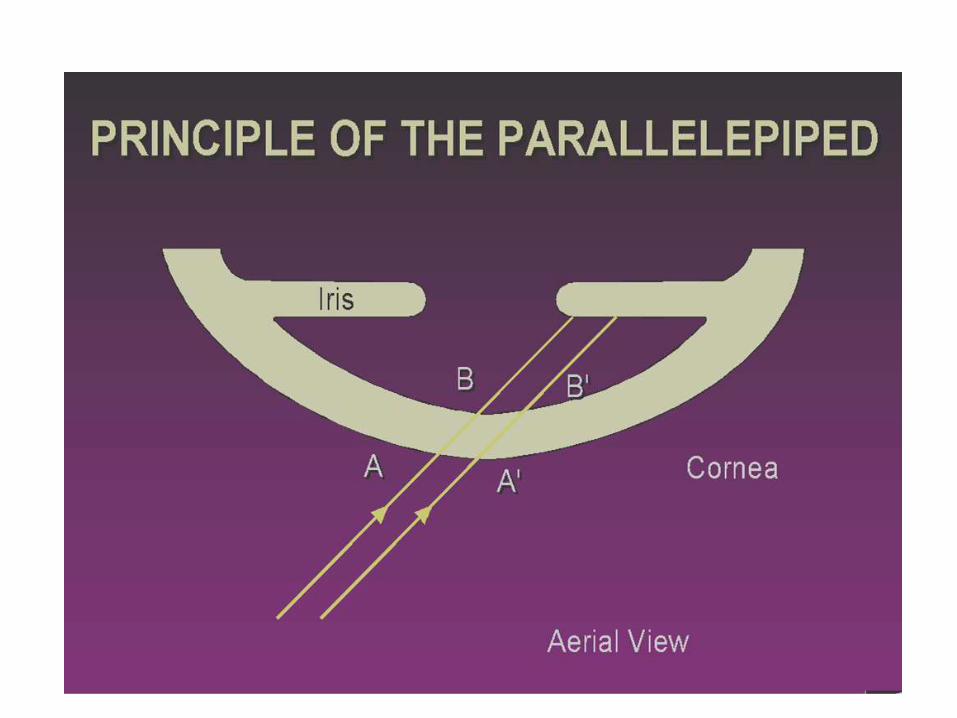
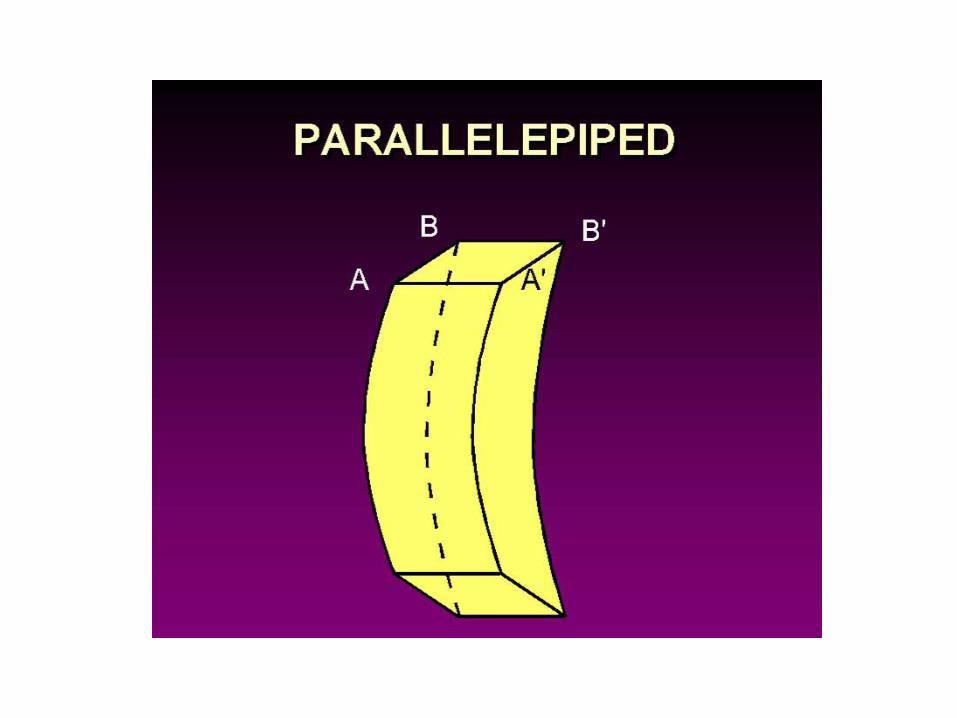
• Parallelepiped section– Wider beam of focused light
– 1 to 2 mm in width
• Conical Beam– Small circular or square spot of light
– Formed by reducing the height of parallelepiped beam
DIRECT ILLUMINATION
• Optic Section• Used primarily to evaluate structural layers of the cornea and lens
• Estimating the depth of an abnormality such as corneal foreign body or position of cataract
• Anterior chamber angle- The depth of AC can be observed by Van Herrick's test in which optic section of light is used at corneal limbal area.
• Localize– nerve fibers, blood vessels, infiltrates, and cataracts.

Optic Section
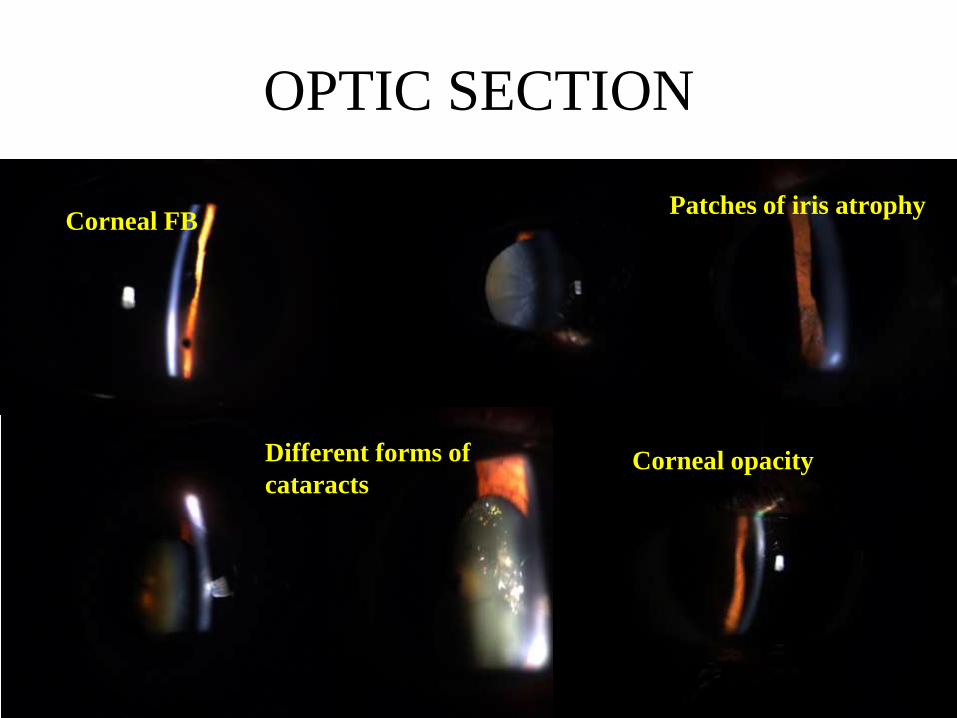
OPTIC SECTION
Corneal FB
Corneal opacityDifferent forms of
cataracts
Patches of iris atrophy
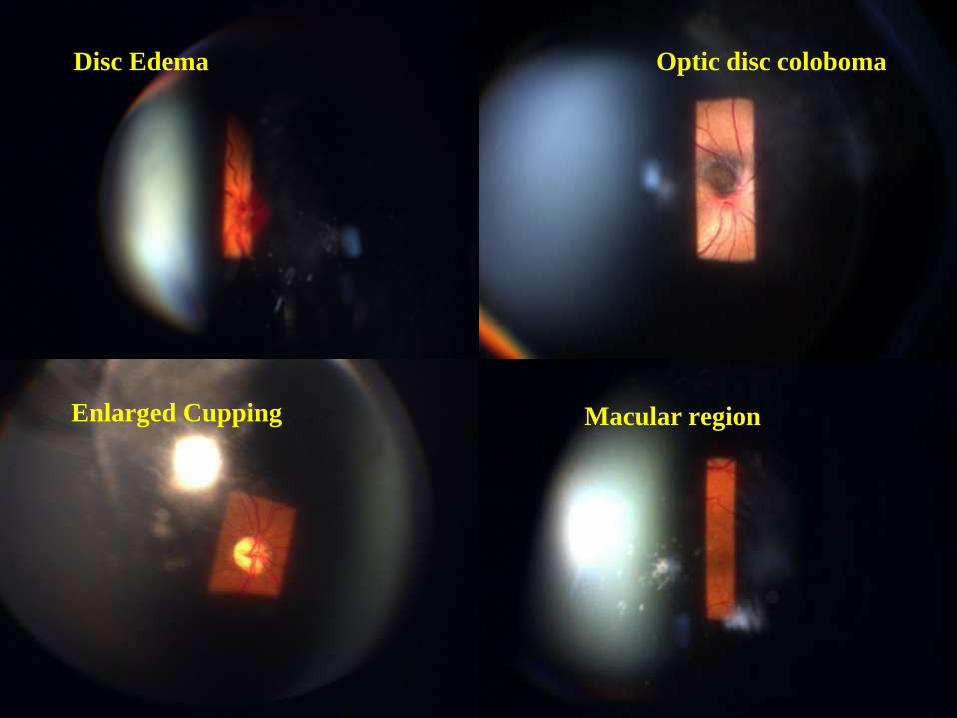
Disc Edema Optic disc coloboma
Enlarged Cupping Macular region

DIRECT ILLUMINATION
• Parallepiped
– Provides a layered view of the cornea and lens
– Probably the most commonly used
– Broader view with extensive examination
– Depth and extent of corneal abrasions, scarring, or foreign
bodies

Parallelepiped

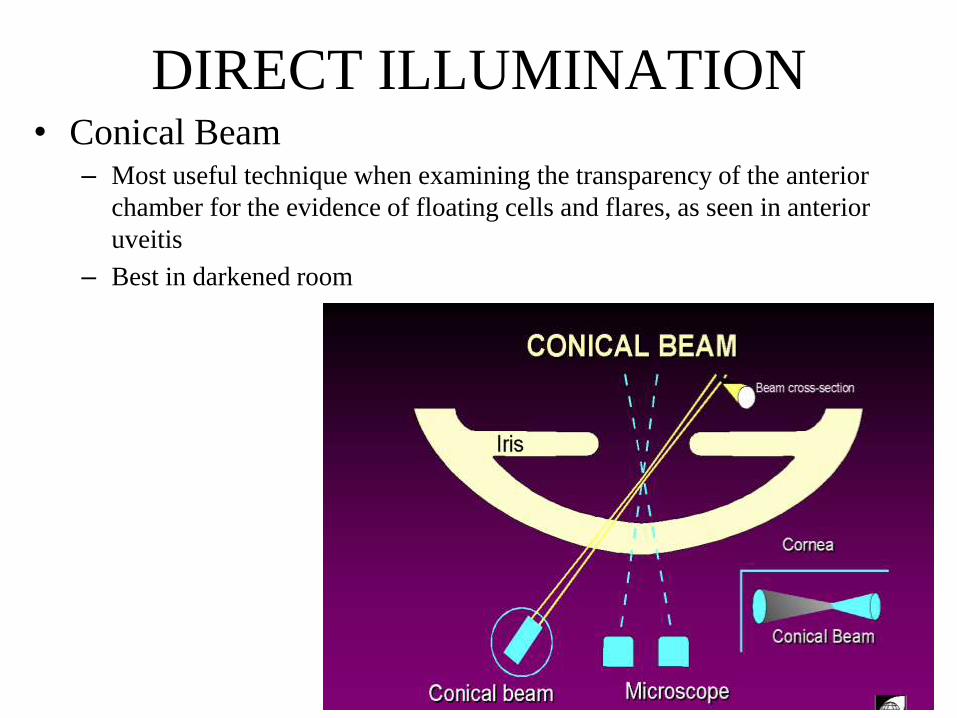
DIRECT ILLUMINATION• Conical Beam
– Most useful technique when examining the transparency of the anterior
chamber for the evidence of floating cells and flares, as seen in anterior
uveitis
– Best in darkened room
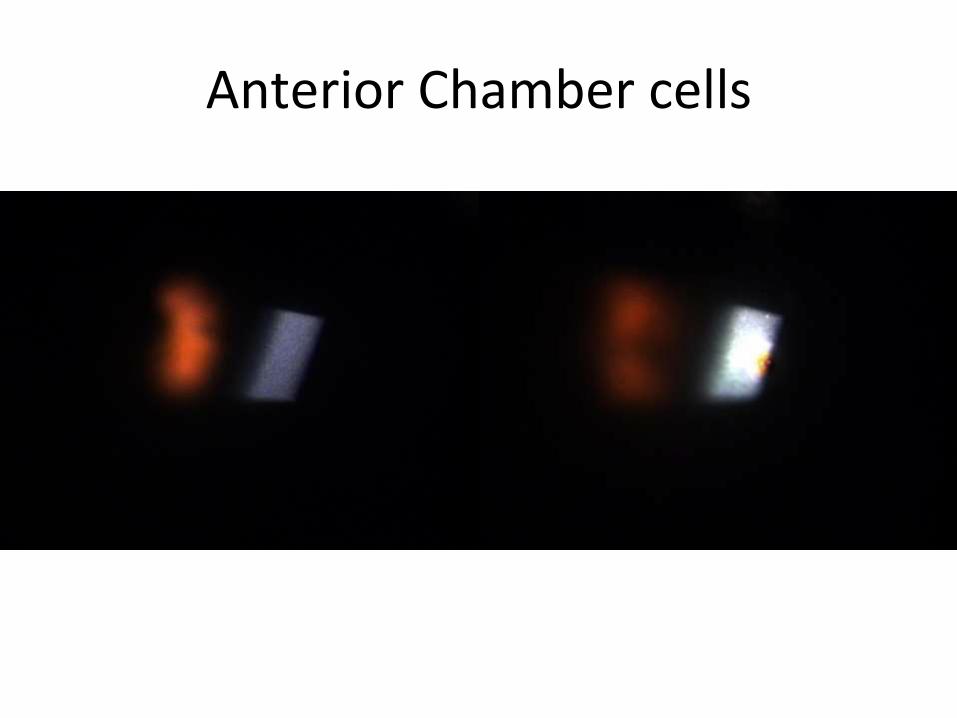
Anterior Chamber cells
INDIRECT ILLUMINATION
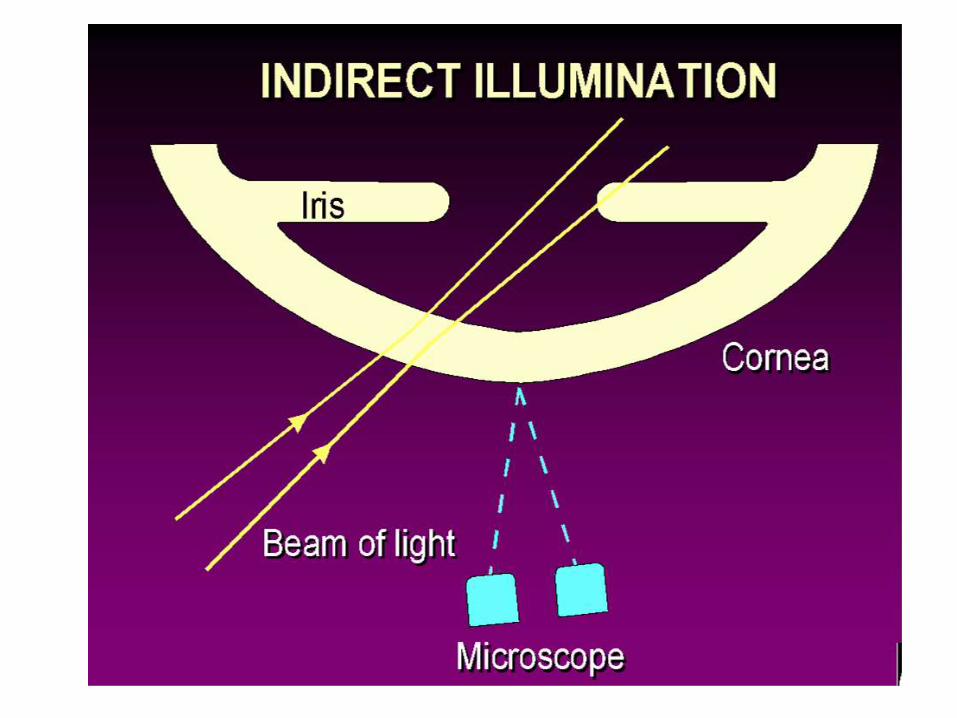
• Beam is narrowed to 1 to 2 mm in width
• The beam is then focused on an area adjacent to the ocular
tissue observed and this area is observed in shadow by virtue
of scattered light.
• The foci of the light source and microscope are not coincident
INDIRECT ILLUMINATION• Angle of illumination can be varied
• Beam width can be varied
• Low to high magnification
• Purpose is to provide somewhat “softer” illumination to give better definition of the structural components of the iris, epithelial corneal edema, pigment spots and corneal foreign bodies
• Also valuable for observing– Epithelial vesicles
– Epithelial erosions
– Iris sphincter
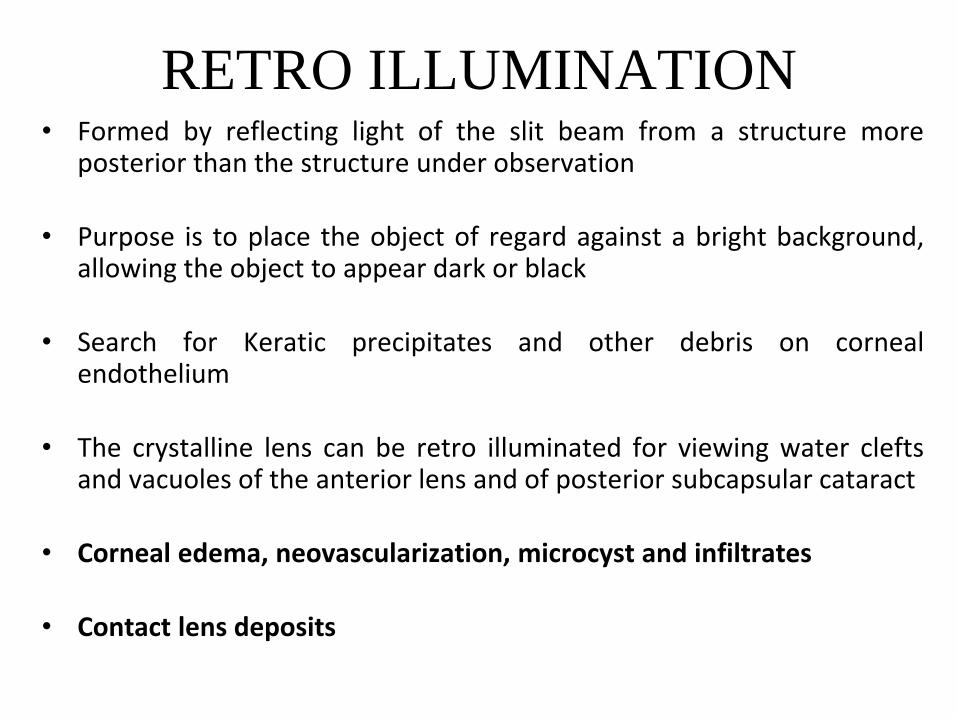
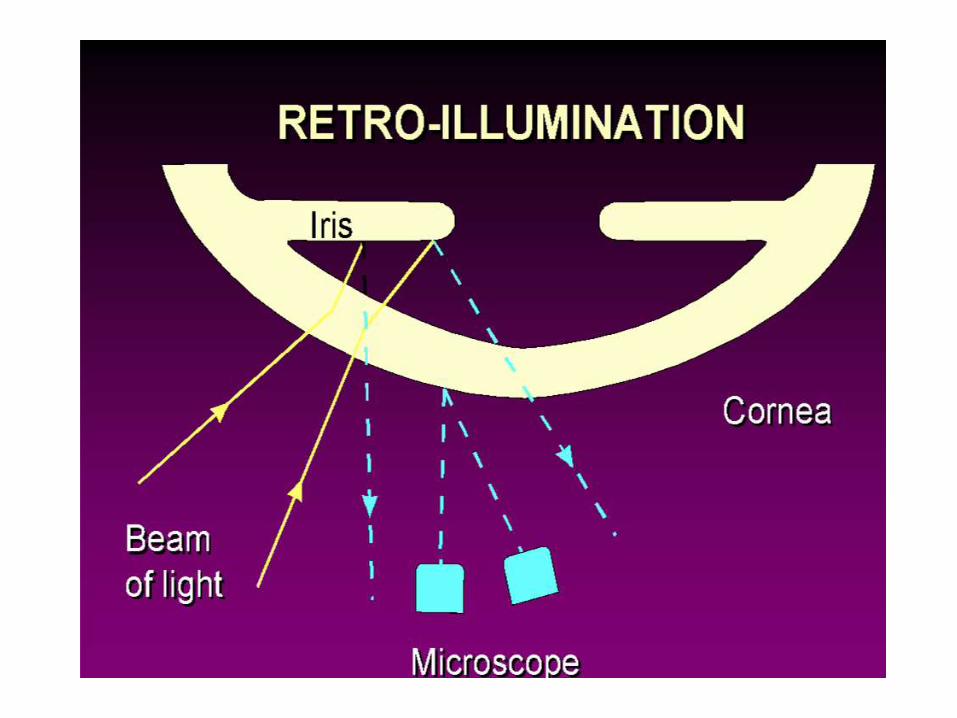
RETRO ILLUMINATION• Formed by reflecting light of the slit beam from a structure more
posterior than the structure under observation
• Purpose is to place the object of regard against a bright background,allowing the object to appear dark or black
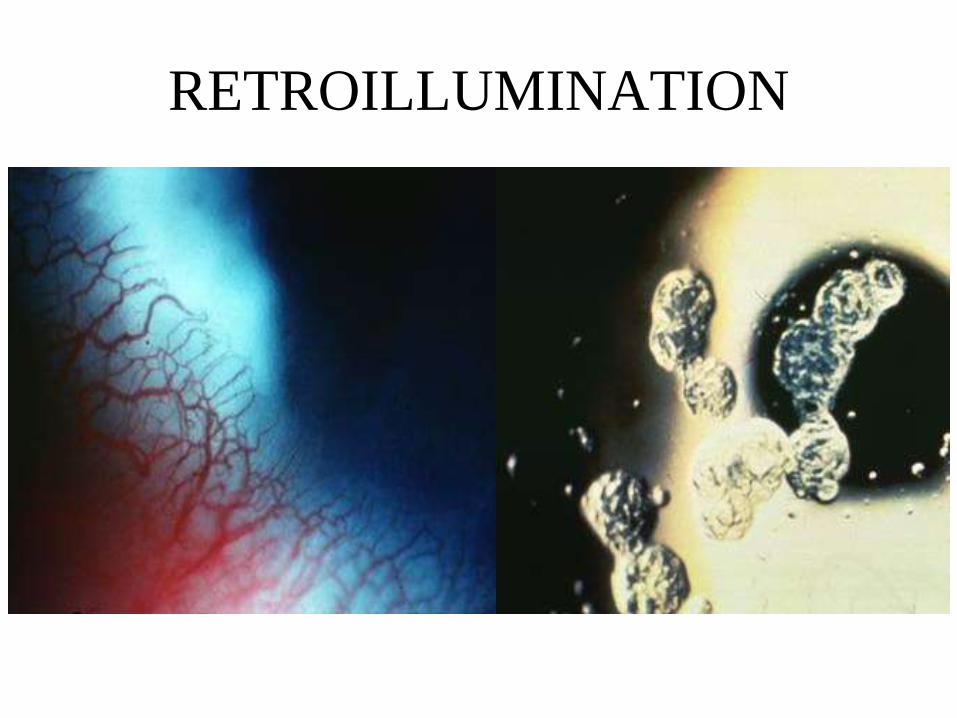
• Search for Keratic precipitates and other debris on cornealendothelium
• The crystalline lens can be retro illuminated for viewing water cleftsand vacuoles of the anterior lens and of posterior subcapsular cataract
• Corneal edema, neovascularization, microcyst and infiltrates
• Contact lens deposits
RETROILLUMINATION
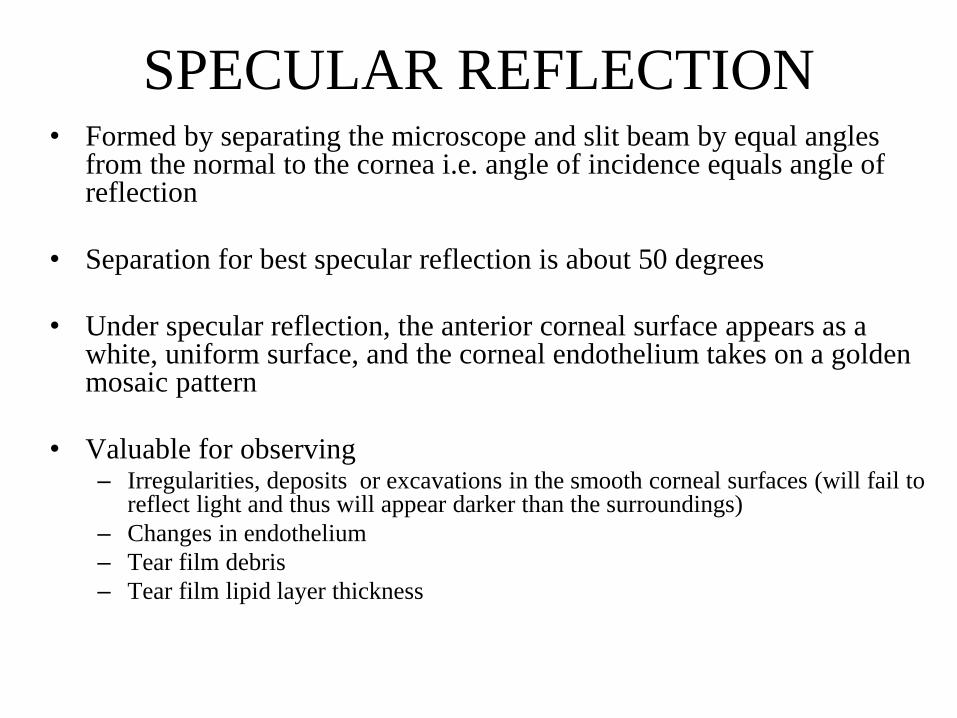
SPECULAR REFLECTION• Formed by separating the microscope and slit beam by equal angles
from the normal to the cornea i.e. angle of incidence equals angle of reflection
• Separation for best specular reflection is about 50 degrees
• Under specular reflection, the anterior corneal surface appears as a white, uniform surface, and the corneal endothelium takes on a golden mosaic pattern
• Valuable for observing– Irregularities, deposits or excavations in the smooth corneal surfaces (will fail to
reflect light and thus will appear darker than the surroundings)
– Changes in endothelium
– Tear film debris
– Tear film lipid layer thickness

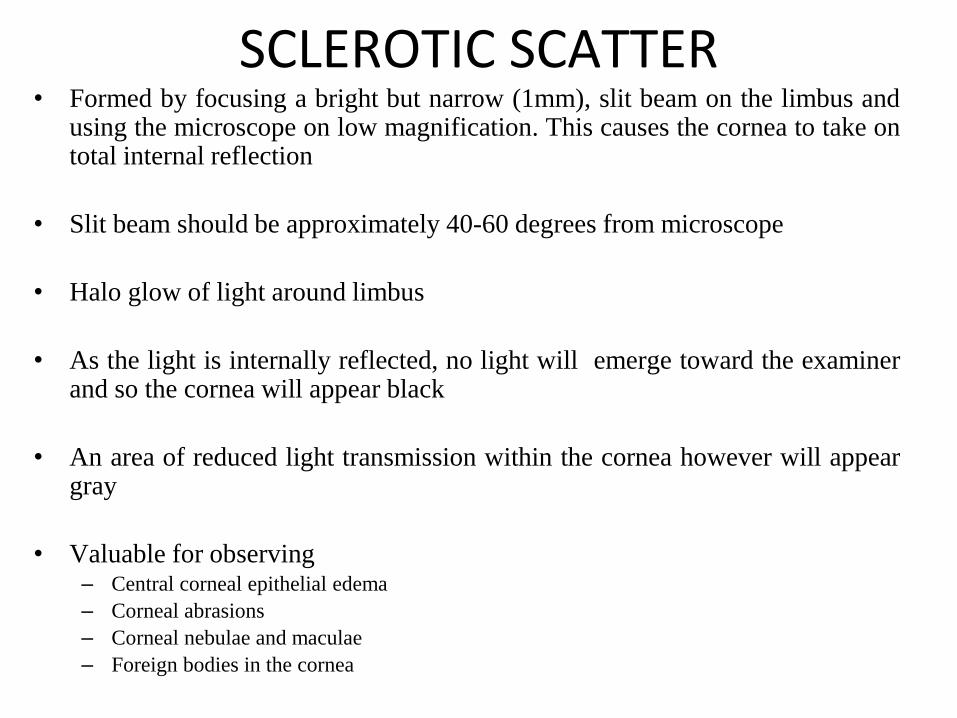
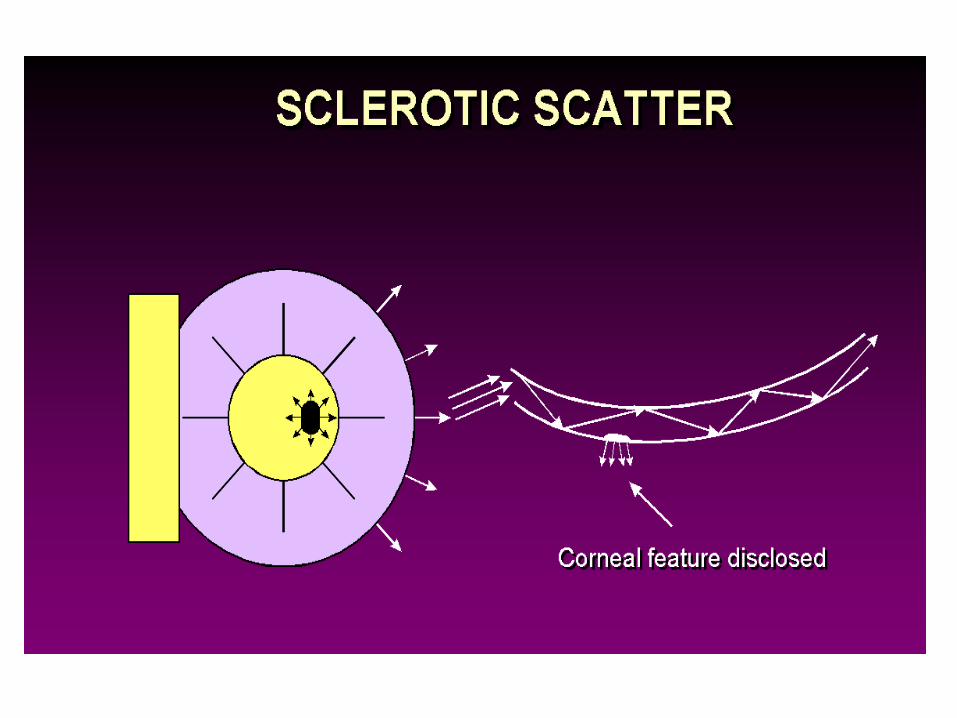
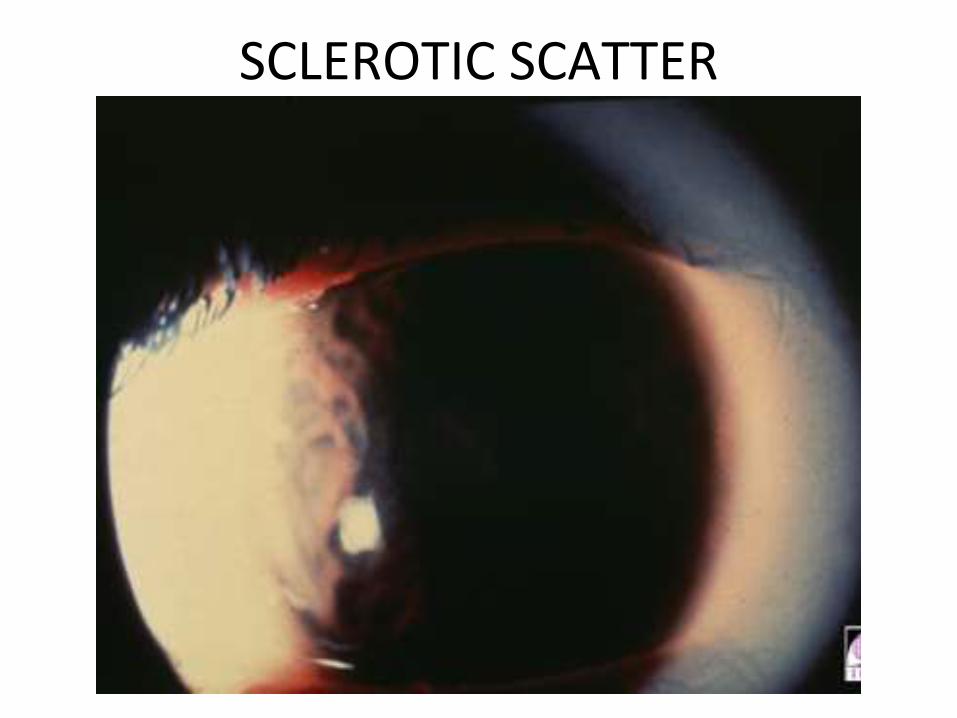
SCLEROTIC SCATTER• Formed by focusing a bright but narrow (1mm), slit beam on the limbus and
using the microscope on low magnification. This causes the cornea to take ontotal internal reflection
• Slit beam should be approximately 40-60 degrees from microscope
• Halo glow of light around limbus
• As the light is internally reflected, no light will emerge toward the examinerand so the cornea will appear black
• An area of reduced light transmission within the cornea however will appeargray
• Valuable for observing– Central corneal epithelial edema
– Corneal abrasions
– Corneal nebulae and maculae
– Foreign bodies in the cornea
SCLEROTIC SCATTER
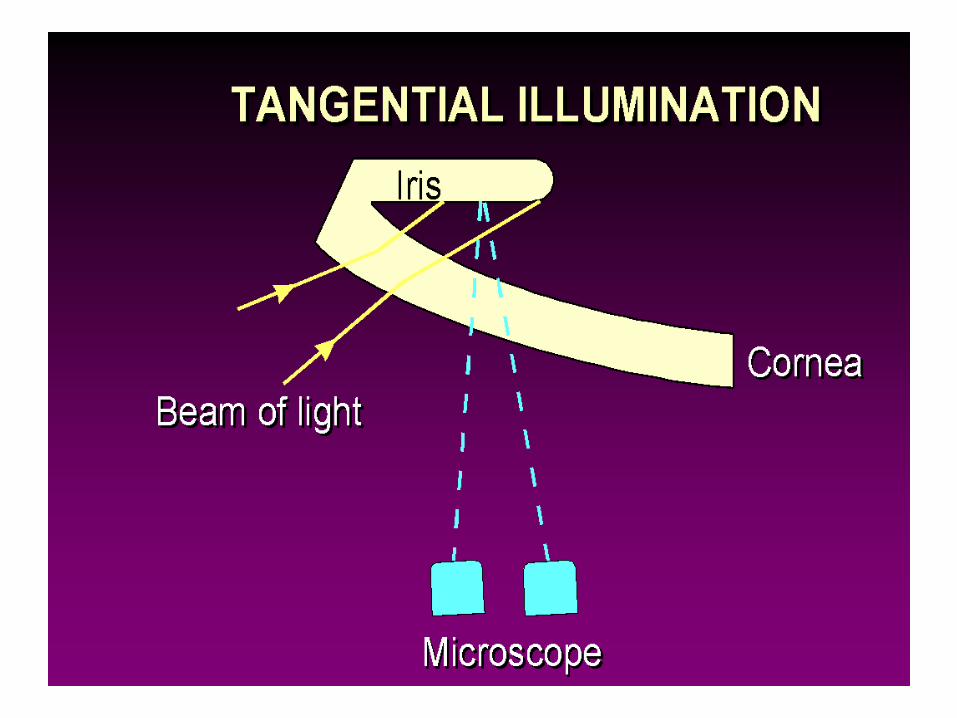
TANGENTIAL ILLUMINATION
• Large angle of 70-80 degrees between illumination and
observation system
• Valuable for observing
– Iris freckles
– Tumors
– General integrity of cornea and iris
OSCILLATORY ILLUMINATION
– the microscope is kept in focus on the structure to be
observed and beam is oscillated back and forth alternately
resulting in direct and indirect illumination
– Quick to and fro movement
– Minutes objects in AC
– the microscope is kept in focus on the structure to be
observed and beam is oscillated back and forth alternately
resulting in direct and indirect illumination
FILTERED ILLUMINATION
• Cobalt Blue
• Red Free filter (green)
• Neutral Density
• Valuable for observing
– Tear layer
– Ocular staining
– RGP lens fitting pattern
FILTERS
• Cobalt blue filter is used to locate any lesion in the cornea with the help of
fluorescein staining.
• Also during fitting and trial of RGP lenses.
• Red free filter i.e. green filter is used to see the vascular pattern of choroid
and see any abnormalities in the disc of fundus.
• Yellow filter is used for general view of anterior segment.
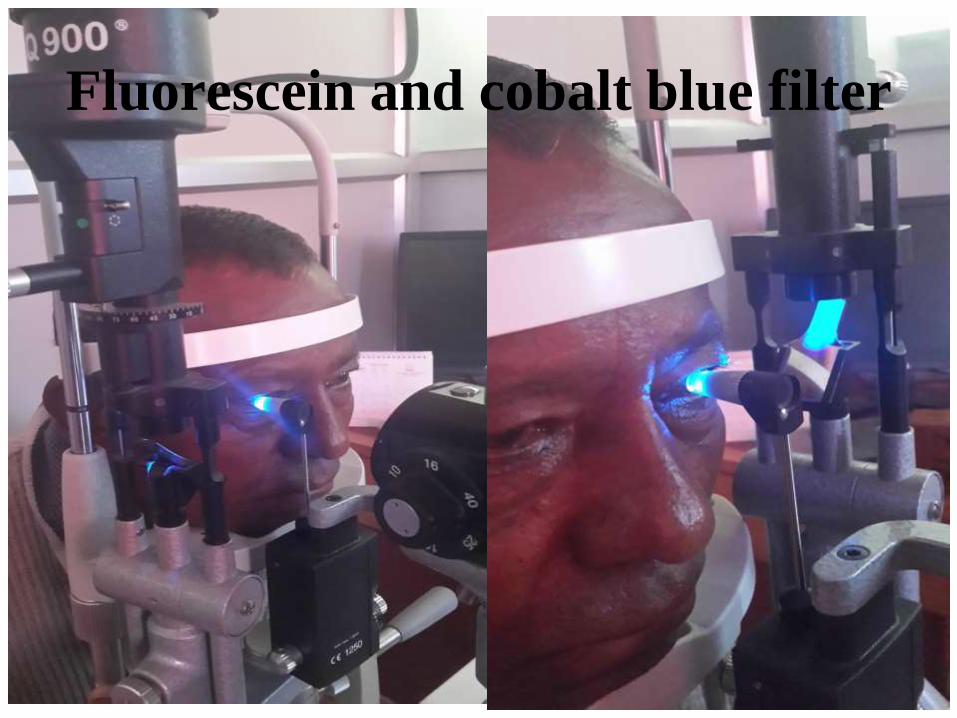
Fluorescein and cobalt blue filter
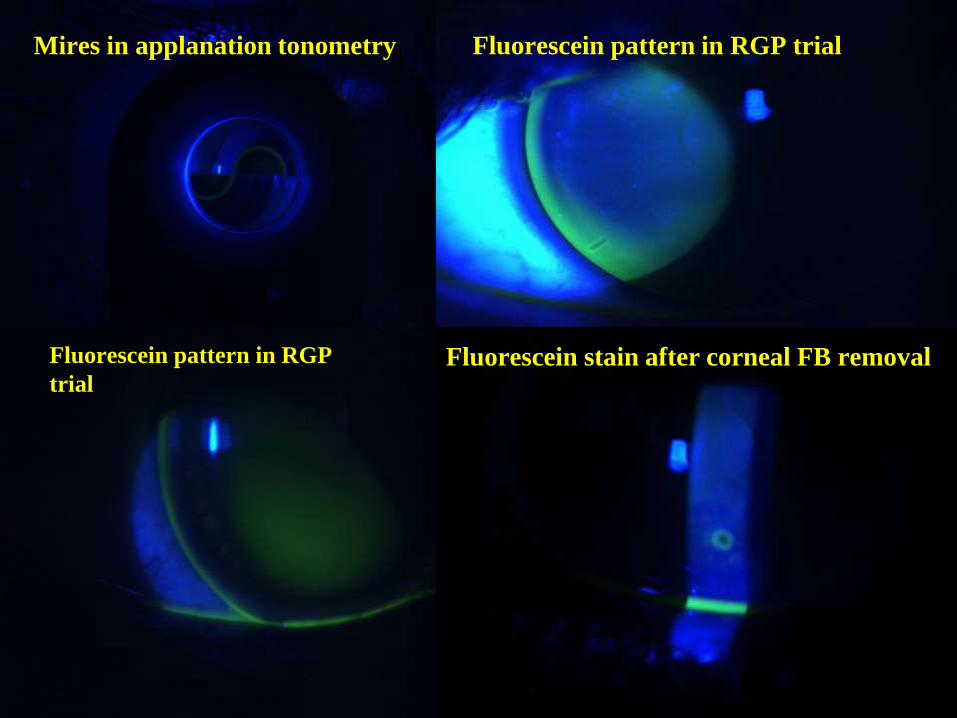
Mires in applanation tonometry
Fluorescein stain after corneal FB removal
Fluorescein pattern in RGP trial
Fluorescein pattern in RGP
trial
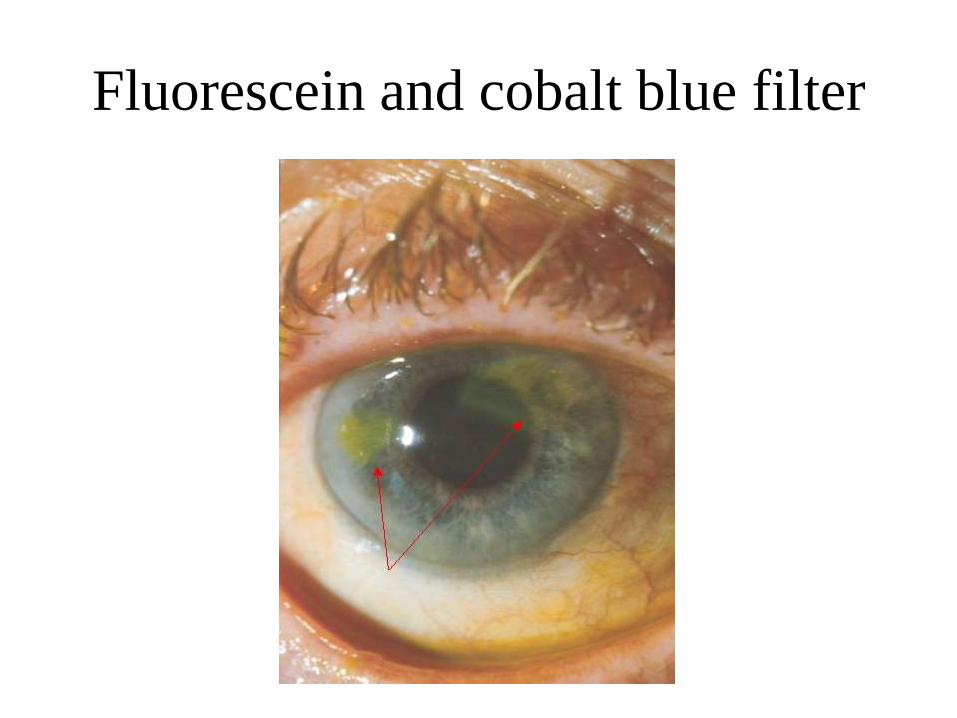
Fluorescein and cobalt blue filter
CLINICAL USES• Diagnostic
– Anterior segment Evaluation
– Goldmann Applanation Tonometry
– TBUT test
– Staining (Fluorescein, Rose Bengal etc.)
– Visiometry
– Gonioscopy
– FFA and Clinical Photography
• Therapeutic
– Epilation
– Foreign Body Removal
– Contact lens trial
– Contact lens fitting characters- static and dynamic
– Corneal epithelial debridement (herpetic keratitis)
– Insertion of punctal plugs

Corneal Foreign Body Removal
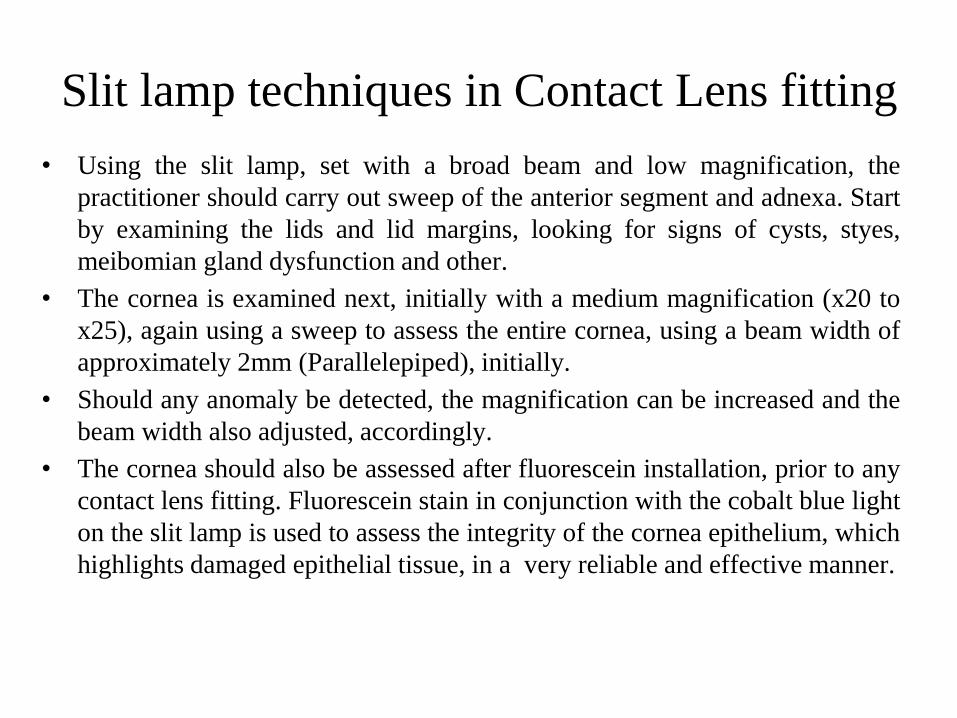
Slit lamp techniques in Contact Lens fitting
• Using the slit lamp, set with a broad beam and low magnification, the
practitioner should carry out sweep of the anterior segment and adnexa. Start
by examining the lids and lid margins, looking for signs of cysts, styes,
meibomian gland dysfunction and other.
• The cornea is examined next, initially with a medium magnification (x20 to
x25), again using a sweep to assess the entire cornea, using a beam width of
approximately 2mm (Parallelepiped), initially.
• Should any anomaly be detected, the magnification can be increased and the
beam width also adjusted, accordingly.
• The cornea should also be assessed after fluorescein installation, prior to any
contact lens fitting. Fluorescein stain in conjunction with the cobalt blue light
on the slit lamp is used to assess the integrity of the cornea epithelium, which
highlights damaged epithelial tissue, in a very reliable and effective manner.
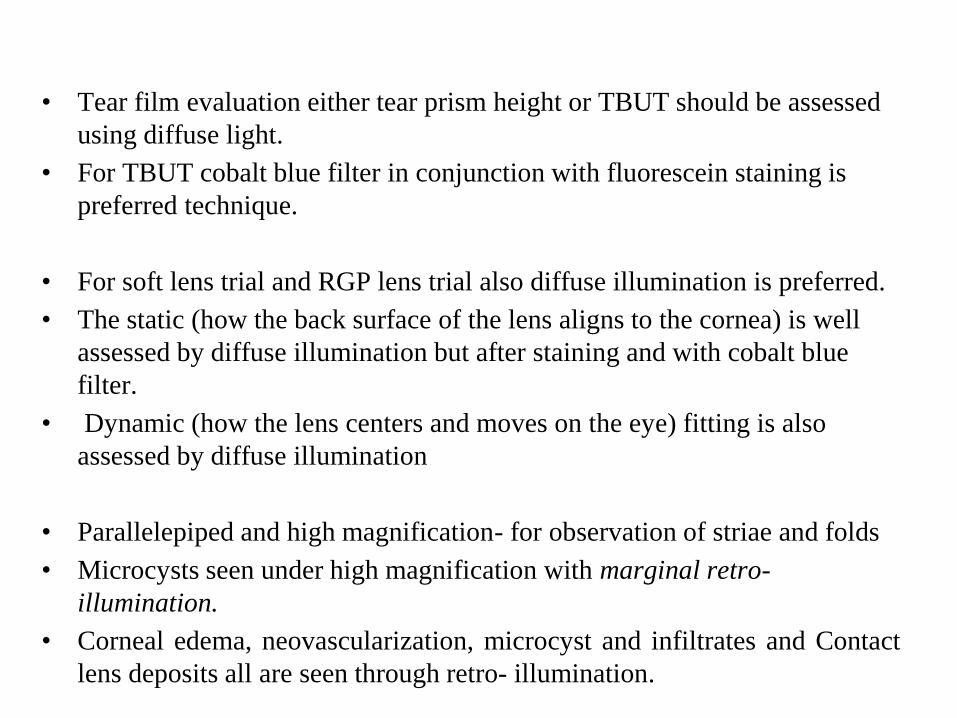
• Tear film evaluation either tear prism height or TBUT should be assessed
using diffuse light.
• For TBUT cobalt blue filter in conjunction with fluorescein staining is
preferred technique.
• For soft lens trial and RGP lens trial also diffuse illumination is preferred.
• The static (how the back surface of the lens aligns to the cornea) is well
assessed by diffuse illumination but after staining and with cobalt blue
filter.
• Dynamic (how the lens centers and moves on the eye) fitting is also
assessed by diffuse illumination
• Parallelepiped and high magnification- for observation of striae and folds
• Microcysts seen under high magnification with marginal retro-
illumination.
• Corneal edema, neovascularization, microcyst and infiltrates and Contact
lens deposits all are seen through retro- illumination.