SPEED SWEEP - tti.a.bigcontent.io
12
SIMPLY AMAZING ® USER’S GUIDE REGISTER YOUR PRODUCT ON THE WEB: WWW.ORECK.COM •IMPORTANT• SAVE THIS BOOKLET! Includes: Important Safety Instructions Warranty Operating Instructions SPEED SWEEP MODEL TEK100
Transcript of SPEED SWEEP - tti.a.bigcontent.io

S I M P L Y A M A Z I N G ®
User’s GUide
REGISTER YOUR PRODUCT ON THE WEB:
WWW.ORECK.COM
•IMPORTANT•SAVE THIS BOOKLET!
Includes:Important Safety Instructions
WarrantyOperating Instructions
SPEED SWEEPModel Tek100
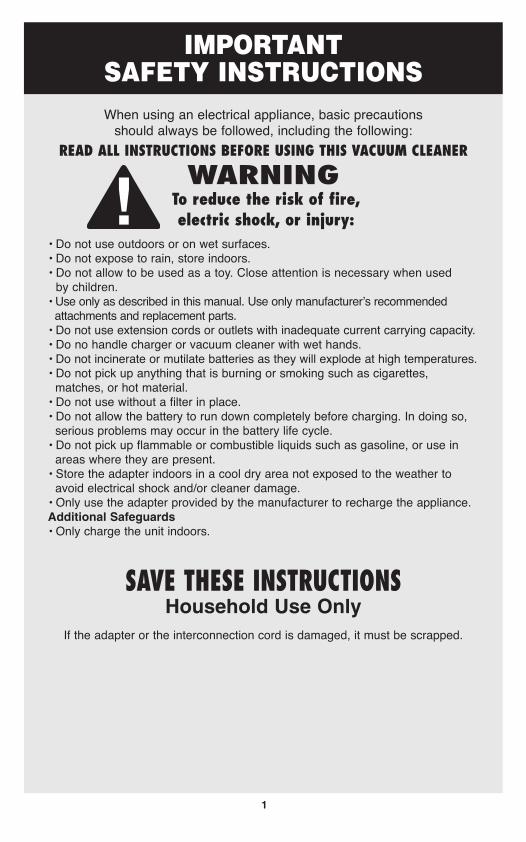
When using an electrical appliance, basic precautions should always be followed, including the following:
READ ALL INSTRUCTIONS BEFORE USING THIS VACUUM CLEANER
WARNING To reduce the risk of fire, electric shock, or injury:
IMPORTANT SAFETY INSTRUCTIONS
• Do not use outdoors or on wet surfaces.• Do not expose to rain, store indoors.• Do not allow to be used as a toy. Close attention is necessary when used by children.• Use only as described in this manual. Use only manufacturer’s recommended attachments and replacement parts.• Do not use extension cords or outlets with inadequate current carrying capacity.• Do no handle charger or vacuum cleaner with wet hands.• Do not incinerate or mutilate batteries as they will explode at high temperatures.• Do not pick up anything that is burning or smoking such as cigarettes, matches, or hot material.• Do not use without a filter in place.• Do not allow the battery to run down completely before charging. In doing so, serious problems may occur in the battery life cycle.• Do not pick up flammable or combustible liquids such as gasoline, or use in areas where they are present.• Store the adapter indoors in a cool dry area not exposed to the weather to avoid electrical shock and/or cleaner damage.• Only use the adapter provided by the manufacturer to recharge the appliance.Additional Safeguards • Only charge the unit indoors.
SAVE THESE INSTRUCTIONSHousehold Use Only
If the adapter or the interconnection cord is damaged, it must be scrapped.
1
Safety Warning
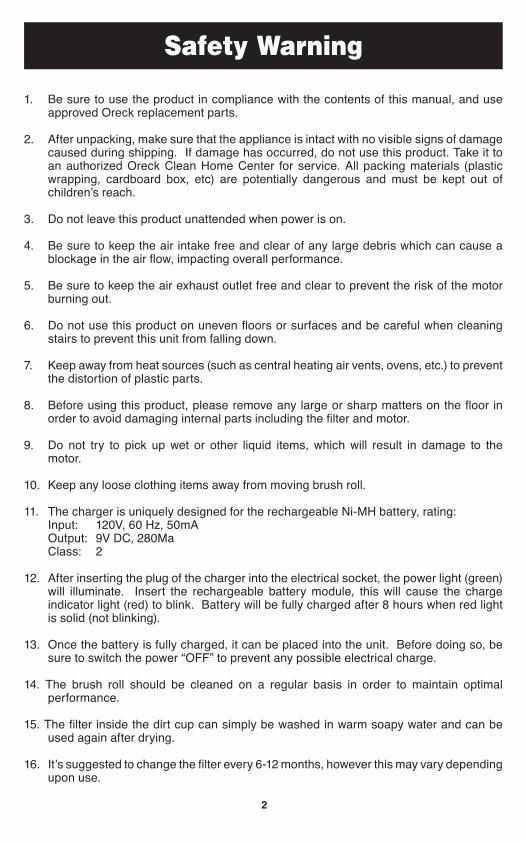
1. Be sure to use the product in compliance with the contents of this manual, and use approved Oreck replacement parts.
2. After unpacking, make sure that the appliance is intact with no visible signs of damage caused during shipping. If damage has occurred, do not use this product. Take it to an authorized Oreck Clean Home Center for service. All packing materials (plastic wrapping, cardboard box, etc) are potentially dangerous and must be kept out of children’s reach.
3. Do not leave this product unattended when power is on.
4. Be sure to keep the air intake free and clear of any large debris which can cause a blockage in the air flow, impacting overall performance.
5. Be sure to keep the air exhaust outlet free and clear to prevent the risk of the motor burning out.
6. Do not use this product on uneven floors or surfaces and be careful when cleaning stairs to prevent this unit from falling down.
7. Keep away from heat sources (such as central heating air vents, ovens, etc.) to prevent the distortion of plastic parts.
8. Before using this product, please remove any large or sharp matters on the floor in order to avoid damaging internal parts including the filter and motor.
9. Do not try to pick up wet or other liquid items, which will result in damage to the motor.
10. Keep any loose clothing items away from moving brush roll.
11. The charger is uniquely designed for the rechargeable Ni-MH battery, rating: Input: 120V, 60 Hz, 50mA Output: 9V DC, 280Ma Class: 2
12. After inserting the plug of the charger into the electrical socket, the power light (green) will illuminate. Insert the rechargeable battery module, this will cause the charge indicator light (red) to blink. Battery will be fully charged after 8 hours when red light is solid (not blinking).
13. Once the battery is fully charged, it can be placed into the unit. Before doing so, be sure to switch the power “OFF” to prevent any possible electrical charge.
14. The brush roll should be cleaned on a regular basis in order to maintain optimal performance.
15. The filter inside the dirt cup can simply be washed in warm soapy water and can be used again after drying.
16. It’s suggested to change the filter every 6-12 months, however this may vary depending upon use.
2

3
Warranty
ORECK MANUFACTURING COMPANY: (ORECK gives you the following limited warrantyfor this product only if it was originally purchased for use, not resale, from ORECK or an ORECK Authorized Retail Dealer.)
ORECK will repair or replace, free of charge, to the original purchaser, any part which is found to be defective in material or workmanship within one (1) year of the date of purchase.
This limited warranty applies to normal domestic use. Any commercial use of this product will void this limited warranty.
This limited warranty does not cover the replacement of expendable or consumable parts such as belts, brushes, bulbs, dirt filters, batteries and other parts subject to normal wear.
This limited warranty does not apply to any part subjected to accident, abuse, commercial use, alteration, misuse, damage caused by fire or act of God, the use of voltages other than indicated on the serial number plate of this product or service of this product by other than ORECK or an ORECK Factory Authorized Service Center.
ORECK does not authorize any person or representative to assume or grant any other warranty obligation with the sale of this product.
ORECK’s limited warranty is valid only if you retain proof of purchase from ORECK or an ORECK Authorized Retail Dealer for this product. If you purchase this product from any other source, your purchase is “AS IS,” which means ORECK grants you no warranty, and that you, not ORECK, assume the entire risk of the quality and performance of this product, including the entire cost of any necessary servicing or repairs of any defects.
ORECK’s liability for damages to you for any costs whatsoever arising out of this statement of limited warranty shall be limited to the amount paid for this product at the time of original purchase, and ORECK shall not be liable for any direct, indirect, consequential or incidental damages arising out of the use or inability to use this product.
Some states do not allow the exclusion or limitation of incidental or consequential damages, so the above limitation or exclusion may not apply to you.
ALL EXPRESS AND IMPLIED WARRANTIES FOR THIS PRODUCT, INCLUDING IMPLIED WARRANTIES OF MERCHANTABILITY AND FITNESS FOR A PARTICULAR PURPOSE, ARE LIMITED IN DURATION TO THE WARRANTY PERIOD, AND NO WARRANTIES, WHETHER EXPRESS OR IMPLIED, WILL APPLY AFTER THIS PERIOD.
Some states do not allow limitations on the duration of implied warranties, so the abovelimitation may not apply to you. This warranty gives you specific legal rights, and you may also have other rights which vary from state to state.

Parts & Accessories List
1. Handle2. Upholstery brush3. Crevice tool4. Accessory hook5. Handle button6. Battery release button7. Battery compartment8. Power button9. Carry handle10. Dirt Cup11. Roller brush release button12. Roller brush13. Dirt cup release button
4
1
2
3 4
5
6
78
9
10
11
12
2
13

Assembly Instructions
Before assembling, please be sure that all parts and accessories are included by reviewing the Parts and Accessories List.
Dirt Cup AssemblyAs is shown in the Figure below, place the toll bar of the dust barrel on the back of the unit, and press down the dirt cup. When the front-end hook on the dirt cup is placed into the corresponding part on the unit completely, press firmly until a “click” is heard confirming it is securely in place. To remove the dirt cup, simply grasp the bottom end of the dirt cup and press the release button, while pulling away from the unit.
Emptying the Dirt CupAfter removing the dirt cup as described above, you can now empty its contents.
DIrT CUP rELEASE BUTTOn
HAnDLE Of DIrT CUP fILTEr
5

Assembly Instructions
Assembly of roller BrushAs is shown in the figure below, carefully insert the roller brush into the unit, making sure to align within the specific guide slots and ensuring electric contacts are fully aligned.
Assembly of the HandleAs shown below, pressing the handle release button will allow for the handle to be removed from the main unit. To reinstall, simply reinsert the handle making sure the guide slots line up.
ELECTrICAL COnTACTS
GUIDE SLOTS
HAnDLE rELEASE BUTTOn
6

Assembly Instructions
Operation1. It is necessary for the rechargeable battery to be fully charged prior to use.2. The charger is uniquely designed for the rechargeable Ni-MH battery, rating: Input: 120V, 60 Hz, 50mA; Output: 9V DC, 280Ma; Class: 23. After inserting the plug of the charger into the electrical socket, the power light
(green) will illuminate. Insert the rechargeable battery module, this will cause the charge indicator light (red) to blink. Battery will be fully charged after
8 hours when red light is solid (not blinking).4. Once the battery is fully charged, it can be placed into the unit. Before doing
so, be sure to switch the power “OFF” to prevent any possible electrical discharge.
Battery removalRemoving the rechargeable battery is done by simply pressing the battery release button located on the side of the unit as shown below.
BATTEry rELEASE BUTTOn
7
BATTEry CHArGEr
BATTEry

Assembly Instructions
Accessory ItemsIncluded with this unit are two accessory items: a crevice tool and upholstery brush.
A) Crevice Tool Shown below, the crevice tool is attached for cleaning in tight spaces.
B) Upholstery Brush With the crevice tool still attached, affix the upholstery brush to the end of the
crevice tool as indicated below.
8
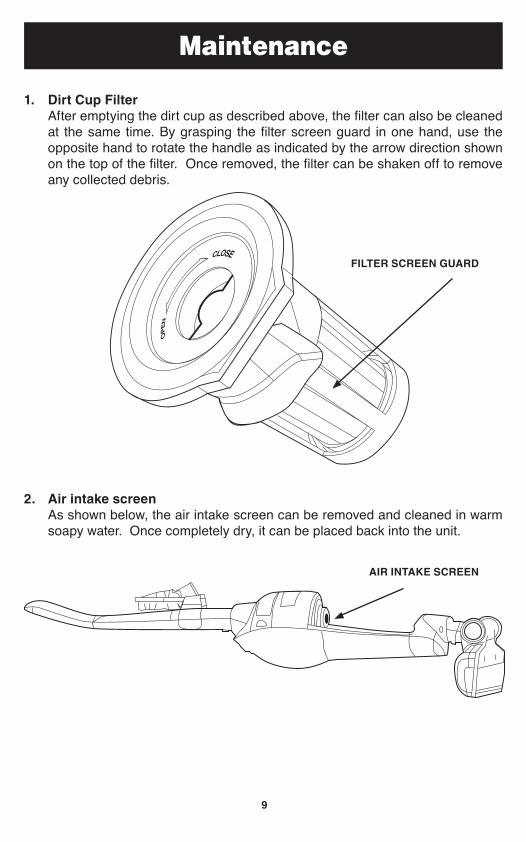
Maintenance
1. Dirt Cup filter After emptying the dirt cup as described above, the filter can also be cleaned
at the same time. By grasping the filter screen guard in one hand, use the opposite hand to rotate the handle as indicated by the arrow direction shown on the top of the filter. Once removed, the filter can be shaken off to remove any collected debris.
2. Air intake screen As shown below, the air intake screen can be removed and cleaned in warm
soapy water. Once completely dry, it can be placed back into the unit.
fILTEr SCrEEn GUArD
AIr InTAKE SCrEEn
9
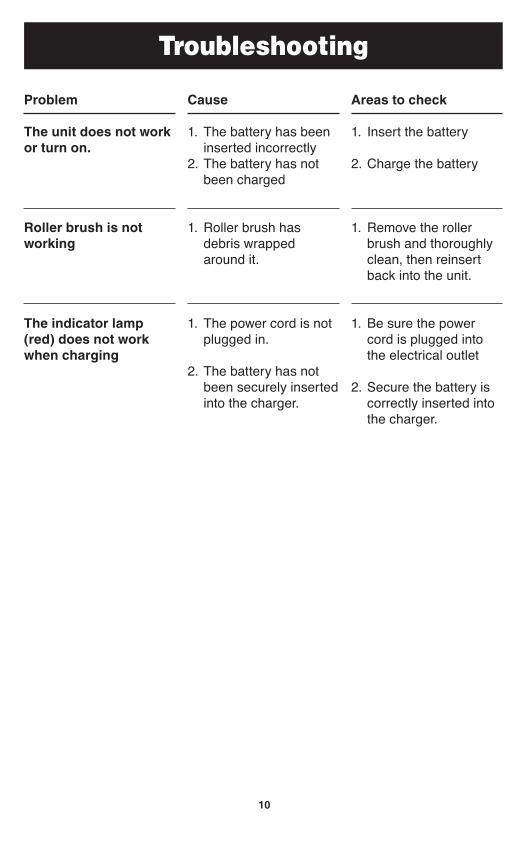
Troubleshooting
Problem
The unit does not work or turn on.
roller brush is not working
The indicator lamp(red) does not work when charging
Cause
1. The battery has been inserted incorrectly
2. The battery has not been charged
1. Roller brush has debris wrapped around it.
1. The power cord is not plugged in.
2. The battery has not been securely inserted into the charger.
Areas to check 1. Insert the battery
2. Charge the battery
1. Remove the roller brush and thoroughly clean, then reinsert back into the unit.
1. Be sure the power cord is plugged into the electrical outlet
2. Secure the battery is correctly inserted into the charger.
10
©2009 Oreck Holdings, LLC. All rights reserved. All word marks, logos, product configurations, and registered trademarks are owned and used under the authority of Oreck Holdings, LLC. Printed in America
75851-01 REV A8/09 ECN# R-9480
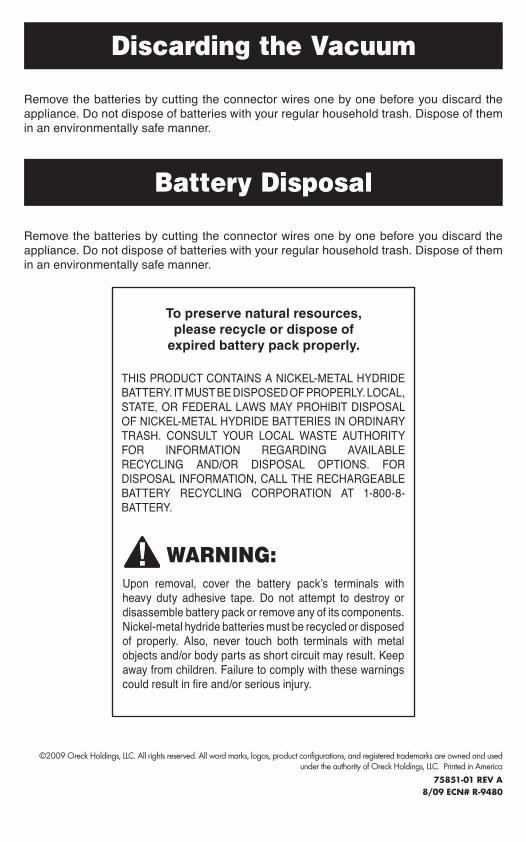
Discarding the Vacuum
Remove the batteries by cutting the connector wires one by one before you discard the appliance. Do not dispose of batteries with your regular household trash. Dispose of them in an environmentally safe manner.
Battery Disposal
Remove the batteries by cutting the connector wires one by one before you discard the appliance. Do not dispose of batteries with your regular household trash. Dispose of them in an environmentally safe manner.
To preserve natural resources, please recycle or dispose of
expired battery pack properly.
THIS PRODUCT CONTAINS A NICKEL-METAL HYDRIDE BATTERY. IT MUST BE DISPOSED OF PROPERLY. LOCAL, STATE, OR FEDERAL LAWS MAY PROHIBIT DISPOSAL OF NICKEL-METAL HYDRIDE BATTERIES IN ORDINARY TRASH. CONSULT YOUR LOCAL WASTE AUTHORITY FOR INFORMATION REGARDING AVAILABLE RECYCLING AND/OR DISPOSAL OPTIONS. FOR DISPOSAL INFORMATION, CALL THE RECHARGEABLE BATTERY RECYCLING CORPORATION AT 1-800-8-BATTERY.
Upon removal, cover the battery pack’s terminals with heavy duty adhesive tape. Do not attempt to destroy or disassemble battery pack or remove any of its components. Nickel-metal hydride batteries must be recycled or disposed of properly. Also, never touch both terminals with metal objects and/or body parts as short circuit may result. Keep away from children. Failure to comply with these warnings could result in fire and/or serious injury.
WARNING: