Playing With Electricity: Exploring Electric Circuits...
7
Playing with Electricity: Exploring electric circuits through open ended play Mary Leighton, Panos Oikonomou and Keith Vanderlinde Both children and adults typically have misconceptions about how basic electric circuits work (Grotzer et al. 2006). These can be so ingrained that in one study the majority of college students enrolled in a physics class were unable to light a bulb using battery and three wires (Fredette and Lochhead, 1980). In this project we aimed to introduce a basic understanding of simple electric circuits through a fun and non-intimidating exhibit which allows children to learn through engaging in open-ended experimentation. Basis premise We designed and prototyped a hands-on exhibit for young children (under 12 years old) which will be stationed at SciTech. The exhibit is based around building simple electric circuits using wires, a battery, and elementary electrical 'units'. These units are small blocks with banana plug connectors and either a light, a buzzer or a fan. Children are invited to experiment and connect these components to each other so they from a functioning circuit. This exhibit works in as clear and visual a way as possible, with no components being hidden. To facilitate the visitor’s experience and understanding, we actively avoided circuit boards which are more commonly used in circuit exhibits. That no part of the process is hidden is essential for the exhibit rather than an aesthetic statement. Our goal is to visually communicate that all components have to be connected to each other and to the power source in order for an electric circuit to work. To make the exhibit easy to use, another crucial part of the design is that all connectors are colour coded. Image 1: Child playing with the prototypes. Photo: P. Oikonomou
Transcript of Playing With Electricity: Exploring Electric Circuits...

Playing with Electricity: Exploring electric circuits through open ended play Mary Leighton, Panos Oikonomou and Keith Vanderlinde
Both children and adults typically have misconceptions about how basic electric circuits work (Grotzer
et al. 2006). These can be so ingrained that in one study the majority of college students enrolled in a
physics class were unable to light a bulb using battery and three wires (Fredette and Lochhead, 1980).
In this project we aimed to introduce a basic understanding of simple electric circuits through a fun and
non-intimidating exhibit which allows children to learn through engaging in open-ended
experimentation.
Basis premise
We designed and prototyped a hands-on exhibit for young children (under 12 years old) which will be
stationed at SciTech. The exhibit is based around building simple electric circuits using wires, a
battery, and elementary electrical 'units'. These units are small blocks with banana plug connectors and
either a light, a buzzer or a fan. Children are invited to experiment and connect these components to
each other so they from a functioning circuit.
This exhibit works in as clear and visual a way as
possible, with no components being hidden. To
facilitate the visitor’s experience and understanding,
we actively avoided circuit boards which are more
commonly used in circuit exhibits. That no part of
the process is hidden is essential for the exhibit
rather than an aesthetic statement. Our goal is to
visually communicate that all components have to
be connected to each other and to the power source
in order for an electric circuit to work.
To make the exhibit easy to use, another crucial part
of the design is that all connectors are colour coded. Image 1: Child playing with the prototypes. Photo: P. Oikonomou

This makes the process of starting to connect components more intuitive, without any prior knowledge
or need to read labels. Once this is achieved the goal is obvious: to make the bulbs light up, the buzzers
buzz, and the motors turn.
The simplicity of the concept and the clarity of the design allows for a very high level of imaginative
participation. The open-endedness of the exhibit presents the children with a creative task that puts
their problem solving skills to use. The idea of learning through 'play', and of having to make, rather
than just observe, something is central to many theories of child learning:
“For young children, "looking at something" means touching it. Actually moving and
handling objects is much more important than watching them on television, no matter how
educational the program may be. Similarly, watching little figures do something on a
computer screen is not nearly as valuable as manipulating the objects themselves. By
nature, young children are constantly in movement and need the opportunity to express
their ever deepening relationship to day-to-day life through their play.” (Baldwin Dancy,
2005)
Our aim in this exhibit is to counter the
common mystification of the topic, where
electric devices are seen as black boxes. As
such we are not concerned with imparting an
in-depth knowledge of electronics – instead
we aim to avoid installing any accidental
misconceptions. Even if children do not leave
this exhibit knowing exactly how a circuit
works, they hopefully will have a basic
understanding of how to build one, and an
interest that will remain with them till the
next time they approach this topic, possibly in
school. They will also have a basic
understanding that all electric devices need to be connected together in a circuit and to a power source,
in order to function.
Image 2: Prototypes with illustrated instructions. Photo: P. Oikonomou
Description of the exhibit
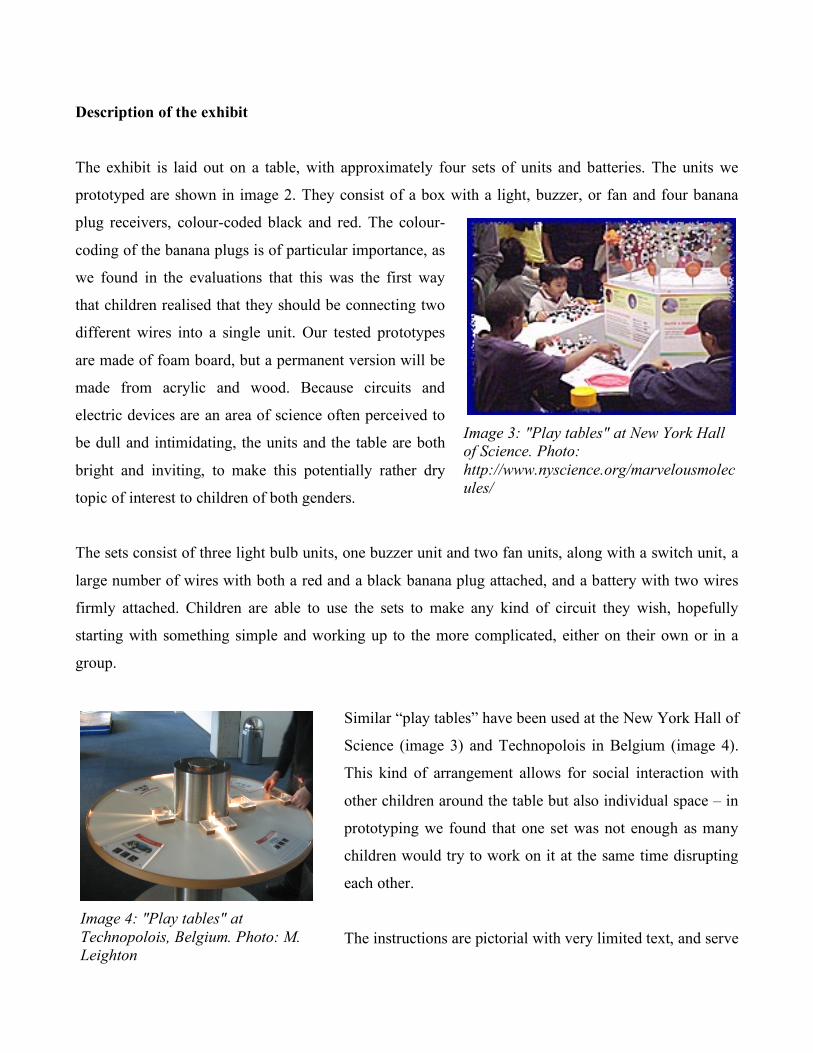
The exhibit is laid out on a table, with approximately four sets of units and batteries. The units we
prototyped are shown in image 2. They consist of a box with a light, buzzer, or fan and four banana
plug receivers, colour-coded black and red. The colour-
coding of the banana plugs is of particular importance, as
we found in the evaluations that this was the first way
that children realised that they should be connecting two
different wires into a single unit. Our tested prototypes
are made of foam board, but a permanent version will be
made from acrylic and wood. Because circuits and
electric devices are an area of science often perceived to
be dull and intimidating, the units and the table are both
bright and inviting, to make this potentially rather dry
topic of interest to children of both genders.
The sets consist of three light bulb units, one buzzer unit and two fan units, along with a switch unit, a
large number of wires with both a red and a black banana plug attached, and a battery with two wires
firmly attached. Children are able to use the sets to make any kind of circuit they wish, hopefully
starting with something simple and working up to the more complicated, either on their own or in a
group.
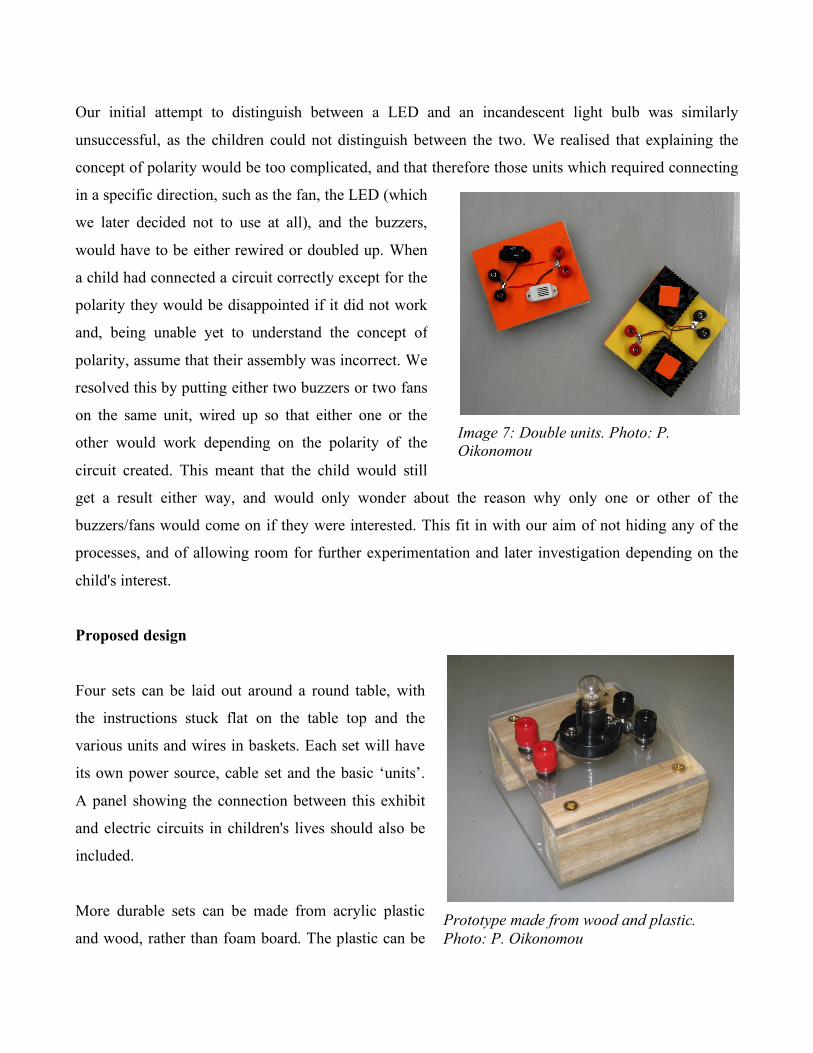
Similar “play tables” have been used at the New York Hall of
Science (image 3) and Technopolois in Belgium (image 4).
This kind of arrangement allows for social interaction with
other children around the table but also individual space – in
prototyping we found that one set was not enough as many
children would try to work on it at the same time disrupting
each other.
The instructions are pictorial with very limited text, and serve
Image 4: "Play tables" at Technopolois, Belgium. Photo: M. Leighton
Image 3: "Play tables" at New York Hall of Science. Photo: http://www.nyscience.org/marvelousmolecules/

the purpose of either suggesting possible circuits that can be made or of providing a guide on what to
do if the participant is stuck. They consist of photographs of basic circuits, some more complex than
others, made from the same units used in the exhibit. The images should be of the actual units being
used to make the instructions as clear and relevant as possible. Our instructions are included in
appendix 1.
Evaluations
When testing out prototypes at SciTech on
two separate occasions we were pleased to
see that the exhibit was very popular with
both boys and girls around the ages of 7-10.
On average they stayed with the exhibit for
approximately 5 minutes, with a number of
children staying much longer (about 10-15
minutes) and having to be asked to leave to
let other children have a chance. The initial
reaction of the child was to try and plug
everything into anything, often putting one
wire into two plugs on the same unit, or
connecting several units to each other rather than the battery. In general they eventually worked out
that they needed to plug something into the battery, and usually managed to create a simple circuit with
a bulb, two wires and the battery, sometimes with the help of the illustrations. The children seemed to
find the moment where it actually worked very rewarding!
The concept of connecting two units in
parallel seemed to come relatively naturally
and children often began to do this without
any prompting. When we tried to encourage
them to connect two units in series, however,
this proved much more difficult to explain
and much less intuitive to the child.
Image 5: Children playing as a group with the prototypes. Photo: P. Oikonomou
Image 6: Prototypes in parallel. Photo: P. Oikonomou
Our initial attempt to distinguish between a LED and an incandescent light bulb was similarly
unsuccessful, as the children could not distinguish between the two. We realised that explaining the
concept of polarity would be too complicated, and that therefore those units which required connecting
in a specific direction, such as the fan, the LED (which
we later decided not to use at all), and the buzzers,
would have to be either rewired or doubled up. When
a child had connected a circuit correctly except for the
polarity they would be disappointed if it did not work
and, being unable yet to understand the concept of
polarity, assume that their assembly was incorrect. We
resolved this by putting either two buzzers or two fans
on the same unit, wired up so that either one or the
other would work depending on the polarity of the
circuit created. This meant that the child would still
get a result either way, and would only wonder about the reason why only one or other of the
buzzers/fans would come on if they were interested. This fit in with our aim of not hiding any of the
processes, and of allowing room for further experimentation and later investigation depending on the
child's interest.
Proposed design
Four sets can be laid out around a round table, with
the instructions stuck flat on the table top and the
various units and wires in baskets. Each set will have
its own power source, cable set and the basic ‘units’.
A panel showing the connection between this exhibit
and electric circuits in children's lives should also be
included.
More durable sets can be made from acrylic plastic
and wood, rather than foam board. The plastic can be
Image 7: Double units. Photo: P. Oikonomou
Prototype made from wood and plastic. Photo: P. Oikonomou
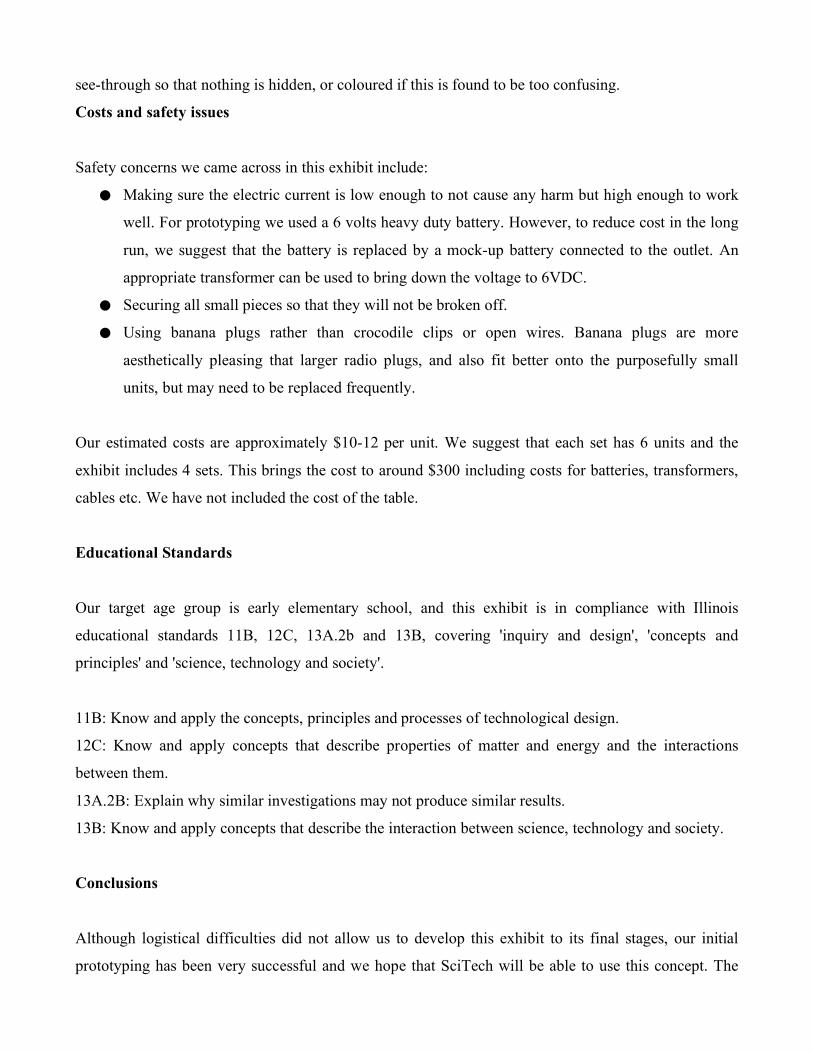
see-through so that nothing is hidden, or coloured if this is found to be too confusing.
Costs and safety issues
Safety concerns we came across in this exhibit include:
● Making sure the electric current is low enough to not cause any harm but high enough to work
well. For prototyping we used a 6 volts heavy duty battery. However, to reduce cost in the long
run, we suggest that the battery is replaced by a mock-up battery connected to the outlet. An
appropriate transformer can be used to bring down the voltage to 6VDC.
● Securing all small pieces so that they will not be broken off.
● Using banana plugs rather than crocodile clips or open wires. Banana plugs are more
aesthetically pleasing that larger radio plugs, and also fit better onto the purposefully small
units, but may need to be replaced frequently.
Our estimated costs are approximately $10-12 per unit. We suggest that each set has 6 units and the
exhibit includes 4 sets. This brings the cost to around $300 including costs for batteries, transformers,
cables etc. We have not included the cost of the table.
Educational Standards
Our target age group is early elementary school, and this exhibit is in compliance with Illinois
educational standards 11B, 12C, 13A.2b and 13B, covering 'inquiry and design', 'concepts and
principles' and 'science, technology and society'.
11B: Know and apply the concepts, principles and processes of technological design.
12C: Know and apply concepts that describe properties of matter and energy and the interactions
between them.
13A.2B: Explain why similar investigations may not produce similar results.
13B: Know and apply concepts that describe the interaction between science, technology and society.
Conclusions
Although logistical difficulties did not allow us to develop this exhibit to its final stages, our initial
prototyping has been very successful and we hope that SciTech will be able to use this concept. The

reactions from the children were very positive, and the majority, even when they did not seem to know
what to do when they first started, very soon able to make at least one circuit, taking away a real sense
of accomplishment.
References
Baldwin Dancy, R. 2005; Learning Through Play
http://www.waldorfinthehome.org/learning_through_play.html
Fredette, N. and Lochhead, J. 1980; Student conceptions of simple circuits. The Physics Teacher, 18,
194-198.
Grotzer, T. and Perkins, D. 2005; Causal Patterns in Simple Circuits: Lessons to Infuse into
Electricity Units to Enable Deeper Understanding http://www.pz.harvard.edu/ucp/curriculum/circuits/