
BEAMER - An Introductionmahaider/NCSU_RTG_Site/BeamerPresentation.pdf · Introduction Overview of...
48
BEAMER An Introduction Ryan Siskind NCSU October 3, 2007 Ryan Siskind (NCSU) BEAMER October 3, 2007 1 / 21
Transcript of BEAMER - An Introductionmahaider/NCSU_RTG_Site/BeamerPresentation.pdf · Introduction Overview of...
BEAMERAn Introduction
Ryan Siskind
NCSU
October 3, 2007
Ryan Siskind (NCSU) BEAMER October 3, 2007 1 / 21
Outline
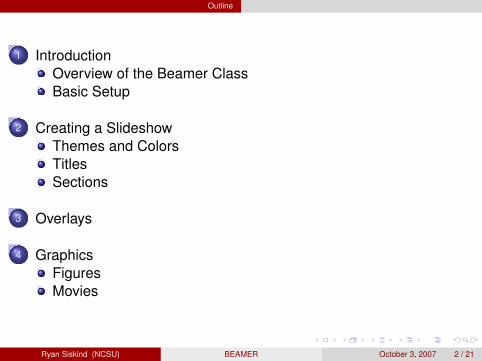
1 IntroductionOverview of the Beamer ClassBasic Setup
2 Creating a SlideshowThemes and ColorsTitlesSections
3 Overlays
4 GraphicsFiguresMovies
Ryan Siskind (NCSU) BEAMER October 3, 2007 2 / 21
Introduction Overview of the Beamer Class
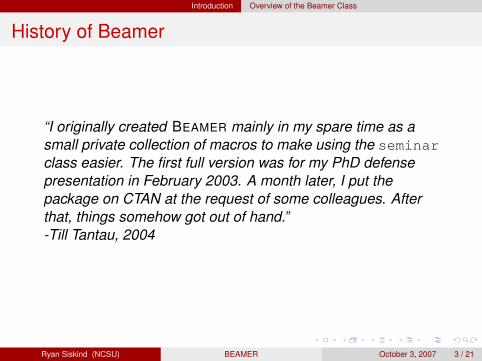
History of Beamer
“I originally created BEAMER mainly in my spare time as asmall private collection of macros to make using the seminarclass easier. The first full version was for my PhD defensepresentation in February 2003. A month later, I put thepackage on CTAN at the request of some colleagues. Afterthat, things somehow got out of hand.”-Till Tantau, 2004
Ryan Siskind (NCSU) BEAMER October 3, 2007 3 / 21
Introduction Overview of the Beamer Class
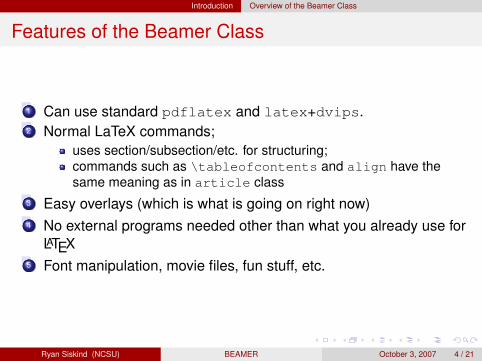
Features of the Beamer Class
1 Can use standard pdflatex and latex+dvips.
2 Normal LaTeX commands;uses section/subsection/etc. for structuring;commands such as \tableofcontents and align have thesame meaning as in article class
3 Easy overlays (which is what is going on right now)4 No external programs needed other than what you already use for
LATEX5 Font manipulation, movie files, fun stuff, etc.
Ryan Siskind (NCSU) BEAMER October 3, 2007 4 / 21
Introduction Overview of the Beamer Class
Features of the Beamer Class
1 Can use standard pdflatex and latex+dvips.2 Normal LaTeX commands;
uses section/subsection/etc. for structuring;commands such as \tableofcontents and align have thesame meaning as in article class
3 Easy overlays (which is what is going on right now)
4 No external programs needed other than what you already use forLATEX
5 Font manipulation, movie files, fun stuff, etc.
Ryan Siskind (NCSU) BEAMER October 3, 2007 4 / 21
Introduction Overview of the Beamer Class
Features of the Beamer Class
1 Can use standard pdflatex and latex+dvips.2 Normal LaTeX commands;
uses section/subsection/etc. for structuring;commands such as \tableofcontents and align have thesame meaning as in article class
3 Easy overlays (which is what is going on right now)4 No external programs needed other than what you already use for
LATEX
5 Font manipulation, movie files, fun stuff, etc.
Ryan Siskind (NCSU) BEAMER October 3, 2007 4 / 21
Introduction Overview of the Beamer Class
Features of the Beamer Class
1 Can use standard pdflatex and latex+dvips.2 Normal LaTeX commands;
uses section/subsection/etc. for structuring;commands such as \tableofcontents and align have thesame meaning as in article class
3 Easy overlays (which is what is going on right now)4 No external programs needed other than what you already use for
LATEX5 Font manipulation, movie files, fun stuff, etc.
Ryan Siskind (NCSU) BEAMER October 3, 2007 4 / 21
Introduction Basic Setup
CTAN
BEAMER is hosted at
http://latex-beamer.sourceforge.net/
1 Files (BEAMER, pgf, xcolor);2 Instructions for installation;3 BEAMER examples.
Ryan Siskind (NCSU) BEAMER October 3, 2007 5 / 21
Introduction Basic Setup
CTAN
BEAMER is hosted at
http://latex-beamer.sourceforge.net/
1 Files (BEAMER, pgf, xcolor);2 Instructions for installation;3 BEAMER examples.
Ryan Siskind (NCSU) BEAMER October 3, 2007 5 / 21
Introduction Basic Setup
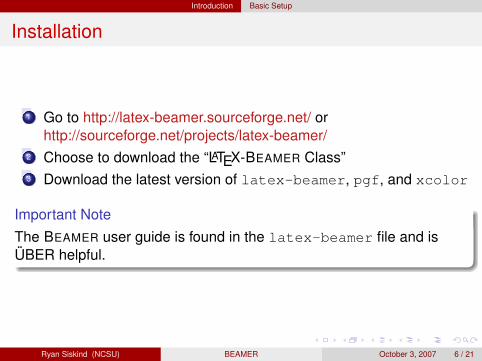
Installation
1 Go to http://latex-beamer.sourceforge.net/ orhttp://sourceforge.net/projects/latex-beamer/
2 Choose to download the “LATEX-BEAMER Class”3 Download the latest version of latex-beamer, pgf, and xcolor
Important NoteThe BEAMER user guide is found in the latex-beamer file and isÜBER helpful.
Ryan Siskind (NCSU) BEAMER October 3, 2007 6 / 21
Introduction Basic Setup
More Installation
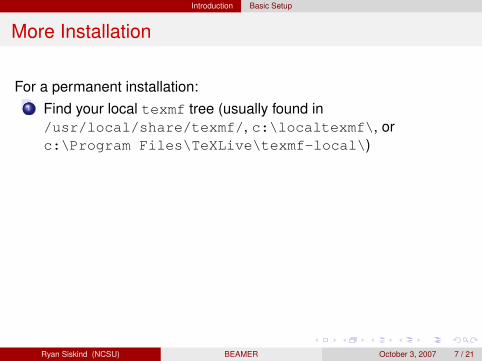
For a permanent installation:1 Find your local texmf tree (usually found in/usr/local/share/texmf/, c:\localtexmf\, orc:\Program Files\TeXLive\texmf-local\)
2 In the texmf directory, create the sub-sub-sub-directories;
texmf/tex/latex/beamer,texmf/tex/latex/pgf, andtexmf/tex/latex/xcolor
3 Place all UNZIPPED files from the packages you alreadydownloaded into these new directories.
4 Rebuild the TEXfile database by running the command texhash,mktexlsr, or via menu options (if available)
Ryan Siskind (NCSU) BEAMER October 3, 2007 7 / 21
Introduction Basic Setup
More Installation
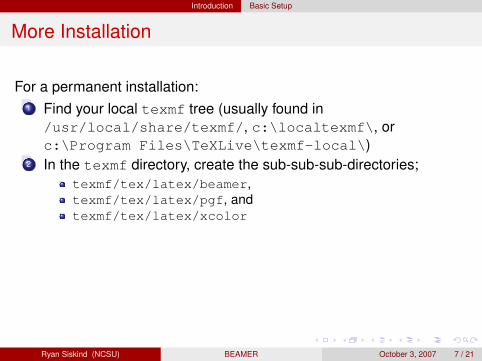
For a permanent installation:1 Find your local texmf tree (usually found in/usr/local/share/texmf/, c:\localtexmf\, orc:\Program Files\TeXLive\texmf-local\)
2 In the texmf directory, create the sub-sub-sub-directories;texmf/tex/latex/beamer,texmf/tex/latex/pgf, andtexmf/tex/latex/xcolor
3 Place all UNZIPPED files from the packages you alreadydownloaded into these new directories.
4 Rebuild the TEXfile database by running the command texhash,mktexlsr, or via menu options (if available)
Ryan Siskind (NCSU) BEAMER October 3, 2007 7 / 21
Introduction Basic Setup
More Installation
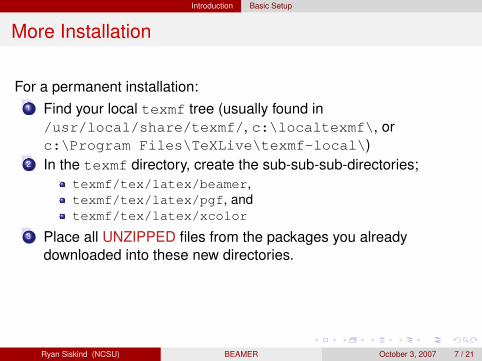
For a permanent installation:1 Find your local texmf tree (usually found in/usr/local/share/texmf/, c:\localtexmf\, orc:\Program Files\TeXLive\texmf-local\)
2 In the texmf directory, create the sub-sub-sub-directories;texmf/tex/latex/beamer,texmf/tex/latex/pgf, andtexmf/tex/latex/xcolor
3 Place all UNZIPPED files from the packages you alreadydownloaded into these new directories.
4 Rebuild the TEXfile database by running the command texhash,mktexlsr, or via menu options (if available)
Ryan Siskind (NCSU) BEAMER October 3, 2007 7 / 21
Introduction Basic Setup
More Installation
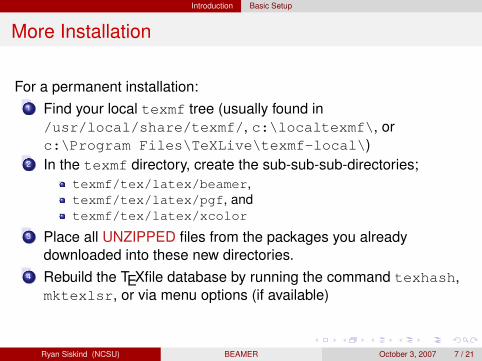
For a permanent installation:1 Find your local texmf tree (usually found in/usr/local/share/texmf/, c:\localtexmf\, orc:\Program Files\TeXLive\texmf-local\)
2 In the texmf directory, create the sub-sub-sub-directories;texmf/tex/latex/beamer,texmf/tex/latex/pgf, andtexmf/tex/latex/xcolor
3 Place all UNZIPPED files from the packages you alreadydownloaded into these new directories.
4 Rebuild the TEXfile database by running the command texhash,mktexlsr, or via menu options (if available)
Ryan Siskind (NCSU) BEAMER October 3, 2007 7 / 21
Slideshow
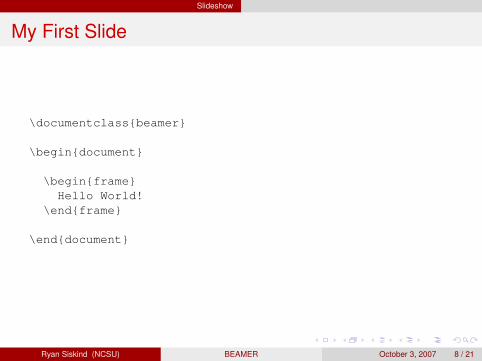
My First Slide
\documentclass{beamer}
\begin{document}
\begin{frame}Hello World!
\end{frame}
\end{document}
Ryan Siskind (NCSU) BEAMER October 3, 2007 8 / 21
Slideshow Themes and Colors
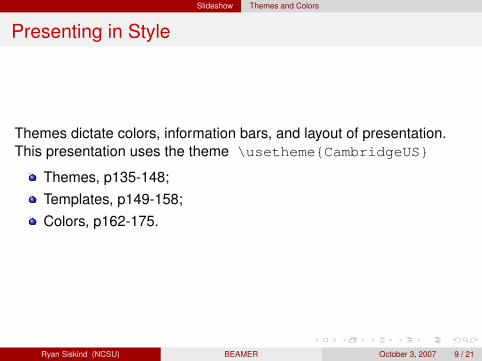
Presenting in Style
Themes dictate colors, information bars, and layout of presentation.This presentation uses the theme \usetheme{CambridgeUS}
Themes, p135-148;Templates, p149-158;Colors, p162-175.
Ryan Siskind (NCSU) BEAMER October 3, 2007 9 / 21
Slideshow Titles
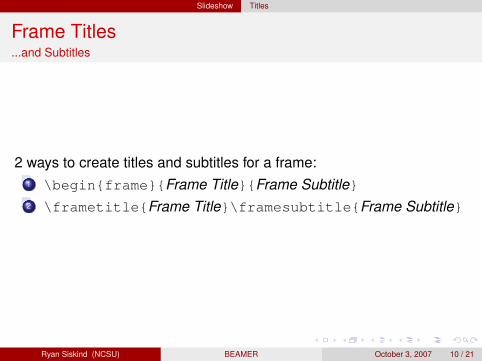
Frame Titles...and Subtitles
2 ways to create titles and subtitles for a frame:1 \begin{frame}{Frame Title}{Frame Subtitle}2 \frametitle{Frame Title}\framesubtitle{Frame Subtitle}
Ryan Siskind (NCSU) BEAMER October 3, 2007 10 / 21
Slideshow Sections
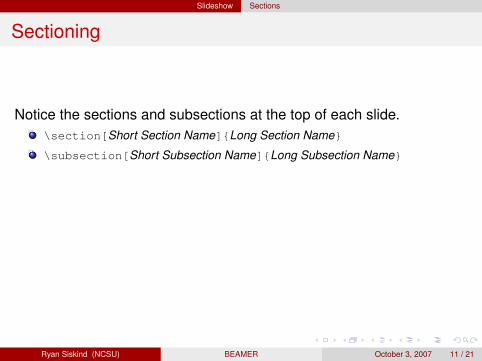
Sectioning
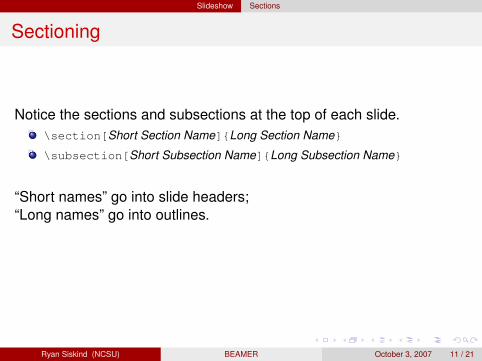
Notice the sections and subsections at the top of each slide.\section[Short Section Name]{Long Section Name}
\subsection[Short Subsection Name]{Long Subsection Name}
“Short names” go into slide headers;“Long names” go into outlines.
All sections and subsections automatically added to slideshow outline!
Ryan Siskind (NCSU) BEAMER October 3, 2007 11 / 21
Slideshow Sections
Sectioning
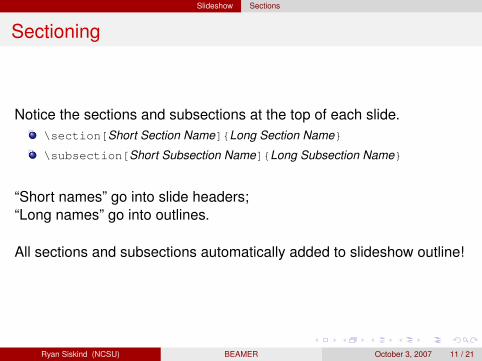
Notice the sections and subsections at the top of each slide.\section[Short Section Name]{Long Section Name}
\subsection[Short Subsection Name]{Long Subsection Name}
“Short names” go into slide headers;“Long names” go into outlines.
All sections and subsections automatically added to slideshow outline!
Ryan Siskind (NCSU) BEAMER October 3, 2007 11 / 21
Slideshow Sections
Sectioning
Notice the sections and subsections at the top of each slide.\section[Short Section Name]{Long Section Name}
\subsection[Short Subsection Name]{Long Subsection Name}
“Short names” go into slide headers;“Long names” go into outlines.
All sections and subsections automatically added to slideshow outline!
Ryan Siskind (NCSU) BEAMER October 3, 2007 11 / 21
Slideshow Sections
Loooooong Slides
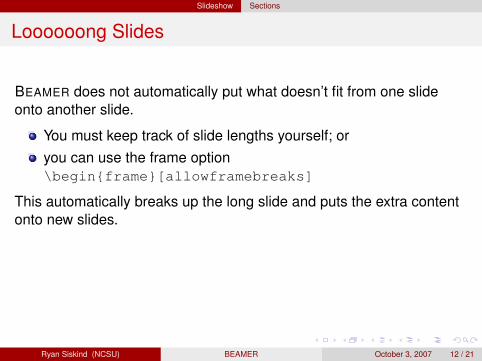
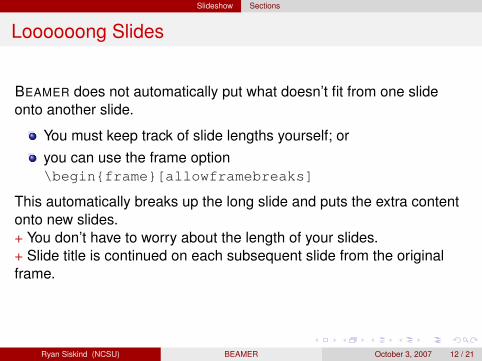
BEAMER does not automatically put what doesn’t fit from one slideonto another slide.
You must keep track of slide lengths yourself; oryou can use the frame option\begin{frame}[allowframebreaks]
This automatically breaks up the long slide and puts the extra contentonto new slides.
+ You don’t have to worry about the length of your slides.+ Slide title is continued on each subsequent slide from the originalframe.- Most overlay options are not usable.
Ryan Siskind (NCSU) BEAMER October 3, 2007 12 / 21
Slideshow Sections
Loooooong Slides
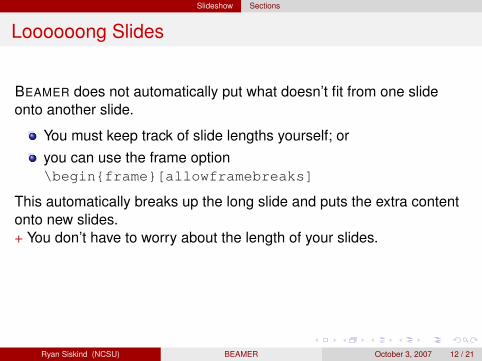
BEAMER does not automatically put what doesn’t fit from one slideonto another slide.
You must keep track of slide lengths yourself; oryou can use the frame option\begin{frame}[allowframebreaks]
This automatically breaks up the long slide and puts the extra contentonto new slides.+ You don’t have to worry about the length of your slides.
+ Slide title is continued on each subsequent slide from the originalframe.- Most overlay options are not usable.
Ryan Siskind (NCSU) BEAMER October 3, 2007 12 / 21
Slideshow Sections
Loooooong Slides
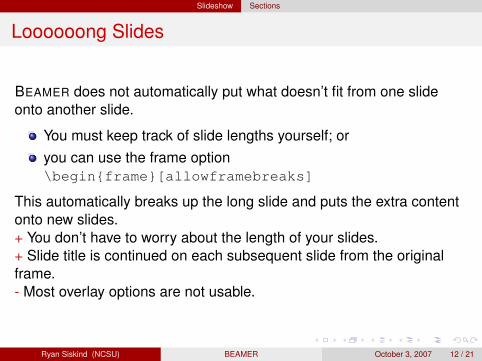
BEAMER does not automatically put what doesn’t fit from one slideonto another slide.
You must keep track of slide lengths yourself; oryou can use the frame option\begin{frame}[allowframebreaks]
This automatically breaks up the long slide and puts the extra contentonto new slides.+ You don’t have to worry about the length of your slides.+ Slide title is continued on each subsequent slide from the originalframe.
- Most overlay options are not usable.
Ryan Siskind (NCSU) BEAMER October 3, 2007 12 / 21
Slideshow Sections
Loooooong Slides
BEAMER does not automatically put what doesn’t fit from one slideonto another slide.
You must keep track of slide lengths yourself; oryou can use the frame option\begin{frame}[allowframebreaks]
This automatically breaks up the long slide and puts the extra contentonto new slides.+ You don’t have to worry about the length of your slides.+ Slide title is continued on each subsequent slide from the originalframe.- Most overlay options are not usable.
Ryan Siskind (NCSU) BEAMER October 3, 2007 12 / 21
Overlays
Why and How Overlays Are Used
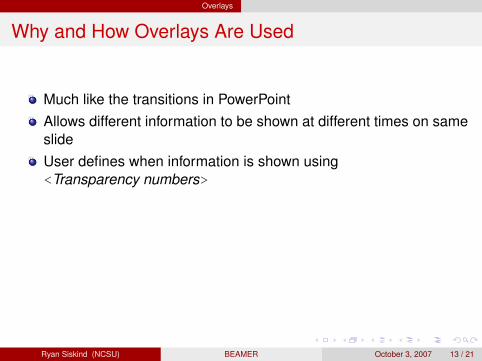
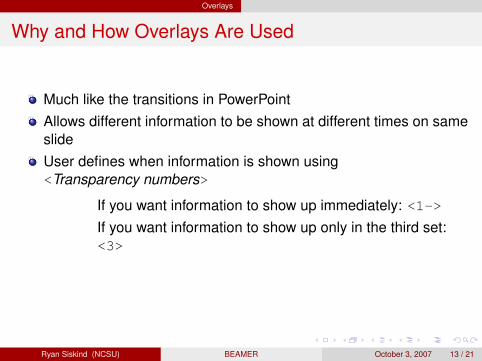
Much like the transitions in PowerPointAllows different information to be shown at different times on sameslideUser defines when information is shown using<Transparency numbers>
If you want information to show up immediately: <1->If you want information to show up only in the third set:<3>
If you want information to show up only in the second andfourth sets: <2,4>
Ryan Siskind (NCSU) BEAMER October 3, 2007 13 / 21
Overlays
Why and How Overlays Are Used
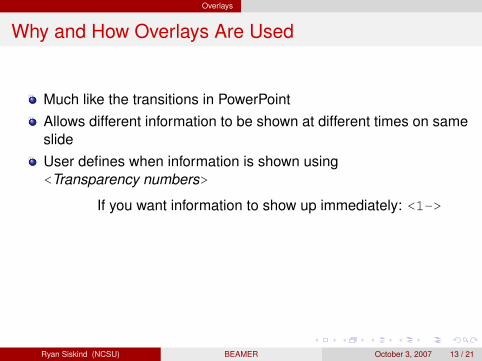
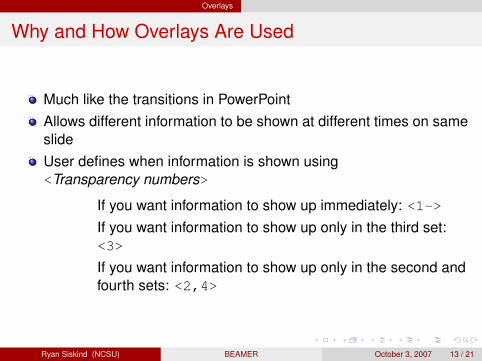
Much like the transitions in PowerPointAllows different information to be shown at different times on sameslideUser defines when information is shown using<Transparency numbers>
If you want information to show up immediately: <1->
If you want information to show up only in the third set:<3>
If you want information to show up only in the second andfourth sets: <2,4>
Ryan Siskind (NCSU) BEAMER October 3, 2007 13 / 21
Overlays
Why and How Overlays Are Used
Much like the transitions in PowerPointAllows different information to be shown at different times on sameslideUser defines when information is shown using<Transparency numbers>
If you want information to show up immediately: <1->If you want information to show up only in the third set:<3>
If you want information to show up only in the second andfourth sets: <2,4>
Ryan Siskind (NCSU) BEAMER October 3, 2007 13 / 21
Overlays
Why and How Overlays Are Used
Much like the transitions in PowerPointAllows different information to be shown at different times on sameslideUser defines when information is shown using<Transparency numbers>
If you want information to show up immediately: <1->If you want information to show up only in the third set:<3>
If you want information to show up only in the second andfourth sets: <2,4>
Ryan Siskind (NCSU) BEAMER October 3, 2007 13 / 21

Overlays
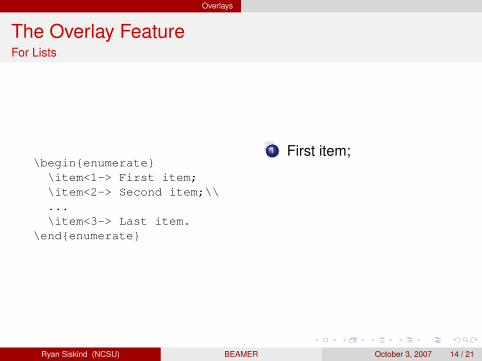
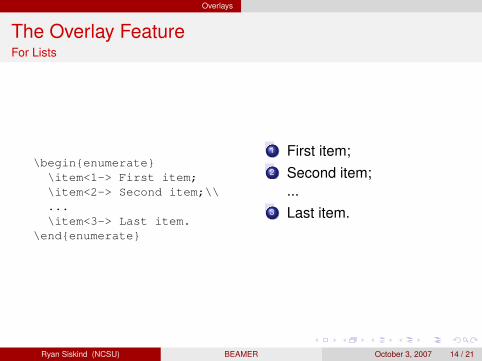
The Overlay FeatureFor Lists
\begin{enumerate}\item<1-> First item;\item<2-> Second item;\\...\item<3-> Last item.
\end{enumerate}
1 First item;2 Second item;
...3 Last item.
Ryan Siskind (NCSU) BEAMER October 3, 2007 14 / 21
Overlays
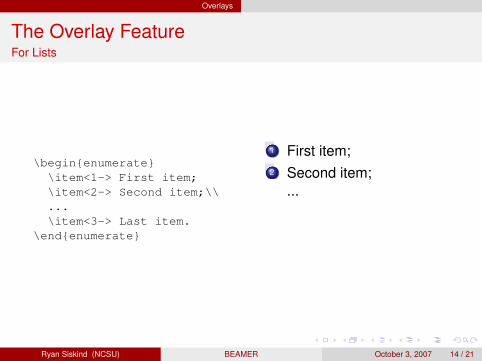
The Overlay FeatureFor Lists
\begin{enumerate}\item<1-> First item;\item<2-> Second item;\\...\item<3-> Last item.
\end{enumerate}
1 First item;
2 Second item;...
3 Last item.
Ryan Siskind (NCSU) BEAMER October 3, 2007 14 / 21
Overlays
The Overlay FeatureFor Lists
\begin{enumerate}\item<1-> First item;\item<2-> Second item;\\...\item<3-> Last item.
\end{enumerate}
1 First item;2 Second item;
...
3 Last item.
Ryan Siskind (NCSU) BEAMER October 3, 2007 14 / 21
Overlays
The Overlay FeatureFor Lists
\begin{enumerate}\item<1-> First item;\item<2-> Second item;\\...\item<3-> Last item.
\end{enumerate}
1 First item;2 Second item;
...3 Last item.
Ryan Siskind (NCSU) BEAMER October 3, 2007 14 / 21
Overlays
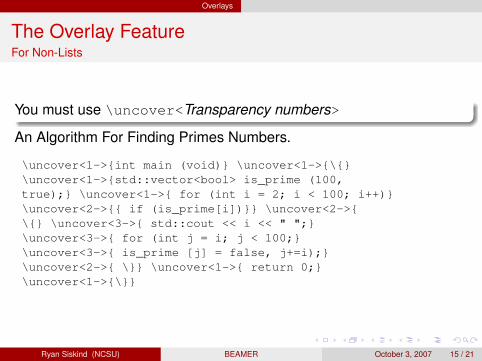
The Overlay FeatureFor Non-Lists
You must use \uncover<Transparency numbers>
An Algorithm For Finding Primes Numbers.
\uncover<1->{int main (void)} \uncover<1->{\{}\uncover<1->{std::vector<bool> is_prime (100,true);} \uncover<1->{ for (int i = 2; i < 100; i++)}\uncover<2->{{ if (is_prime[i])}} \uncover<2->{\{} \uncover<3->{ std::cout << i << " ";}\uncover<3->{ for (int j = i; j < 100;}\uncover<3->{ is_prime [j] = false, j+=i);}\uncover<2->{ \}} \uncover<1->{ return 0;}\uncover<1->{\}}
Ryan Siskind (NCSU) BEAMER October 3, 2007 15 / 21

Overlays
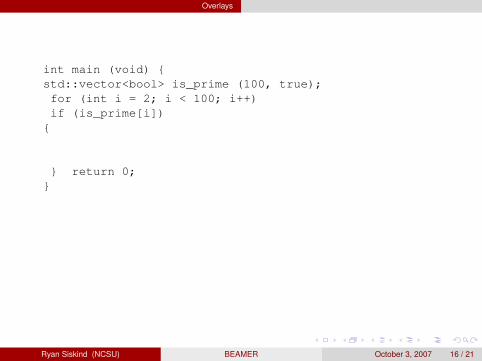
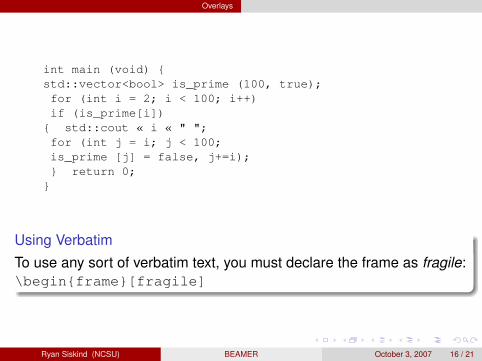
int main (void) {std::vector<bool> is_prime (100, true);for (int i = 2; i < 100; i++)
if (is_prime[i]){ std::cout « i « " ";for (int j = i; j < 100;is_prime [j] = false, j+=i);}
return 0;}
Using Verbatim
To use any sort of verbatim text, you must declare the frame as fragile:\begin{frame}[fragile]
Ryan Siskind (NCSU) BEAMER October 3, 2007 16 / 21
Overlays
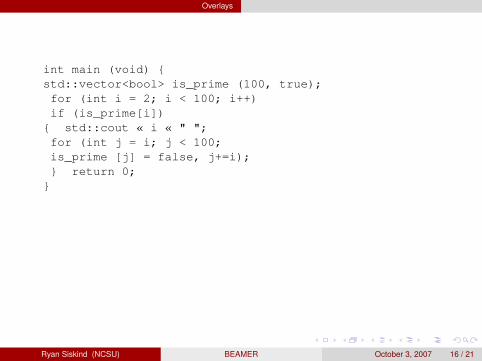
int main (void) {std::vector<bool> is_prime (100, true);for (int i = 2; i < 100; i++)if (is_prime[i])
{
std::cout « i « " ";for (int j = i; j < 100;is_prime [j] = false, j+=i);
} return 0;}
Using Verbatim
To use any sort of verbatim text, you must declare the frame as fragile:\begin{frame}[fragile]
Ryan Siskind (NCSU) BEAMER October 3, 2007 16 / 21
Overlays
int main (void) {std::vector<bool> is_prime (100, true);for (int i = 2; i < 100; i++)if (is_prime[i])
{ std::cout « i « " ";for (int j = i; j < 100;is_prime [j] = false, j+=i);} return 0;
}
Using Verbatim
To use any sort of verbatim text, you must declare the frame as fragile:\begin{frame}[fragile]
Ryan Siskind (NCSU) BEAMER October 3, 2007 16 / 21
Overlays
Ordering the Overlays
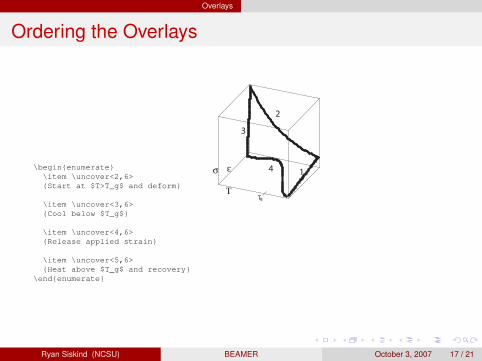
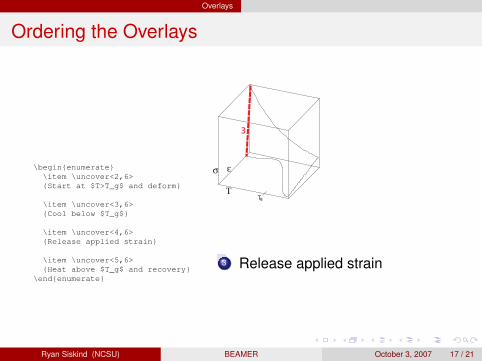
\begin{enumerate}\item \uncover<2,6>{Start at $T>T_g$ and deform}
\item \uncover<3,6>{Cool below $T_g$}
\item \uncover<4,6>{Release applied strain}
\item \uncover<5,6>{Heat above $T_g$ and recovery}
\end{enumerate}
T
es
Tg
4
2
3
1
1 Start at T > Tg and deform2 Cool below Tg
3 Release applied strain4 Heat above Tg and recovery
Ryan Siskind (NCSU) BEAMER October 3, 2007 17 / 21
Overlays
Ordering the Overlays
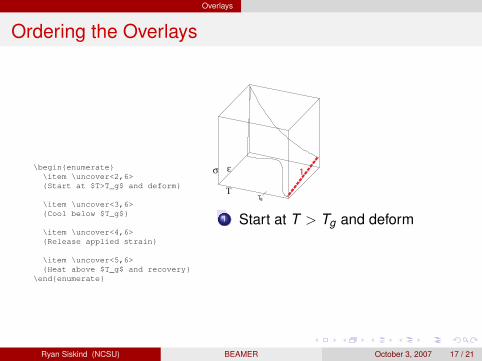
\begin{enumerate}\item \uncover<2,6>{Start at $T>T_g$ and deform}
\item \uncover<3,6>{Cool below $T_g$}
\item \uncover<4,6>{Release applied strain}
\item \uncover<5,6>{Heat above $T_g$ and recovery}
\end{enumerate}
T
es 1
Tg
1 Start at T > Tg and deform
2 Cool below Tg
3 Release applied strain4 Heat above Tg and recovery
Ryan Siskind (NCSU) BEAMER October 3, 2007 17 / 21
Overlays
Ordering the Overlays
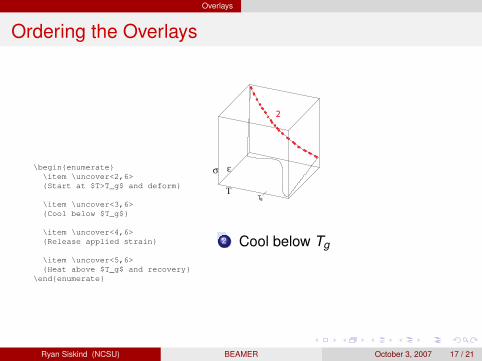
\begin{enumerate}\item \uncover<2,6>{Start at $T>T_g$ and deform}
\item \uncover<3,6>{Cool below $T_g$}
\item \uncover<4,6>{Release applied strain}
\item \uncover<5,6>{Heat above $T_g$ and recovery}
\end{enumerate}
T
es
Tg
2
1 Start at T > Tg and deform
2 Cool below Tg
3 Release applied strain4 Heat above Tg and recovery
Ryan Siskind (NCSU) BEAMER October 3, 2007 17 / 21
Overlays
Ordering the Overlays
\begin{enumerate}\item \uncover<2,6>{Start at $T>T_g$ and deform}
\item \uncover<3,6>{Cool below $T_g$}
\item \uncover<4,6>{Release applied strain}
\item \uncover<5,6>{Heat above $T_g$ and recovery}
\end{enumerate}
T
es
Tg
3
1 Start at T > Tg and deform2 Cool below Tg
3 Release applied strain
4 Heat above Tg and recovery
Ryan Siskind (NCSU) BEAMER October 3, 2007 17 / 21
Overlays
Ordering the Overlays
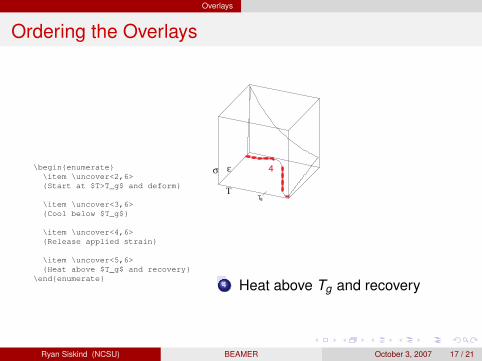
\begin{enumerate}\item \uncover<2,6>{Start at $T>T_g$ and deform}
\item \uncover<3,6>{Cool below $T_g$}
\item \uncover<4,6>{Release applied strain}
\item \uncover<5,6>{Heat above $T_g$ and recovery}
\end{enumerate}
T
es
Tg
4
1 Start at T > Tg and deform2 Cool below Tg
3 Release applied strain
4 Heat above Tg and recovery
Ryan Siskind (NCSU) BEAMER October 3, 2007 17 / 21
Overlays
Ordering the Overlays
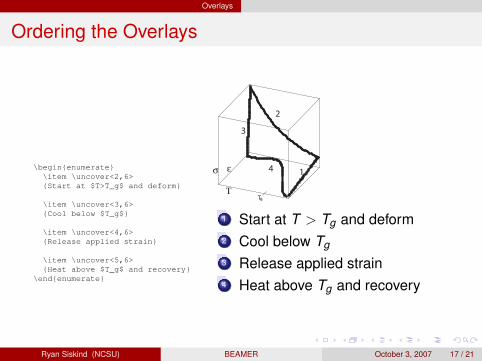
\begin{enumerate}\item \uncover<2,6>{Start at $T>T_g$ and deform}
\item \uncover<3,6>{Cool below $T_g$}
\item \uncover<4,6>{Release applied strain}
\item \uncover<5,6>{Heat above $T_g$ and recovery}
\end{enumerate}
T
es
Tg
4
2
3
1
1 Start at T > Tg and deform2 Cool below Tg
3 Release applied strain4 Heat above Tg and recovery
Ryan Siskind (NCSU) BEAMER October 3, 2007 17 / 21
Overlays
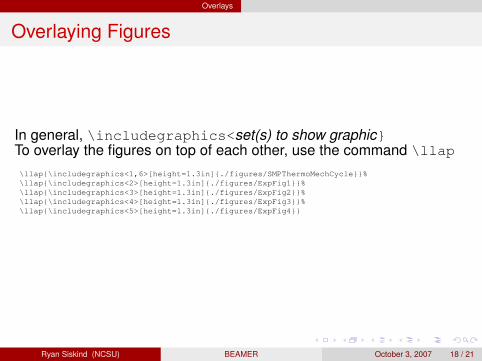
Overlaying Figures
In general, \includegraphics<set(s) to show graphic}To overlay the figures on top of each other, use the command \llap
\llap{\includegraphics<1,6>[height=1.3in]{./figures/SMPThermoMechCycle}}%\llap{\includegraphics<2>[height=1.3in]{./figures/ExpFig1}}%\llap{\includegraphics<3>[height=1.3in]{./figures/ExpFig2}}%\llap{\includegraphics<4>[height=1.3in]{./figures/ExpFig3}}%\llap{\includegraphics<5>[height=1.3in]{./figures/ExpFig4}}
Ryan Siskind (NCSU) BEAMER October 3, 2007 18 / 21
Graphics Figures
Inserting Figures
.eps or .ps filesOnly when using latex and dvips
.pdf, .jpg, .jpeg or .png files
Only when using pdflatex
Ryan Siskind (NCSU) BEAMER October 3, 2007 19 / 21
Graphics Movies
You Can Do Movies Too!
\usepackage{multimedia}
Ryan Siskind (NCSU) BEAMER October 3, 2007 20 / 21