Wind Power Basics OVERVIEW This unit introduces students to the concept of generating electricity...
17
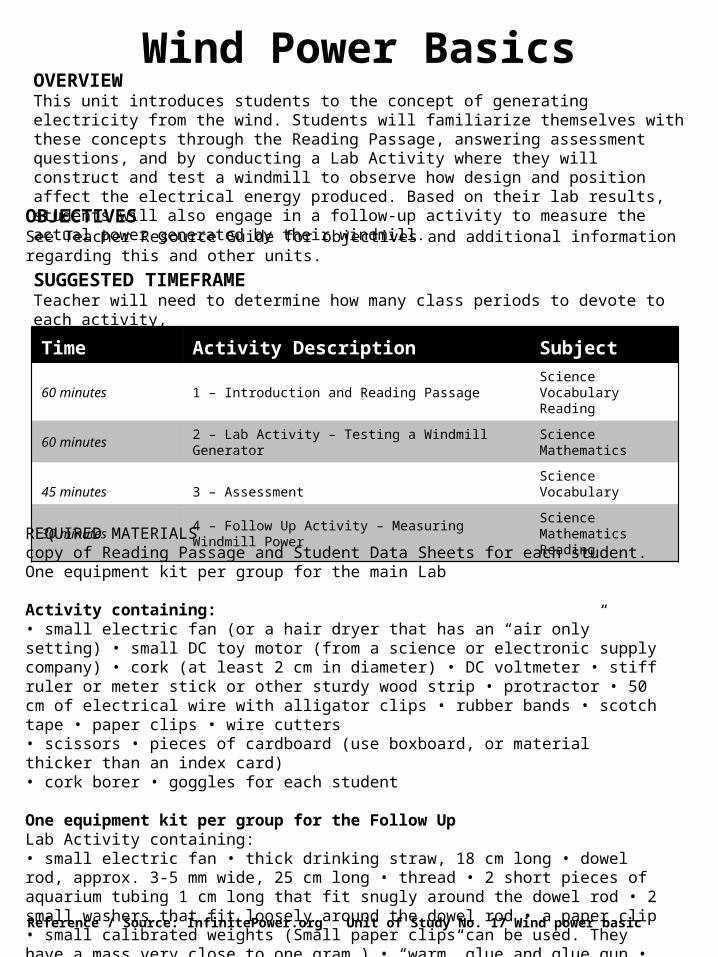
Wind Power Basics OVERVIEW This unit introduces students to the concept of generating electricity from the wind. Students will familiarize themselves with these concepts through the Reading Passage, answering assessment questions, and by conducting a Lab Activity where they will construct and test a windmill to observe how design and position affect the electrical energy produced. Based on their lab results, students will also engage in a follow-up activity to measure the actual power generated by their windmill. OBJECTIVES See Teacher Resource Guide for objectives and additional information regarding this and other units. SUGGESTED TIMEFRAME Teacher will need to determine how many class periods to devote to each activity, Time Activity Description Subject 60 minutes 1 – Introduction and Reading Passage Science Vocabulary Reading 60 minutes 2 – Lab Activity – Testing a Windmill Generator Science Mathematics 45 minutes 3 – Assessment Science Vocabulary 30 minutes 4 – Follow Up Activity – Measuring Windmill Power Science Mathematics Reading REQUIRED MATERIALS copy of Reading Passage and Student Data Sheets for each student. One equipment kit per group for the main Lab Activity containing: • small electric fan (or a hair dryer that has an “air only” setting) • small DC toy motor (from a science or electronic supply company) • cork (at least 2 cm in diameter) • DC voltmeter • stiff ruler or meter stick or other sturdy wood strip • protractor • 50 cm of electrical wire with alligator clips • rubber bands • scotch tape • paper clips • wire cutters • scissors • pieces of cardboard (use boxboard, or material thicker than an index card) • cork borer • goggles for each student One equipment kit per group for the Follow Up Lab Activity containing: • small electric fan • thick drinking straw, 18 cm long • dowel rod, approx. 3-5 mm wide, 25 cm long • thread • 2 short pieces of aquarium tubing 1 cm long that fit snugly around the dowel rod • 2 small washers that fit loosely around the dowel rod • a paper clip • small calibrated weights (Small paper clips can be used. They have a mass very close to one gram.) • “warm” glue and glue gun • Reference / Source: InfinitePower.org Unit of Study No. 17 Wind power basic
-
Upload
delilah-richard -
Category
Documents
-
view
220 -
download
2
Transcript of Wind Power Basics OVERVIEW This unit introduces students to the concept of generating electricity...
Wind Power BasicsOVERVIEWThis unit introduces students to the concept of generating electricity from the wind. Students will familiarize themselves with these concepts through the Reading Passage, answering assessment questions, and by conducting a Lab Activity where they will construct and test a windmill to observe how design and position affect the electrical energy produced. Based on their lab results, students will also engage in a follow-up activity to measure the actual power generated by their windmill.
OBJECTIVESSee Teacher Resource Guide for objectives and additional information regarding this and other units.
SUGGESTED TIMEFRAMETeacher will need to determine how many class periods to devote to each activity,
Time Activity Description Subject
60 minutes 1 – Introduction and Reading PassageScience Vocabulary Reading
60 minutes 2 – Lab Activity – Testing a Windmill Generator Science Mathematics
45 minutes 3 – Assessment Science Vocabulary
30 minutes 4 – Follow Up Activity – Measuring Windmill PowerScience Mathematics Reading
REQUIRED MATERIALScopy of Reading Passage and Student Data Sheets for each student. One equipment kit per group for the main Lab
Activity containing:• small electric fan (or a hair dryer that has an “air only” setting) • small DC toy motor (from a science or electronic supply company) • cork (at least 2 cm in diameter) • DC voltmeter • stiff ruler or meter stick or other sturdy wood strip • protractor • 50 cm of electrical wire with alligator clips • rubber bands • scotch tape • paper clips • wire cutters• scissors • pieces of cardboard (use boxboard, or material thicker than an index card)• cork borer • goggles for each student
One equipment kit per group for the Follow UpLab Activity containing:• small electric fan • thick drinking straw, 18 cm long • dowel rod, approx. 3-5 mm wide, 25 cm long • thread • 2 short pieces of aquarium tubing 1 cm long that fit snugly around the dowel rod • 2 small washers that fit loosely around the dowel rod • a paper clip • small calibrated weights (Small paper clips can be used. They have a mass very close to one gram.) • “warm” glue and glue gun • stopwatch • cork borer
Reference / Source: InfinitePower.org Unit of Study No. 17 Wind power basic
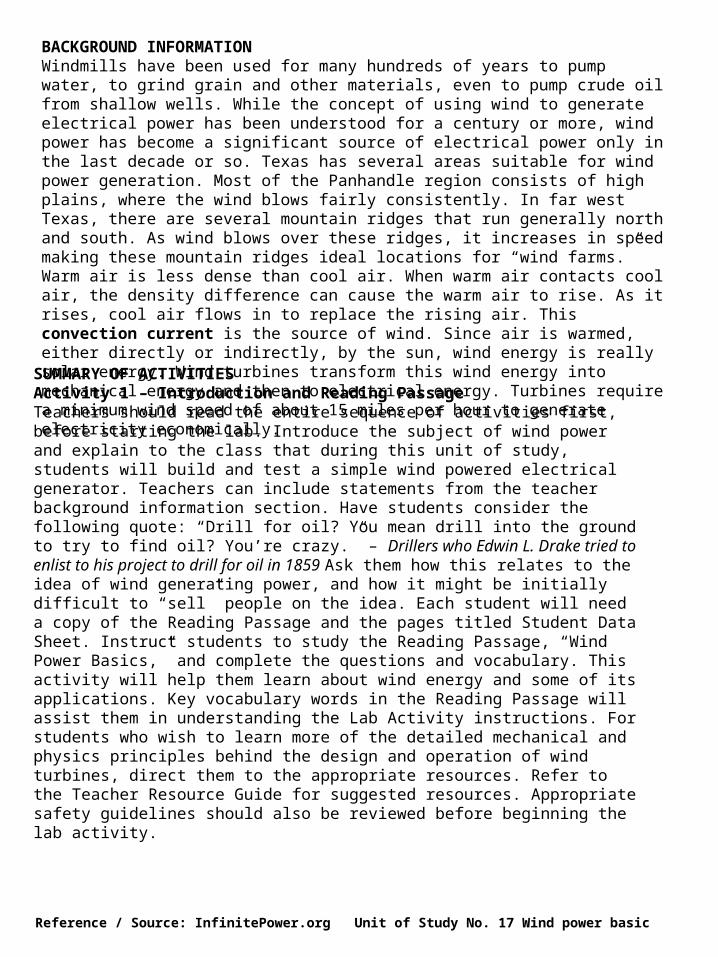
BACKGROUND INFORMATIONWindmills have been used for many hundreds of years to pump water, to grind grain and other materials, even to pump crude oil from shallow wells. While the concept of using wind to generate electrical power has been understood for a century or more, wind power has become a significant source of electrical power only in the last decade or so. Texas has several areas suitable for wind power generation. Most of the Panhandle region consists of high plains, where the wind blows fairly consistently. In far west Texas, there are several mountain ridges that run generally north and south. As wind blows over these ridges, it increases in speed making these mountain ridges ideal locations for “wind farms.” Warm air is less dense than cool air. When warm air contacts cool air, the density difference can cause the warm air to rise. As it rises, cool air flows in to replace the rising air. This convection current is the source of wind. Since air is warmed, either directly or indirectly, by the sun, wind energy is really solar energy. Wind turbines transform this wind energy into mechanical energy and then to electrical energy. Turbines require a minimum wind speed of about 15 miles per hour to generate electricity economically.
SUMMARY OF ACTIVITIESActivity 1 – Introduction and Reading PassageTeachers should read the entire sequence of activities first, before starting the lab. Introduce the subject of wind power and explain to the class that during this unit of study, students will build and test a simple wind powered electrical generator. Teachers can include statements from the teacher background information section. Have students consider the following quote: “Drill for oil? You mean drill into the ground to try to find oil? You’re crazy.” – Drillers who Edwin L. Drake tried to enlist to his project to drill for oil in 1859 Ask them how this relates to the idea of wind generating power, and how it might be initially difficult to “sell” people on the idea. Each student will need a copy of the Reading Passage and the pages titled Student Data Sheet. Instruct students to study the Reading Passage, “Wind Power Basics,” and complete the questions and vocabulary. This activity will help them learn about wind energy and some of its applications. Key vocabulary words in the Reading Passage will assist them in understanding the Lab Activity instructions. For students who wish to learn more of the detailed mechanical and physics principles behind the design and operation of wind turbines, direct them to the appropriate resources. Refer to the Teacher Resource Guide for suggested resources. Appropriate safety guidelines should also be reviewed before beginning the lab activity.
Reference / Source: InfinitePower.org Unit of Study No. 17 Wind power basic
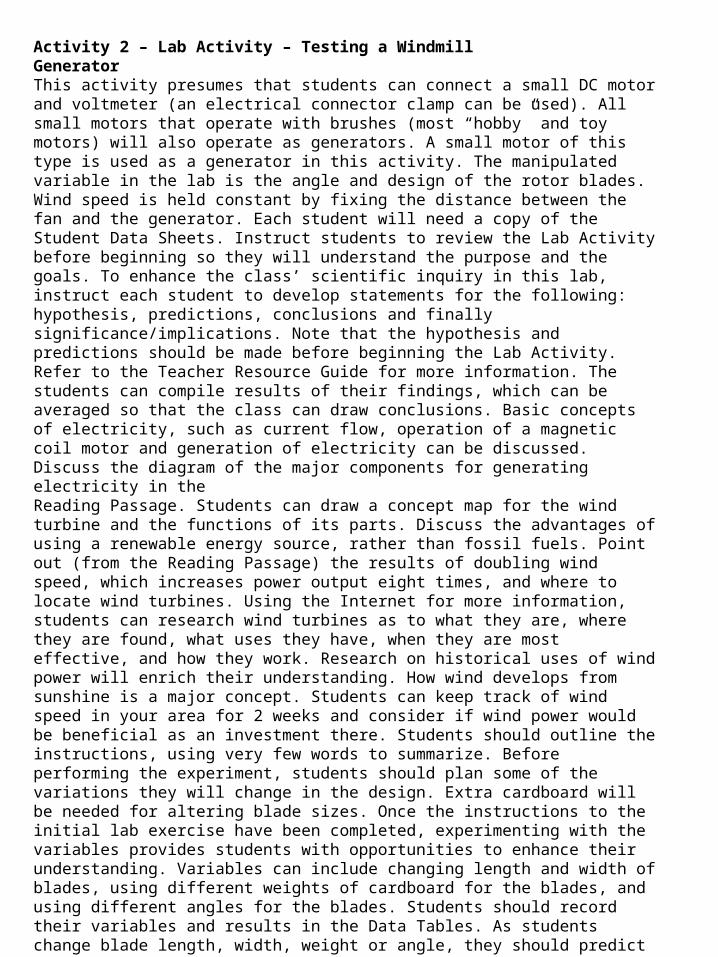
Activity 2 – Lab Activity – Testing a WindmillGeneratorThis activity presumes that students can connect a small DC motor and voltmeter (an electrical connector clamp can be used). All small motors that operate with brushes (most “hobby” and toy motors) will also operate as generators. A small motor of this type is used as a generator in this activity. The manipulated variable in the lab is the angle and design of the rotor blades. Wind speed is held constant by fixing the distance between the fan and the generator. Each student will need a copy of the Student Data Sheets. Instruct students to review the Lab Activity before beginning so they will understand the purpose and the goals. To enhance the class’ scientific inquiry in this lab, instruct each student to develop statements for the following: hypothesis, predictions, conclusions and finally significance/implications. Note that the hypothesis and predictions should be made before beginning the Lab Activity. Refer to the Teacher Resource Guide for more information. The students can compile results of their findings, which can be averaged so that the class can draw conclusions. Basic concepts of electricity, such as current flow, operation of a magnetic coil motor and generation of electricity can be discussed. Discuss the diagram of the major components for generating electricity in theReading Passage. Students can draw a concept map for the wind turbine and the functions of its parts. Discuss the advantages of using a renewable energy source, rather than fossil fuels. Point out (from the Reading Passage) the results of doubling wind speed, which increases power output eight times, and where to locate wind turbines. Using the Internet for more information, students can research wind turbines as to what they are, where they are found, what uses they have, when they are most effective, and how they work. Research on historical uses of wind power will enrich their understanding. How wind develops from sunshine is a major concept. Students can keep track of wind speed in your area for 2 weeks and consider if wind power would be beneficial as an investment there. Students should outline the instructions, using very few words to summarize. Before performing the experiment, students should plan some of the variations they will change in the design. Extra cardboard will be needed for altering blade sizes. Once the instructions to the initial lab exercise have been completed, experimenting with the variables provides students with opportunities to enhance their understanding. Variables can include changing length and width of blades, using different weights of cardboard for the blades, and using different angles for the blades. Students should record their variables and results in the Data Tables. As students change blade length, width, weight or angle, they should predict whether the amount of voltage will increase or decrease. Students can share and compare the variables they used and the effects on electricity generation.
Safety Precautions: Emphasize to the class safety precautions when taking current and voltage readings using volt- and ammeters. Use either meter leads that have alligator clips on the ends, or attach insulated alligator clips to the wire ends that come into contact with the meter leads. Students should never touch any bare or exposed metal in a circuit that is generating electricity (i.e. meter leads, bare wire, etc.). Safety instructions should be reviewed. Voltmeter readings should be taken safely. For example, attach insulated alligator clips on the ends of the wire to safely clip on to the voltmeter leads. Discuss safety procedures for using the fan.
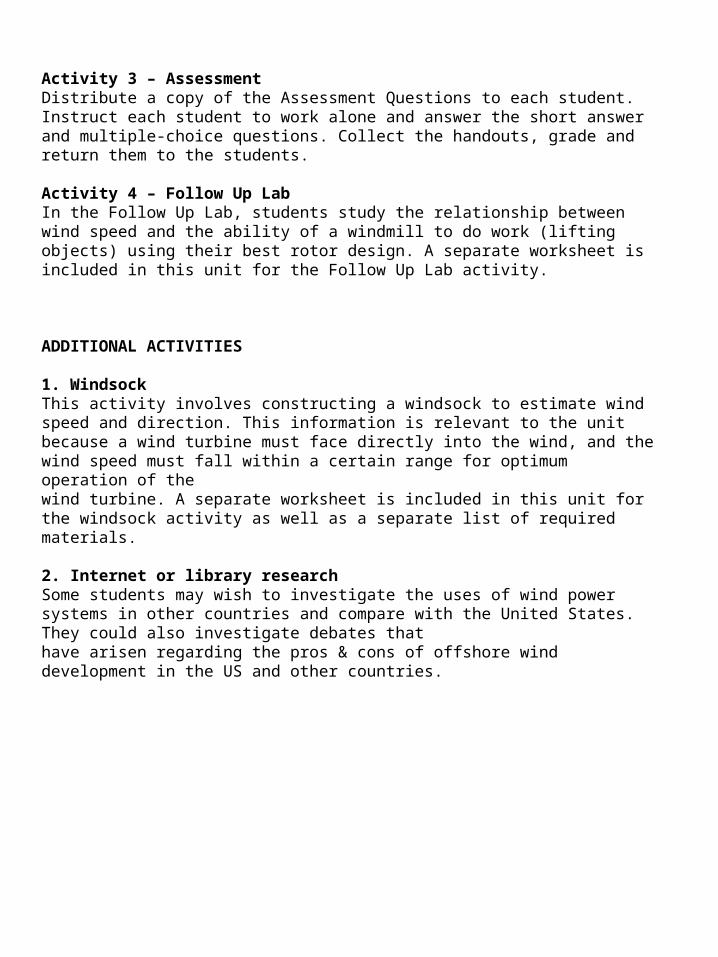
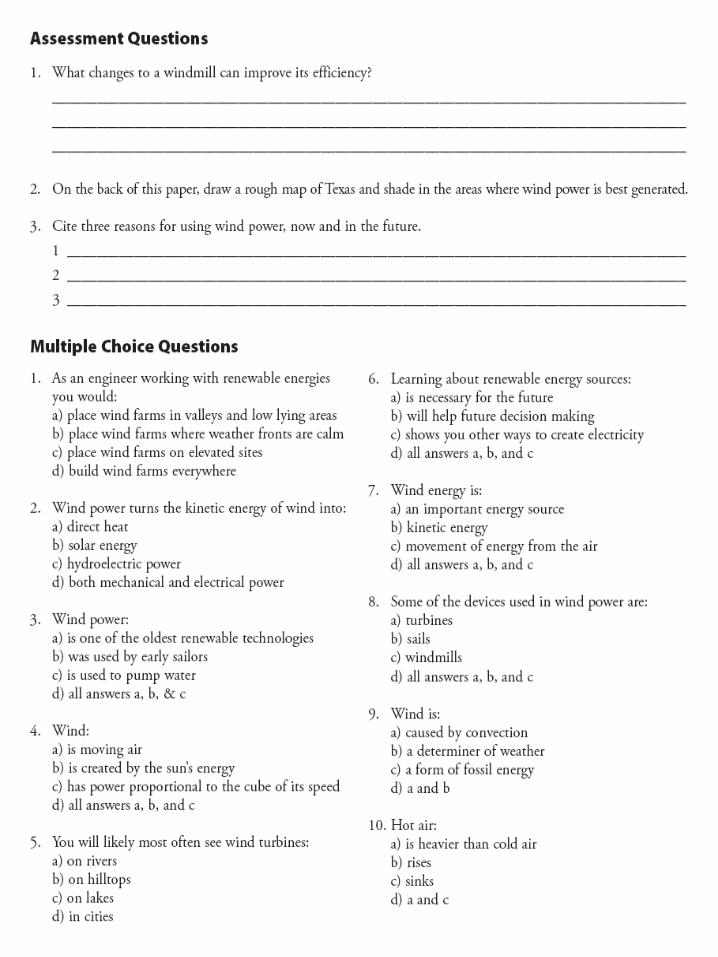
Activity 3 – AssessmentDistribute a copy of the Assessment Questions to each student. Instruct each student to work alone and answer the short answer and multiple-choice questions. Collect the handouts, grade and return them to the students.
Activity 4 – Follow Up LabIn the Follow Up Lab, students study the relationship between wind speed and the ability of a windmill to do work (lifting objects) using their best rotor design. A separate worksheet is included in this unit for the Follow Up Lab activity.
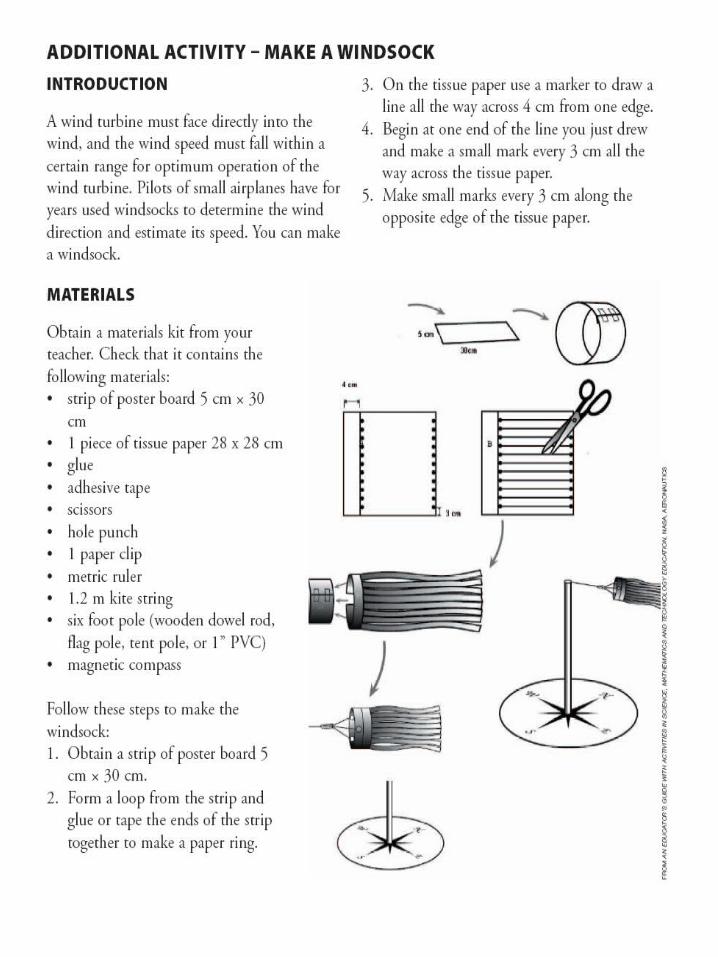
ADDITIONAL ACTIVITIES
1. WindsockThis activity involves constructing a windsock to estimate wind speed and direction. This information is relevant to the unit because a wind turbine must face directly into the wind, and the wind speed must fall within a certain range for optimum operation of thewind turbine. A separate worksheet is included in this unit for the windsock activity as well as a separate list of required materials.
2. Internet or library researchSome students may wish to investigate the uses of wind power systems in other countries and compare with the United States. They could also investigate debates thathave arisen regarding the pros & cons of offshore wind development in the US and other countries.

Reading PassageWind Power Basics
HIGHLIGHTS• Wind power is one of the oldest renewable technologies• As wind speed doubles, power generation capability increases eightfold• Higher is better: hilltops and tall towers lead to greater energy production
INTRODUCTIONWhat creates wind? Wind is created from differences between higher pressure and lower pressure caused by unequal heating and cooling of the Earth and atmosphere. Air always tries to flow from higher to lower pressure until the pressures are equalized. The greater the difference in pressure between two points, the faster the wind speed will be. Other things such as mountains and valleys can affect the wind as well. Humans have been harnessing the wind ever since farmers in ancient Persia figured out how to use wind power to pump water. Wind power turns the kinetic energy of the wind into mechanical or electrical power than can be used for a variety of tasks. Whether the task is creating electricity or pumping water, the wind offers an inexpensive, clean and reliable form of power.
WIND ON THE WATERWhether powering sailboats across thesurface of the water or pumping waterfrom one location to another, the wind isa good source of power. Wind providedearly explorers with the engine theyneeded to cross oceans and discovernew lands. On land, the oldest and mostwidespread use of wind power is forpumping water. In virtually every countryon Earth, humans are using wind powerto either pump water from the groundor move it from one location to another.Here in Texas, where more than 80,000windmills are in use, rural residentshave long relied on windmills to providewater for livestock and human use.
THE HOWS AND WHYS OF WIND POWERWind is moving air. The engine that drives this movement is the sun. A good illustration is the sea breeze that blows along the Texas Gulf coast. As the coastal land soaks up sunshine, the air above it heats up and rises. Air over the cooler ocean water then rushes inland. The result is a very dependable wind source suitable for making anything from electricity to windsurfing. Although modern wind turbines can produce some electricity in light winds, the stronger the breeze the better. The power available in the wind is proportional to the cube of its speed. That means that if the wind speed doubles, say from 10 to 20 miles per hour, the power available to a wind generator increases by a factor of eight, for instance from 1,000 Watts to 8,000 Watts. One easy way to access higher wind speeds is simply to go higher above ground level. Winds high above the ground are stronger than winds near the ground. On average a five-fold increase in elevation, say raising the height of the wind machine from 10 feet to 50 feet, will result in twice as much availablewind power. That’s why wind turbines are perched on tall towers and are often located on mountains or hilltops. Given the need for strong winds, finding the best sites for commercial wind farms is critical. The location of power plants fueled by wind should be near existing power lines and in the windiest sites available. To compete head-to-head with fossil fuel generating technologies, wind turbines arebest located in areas where wind speeds are 16-20 mph at 50 m height. In Texas, the best locales are found in far west Texas and the Texas Panhandle. Air temperature is also an important factor in wind power generation. Cold air is denser than hot air. Thus, wind turbines are able to generate about 5% more power at any given wind speed in the winter than theyare during the hot days of summer.MAKING WATTS FROM WINDThe blades on a wind turbine are similar to the propeller blades on an airplane. The rotor blades generate lift from the passing wind, causing them to rotate the hub of the turbine. The rotating action of the hub then turns a generator, which creates electricity. A gearbox is generally necessary to optimize the power output from the machine. That power is then either fed into the electric grid or stored in batteries for use on-site. While wind speed is important, so is the size of the rotor. On a turbine, the power available to the blades is proportional to the square of the diameter of the rotor. In other words, simply by making the turbine blades twice as long and beefing up the generator, you increase the power producing capability of the turbine by a factor of four. Modern wind turbines come in two varieties: horizontal axis and vertical axis. Horizontal axis turbines have blades that spin on an axis that is parallel to the ground. These systems often look like the propeller on an airplane. Vertical axis systems have blades that spin on a vertical axis giving them an appearance somewhat likegiant eggbeaters. Although large utilities are getting the most attention for their move into wind power, rural residents in all 50 states and dozens of foreign countries have quietly been installing small-scale wind generation systems. These systems can be obtained for as little as $1,000 and are perfect compliments to solar photovoltaic systems. Several vendors sell ready-made towers and turbines that are easily installed.

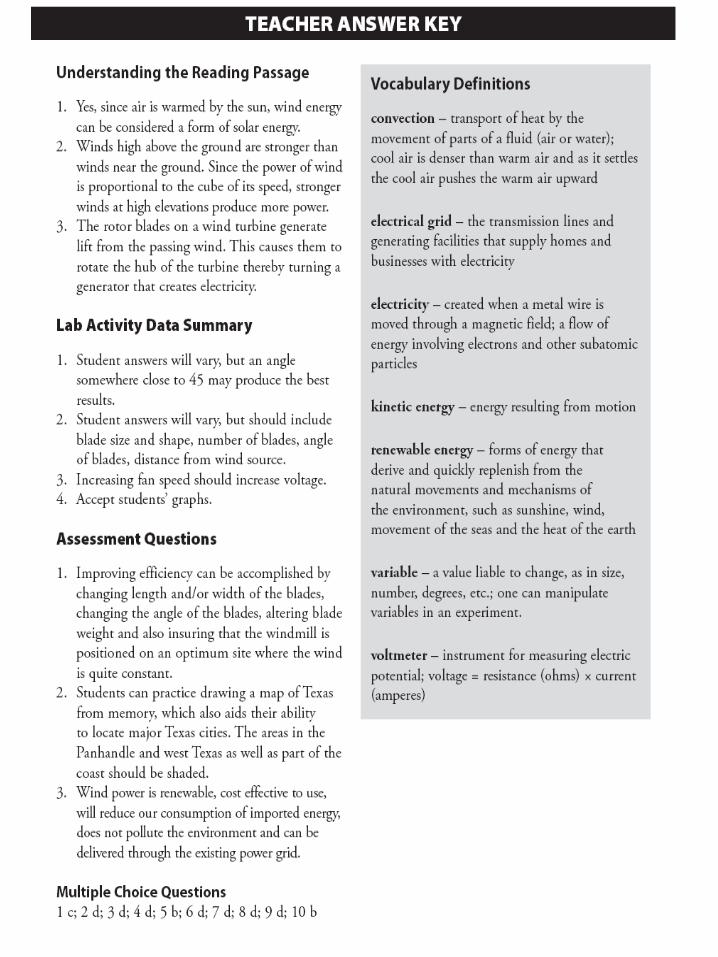
Understanding the Reading Passage
1. Should wind energy be considered a form of solar energy?
________________________________________________________________________
________________________________________________________________________
2. Why does a five-fold increase in elevation result in more wind power?
________________________________________________________________________
________________________________________________________________________
3. How does a wind turbine create electricity?
________________________________________________________________________
________________________________________________________________________
VocabularyBased on the Reading Passage, write down your understanding of these words or word pairs and verify your definitions in a dictionary, on the Internet if available or with your teacher:
Convection_______________________________________________________________
electrical grid_____________________________________________________________
electricity ________________________________________________________________
kinetic energy ____________________________________________________________
renewable energy _________________________________________________________
variable _________________________________________________________________
voltmeter ________________________________________________________________
Student Data Sheet
LAB ACTIVITY – TESTING A WINDMILL GENERATOR
Student Data Sheet
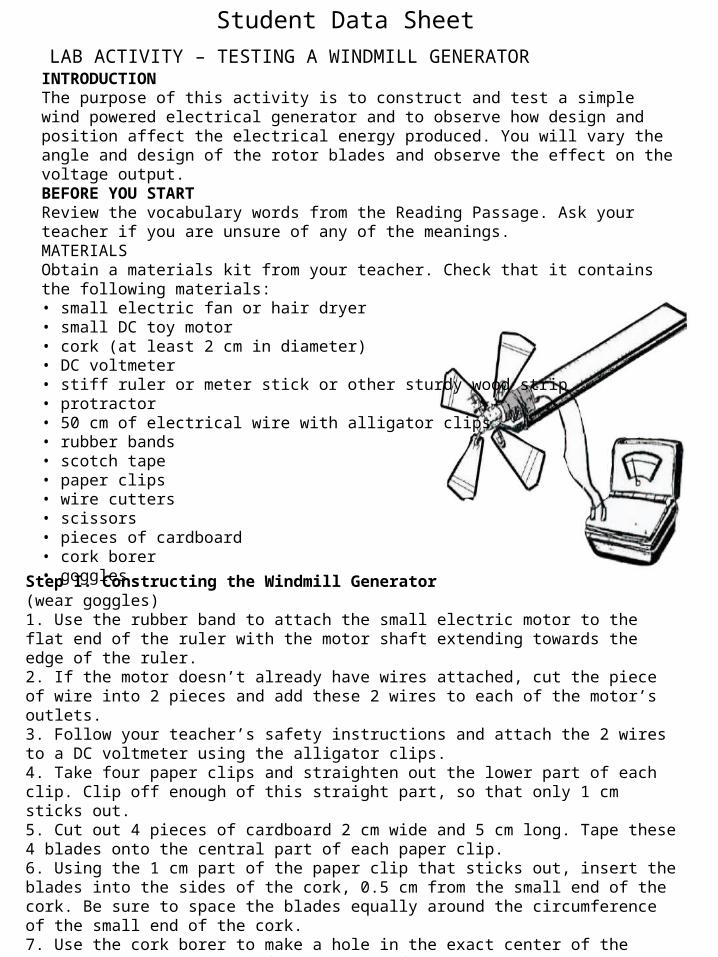
INTRODUCTIONThe purpose of this activity is to construct and test a simple wind powered electrical generator and to observe how design and position affect the electrical energy produced. You will vary the angle and design of the rotor blades and observe the effect on thevoltage output.BEFORE YOU STARTReview the vocabulary words from the Reading Passage. Ask your teacher if you are unsure of any of the meanings.MATERIALSObtain a materials kit from your teacher. Check that it containsthe following materials:• small electric fan or hair dryer• small DC toy motor• cork (at least 2 cm in diameter)• DC voltmeter• stiff ruler or meter stick or other sturdy wood strip• protractor• 50 cm of electrical wire with alligator clips• rubber bands• scotch tape• paper clips• wire cutters• scissors• pieces of cardboard• cork borer• goggles
Step I. Constructing the Windmill Generator(wear goggles)1. Use the rubber band to attach the small electric motor to the flat end of the ruler with the motor shaft extending towards the edge of the ruler.2. If the motor doesn’t already have wires attached, cut the piece of wire into 2 pieces and add these 2 wires to each of the motor’s outlets.3. Follow your teacher’s safety instructions and attach the 2 wires to a DC voltmeter using the alligator clips.4. Take four paper clips and straighten out the lower part of each clip. Clip off enough of this straight part, so that only 1 cm sticks out.5. Cut out 4 pieces of cardboard 2 cm wide and 5 cm long. Tape these 4 blades onto the central part of each paper clip.6. Using the 1 cm part of the paper clip that sticks out, insert the blades into the sides of the cork, 0.5 cm from the small end of the cork. Be sure to space the blades equally around the circumference of the small end of the cork.7. Use the cork borer to make a hole in the exact center of the large cork end, which is furthest away from the wind blades. Make this hole slightly smaller than the motor shaft. Slide the cork onto the motor shaft. It should be tight enough so that the cork does not slip. If the cork does slip, use a small amount of rubber cement to hold it in place.

Step II. Performing the Experiment(wear goggles)
1. Set the blades in the cork to a 45° angle to the flat plane of the edge of the ruler (use protractor to position the angle). Place the windmill 30 cm away from the fan or hair dryer (your distance may vary depending on the strength of the wind source). Turn on the fan. Measure the voltage produced. Rotate the blades of the windmill to angles of 15°, 30° and 60° (use protractor for guidance) to see which angle produces the greatest voltage.
2. Design your own set of wind blades, discussing with your lab partner(s) which size and shape, and what number of blades, will work best. Attach these new blades to the motor and try adjusting them at various angles to produce the greatest voltage. Place the windmill at the same distance from the wind source. Measure the voltage again. Place all of your measurements in the Data Tables.
3. Determine the most efficient blade size, shape, and angle. Using this combination, explore how wind speed affects the amount of electricity produced by changing the fan speeds. (Be careful to keep the windmill at the same distance each time.) Record your measurements in the Data Tables. Discuss with your teacher other variables you might use.
Step III. Data SummaryComplete the data analysis by recording your measurements and answering the questions.
Student Data Sheet
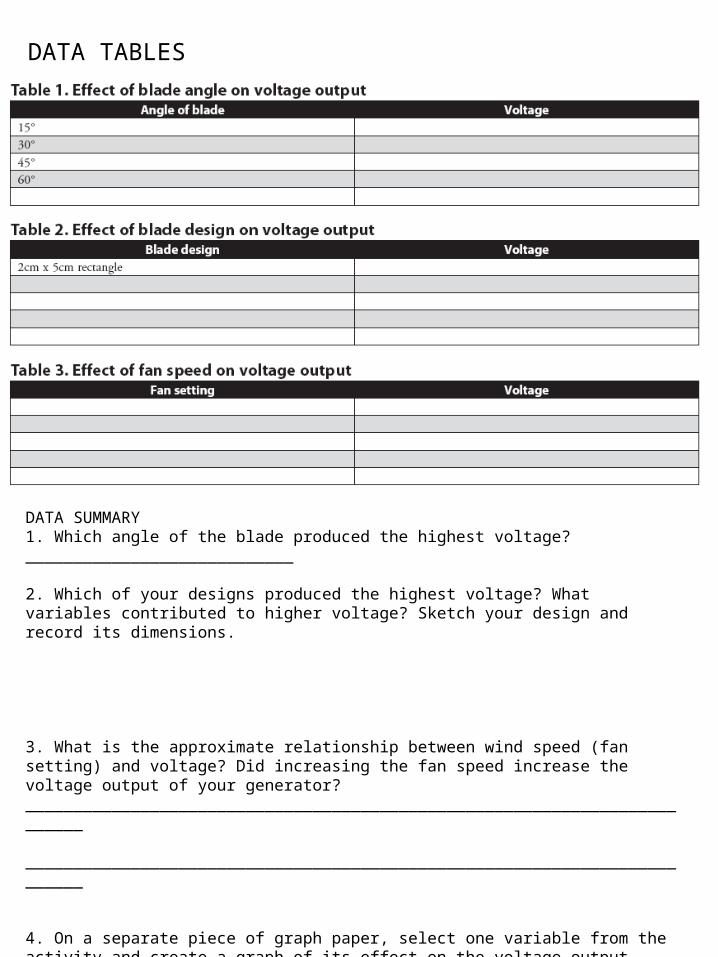
DATA TABLES
DATA SUMMARY1. Which angle of the blade produced the highest voltage?____________________________
2. Which of your designs produced the highest voltage? What variables contributed to higher voltage? Sketch your design and record its dimensions.
3. What is the approximate relationship between wind speed (fan setting) and voltage? Did increasing the fan speed increase the voltage output of your generator? __________________________________________________________________________
__________________________________________________________________________
4. On a separate piece of graph paper, select one variable from the activity and create a graph of its effect on the voltage output. __________________________________________
__________________________________________________________________________
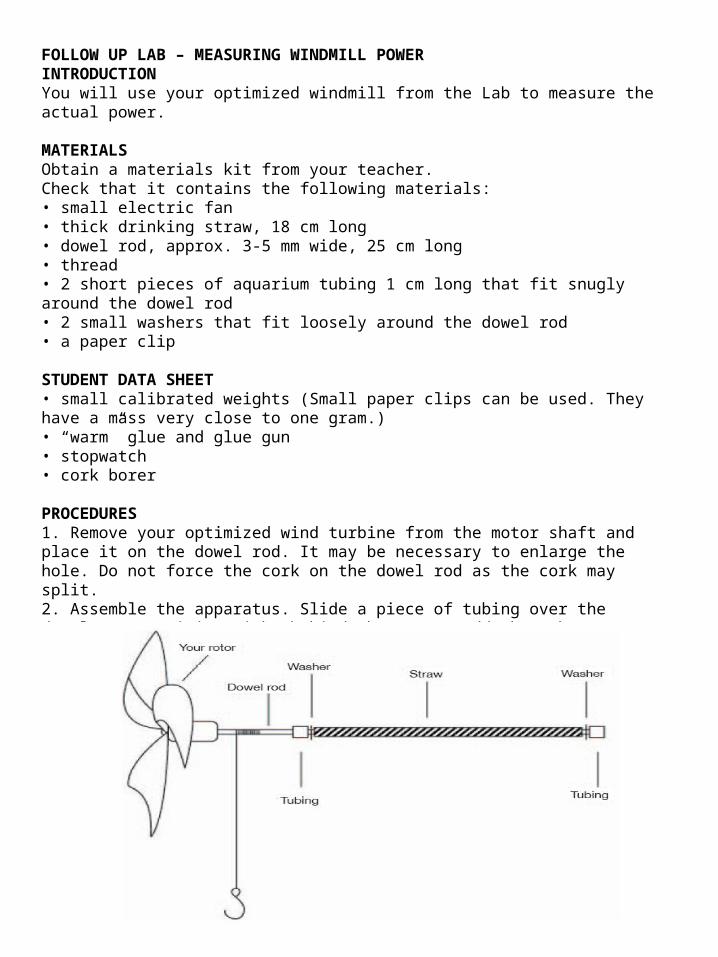
FOLLOW UP LAB – MEASURING WINDMILL POWERINTRODUCTIONYou will use your optimized windmill from the Lab to measure the actual power.
MATERIALSObtain a materials kit from your teacher.Check that it contains the following materials:• small electric fan• thick drinking straw, 18 cm long• dowel rod, approx. 3-5 mm wide, 25 cm long• thread• 2 short pieces of aquarium tubing 1 cm long that fit snugly around the dowel rod• 2 small washers that fit loosely around the dowel rod• a paper clip
STUDENT DATA SHEET• small calibrated weights (Small paper clips can be used. They have a mass very close to one gram.)• “warm” glue and glue gun• stopwatch• cork borer
PROCEDURES1. Remove your optimized wind turbine from the motor shaft and place it on the dowel rod. It may be necessary to enlarge the hole. Do not force the cork on the dowel rod as the cork may split.2. Assemble the apparatus. Slide a piece of tubing over the dowel to a position right behind the rotor. Add the other parts in this order: washer, drinking straw, the second washer and the other piece of tubing. Check to make sure the rotor and dowel
spin freely inside the straw. The rotor must turn the dowel, not spin on the shaft. Use a small amount of rubber cement or warm glue to attach the cork to the dowel if necessary.
3. Use the warm glue to attach the thread to the dowel. Bend the paper clip to form a hook and tie it to the end of the string.
4. Hang five small weights from the paper clip and turn on the fan. Hold the rotor assembly by the straw in front of the fan the same distance as in the laboratory portion of this activity.
5. Experiment with the number of weights until your rotor lifts the weights from the floor to the dowel in about five seconds.
6. When everything seems to be working, use the stopwatch to measure the time required to lift the weight from the floor to the dowel. Record your measurement. Repeat five times. Calculate the average time.
CALCULATIONS1. Calculate the power output of your rotor assembly. Convert mass to kilograms: Weight in grams × 0.001 = weight in kilograms
2. Calculate work: Work = mass × height × 9.8 m/s²
3. Calculate power output: Power = work/time