Radiography of Patients with Special Needs...Radiography of Patients with Special Needs Veronika...
19
Radiography of Patients with Special Needs Veronika Stiles, RDH University of Michigan June 16, 2009
Transcript of Radiography of Patients with Special Needs...Radiography of Patients with Special Needs Veronika...
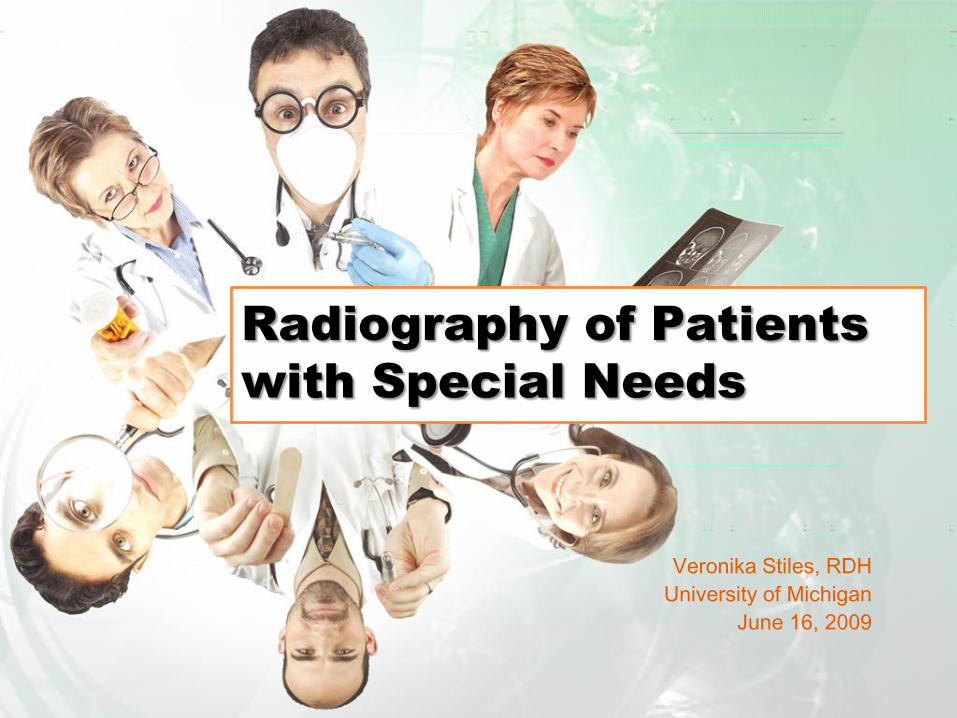
Radiography of Patients
with Special Needs
Veronika Stiles, RDH
University of Michigan
June 16, 2009

Introduction
• Various special needs exist
• RDH must be competent to alter
techniques

Patients with gag reflex
• Confident attitude
• Patience, tolerance, &
understanding
• Key: limit amount of time
• Prepare patient & equipment
ahead of time
• Start with anterior exposures
• Then, premolar shot before
molar
• Maxillary molar films must be
exposed last

Patients with Gag Reflex:
Film Placement & Technique
• Each film must be placed and
exposed as quickly as possible
• Avoid the palate
• Demonstrate film placement to
the patient
• Never suggest gagging
• Suggest deep breathing through
the nose
• Try to distract patient
• Reduce tactile stimuli (ice H2O,
salt, topical anesthetic)

Patients with Physical
Disabilities
A. Vision impairment:
communicate using clear verbal
explanations
B. Hearing impairment:
Gestures
Written instructions
Ask caretaker for assistance
C. Mobility impairment:
Assist the patient in transfer
Ask caretaker for assistance

Patients with Developmental
Disabilities
• Examples: autism, cerebral
palsy, epilepsy, mental
retardation
• Coordination problems: mild
sedation
• Comprehension problems: ask
for assistance
• If the patient cannot tolerate IO
films No intraoral films must
be exposed
• Alternative: Panoramic X-Ray

Pregnant Patients
• Lead apron with thyroid collar is
required
• Some clinicians double-lead
abdomen area
• Some offices require you to
check with M.D.
• Dental X-Rays might not be
permitted per M.D.

Pediatric Patients
• Follow KCC prescribing
guidelines
• Explain procedure:
– Tubehead = camera
– Lead apron = coat
– Radiograph = picture
• Exposure factors must be
reduced
• Size 0 = primary dentition;
Size 1 = mixed dentition;
Size 2 = mainly for occlusal
radiographs

Edentulous Patients
• Why radiographs are necessary?
– To detect presence of root
tips, impacted teeth, and
lesions;
– To identify objects embedded
in bone;
– To observe the quantity and
quality of bone that is present

Pediatrics: Helpful Hints
• Show and tell
• Demonstrate behavior
• Request assistance if needed
from a parent
• Postpone examination if child is
too scared

Panoramic Exam of
Edentulous Patient
• Panoramic x-ray is the most
common way
• If PAN reveals something, then
PA must be taken
©2000 W. B. Saunders Company
©2000 W. B. Saunders Company

Periapical Examination of
Edentulous Patient
• If PAN is not available, then 14
PAs
• PAs must be exposed in all
teeth-bearing areas
• PA = size 2 film
• If II tech. is used, put cotton rolls
on 2 sides of bite-block
• The film should be positioned so
that 1/3 of it extends beyond
edentulous ridge
• Could also use bisecting
technique
©2000 W. B. Saunders Company
©2000 W. B. Saunders Company

Occlusal and Periapical
Examination
©2000 W. B. Saunders Company

Patients with Tori
• When taking BWs,
Place the film b/w tori & tongue
• With large tori, BW holder is
recommended
• When taking PAs using II
technique,
For max. tori, place film on the
far side of tori
For mand. tori, place film b/w tori
and tongue
© 2000 Martin Spiller

Patients with Missing Teeth
& Shallow Palate
Missing teeth:
• Use cotton rolls to “replace”
missing tooth
• Helps to position the film parallel
to long axis
Shallow palate:
• If the lack of parallelism is > 20,
then
– Use 2 cotton rolls one placed
on each side of bite-block
– Vertical angulation can be
increased by 5-15 degrees

Ankyloglossia
• Mobility of tongue is very limited
• The film is placed on the tongue
for anterior films
©2000 Martin Spiller

EndoRay
• Aids in positioning the film during
RCT
• Fits around rubber dam clamp
• Allows space for RCT
instruments & filling material
• Use paralleling technique to
avoid distortion
©2009 Patterson Dental

References
1. Haring JI, Jansen L. Dental
Radiography Principles and
Techniques. 2nd ed. Philadelphia:
W. B. Saunders Company; 2000.