PINNACLE Studio User Guide - National University of … · PINNACLE Studio User Guide . Note: •...
16
PINNACLE Studio User Guide Note: • Please connect all necessary cable to the PINNACLE USB or Breakout box first before lanuching the application. • Please ensure that there is audio before any recording. Front side of PINNACLE USB for Input Rear side of PINNACLE USB for output
Transcript of PINNACLE Studio User Guide - National University of … · PINNACLE Studio User Guide . Note: •...

PINNACLE Studio User Guide Note:
• Please connect all necessary cable to the PINNACLE USB or Breakout box first before lanuching the application.
• Please ensure that there is audio before any recording.
Front side of PINNACLE USB for Input Rear side of PINNACLE USB for output

Breakout Box for PINNACLE PCI internal, the breakout box are for the input

Firewire cable for camcorder to PINNACLE Inputs
RCA cable for VHS or camcorder that have RCA outputs to PINNACLE Inputs

1. Click Pinnacle studio 12 icon to launch the application

2. After the application launched, you should see the screen below, the layout maybe different from what you see here as the application will save the last usage layout, but do not worry the usage still the same.

3. To start video capturing click on the tab “Capture” 4. As shown in the screen shot below

5. Once you click the “Capture” tab, you will see the screen below 6. Chose the tab that you needed, for using camcorder or the VHS click on the tab as highlighted below.

7. If you encounter the error as shown below, do not worry 8. Just hit the “Esc” button

9. After you click the “Esc” 10. Just click the “Setting” button as shown in the screen shot below

11. After you click the “Setting” button 12. You will see the screen below, and click the tab “Capture Source” as shown in the screen shot below 13. And chose “Pinnacle 710-USB” when you are using VHS player, and chose “DV Camcorder” when you are using a DV camcorder.

14. After you chose the source as “Pinnacle 710-USB” 15. You will see the screen as shown below, and you can start capturing your video 16. Click on the green “Start Capture” button to start capture your video 17. Before you click “Start Capture” PLEASE REMEMBER to play your video at the VHS player first.

18. After you chose the source as “DV Camcorder” 19. You will see the screen as shown below, and you can start capturing your video 20. You can use the control shown in the picture to control the rewind/forward/playback 21. You also can chose the capture format from the control, “DV capture” or “MPEG capture” 22. Before you click “Start Capture” PLEASE REMEMBER to play your video on the camcorder using the control as shown in the picture.
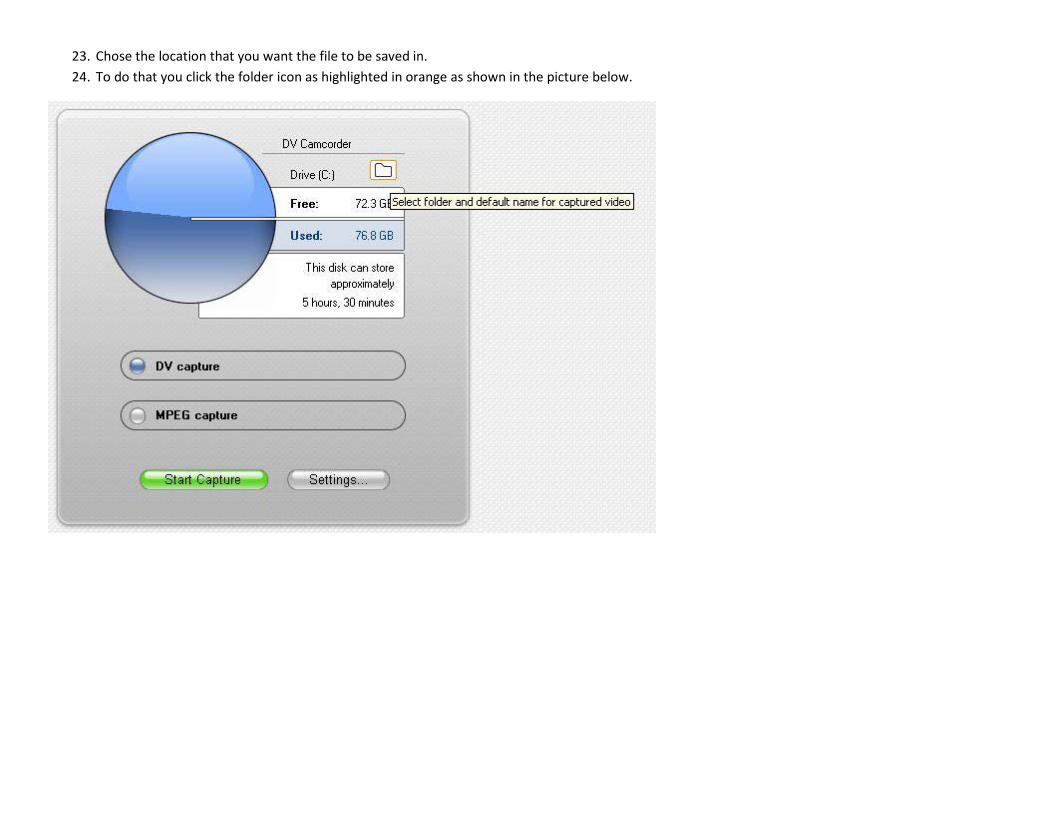
23. Chose the location that you want the file to be saved in. 24. To do that you click the folder icon as highlighted in orange as shown in the picture below.

25. After you capture the video, you may want to view it 26. To view the video that you have capture, select the clip that you want to preview on the left side as shown highlighted in orange. 27. And click the playback button on the right window, as shown highlighted in orange as shown in the picture below. 28. You may have multiple clip shown in the left side window, but you only will have a single file, as the clip shown in the picture below are just partial of the
whole video you have capture.

29. To find the file location, you can click the folder icon as highlighted in orange as shown in the picture below

30. And the following window will pop out showing the file location, that you have specify in steps 24.