PCBVac-Dry, wet or hot vacuum tool for PCB rework
13
BEST PCBVac™ User’s Guide Revision 0.1 December 30, 2013 Page 1 PCBVac-Dry, wet or hot vacuum tool for PCB rework User’s Guide www.solder.net BEST Inc (847)797-9250 3603 Edison Place Rolling Meadows IL 60008 [email protected]
-
Upload
bob-wettermann -
Category
Technology
-
view
25 -
download
2
Transcript of PCBVac-Dry, wet or hot vacuum tool for PCB rework
BEST PCBVac™ User’s Guide Revision 0.1 December 30, 2013 Page 1
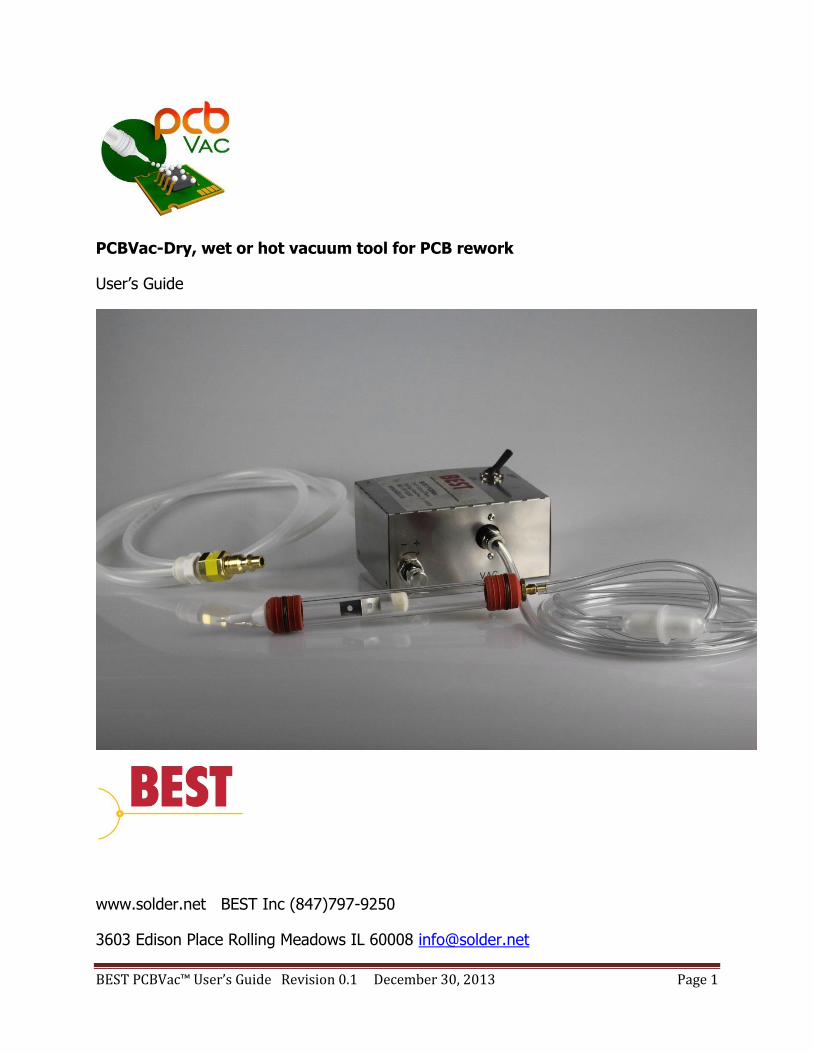
PCBVac-Dry, wet or hot vacuum tool for PCB rework
User’s Guide
www.solder.net BEST Inc (847)797-9250
3603 Edison Place Rolling Meadows IL 60008 [email protected]

BEST PCBVac™ User’s Guide Revision 0.1 December 30, 2013 Page 2
Table of Contents
Page Description
1 Title Page
2 Table of Contents
3 Introduction
4 Safety
5 Specifications
6 Features and Controls
7-9 Getting Started
10 Replacement Parts
11 Troubleshooting Guide
12 Warranty

BEST PCBVac™ User’s Guide Revision 0.1 December 30, 2013 Page 3
Introduction
You have selected a high quality, highly reliable BEST PCBVac™ system. This system is
designed specifically for picking up the remnants from the PCB rework and repair
processes including cleaning out solder from plated throughholes, cleaning off scraped
solder mask or coating or remnant flux of cleaning solvents. In addition, liquids such as
cleaning solvents and fluxes can be vacuumed off the PCB.
This user’s guide will help you maximize the he usefulness of the PCBVac™.
Please take a few minutes to become familiar with the controls and features of the
device. Follow our recommended testing procedures. Review the helpful information we
have included which is based on a combined 150+ years of PCB rework and repair
experience.
In the USA please call us at 847-797-9250 between 7:30AM-5:30 PM CST or visit
solder.net to send us an e-mail.

BEST PCBVac™ User’s Guide Revision 0.1 December 30, 2013 Page 4
Safety
Maximum Air Pressure
Maximum air input pressure 6.9bar (100psi). Excessive input air pressure may damage
the equipment
Read Manual
Read the Users’s Guide for proper use of this equipment. Follow all safety instructions.
Task and equipment specific warnings, cautions and instructions are included in the
equipment documentation when appropriate. Make sure these instructions and all other
equipment documents are accessible to persons operating or servicing the equipment.
BEST PCBVac™ User’s Guide Revision 0.1 December 30, 2013 Page 5
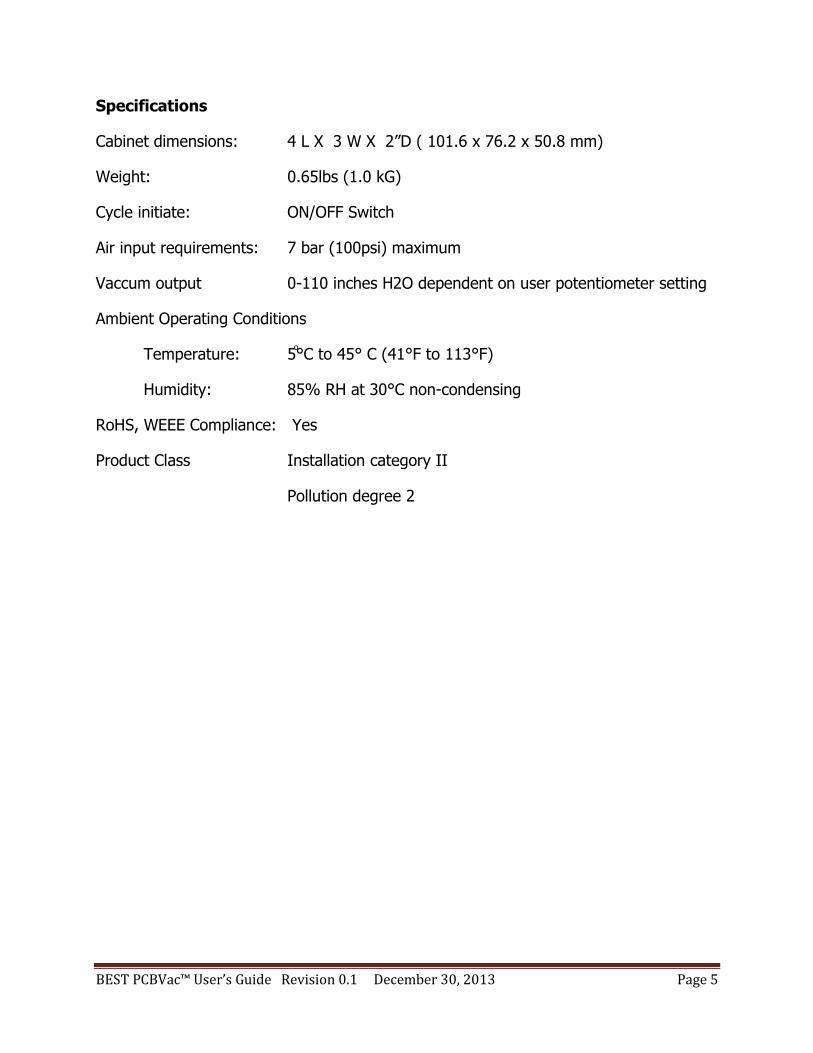
Specifications
Cabinet dimensions: 4 L X 3 W X 2”D ( 101.6 x 76.2 x 50.8 mm)
Weight: 0.65lbs (1.0 kG)
Cycle initiate: ON/OFF Switch
Air input requirements: 7 bar (100psi) maximum
Vaccum output 0-110 inches H2O dependent on user potentiometer setting
Ambient Operating Conditions
Temperature: °C to 45° C (41°F to 113°F)
Humidity: 85% RH at 30°C non-condensing
RoHS, WEEE Compliance: Yes
Product Class Installation category II
Pollution degree 2

BEST PCBVac™ User’s Guide Revision 0.1 December 30, 2013 Page 6
Features and Controls
Vacuum air regulator adjustment knob-control vacuum level. Clockwise rotation creates
more negative pressure
On/Off switch turns air to unit on and off
Output Quick Connector-vacuum pick up wand with removable Teflon tip
Air input push-in fitting –main filtered air supply via 1/4FNPT
Vacuum Exhaust Port-vacuum air exit

BEST PCBVac™ User’s Guide Revision 0.1 December 30, 2013 Page 7
Getting Started
1) Unpack Unit
2) Connect Air Supply
3) Attach and configure the nozzle
4) Attach and configure nozzle

BEST PCBVac™ User’s Guide Revision 0.1 December 30, 2013 Page 8
5) Attach the glass handpiece
6) Turn on pneumatic switch

BEST PCBVac™ User’s Guide Revision 0.1 December 30, 2013 Page 9
7) Adjust vacuum until desired affect is reached
Begin moving hand piece to areas on PCB to remove wet and dry particles.

BEST PCBVac™ User’s Guide Revision 0.1 December 30, 2013 Page 10

BEST PCBVac™ User’s Guide Revision 0.1 December 30, 2013 Page 11
Replacement Parts
Item# Part # Part Description
1 PCBV-CP Quick Disconnect Coupler Plug ¼ FNPT, ¼ Body
2 PCBV-QCA Quick Connect ¼” x ¼” plastic compression adaptor
3 PCBV-PVCT ¼” x 0.170 PE Tubing hose, ft
4 PCBV-TN Teflon nozzle
5 PCBV-FSF Front silicone fitting
6 PCBV-GT 6” glass handpiece
7 PCBV-MT Metal trap
8 PCBV-FE Filter element
9 PCBV-RSF Rear silicone fitting
10 PCBV-BGSA Brass gap suction adaptor
11 PCBV-PT ft, ¼” x 1/8” PVC tubing
12 PCBV-IAF In-line control air filter, 25 microns

BEST PCBVac™ User’s Guide Revision 0.1 December 30, 2013 Page 12
Troubleshooting Guide
If there is little or no vacuum pressure are the work piece check the following:
1. Make sure the input air source is on and is between 40-100psi
2. Make sure the PCBVac™ ON/OFF switch is turned to the ON position
3. Make sure the vacuum ouput control knob is turned CW(+)
4. Make sure the Teflon™ nozzle is free and clear of debris. Clean the tip out with a
small dental tool or paper clip
5. Make sure the air lines are no kinked and they are not “pinched” off
6. Mae sure the metal trap and filter element are clear

BEST PCBVac™ User’s Guide Revision 0.1 December 30, 2013 Page 13
Warranty
This BEST PCBVac is warranted to the original end user for one year from date of
purchase. Within the period of this warranty BEST will repair or replace and defective
component r the entire assembly at BEST’s option on authorized return of the part or
the complete vacuum system, prepaid to the factory.
In no event shall any liability or obligation of BEST arising from this warranty exceed
the purchase price of the equipment. Before using , user shall determine the suitability
of the product for its intended use assumes all risk and liability whatsoever in the
connection therewith.
BEST makes no warranty whatsoever of merchantability of fitness for a particular
purpose. In no event shall BEST be liable for incidental or consequential damages.
To register your warranty in the USA, please send an email to [email protected].