NOMINAL SIZE (mm)
12
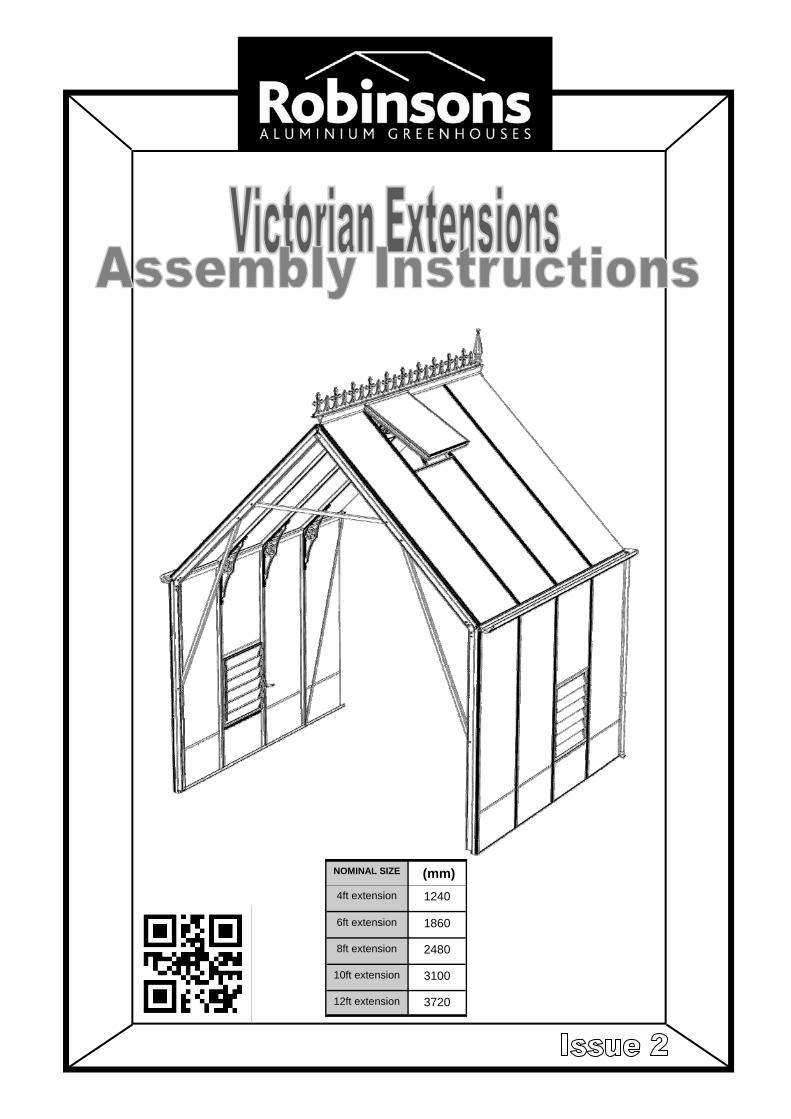
NOMINAL SIZE (mm) 6ft extension 1860 8ft extension 2480 10ft extension 3100 12ft extension 3720 4ft extension 1240
Transcript of NOMINAL SIZE (mm)
NOMINAL SIZE (mm)
6ft extension 1860
8ft extension 2480
10ft extension 3100
12ft extension 3720
4ft extension 1240
2
Thank you for purchasing your new Robinsons greenhouse. We recommend you familiarise yourself with the instructions and read all safety information before you commence assembly. This instruction manual is also available online at www.robinsonsgreenhouses.co.uk in our technical help section should you need to reprint it. Should you require any additional advice you can always call us on 01782 385409.
These instructions are to be used in conjunction with the main instruction manual (read them before this manual): Safety Warning
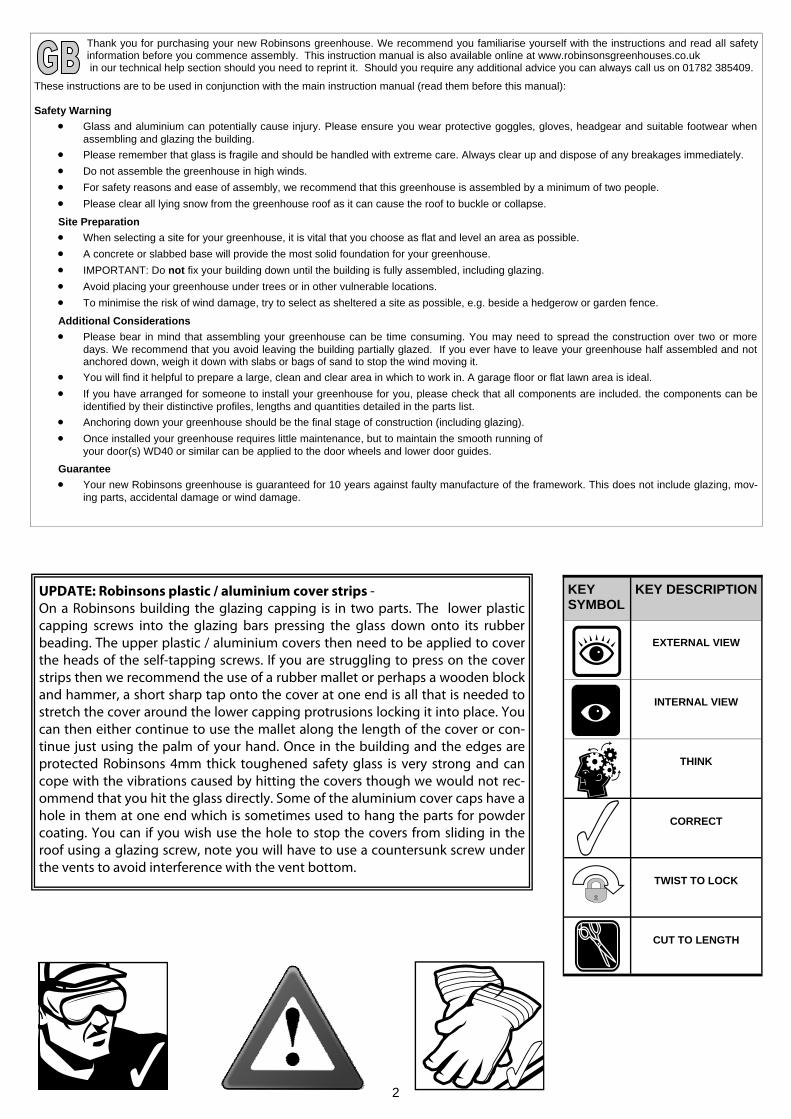
Glass and aluminium can potentially cause injury. Please ensure you wear protective goggles, gloves, headgear and suitable footwear when assembling and glazing the building.
Please remember that glass is fragile and should be handled with extreme care. Always clear up and dispose of any breakages immediately.
Do not assemble the greenhouse in high winds.
For safety reasons and ease of assembly, we recommend that this greenhouse is assembled by a minimum of two people.
Please clear all lying snow from the greenhouse roof as it can cause the roof to buckle or collapse. Site Preparation
When selecting a site for your greenhouse, it is vital that you choose as flat and level an area as possible.
A concrete or slabbed base will provide the most solid foundation for your greenhouse.
IMPORTANT: Do not fix your building down until the building is fully assembled, including glazing.
Avoid placing your greenhouse under trees or in other vulnerable locations.
To minimise the risk of wind damage, try to select as sheltered a site as possible, e.g. beside a hedgerow or garden fence. Additional Considerations
Please bear in mind that assembling your greenhouse can be time consuming. You may need to spread the construction over two or more days. We recommend that you avoid leaving the building partially glazed. If you ever have to leave your greenhouse half assembled and not anchored down, weigh it down with slabs or bags of sand to stop the wind moving it.
You will find it helpful to prepare a large, clean and clear area in which to work in. A garage floor or flat lawn area is ideal.
If you have arranged for someone to install your greenhouse for you, please check that all components are included. the components can be identified by their distinctive profiles, lengths and quantities detailed in the parts list.
Anchoring down your greenhouse should be the final stage of construction (including glazing).
Once installed your greenhouse requires little maintenance, but to maintain the smooth running of your door(s) WD40 or similar can be applied to the door wheels and lower door guides.
Guarantee
Your new Robinsons greenhouse is guaranteed for 10 years against faulty manufacture of the framework. This does not include glazing, mov-ing parts, accidental damage or wind damage.
KEY SYMBOL
KEY DESCRIPTION
EXTERNAL VIEW
INTERNAL VIEW
THINK
CORRECT
TWIST TO LOCK
CUT TO LENGTH
UPDATE: Robinsons plastic / aluminium cover strips - On a Robinsons building the glazing capping is in two parts. The lower plastic capping screws into the glazing bars pressing the glass down onto its rubber beading. The upper plastic / aluminium covers then need to be applied to cover the heads of the self-tapping screws. If you are struggling to press on the cover strips then we recommend the use of a rubber mallet or perhaps a wooden block and hammer, a short sharp tap onto the cover at one end is all that is needed to stretch the cover around the lower capping protrusions locking it into place. You can then either continue to use the mallet along the length of the cover or con-tinue just using the palm of your hand. Once in the building and the edges are protected Robinsons 4mm thick toughened safety glass is very strong and can cope with the vibrations caused by hitting the covers though we would not rec-ommend that you hit the glass directly. Some of the aluminium cover caps have a hole in them at one end which is sometimes used to hang the parts for powder coating. You can if you wish use the hole to stop the covers from sliding in the roof using a glazing screw, note you will have to use a countersunk screw under the vents to avoid interference with the vent bottom.

3
PLEASE CONTACT US FOR A BASE PLAN FOR ANY MODIFICATIONS i.e. Drop door/s, dwarf wall, partition, etc…) NOT LISTED ON THIS PAGE.
MPORTANT: IF YOU HAVE ANYTHING OVERHANGING THE RIDGE ON
A LEAN-TO, PLEASE ALLOW HEIGHT CLEARANCE FOR THE ROOF VENT.
THE FOLLOWING DIMENSIONS ARE THE EXACT EXTERNAL BASE DIMENSIONS FOR THE ROBINSONS RANGE. We cannot emphasis how important it is to have a proper base for your Robinsons Greenhouse to be erected upon. It is essential that the BASE IS FLAT, LEVEL AND SQUARE AS WELL AS BEING SUBSTANTIAL enough to take the weight of the greenhouse including its 4mm glass. IMPORTANT: Do not anchor your greenhouse down until it is fully assembled including glazing unless you are 100% sure your base is square and level. If not your glass will not fit properly.
THE BASE MUST BE FLAT, LEVEL AND SQUARE.
ROBINSONS BASE PLANS
Note, when calculating the length of a unit that has an extension you must add the main module dimension to give you the overall length. See diagram below.
length
wid
th
EXAMPLE (mm) External dimension of an 8' x 24' greenhouse. 8 ' x 12' main module 2602 x 3872 12' extension 3720 Overall size 2602 x 7592
A brick perimeter base is equally suitable providing there is a concrete foundation beneath it. We suggest using a solid brick with no frogs or holes (quality stock bricks or semi-engineering bricks). A brick plinth is an advantage because it minimises the chances of any water running back underneath the base cill.
Give yourself enough room around your base to allow for fitting the glass and any on-going maintenance / clean-ing. A slab base which is larger than the greenhouse is the ideal solution.

4
Part No.
Section Size (mm)
6’ EX
8’ EX
10’ EX
12’ EX
4’ EX
LEFT HAND SIDE EXTENSION
D029L
1860 1
D024L 2480 1
D025L 3100 1
D026L 3720 1
DV217L
1860 1
DV214L 2480 1
DV215L 3100 1
DV216L 3720 1
D075L 1240 1
DV241L 1240 1
RIGHT HAND SIDE EXTENSION
D029R
1860 1
D024R 2480 1
D025R 3100 1
D026R 3720 1
DV217R
1860 1
DV214R 2480 1
DV215R 3100 1
DV216R 3720 1
D075R 1240 1
DV241R 1240 1
FRONT
REAR
VICTORIAN ROBINSONS EXTENSIONS VERY IMPORTANT INFORMATION: If you have been supplied with an extension (i.e. your building is longer than 12’), your main building will differ in that the roof end and corner glazing bars (on the end to which the extension will be fitted) are replaced with side and roof glazing bars from the extension module kit. These should be fitted using 15mm bolts. In addition, it will be necessary to slide additional 10mm bolts into each side bar and roof bars to accommodate a reinforcing channel (10mm bolts must be used here, 15mm bolts will get in the way when fitting the square a-frame tubing). You only need four side diagonal braces per building (two each side), move the two (currently on main sides) nearest the extension join towards the rear. Be careful not to mix up your extension cills and gutters. There will be a separate gutter and cill for the left and right side extensions. In addition one set of holes in both the gutter, cill, and ridge sections are slightly closer together (586mm instead of 620mm). When fitting the extension ridge, gutters and side cills, the 586mm hole centres at one end of the extension components must abut the main greenhouse. Each of the extension joining plates should be initially attached to the main building and then onto the 586mm spaced hole end of each extension section. IMPORTANT: Each glazing bar centre should then be 620mm apart. If not your glass will not fit properly. See next pages 6 and 7 for more details.
DWARF SIDES
D673
1114
D609
1160
6
8
10
12
RUBBER
1000 (1m)
14
20
26
34
2
4
10
STANDARD SIDES
D131
1630
D066
1676
6
8
10
12
RUBBER
1000 (1m)
22
28
34
42
2
4
14
D114
N/A 2
D136
1546 2
D174 N/A
4 6 8 10
DV100
4
6
8
10
DV153
N/A 4 4 4 4
DV227 N/A 2
2
2
4
Part No.
Section Size (mm)
6’ EX
8’ EX
10’ EX
12’ EX
4’ EX
Part No.
Section Size (mm)
6’ EX
8’ EX
10’ EX
12’ EX
4’ EX
Part No.
Section Size (mm)
6’ EX
8’ EX
10’ EX
12’ EX
4’ EX
Part No.
Section Size (mm)
6’ EX
8’ EX
10’ EX
12’ EX
4’ EX

5
VICTORIAN RIDGE EXTENSION VARIABLES
DV205
1860 1
DV206 2480 1
DV207 3100 1
DV208 3720 1
D114 N/A 2
DV101
2
3
4
5
1
DV240 1240 1
VIC 8 WIDE BUILDING ROOF D138
1167 1
DV222 1715
DV254
1790
6
8
10
12
RUBBER
1000 (1m)
22
30
36
44
2
4
15
Part No.
Section Size (mm)
6’ EX
8’ EX
10’ EX
12’ EX
4’ EX
Part No.
Section Size (mm)
6’ EX
8’ EX
10’ EX
12’ EX
4’ EX
Part No.
Section Size (mm)
6’ EX
8’ EX
10’ EX
12’ EX
4’ EX
VIC 11 WIDE BUILDING ROOF D136
1546 1
DV223 2376
DV255
2450
6
8
10
12
RUBBER 1000 (1m)
30
40
50
60
2
4
20
FS6006
FS6504
35mm
M6 S/S
SYBOLM6X11
10mm
66
72
78
84
SYBOLM6X15
15mm
12
14
16
18
SYNUTM6
M6
102
122
142
162
6
6
SYBOLM6X22
22mm
24
36
48
60
60
10
12
82
Part No.
Section Size (mm)
6’ EX
8’ EX
10’ EX
12’ EX
4’ EX
VIC 6 WIDE BUILDING ROOF DV229
704 1
DV228 1270
DV253
1345
6
8
10
12
RUBBER
1000 (1m)
17
22
27
33
2
4
11
Part No.
Section Size (mm)
6’ EX
8’ EX
10’ EX
12’ EX
4’ EX

6
D075L D029L D024L D025L D026L
DV227
586mm
DOOR
END
REAR
END
DV222 DV223
DV241R DV217R DV214R DV215R DV216R
620mm
620mm
620mm
D131 D673
DV241L DV217L DV214L DV215L DV216L
D136
DV153
DV227
D114
D138 D136
D114
DV222 DV223
D114
DV153
D136
D131 D673
DV240 DV205 DV206 DV207 DV208
D075R D029R D024R D025R D026R
IMPORTANT: Extended buildings should have transparent all-weather silicone applied to the join between a standard ridge and an extension ridge/s to minimise leaks. This is often easier to do before glazing as access is easier. It is also advisable to repeat the process at gutter level on the gutter rear flanges though the gutter water channel itself is best sealed towards the end of con-struction. D119
SILICO
NE

7
D114
x2
15mm
D131 D673
D131 D673
D131 D673
DV222 DV223
DV222 DV223
D136 D138 D136
DV222 DV223
D136
x4
D114
x2
15mm
DV153
x2
10mm
x8
DV227
x1 x4
15mm
FLIP VIEW
FS6006 FS6504
DV240 DV205 DV206 DV207 DV208

8
D119
SILICO
NE
D170 (FOIL COVERED TAPE)
DV220
D201 D214
D079
D114
A ‘D079’ slam bar can be attached to an A-frame using the standard ‘D114’ slam plate, pinching it between the roof bar and the roof A-frame reinforcing channel. Or alternatively you can utilise some of the spare base brackets ‘D174’ and mark and drill into the roof reinforcing channel.
D174

9
Fitting Robinsons slatted shelving and staging using the instructions is usually quite straight forward. However if you have chosen a greenhouse which includes A-frames or a partition then fitting the staging becomes more complicated. In these instances some additional adaptation brackets where A-frames are included, and some side height vertical bracings for a partition. You need to cut (using a hacksaw) the staging slats to fit around the A-frames at which ever height you have pre-determined (we recommend 900mm up from the bottom of the base rail for stag-ing, and 260mm down from the top / back of the gutter for the shelf). Spare ground anchoring brackets can be used to attach the shelf and staging supports to the side of an A-frame or side height vertical bracing when fitting around a partition.
When adapting a shelf or staging section to fit around an A-frame the slats can be cut in several ways to give a neat, level result.
900mm up from bottom of base rail.
260mm

10
11

12
www.robinsonsgreenhouses.co.uk
To contact Robinsons Customer Services email us at [email protected] or call us on 01782 385 409.
Our address is Robinsons Greenhouses, Unit 19 Blythe Park, Cresswell, Stoke-on-Trent, Staffordshire, ST11 9RD
THIS GREENHOUSE BOX WAS PACKED BY: DATE:___________________ ________________________________________________________________________________
Please be aware that this is a multi-national manual, if you spot any errors or have any constructive comments regarding the manual please email [email protected] and I will make the necessary amendments.
Whilst the information contained in this booklet is accurate at the time of publication, changes in the course of Robinsons policy of improvement through development and design might not be indicated. We point out this fact to avoid any infringements of the
Trade Descriptions Act and also to advise that Robinsons Greenhouses reserve the right to change specifications and materials without prior notice.
In addition any photographs of completed buildings would be most appreciated to add to our portfolio.


![MÜPRO 4. Support channels 6. Anchor points/expansion ... · nominal pipe size of up to 400 mm; M10 Hexagon screws for pipe sizes ... Spanner size S [mm] Part no. Sales unit Pack](https://static.fdocuments.us/doc/165x107/5b430e057f8b9ad23b8bb071/muepro-4-support-channels-6-anchor-pointsexpansion-nominal-pipe-size.jpg)