Ip thermostat greenmomit user manual
41
momit Smart Thermostat User guide
-
Upload
domotica-davinci -
Category
Devices & Hardware
-
view
8.508 -
download
3
Transcript of Ip thermostat greenmomit user manual

momit Smart ThermostatUser guide

The instructions shown below explain how to program ST momit for maximum comfort and performance.
Dear user
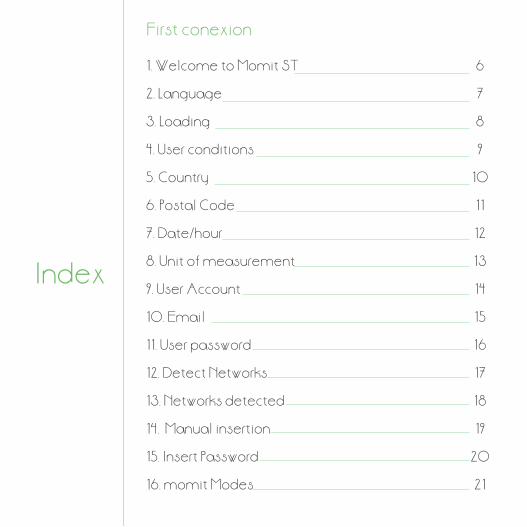
1. Welcome to Momit ST
2. Language
3. Loading
4. User conditions
5. Country
6. Postal Code
7. Date/hour
8. Unit of measurement
9. User Account
10. Email
11. User password
12. Detect Networks
13. Networks detected
14. Manual insertion
15. Insert Password
16. momit Modes
6
7
8
9
10
11
12
13
14
15
16
17
18
19
20
21
Index
First conexion

Index
Main menu
1. Index
2. Main menu
19. Usage of momit ST
20. Minimum requirements.
a. Increase/ Decrease the temperature
b. Usage
c. Calendar
c.1. Programación
d. momit Mode
e. Configuration
e.1. Start Configuration
e.2. Security temperature
e.3. Advanced
e.4. Tecnical Configuration
23
24
25
26
27
28
29
30
31
32
33
35
37
39
First conexion
During the first conexion of momit configuration of the device.

Welcome to momit ST, the WIFI smart thermostat.
WELCOME1
6

2 LANGUAGE
In this section we select the language desired. It is a compulsory field to fulfill in order to be able to carry on the configuration of the momit ST.
7

8
3 LOADING
Please wait while the date is loading.
9
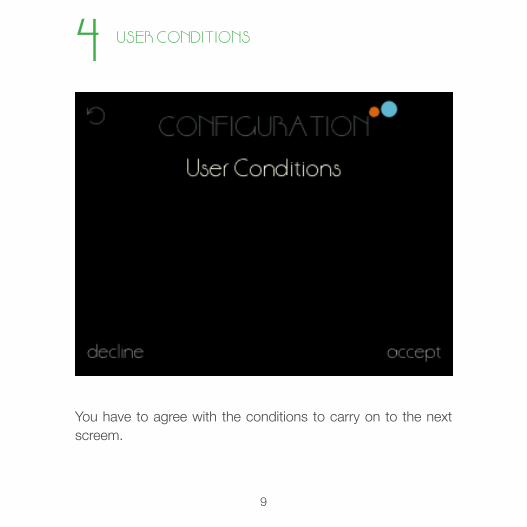
4 USER CONDITIONS
You have to agree with the conditions to carry on to the next screem.

10
In order to be able to do a correct consumption study you have to select the country.
5 COUNTRY
11
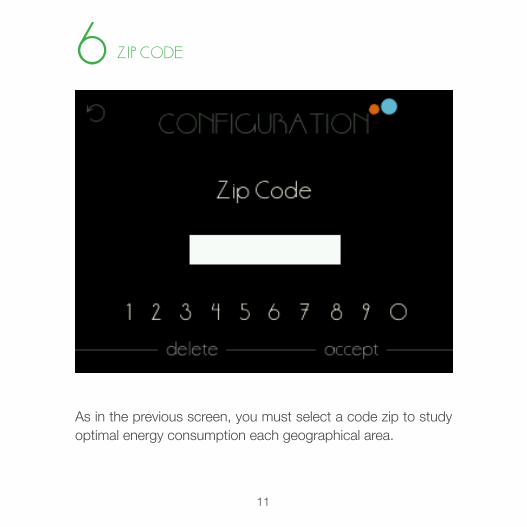
ZIP CODE
As in the previous screen, you must select a code zip to study optimal energy consumption each geographical area.
6
12
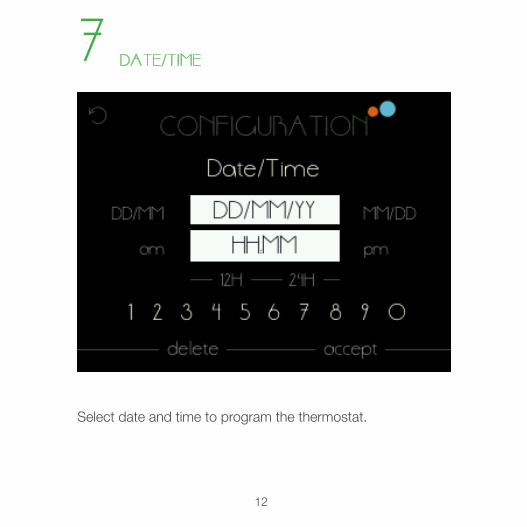
Select date and time to program the thermostat.
DATE/TIME7
13
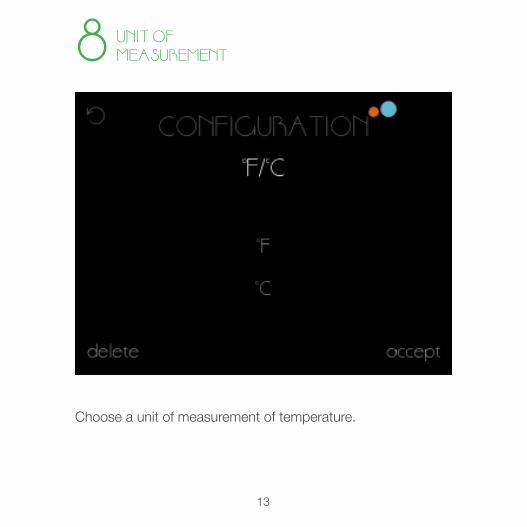
Choose a unit of measurement of temperature.
UNIT OF MEASUREMENT8
14
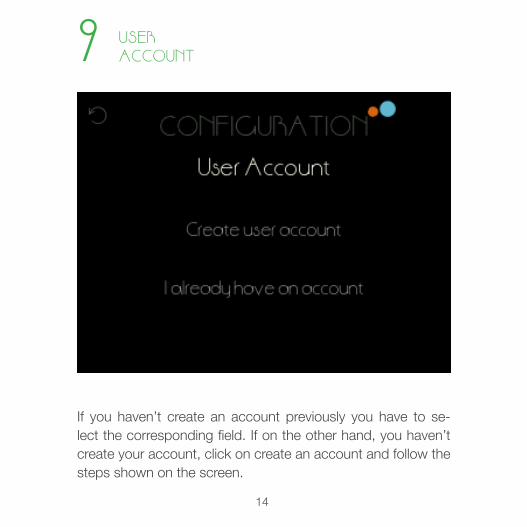
If you haven’t create an account previously you have to se-lect the corresponding field. If on the other hand, you haven’t create your account, click on create an account and follow the steps shown on the screen.
USER ACCOUNT9

15
Fill out your email address, it is a compulsory field.
EMAIL10
16
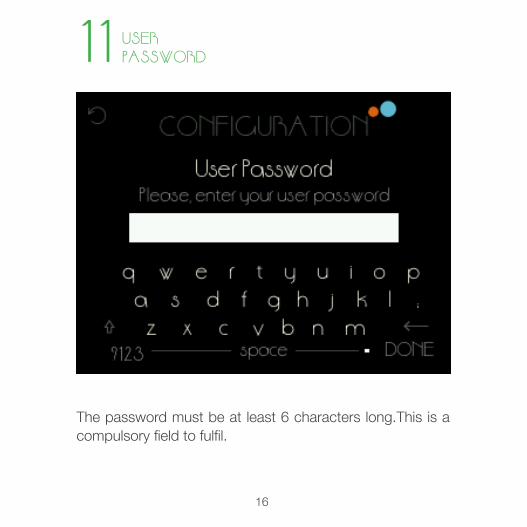
The password must be at least 6 characters long.This is a compulsory field to fulfil.
USER PASSWORD11

17
This screen corresponds to the WIFI configuration. You can intro-duce the network’s name manually or browse it.
DETECT NETWORKS12
Detectet networks
18
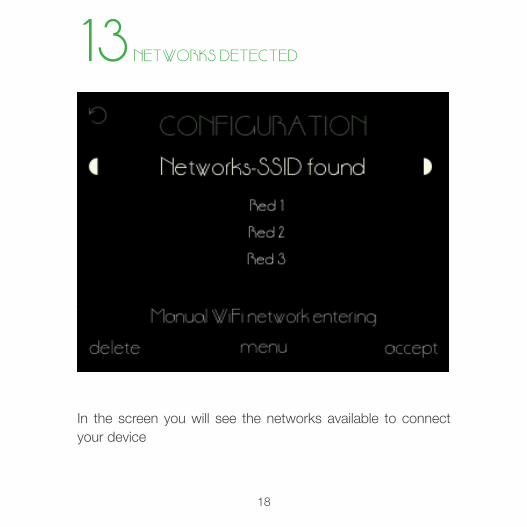
In the screen you will see the networks available to connect your device
NETWORKS DETECTED13
19
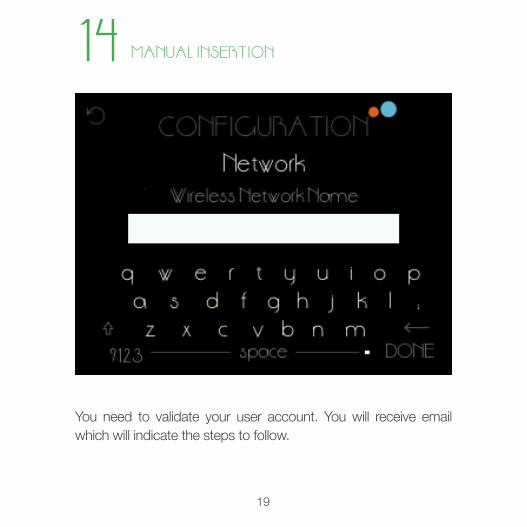
You need to validate your user account. You will receive email which will indicate the steps to follow.
MANUAL INSERTION14

Introduce the corresponding Wifi password.
20
INSERTPASSWORD15

21
This screen shows all of the designs of the momit Smart Ther-mostat that you can to choose from. Press “ok” on the selected design.
MOMIT MODES16

Main menu
During the first connexion of momit ST you will see the screens in order to com-plete successfully the first configuration of the device.
Welcome to momit ST, the WIFI smart thermostat.
INITIATION1
23
24
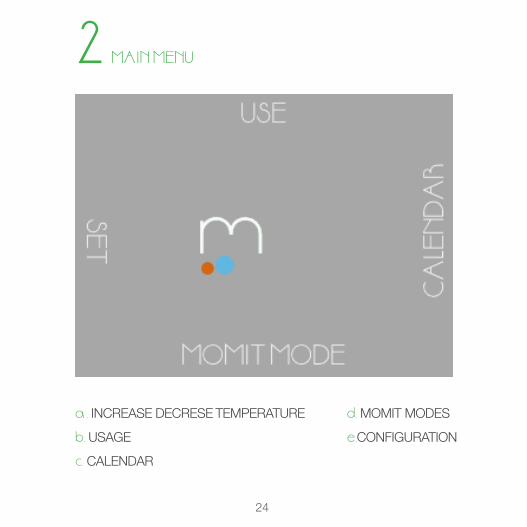
a . INCREASE DECRESE TEMPERATURE
b. USAGE
c. CALENDAR
d. MOMIT MODES
e.CONFIGURATION
MAIN MENU2

With just one touch you can reach the desired temperature, selecting it on the screen. Use the symbols “+” and “-”(to increase or decrease the temperature).
a. INCREASE DECRESE TEMPERATURE
MAIN MENU
25

b. USAGE
MAIN MENU
Select the operation in heating, A / C or off.
26
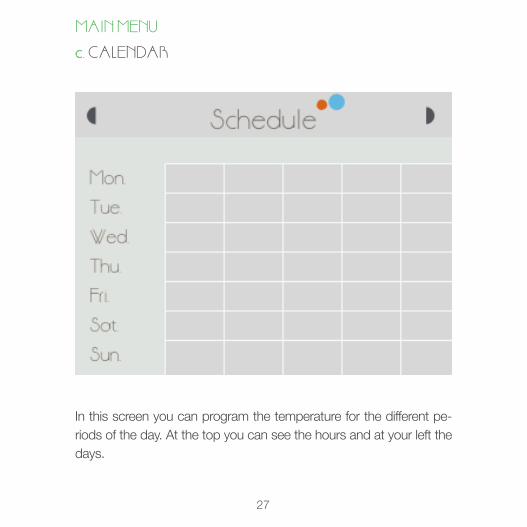
In this screen you can program the temperature for the different pe-riods of the day. At the top you can see the hours and at your left the days.
c. CALENDAR
MAIN MENU
27

28
In this screen, you can do the calendar programming with the desired temperature, hours and days of the week.
c.1 CALENDAR - Schedule
MAIN MENU
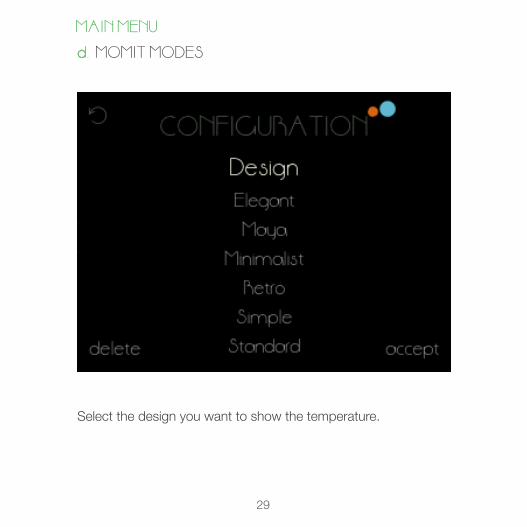
Select the design you want to show the temperature.
d. MOMIT MODES
MAIN MENU
29

e. CONFIGURATION
e.1. GENERAL SETTINGSe.2. SECURITY TEMPERATURE
e.3. ADVANCEDe.4. TECHNICAL SETTINGS
MAIN MENU
30

Allow you to have access to:
- Language- Country- Postal code- Date/hour
- Email- Name of the thermostat- Unit of measure
- General settingse.1. CONFIGURATION
MAIN MENU
31

This function makes it possible to determine a safe range setting two temperatures, one as amaximum and the other as a minimum. Once set, the temperature of the thermostat will not be higher or lower thanthis range.
- Security temperaturee.2. CONFIGURATION
MAIN MENU
32
Hiting
What is the maximum and minimum temperature you want to have?
Usage

Allow you to activate/disable the functionalities:
- Smart- Presence- Ambient
- Monitor- Savings- Standby
- Advancede.2. CONFIGURATION
MAIN MENU
33
- Smart. Automatically learns used routines and consumption in a personalized way,self configuring itself based on those habits.
- Presence. Energy saving automatically when the thermostat doesn’t detect presence at home.
- Ambient. Detects the level of brightness at home in order to apply energy saving measures and switch off the device at nightime.
- Monitor: History which controls the usage and the heating and air conditioning consumption.
- Savings. Indicates if there is any energy saving compared with previous periods.
- Standby. Enabling this option the device is in total saving mode.Screen off, without the usage of heating or air conditio-ning during the indicated period (vacation, trips, etc).
34

- Technical settings
Allow to have access to:
- Specifications- Last conection- Automatic Update- Network
- Mac- Reset- Lock
e.4. CONFIGURATION
MAIN MENU
35
- Technical information. Displays the device's technical infor-mation.
- Automatic updates. Provides the option to enable or disa-ble automatic updates of the device.
- Last conection.. Indicates the date and time of the last online connection of the thermostat.
- Network: You will have the option of entering your wireless network password.
- Mac: Identification number of each thermostat.
- Reset. It has two options: 1 - The thermostat returns to the initial conditions of the system. 2 - Shut down and restart the system. - Lock. If you want to be the one to change the thermostat set-tings, you can lock it using a password.
36

Usage of momit19
The tens and units are reflected below left. the scores are repre-sented by hollow circles, and the units are solid circles.
Units
Tenths
Tens5 6 7 8 90 1 2 3 4
MAYA
37

Units
tenths
Tens
In this case there are three bars, the middle corresponds to units (the highest), the left are the dozens and tenths right (with smaller size). The massifs Points represent each unit and hollow point co-rresponds to number 5.
5 6 7 8 90 1 2 3 4
MINIMALIST
Usage of momit
38

Minimum requirements
The smart momit Thermotat works with two kind of systems: heating and air conditioning. We must take into consideration the inputs of the thermostat, that are referring to the system control circuit to handle and not its supply circuit.The heating systems to control should not exceed the following values in their control circuits, during the joint operation in connec-tion with the thermostat: - The thermostat has two relay outputs that support re-sistive load 5A and 2A inductive load as a max. - Up to 30 VDC or 250 VAC as a maximum.
The thermostat relay contacts are potential free for a simple two wire installation.
20
39
User Guide momit Smart Thermostat