Have Fun Teaching Electrical Jim Halderman. Introduction Former flat-rate technician Former...
41
Have Fun Teaching Electrical Jim Halderman
-
Upload
jaden-norwich -
Category
Documents
-
view
221 -
download
0
Transcript of Have Fun Teaching Electrical Jim Halderman. Introduction Former flat-rate technician Former...
Have Fun Teaching Electrical
Jim Halderman

Introduction
• Former flat-rate technician
• Former automotive college instructor
• Author of many automotive textbooks
• Still plays with cars• Lives in Dayton, Ohio

Topics to be Discussed
• Meter usage made fun• Wire repair-meter fuse• Project-based learning• LED test light• Memory saver• Speaker tester• Theft deterrent• Logic probe

Why do students take Automotive?
• Not to do math problems
• Not to learn a lot of theory
• They attend to learn how things work
• They want hands-on activities
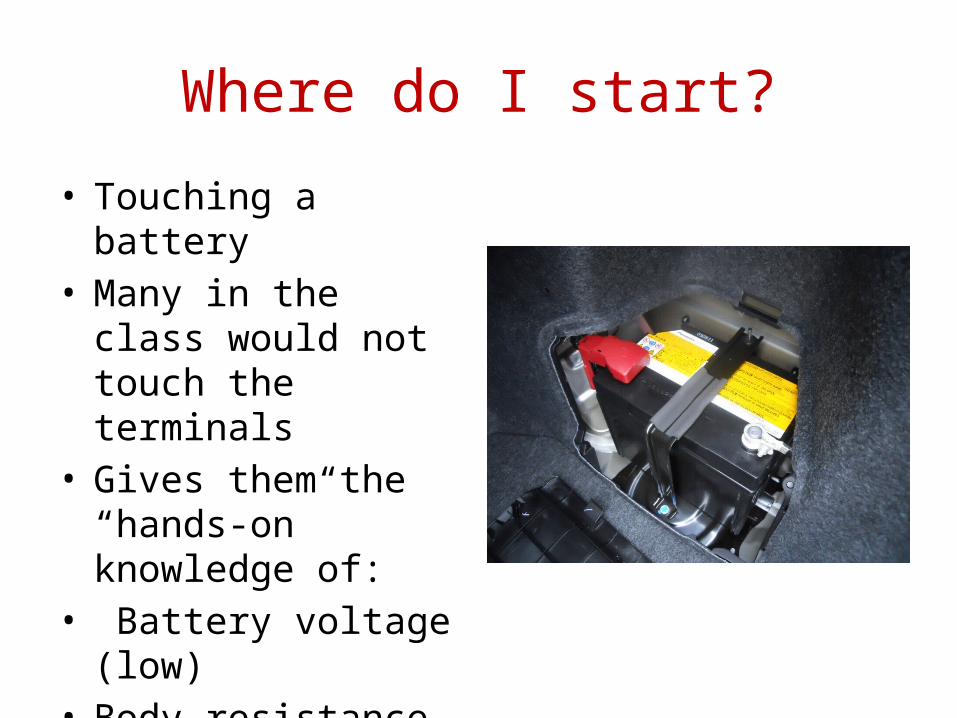
Where do I start?
• Touching a battery• Many in the class would
not touch the terminals• Gives them the “hands-
on” knowledge of:• Battery voltage (low) • Body resistance (high)
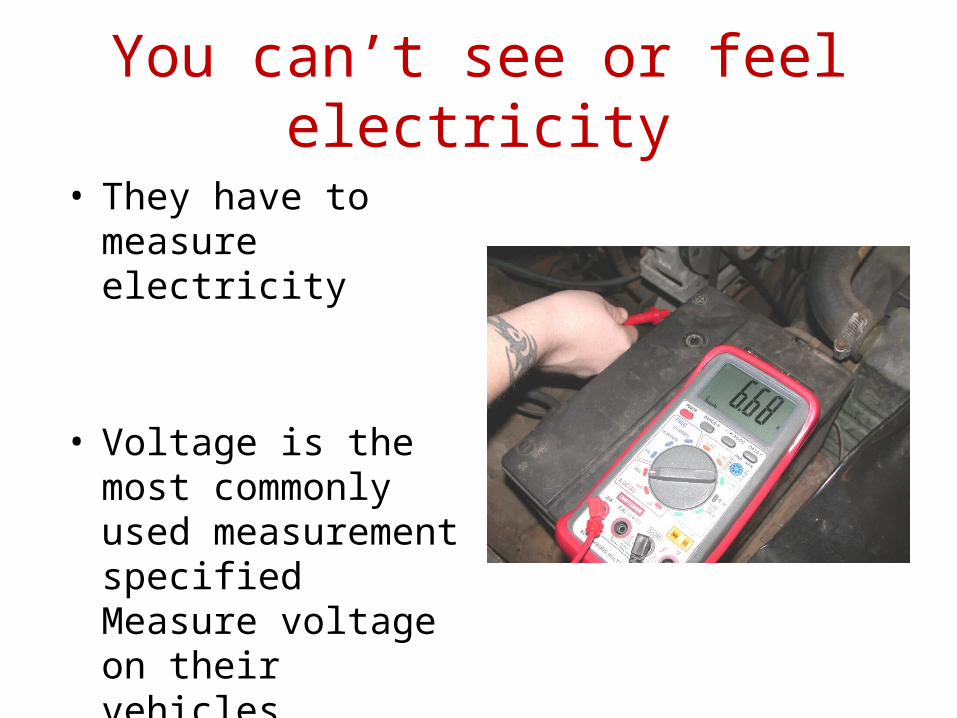
You can’t see or feel electricity
• They have to measure electricity
• Voltage is the most commonly used measurement specified Measure voltage on their vehicles
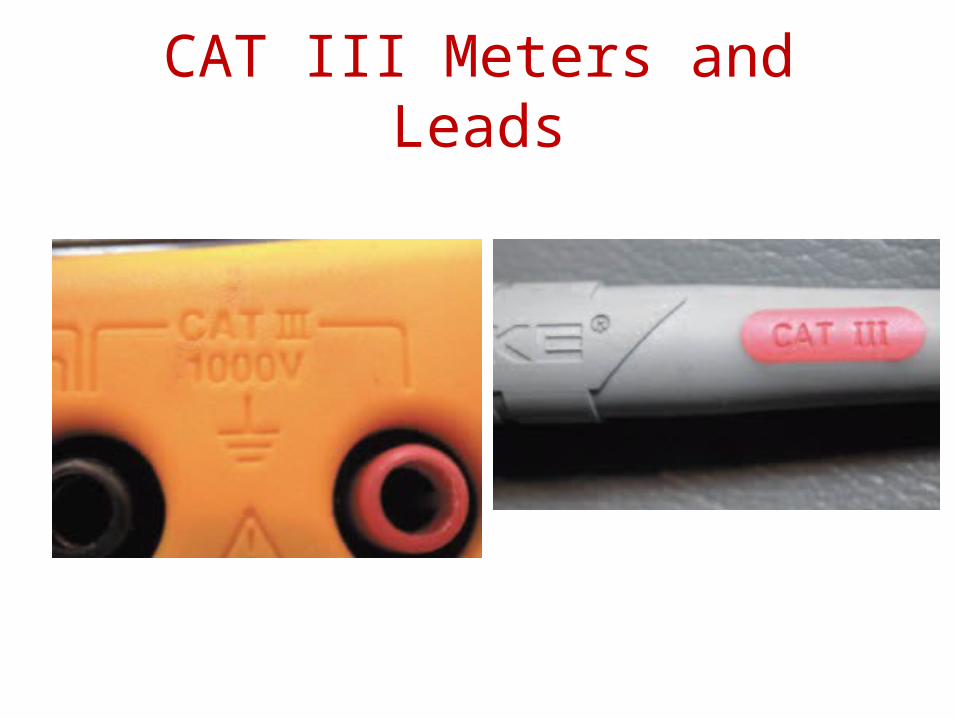
CAT III Meters and Leads
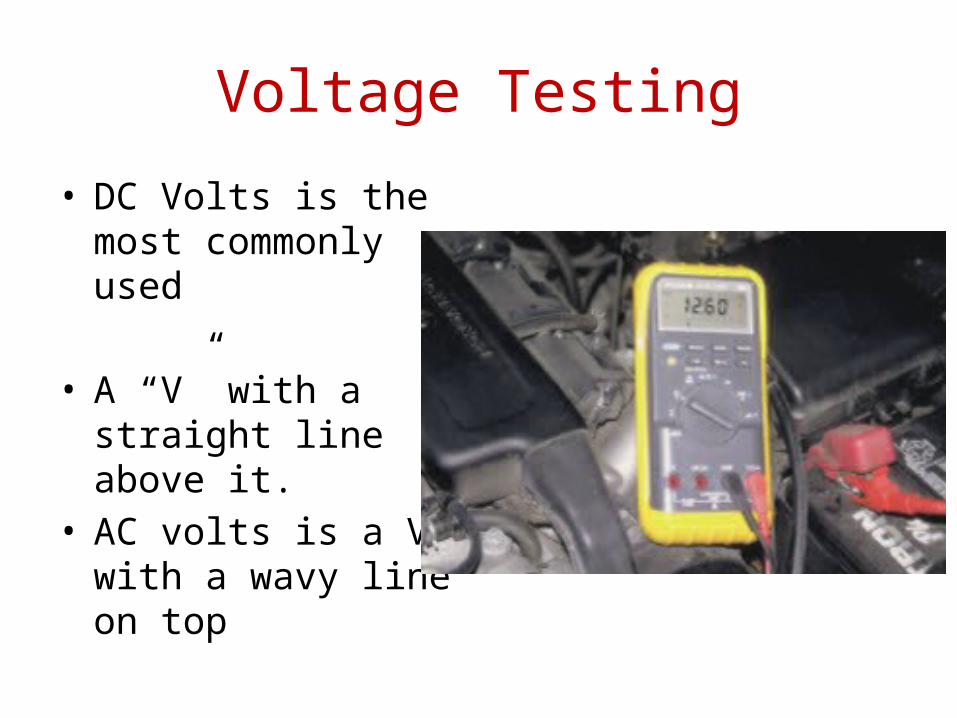
Voltage Testing
• DC Volts is the most commonly used
• A “V” with a straight line above it.
• AC volts is a V with a wavy line on top
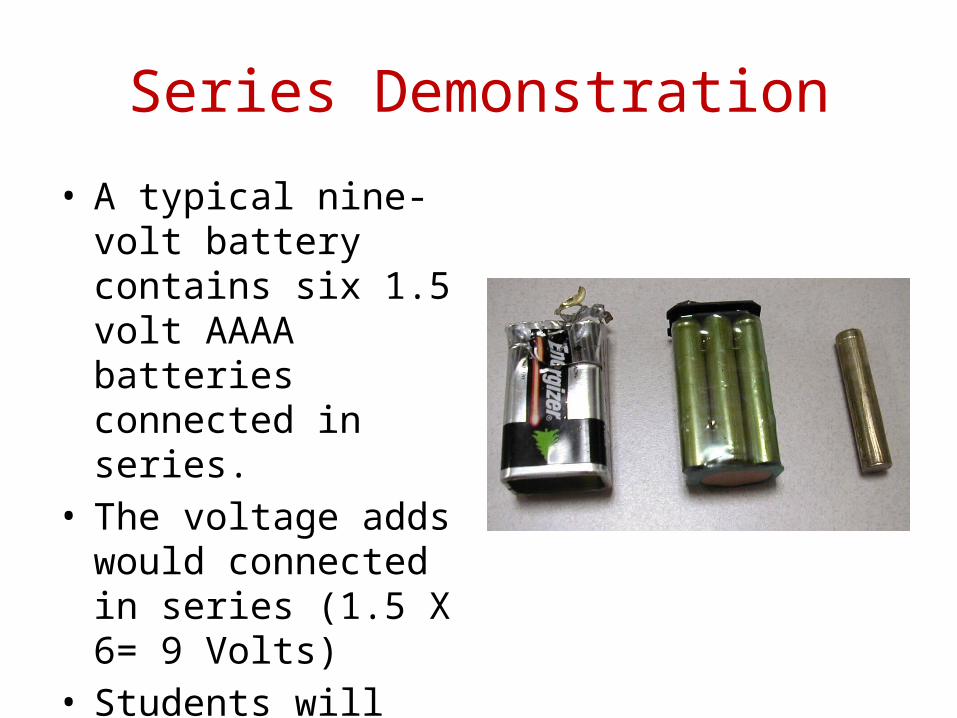
Series Demonstration
• A typical nine-volt battery contains six 1.5 volt AAAA batteries connected in series.
• The voltage adds would connected in series (1.5 X 6= 9 Volts)
• Students will never forget this

Dry Cell Battery Drop Test
• Good battery- stays up or bounces once
• Discharged battery-bounces several times
• Does not always work
• Use a voltmeter
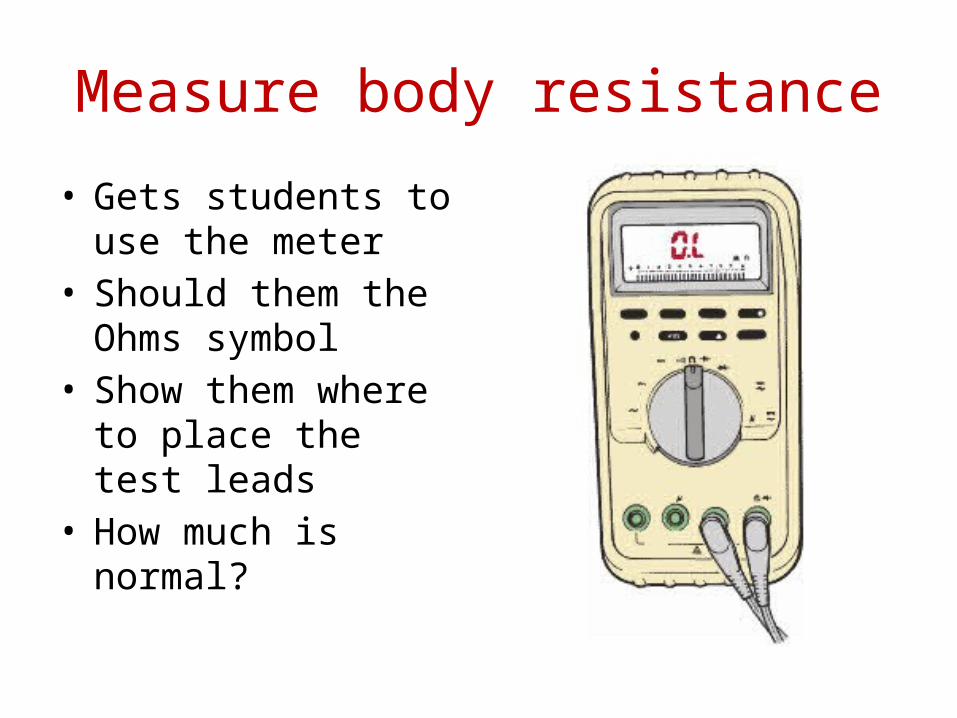
Measure body resistance
• Gets students to use the meter
• Should them the Ohms symbol
• Show them where to place the test leads
• How much is normal?
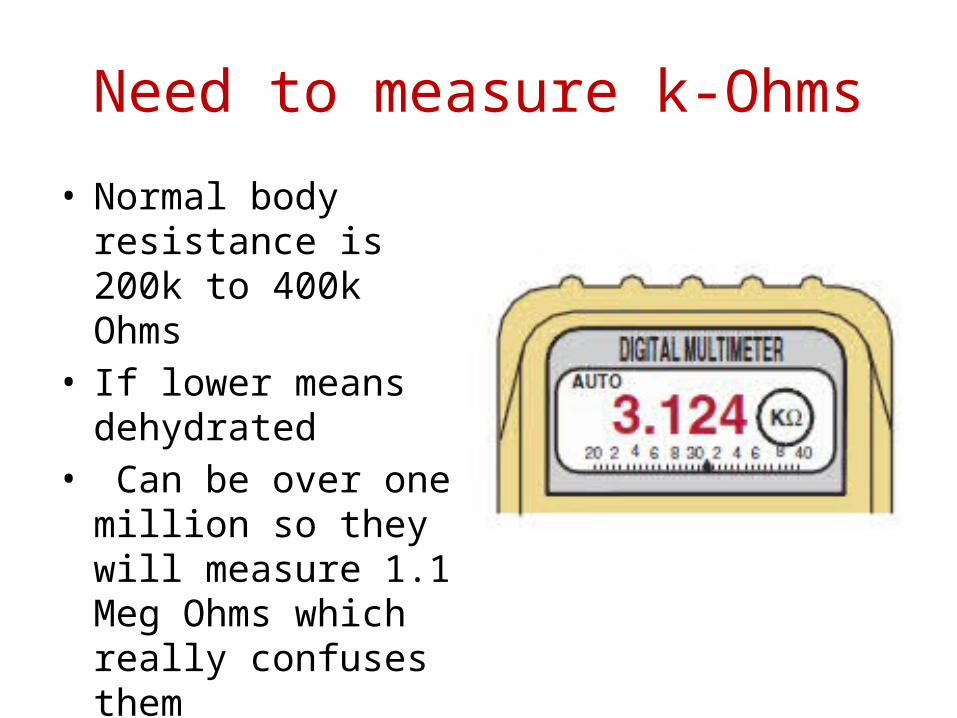
Need to measure k-Ohms
• Normal body resistance is 200k to 400k Ohms
• If lower means dehydrated
• Can be over one million so they will measure 1.1 Meg Ohms which really confuses them

Meter Settings
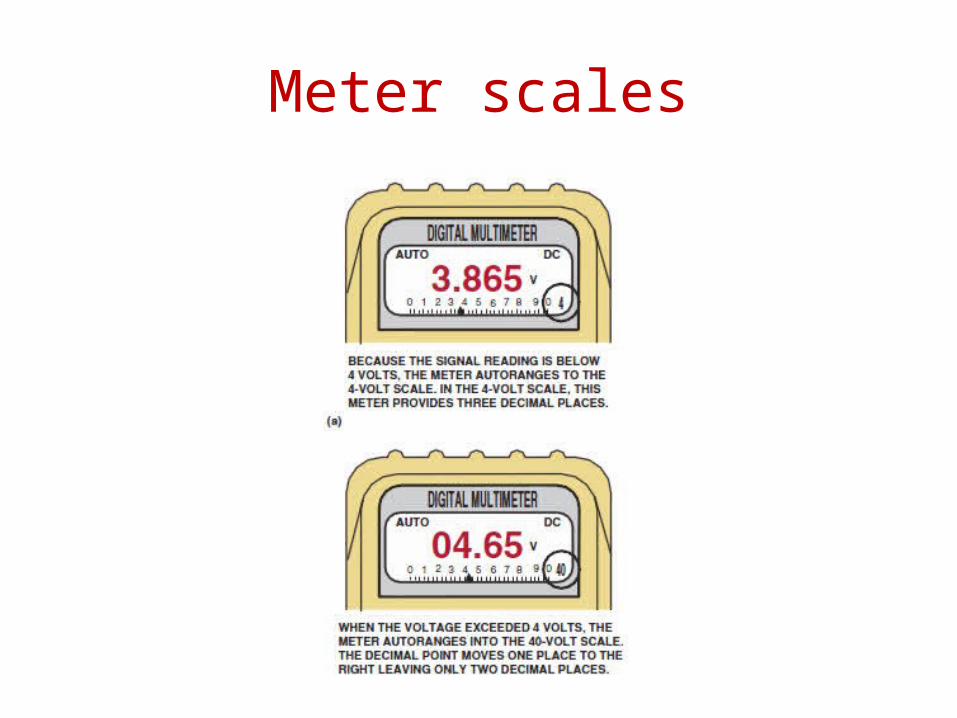
Meter scales

What the meter reading means
• Think of MONEY!• 1.00 = a dollar
0.50= fifty cents or a half dollar• 0.25 = quarter• 0.01 = a penny• Milliamps I compare to thousandth of an inch
such as bearing clearance. • 0.020 amp is like 20 thousandth of an inch

Ammeter
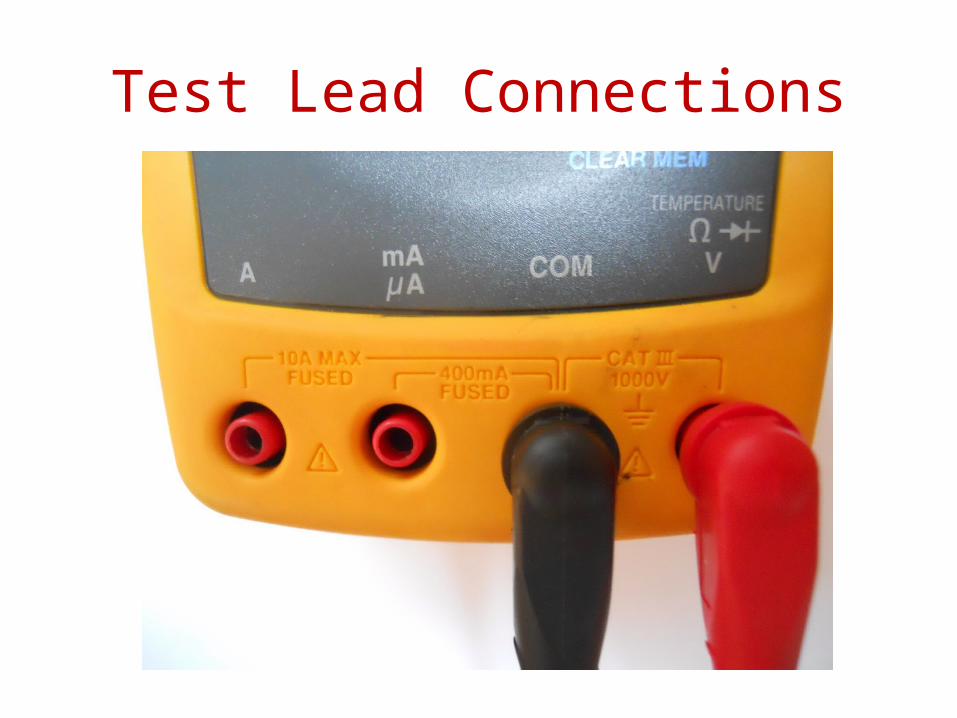
Test Lead Connections
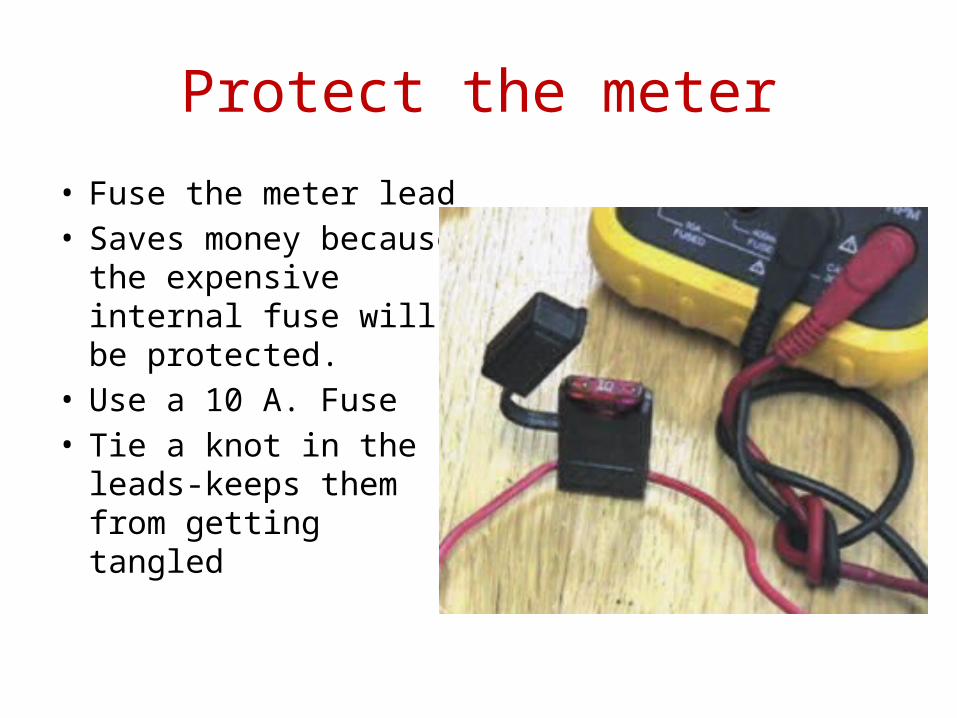
Protect the meter
• Fuse the meter lead• Saves money because
the expensive internal fuse will be protected.
• Use a 10 A. Fuse• Tie a knot in the leads-
keeps them from getting tangled

Project Based Learning
• The first week, students get a meter.
• We use the meter every day starting with checking their body resistance.
• Asked to purchase some low cost electrical parts that they can use to build projects for their project grade
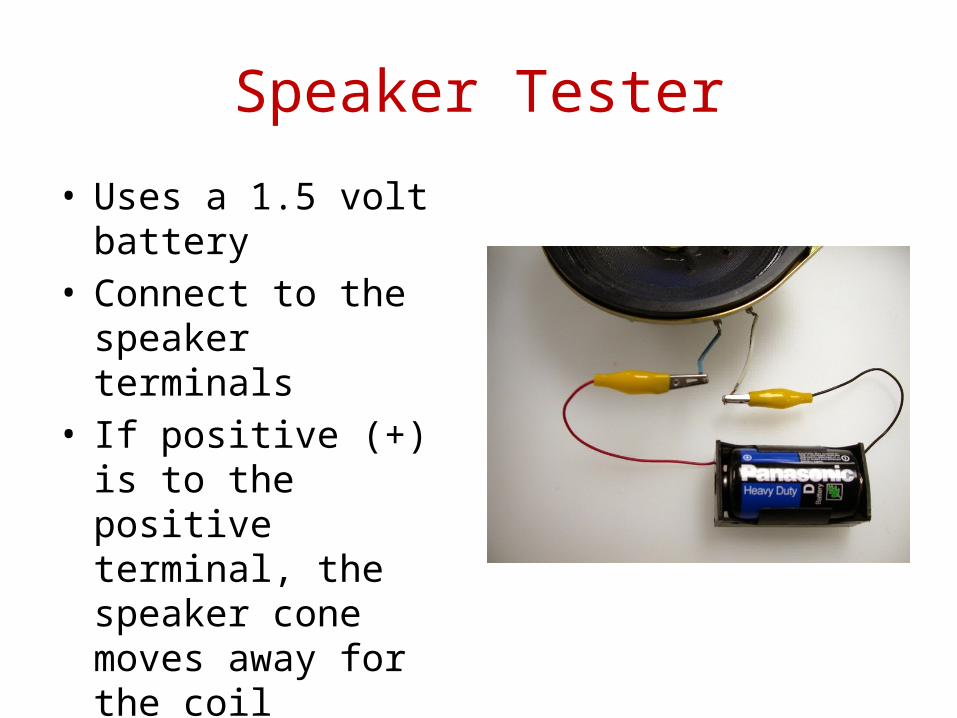
Speaker Tester
• Uses a 1.5 volt battery• Connect to the speaker
terminals• If positive (+) is to the
positive terminal, the speaker cone moves away for the coil
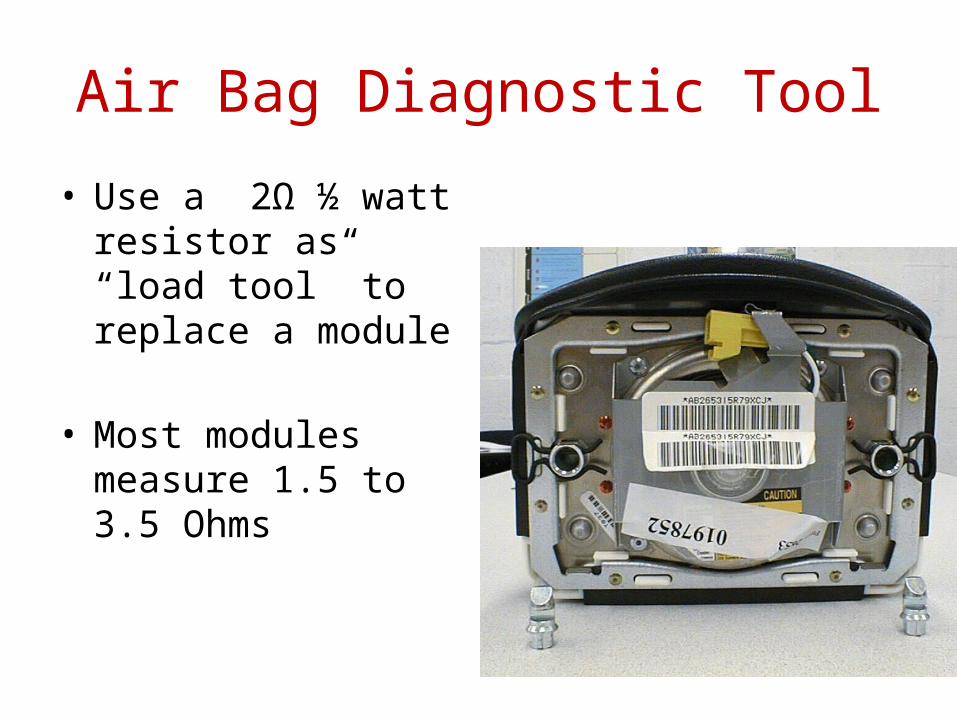
Air Bag Diagnostic Tool
• Use a 2Ω ½ watt resistor as “load tool” to replace a module
• Most modules measure 1.5 to 3.5 Ohms

Shorting Bars
• When an air bag module is disconnected, spring-loaded shorting bars short the two terminals together
• Use stir straw to cover one of the shorting bars
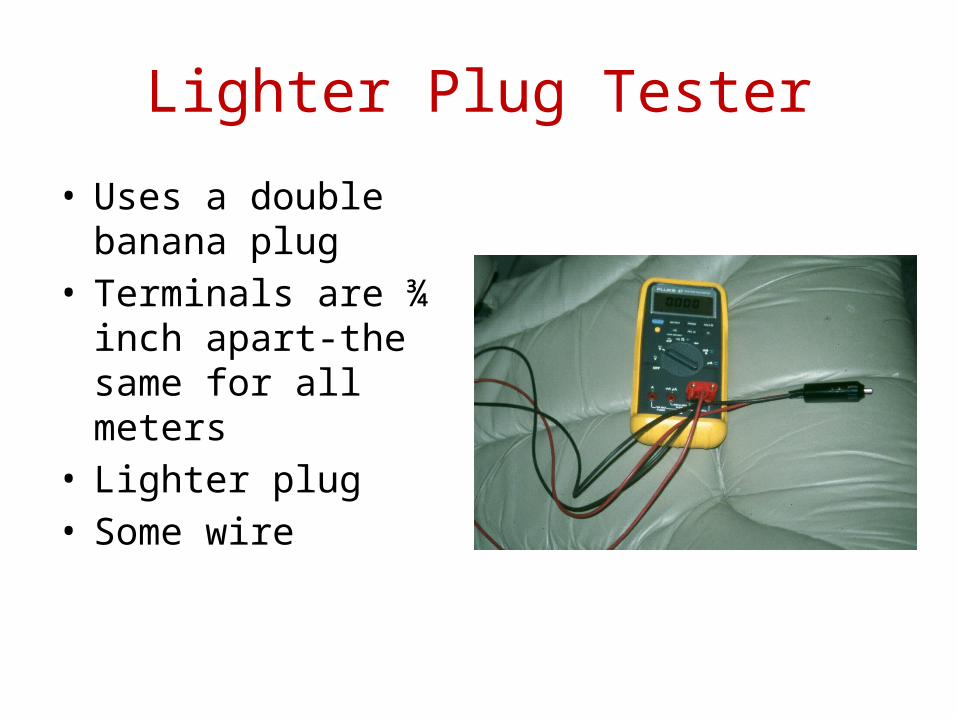
Lighter Plug Tester
• Uses a double banana plug
• Terminals are ¾ inch apart-the same for all meters
• Lighter plug• Some wire
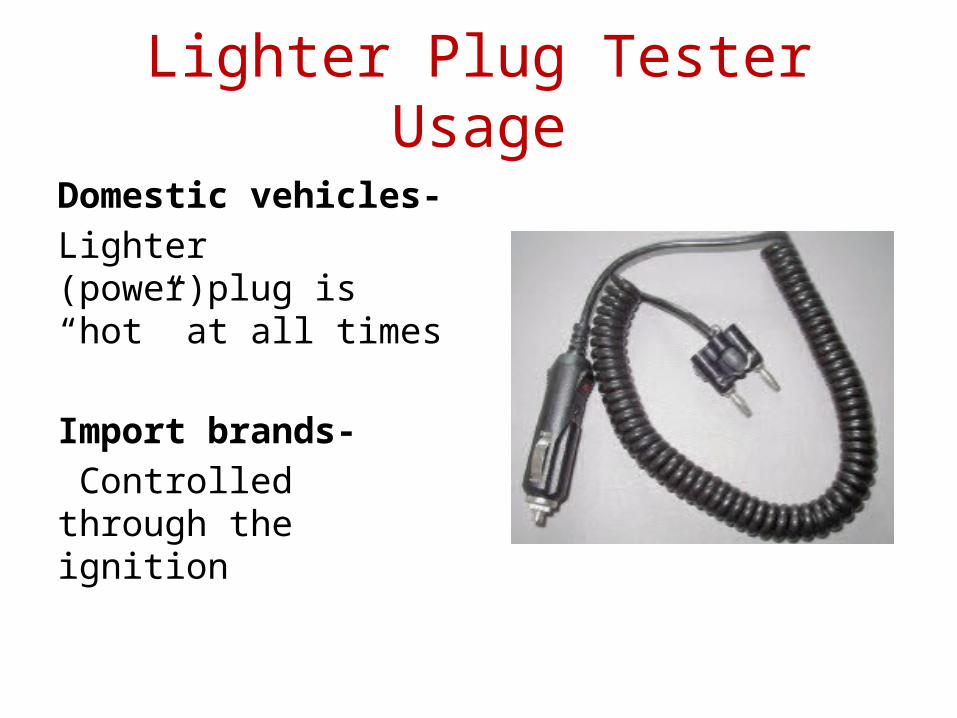
Lighter Plug Tester Usage
Domestic vehicles- Lighter (power)plug is “hot” at all times
Import brands- Controlled through the ignition
Using the lighter Plug-#1
Battery Testing-• Connect and watch voltmeter and turn on
high beam headlights.• Watch voltage drop• After it stabilizes, turn off the lights• Watch how fast the voltage increases• The final voltage is the SOC.
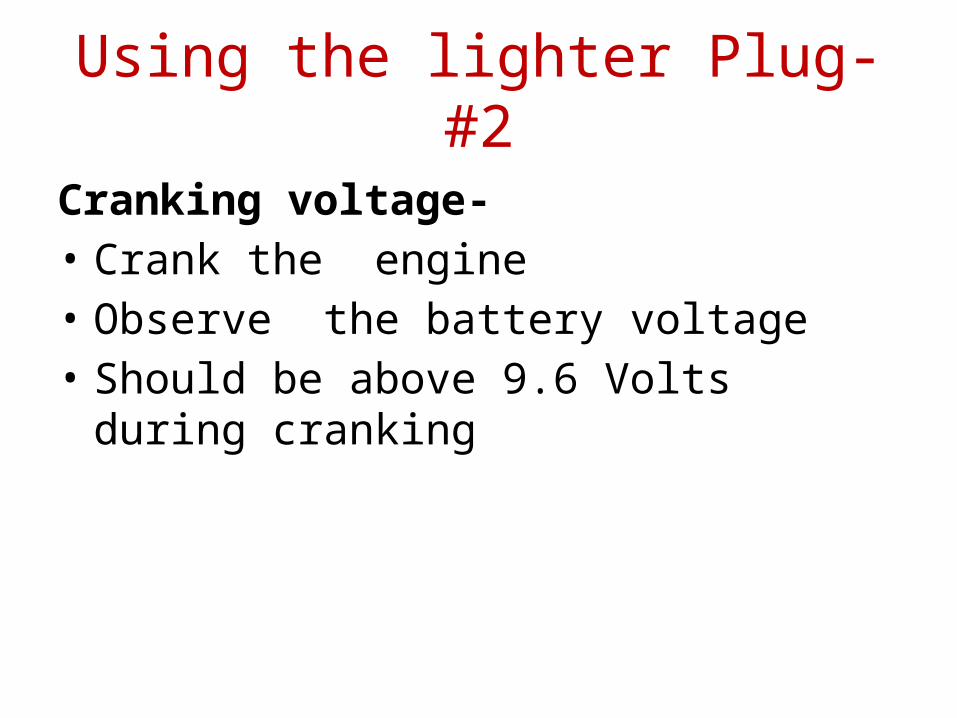
Using the lighter Plug-#2
Cranking voltage-• Crank the engine• Observe the battery voltage• Should be above 9.6 Volts during cranking
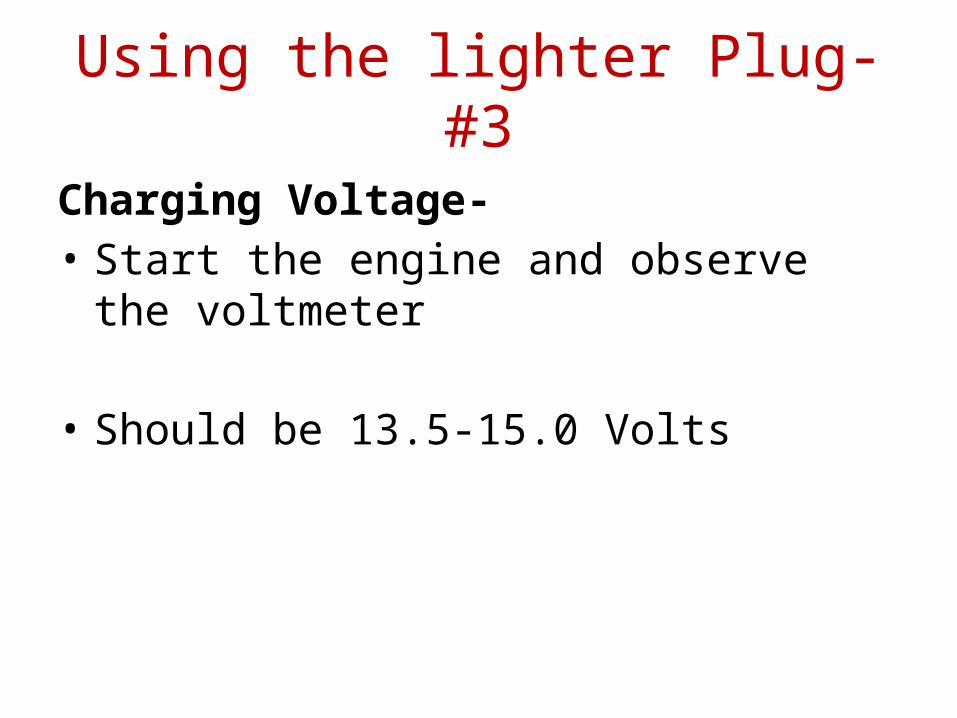
Using the lighter Plug-#3
Charging Voltage-• Start the engine and observe the voltmeter
• Should be 13.5-15.0 Volts

Using the lighter Plug-#4
AC Ripple Voltage-• Start the engine• Turn on the headlights to provide an electrical
load• Switch meter to read AC volts• Should be less than 0.5 Volt

Diodes
• I do not wait to get to the electronics part of the course to teach diodes
• Most students can easily understand a diode
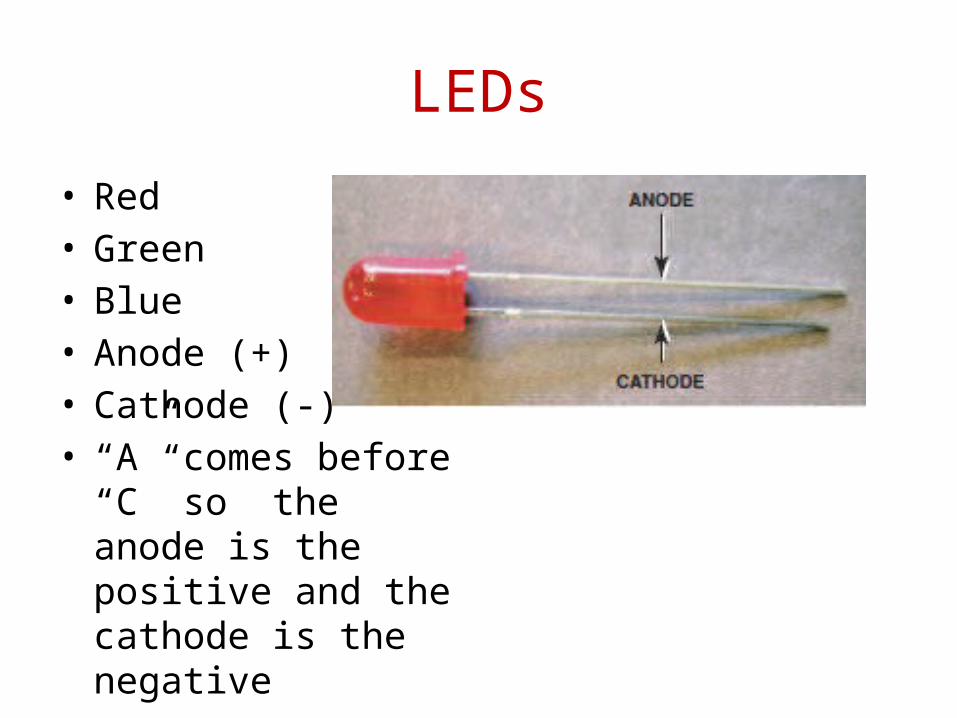
LEDs
• Red• Green• Blue• Anode (+)• Cathode (-)• “A” comes before “C”
so the anode is the positive and the cathode is the negative

LED Test Light
• One LED
• One 470Ω ½ W resistor
• A clicker style pen
• Some wire etc.

Memory Saver
• Very popular
• Can be used with a 9-Volt battery
• Can be connected to a jump box

OBD II DLC Memory Saver
• Use OBD II male connector…Pin #4(-) and #16(+) to lighter plug and to a jump box

Theft Deterrent
• Very popular
• Many students build this and install on their own vehicle
• Easy to build
• How does it work?
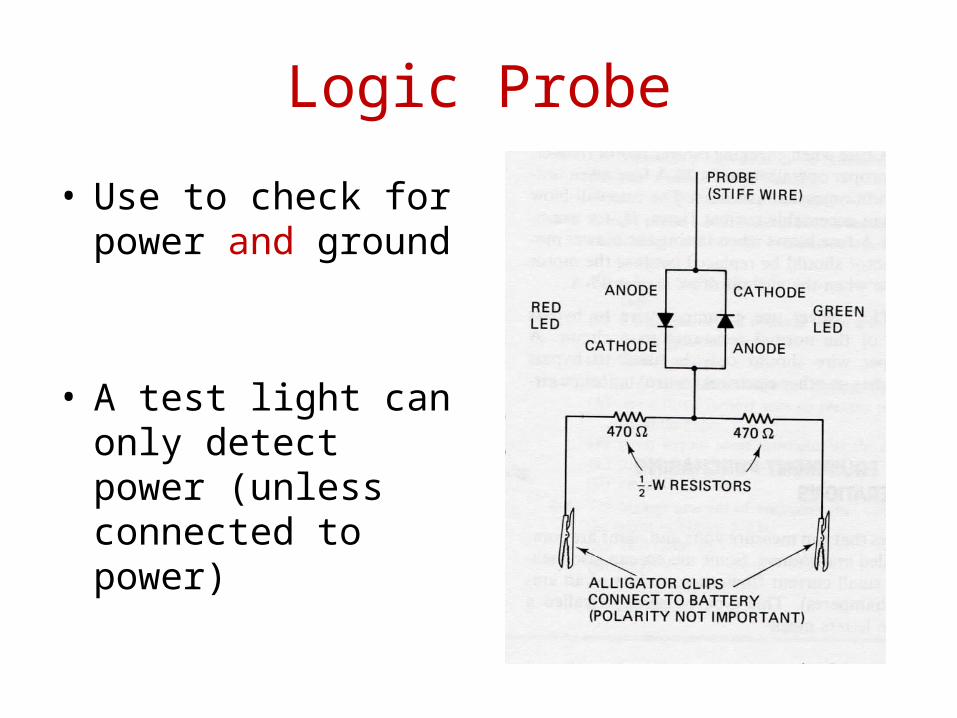
Logic Probe
• Use to check for power and ground
• A test light can only detect power (unless connected to power)

Parts ListPROJECT #1 (Air Bag load tool)
• 2 ohm resistor and label• One stir stick straw
PROJECT #2 (Speaker tester)
• Battery holder
PROJECT #3 (Lighter plug test tool)
• Double banana plug• Lighter plug (male end with wire) – need
to cut and strip wire• Two black cable ties• Pocket screwdriver
PROJECT #4 (LED test light)• LED• 470 ohm resistor-1/2 Watt• Two stripped wires• 1 wire nut
PROJECT #5 (Logic probe)• One red LED• One green LED• Two-470 ohm resistors• Three stripped wires• 3 wire nuts

Parts and Prices

Parts and Prices #2

Electrical parts suppliers that I use
• www.amazon.com• www.vetco.net• www.meci.com (Mendelsons)• www.parts-express.com• www.radioshack.com

Summary
• Students love hands-on activities• I try to get their hands on meters as soon as
possible• I give them projects that they can make using
low-cost parts.• Projects that are useful• Have fun teaching electrical
Contact Information
• For a copy of this presentation go to:• www.jameshalderman.com• Click on “Jim’s Stuff”• Click on “Conference Power Points”