Floriani Embroidery Project - RNK Distributing · Floriani Embroidery Project EMBROIDERED LACE BOWL...
4
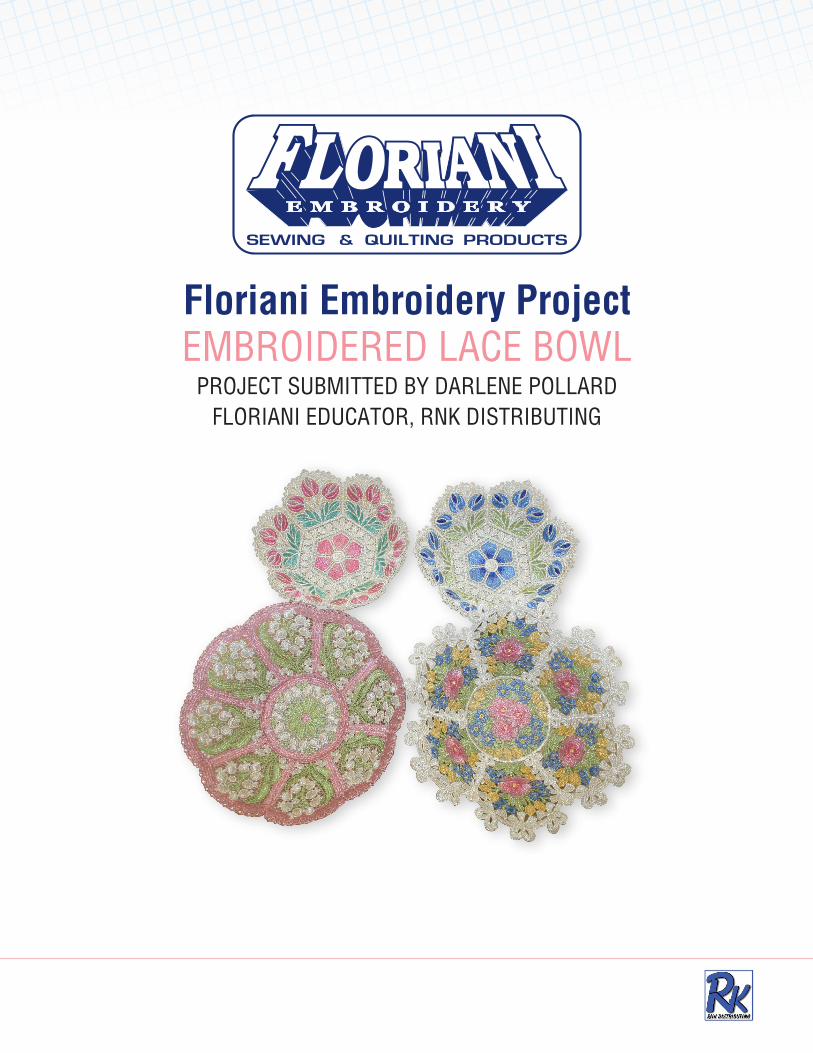
Floriani Embroidery Project EMBROIDERED LACE BOWL PROJECT SUBMITTED BY DARLENE POLLARD FLORIANI EDUCATOR, RNK DISTRIBUTING
Transcript of Floriani Embroidery Project - RNK Distributing · Floriani Embroidery Project EMBROIDERED LACE BOWL...
Floriani Embroidery ProjectEMBROIDERED LACE BOWL
PROJECT SUBMITTED BY DARLENE POLLARDFLORIANI EDUCATOR, RNK DISTRIBUTING
Floriani Embroidery ProjectEMBROIDERED LACE BOWL
PROJECT SUBMITTED BY DARLENE POLLARDFLORIANI EDUCATOR, RNK DISTRIBUTING
2 Floriani...The Name That Means Beautiful Quilting and Embroidery!
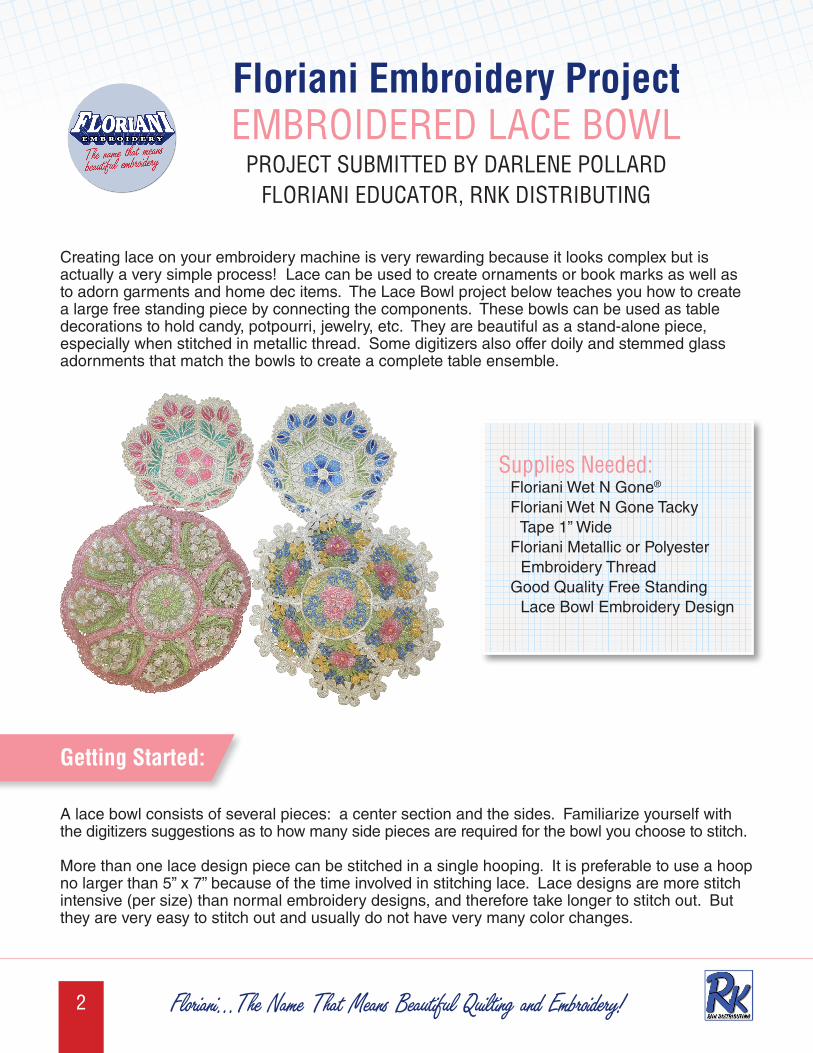
Creating lace on your embroidery machine is very rewarding because it looks complex but is actually a very simple process! Lace can be used to create ornaments or book marks as well as to adorn garments and home dec items. The Lace Bowl project below teaches you how to create a large free standing piece by connecting the components. These bowls can be used as table decorations to hold candy, potpourri, jewelry, etc. They are beautiful as a stand-alone piece, especially when stitched in metallic thread. Some digitizers also offer doily and stemmed glass adornments that match the bowls to create a complete table ensemble.
Supplies Needed: Floriani Wet N Gone®
Floriani Wet N Gone Tacky Tape 1” Wide Floriani Metallic or Polyester Embroidery Thread Good Quality Free Standing Lace Bowl Embroidery Design
A lace bowl consists of several pieces: a center section and the sides. Familiarize yourself with the digitizers suggestions as to how many side pieces are required for the bowl you choose to stitch. More than one lace design piece can be stitched in a single hooping. It is preferable to use a hoop no larger than 5” x 7” because of the time involved in stitching lace. Lace designs are more stitch intensive (per size) than normal embroidery designs, and therefore take longer to stitch out. But they are very easy to stitch out and usually do not have very many color changes.
Getting Started:
3 Floriani...The Name That Means Beautiful Quilting and Embroidery!
To Embroider the Lace Bowl Pieces:
1. Begin by laying out the designs parts on the machine screen or in your embroidery software program.
2. Wind a bobbin with the same thread that you are going to use in the needle and thread the machine.
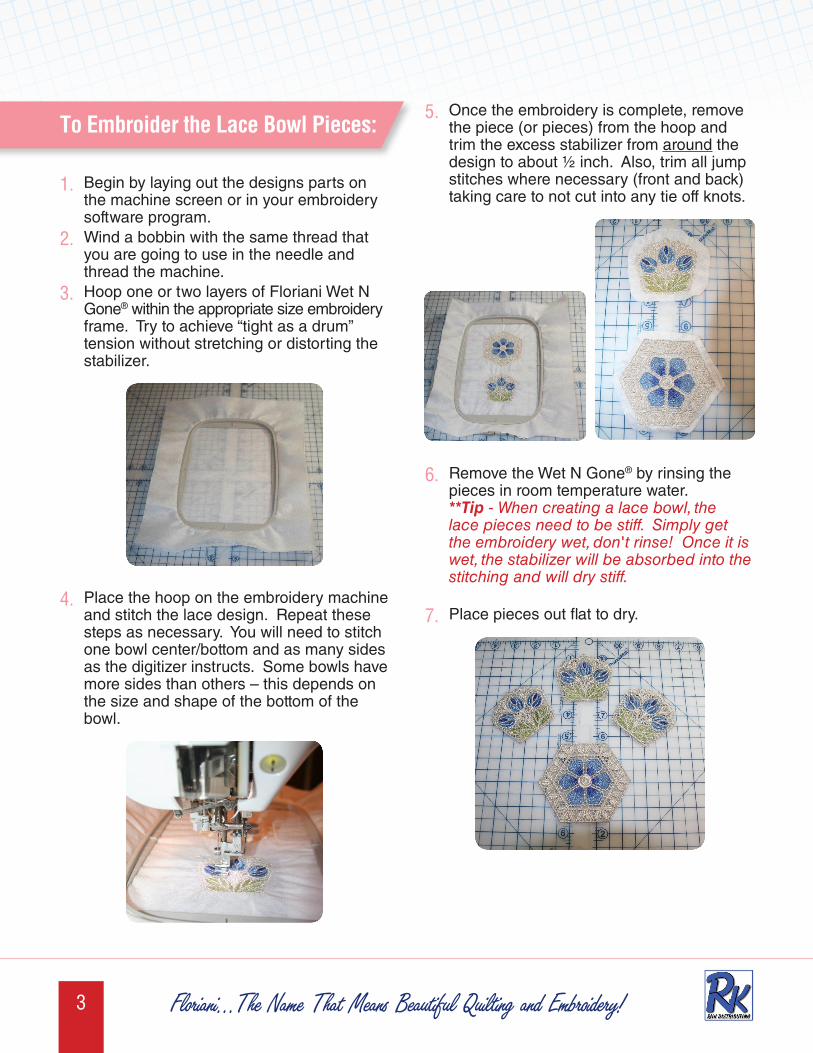
3. Hoop one or two layers of Floriani Wet N Gone® within the appropriate size embroidery frame. Try to achieve “tight as a drum” tension without stretching or distorting the stabilizer.
4. Place the hoop on the embroidery machine and stitch the lace design. Repeat these steps as necessary. You will need to stitch one bowl center/bottom and as many sides as the digitizer instructs. Some bowls have more sides than others – this depends on the size and shape of the bottom of the bowl.
5. Once the embroidery is complete, remove the piece (or pieces) from the hoop and trim the excess stabilizer from around the design to about ½ inch. Also, trim all jump stitches where necessary (front and back) taking care to not cut into any tie off knots.
6. Remove the Wet N Gone® by rinsing the pieces in room temperature water. **Tip - When creating a lace bowl, the lace pieces need to be stiff. Simply get the embroidery wet, don't rinse! Once it is wet, the stabilizer will be absorbed into the stitching and will dry stiff.
7. Place pieces out flat to dry.
To Assemble the Lace Bowl:
1. If the bowl has hexagon bottom (or straight edges), tape the sides of the bowl to the bottom using Floriani Wet N Gone Tacky Tape 1” wide. This tape can be stitched through without gumming up your needle and then simply rinses away. Make sure that you have lined up the sides to the bottom evenly spaced. **TIP - If the bowl bottom is round, tape and stitch the sides together first. Then tape and stitch the sides to the bottom. Use a narrow zig zag stitch to baste the bottom into place, and then satin stitch once it all fits properly.
2. Stitch all of the sides to the bottom of the bowl using a narrow satin stitch (stitching through the tape). Use the same thread that was used when you embroidered the pieces. When you have finished stitching the pieces together, do not pull off the Floriani Wet N Gone Tacky Tape, it will be dissolved away later.
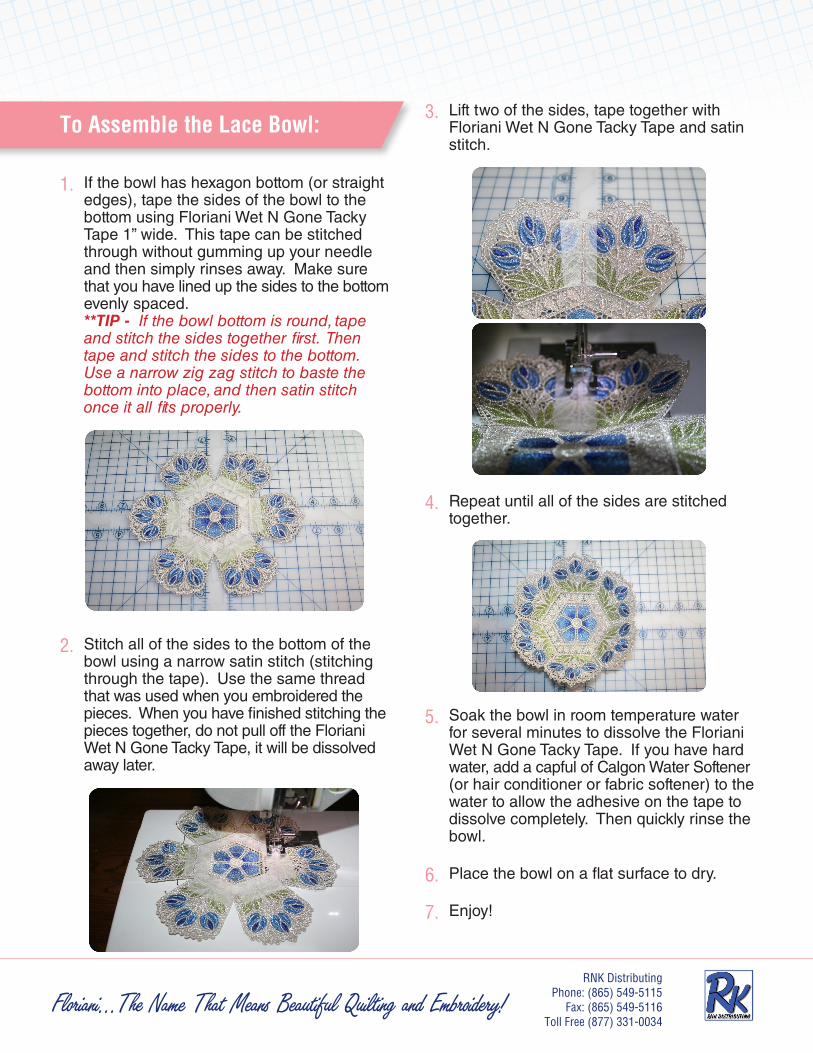
3. Lift two of the sides, tape together with Floriani Wet N Gone Tacky Tape and satin stitch.
4. Repeat until all of the sides are stitched together.
5. Soak the bowl in room temperature water for several minutes to dissolve the Floriani Wet N Gone Tacky Tape. If you have hard water, add a capful of Calgon Water Softener (or hair conditioner or fabric softener) to the water to allow the adhesive on the tape to dissolve completely. Then quickly rinse the bowl.
6. Place the bowl on a flat surface to dry.
7. Enjoy!
RNK DistributingPhone: (865) 549-5115
Fax: (865) 549-5116Toll Free (877) 331-0034
Floriani...The Name That Means Beautiful Quilting and Embroidery!