DIY Samsung Galaxy S4 Wireless Charging Under $30
12
DIY Samsung Galaxy S4 Wireless Charging for Under $30 hackintech1.wordpress.com /2013/07/30/diy-samsung-galaxy-s4-wireless-charging-f or-under-30/ If you have ever looked at buying a wireless charger for your Galaxy S4 then you know that they are pretty expensive. They normally cost about $80-$90. Why pay that much when you can do it yourself? I’m going to show you an easy way to do exactly that. First there are a few things you will need before you get started: Palm Pixi Touchstone back cover Palm Pre charging cable Palm Touchstone charging dock Copper tape (2 pieces 2 1/4 in. long, 2 pieces 3/4 in. long) Tools needed: Thin knife Tape (clear or similar) Sticky note or small piece of paper Pen Multimeter (optional) So let’s get started, I will post mostly pictures and explain what and how to do it in the picture/video.This is the Galaxy S4 and the Palm Pixi case. Once we are done you will be able to charge your Galaxy S4 on charger the same way that the Pixi case is sitting on the charger.
-
Upload
gwoodguy -
Category
Technology
-
view
285 -
download
0
Transcript of DIY Samsung Galaxy S4 Wireless Charging Under $30
DIY Samsung Galaxy S4 Wireless Charging for Under $30hackintech1.wordpress.com /2013/07/30/diy-samsung-galaxy-s4-wireless-charging-f or-under-30/
If you have ever looked at buying a wireless charger for your Galaxy S4 then you know that they are pretty expensive.They normally cost about $80-$90. Why pay that much when you can do it yourself? I’m going to show you an easy wayto do exactly that.
First there are a few things you will need before you get started:
Palm Pixi Touchstone back cover
Palm Pre charging cable
Palm Touchstone charging dock
Copper tape (2 pieces 2 1/4 in. long, 2 pieces 3/4 in. long)
Tools needed:
Thin knife
Tape (clear or similar)
Sticky note or small piece of paper
Pen
Multimeter (optional)
So let’s get started, I will post mostly pictures and explain what and how to do it in the picture/video.This is the GalaxyS4 and the Palm Pixi case. Once we are done you will be able to charge your Galaxy S4 on charger the same way thatthe Pixi case is sitting on the charger.
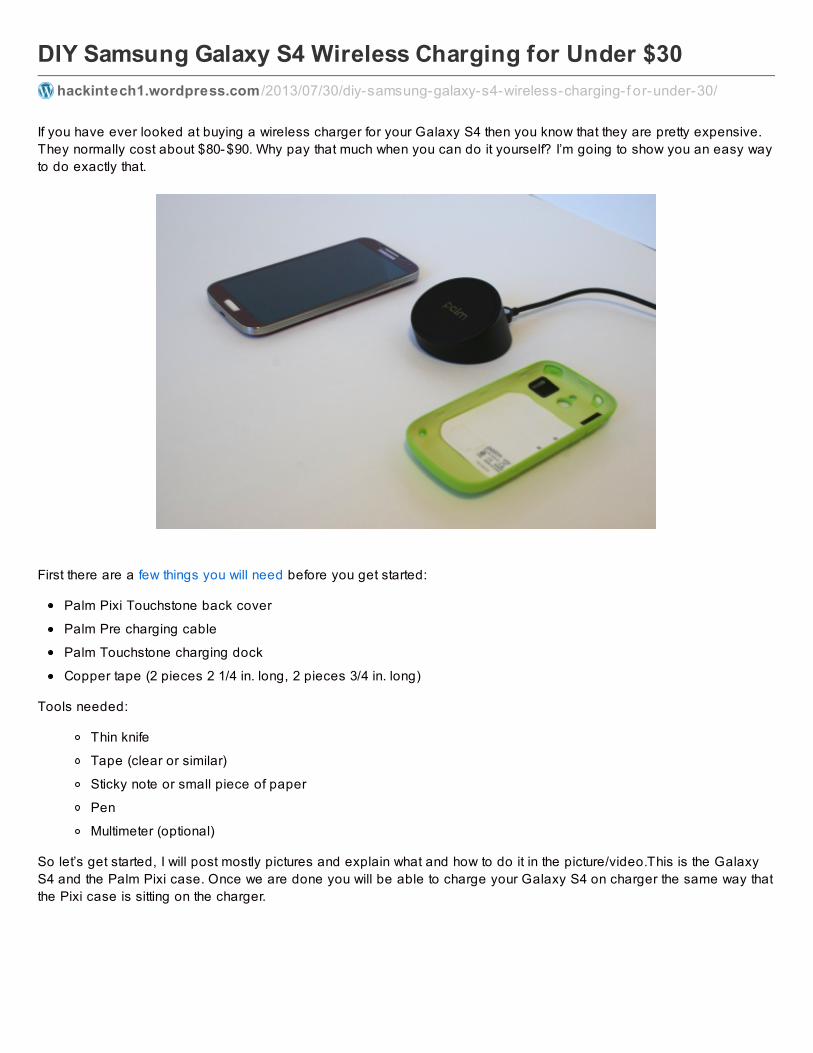
1. The first step of this Frankenstein mod is to remove the white plastic cover. You should be able to peel it up with yourfingernail or thin knife. **Be careful when peeling the white cover off the components behind it may try to come off with it.**Set that aside you may want it later.2. Next remove the rib cage metal sheet, again be careful not to rip it or pull to fast. Set this aside, you will need thislater.
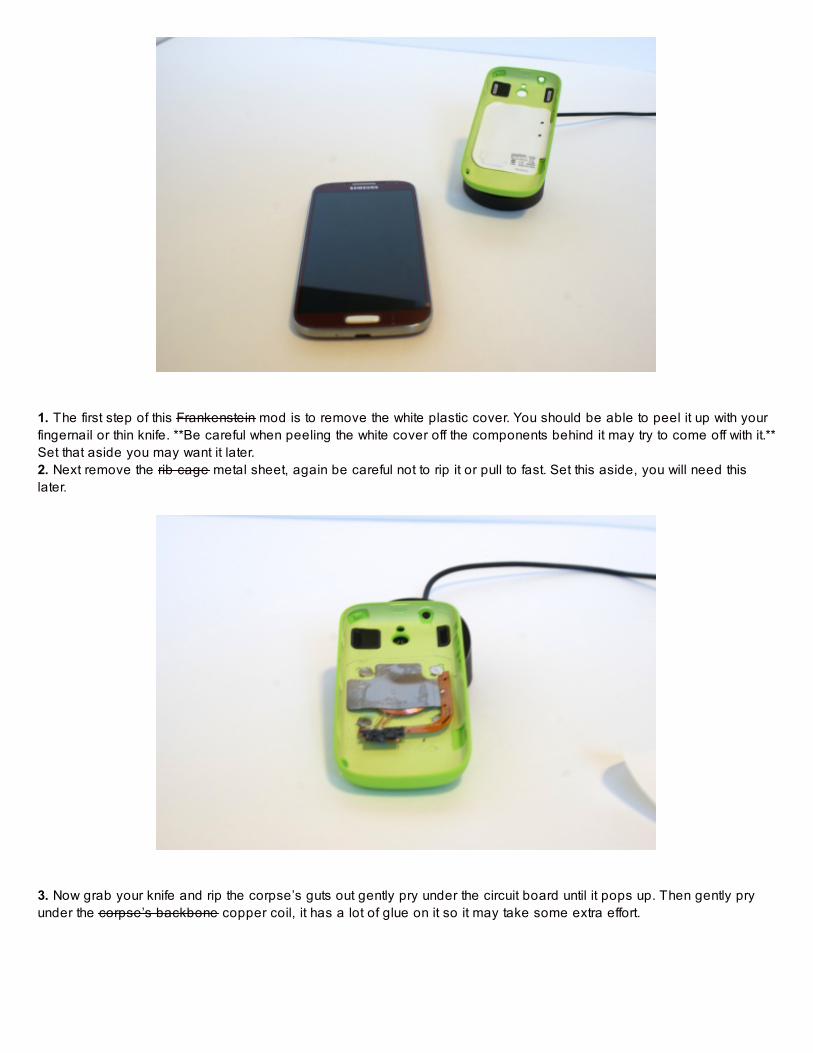
3. Now grab your knife and rip the corpse’s guts out gently pry under the circuit board until it pops up. Then gently pryunder the corpse’s backbone copper coil, it has a lot of glue on it so it may take some extra effort.
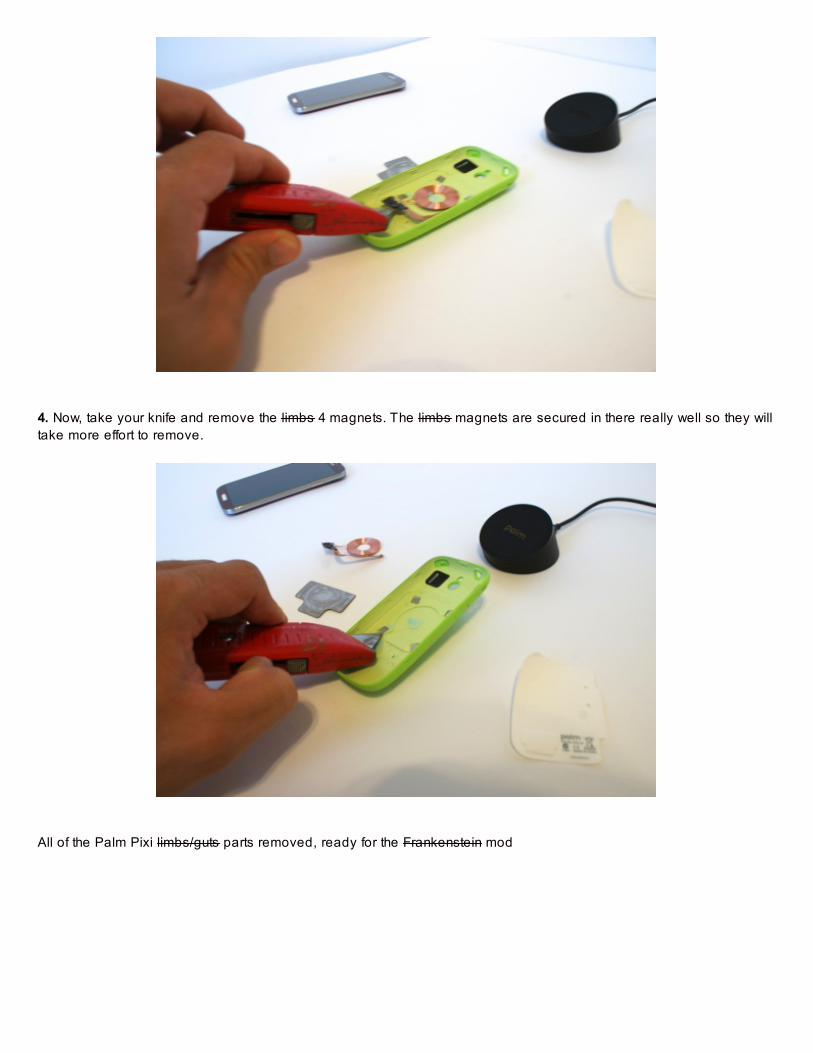
4. Now, take your knife and remove the limbs 4 magnets. The limbs magnets are secured in there really well so they willtake more effort to remove.
All of the Palm Pixi limbs/guts parts removed, ready for the Frankenstein mod
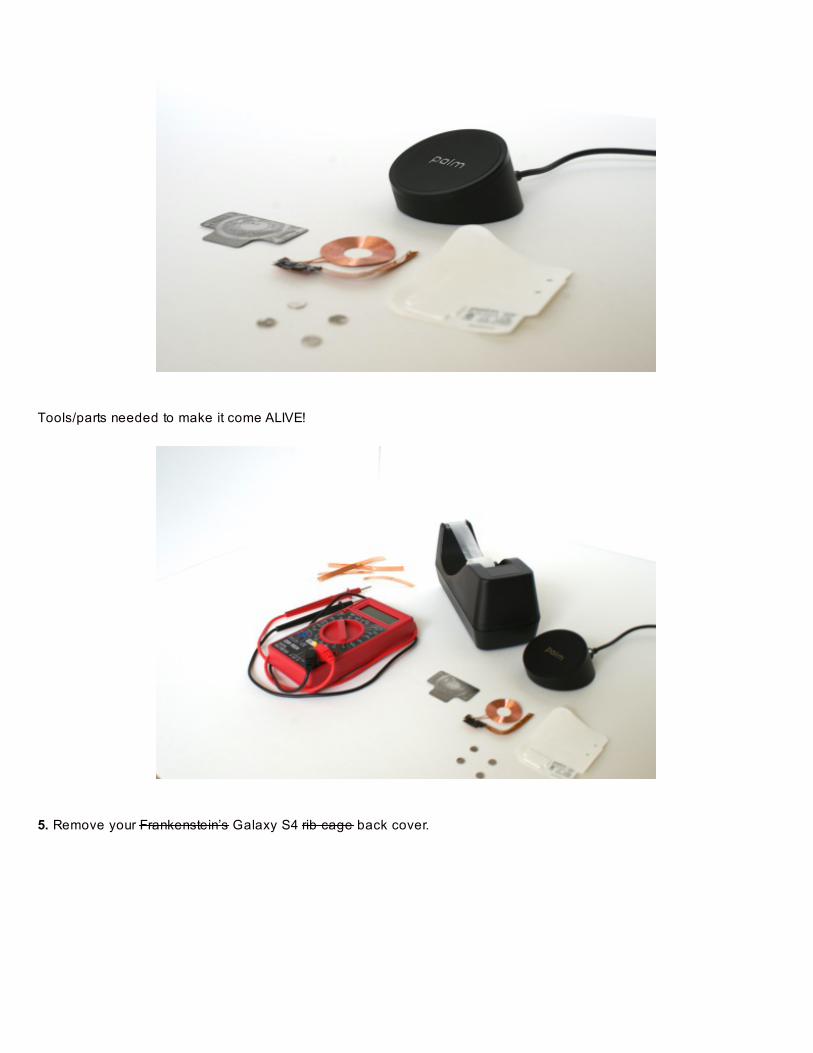
Tools/parts needed to make it come ALIVE!
5. Remove your Frankenstein’s Galaxy S4 rib cage back cover.
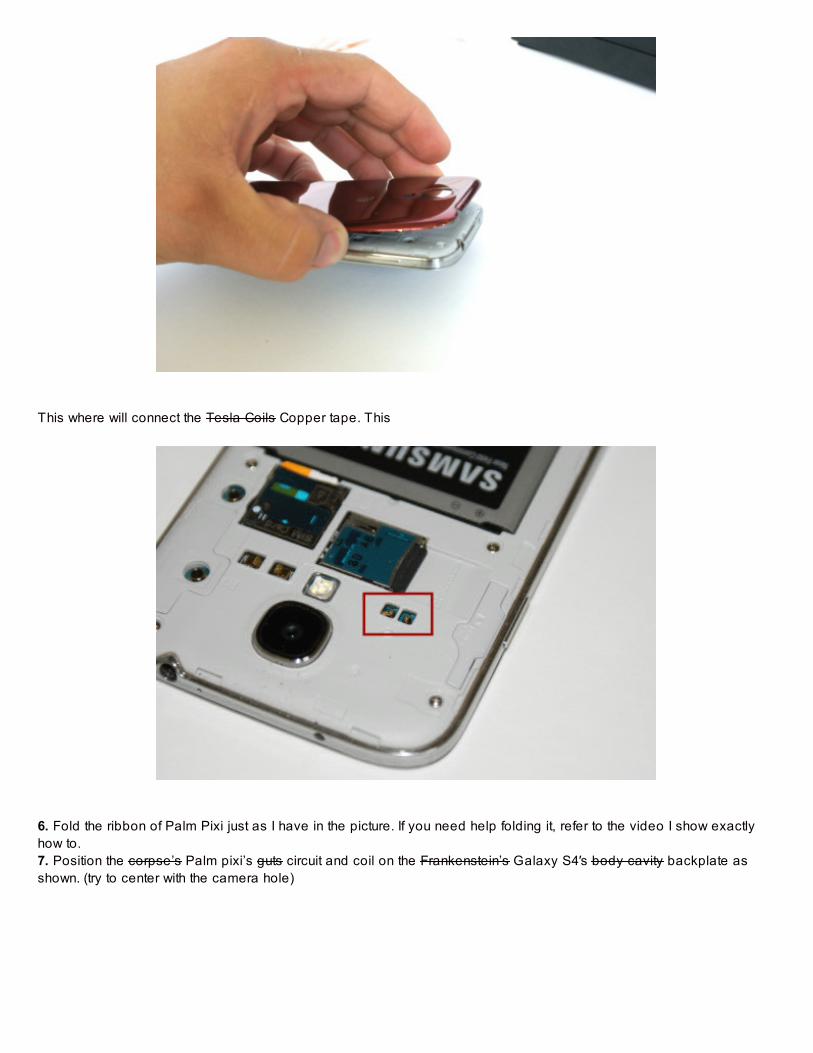
This where will connect the Tesla Coils Copper tape. This
6. Fold the ribbon of Palm Pixi just as I have in the picture. If you need help folding it, refer to the video I show exactlyhow to.7. Position the corpse’s Palm pixi’s guts circuit and coil on the Frankenstein’s Galaxy S4′s body cavity backplate asshown. (try to center with the camera hole)
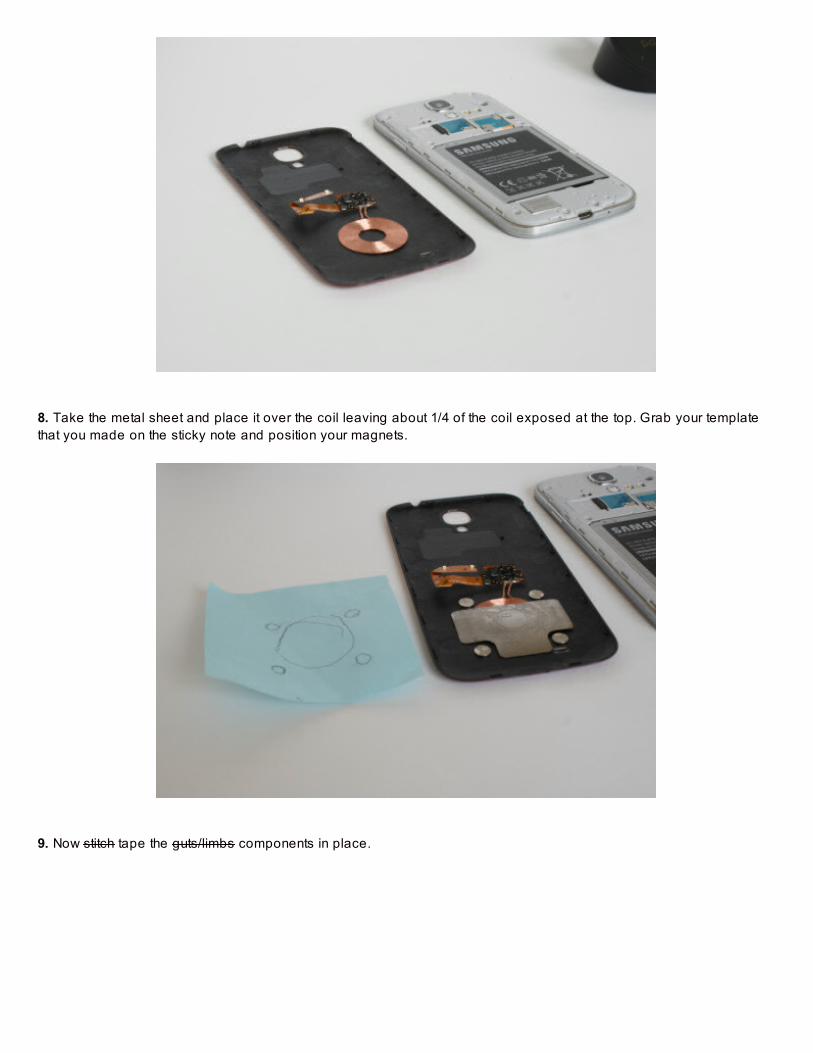
8. Take the metal sheet and place it over the coil leaving about 1/4 of the coil exposed at the top. Grab your templatethat you made on the sticky note and position your magnets.
9. Now stitch tape the guts/limbs components in place.
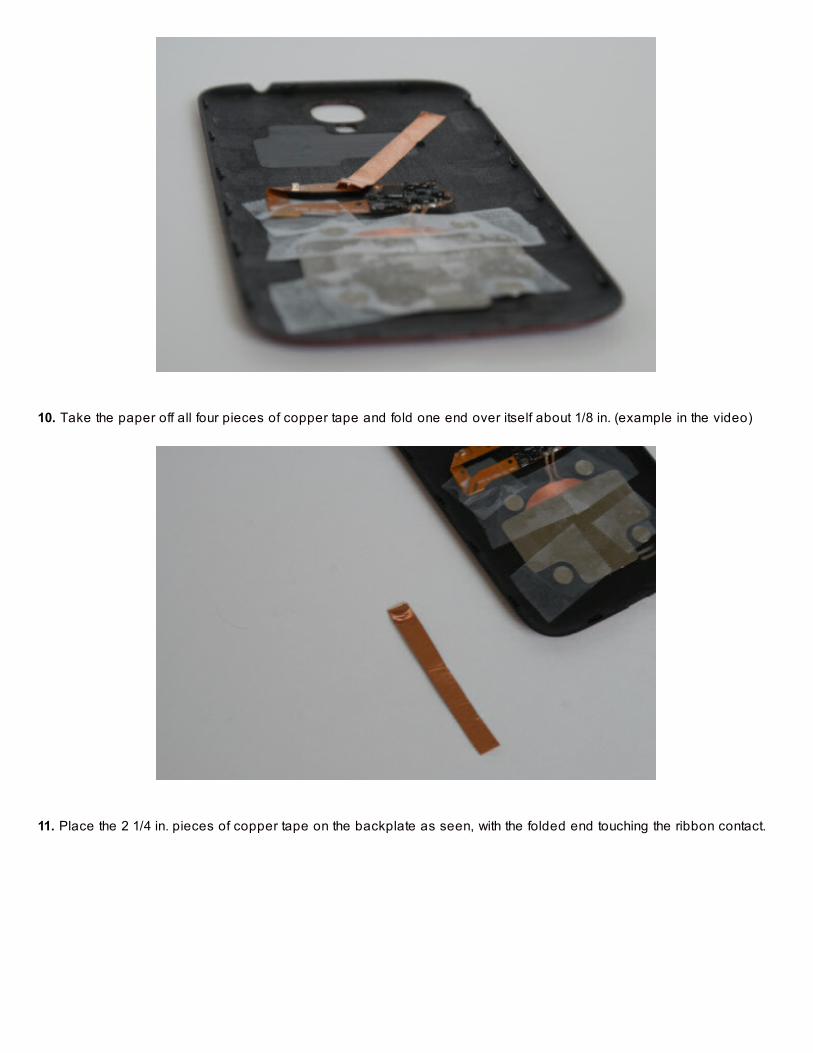
10. Take the paper off all four pieces of copper tape and fold one end over itself about 1/8 in. (example in the video)
11. Place the 2 1/4 in. pieces of copper tape on the backplate as seen, with the folded end touching the ribbon contact.
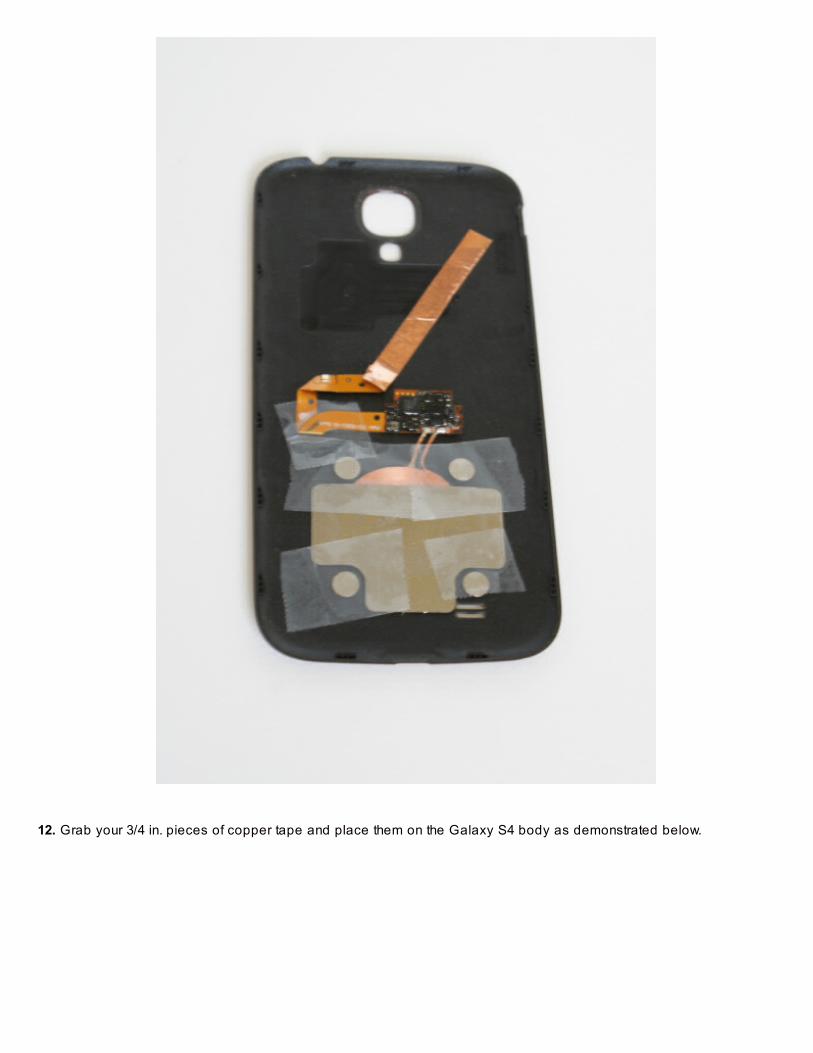
12. Grab your 3/4 in. pieces of copper tape and place them on the Galaxy S4 body as demonstrated below.
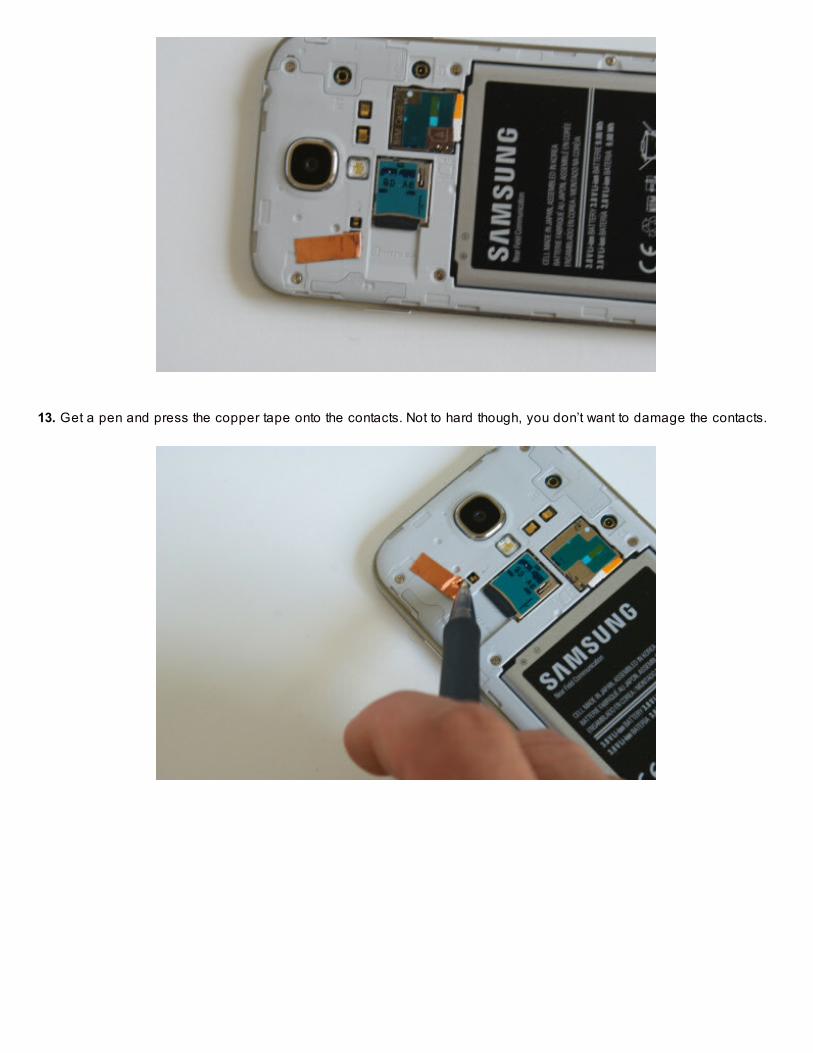
13. Get a pen and press the copper tape onto the contacts. Not to hard though, you don’t want to damage the contacts.
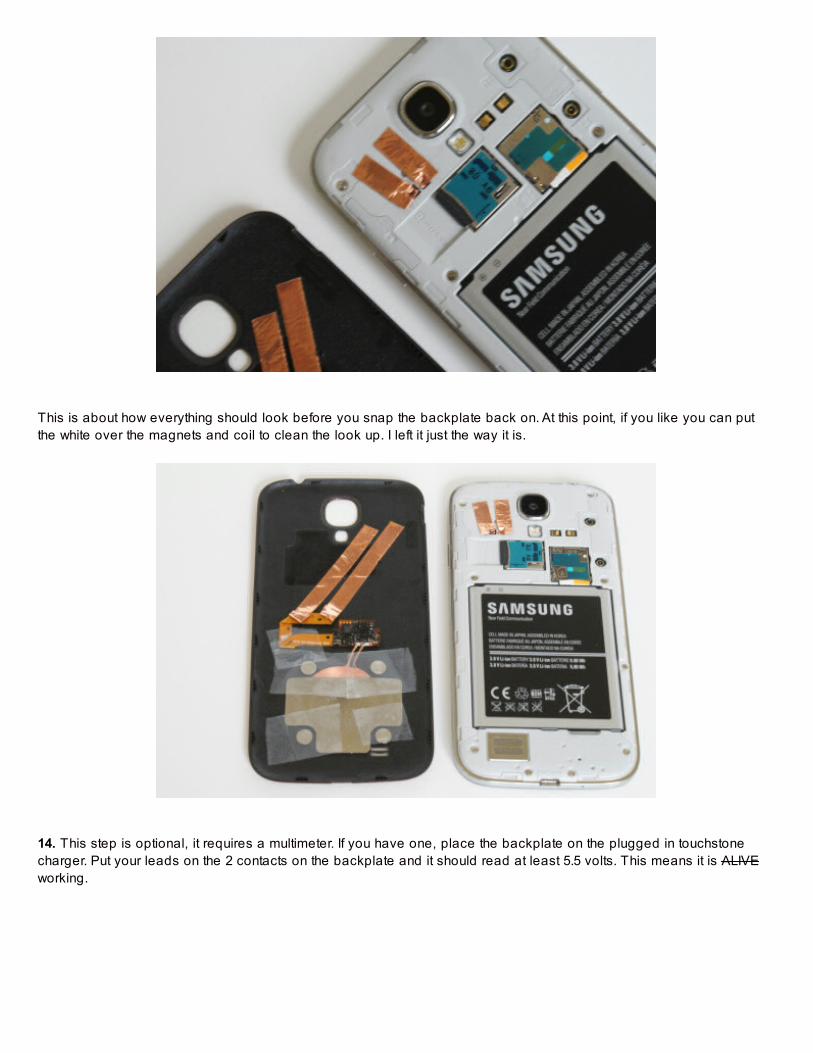
This is about how everything should look before you snap the backplate back on. At this point, if you like you can putthe white over the magnets and coil to clean the look up. I left it just the way it is.
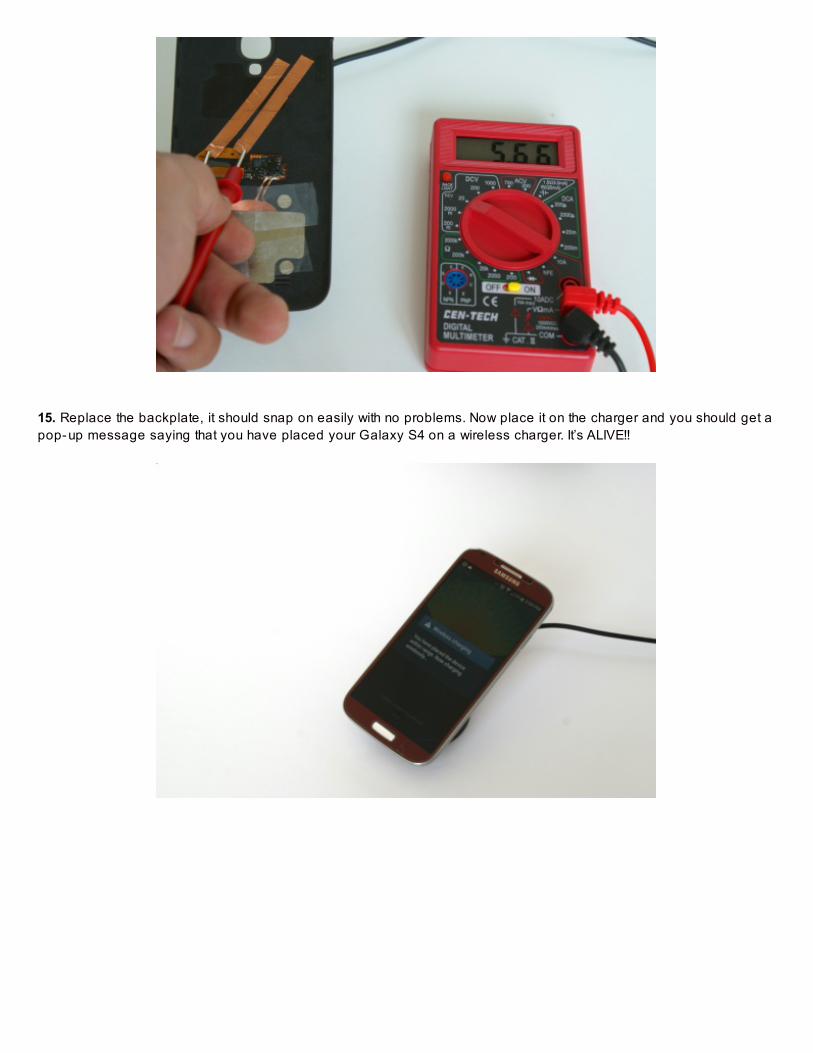
14. This step is optional, it requires a multimeter. If you have one, place the backplate on the plugged in touchstonecharger. Put your leads on the 2 contacts on the backplate and it should read at least 5.5 volts. This means it is ALIVEworking.
15. Replace the backplate, it should snap on easily with no problems. Now place it on the charger and you should get apop-up message saying that you have placed your Galaxy S4 on a wireless charger. It’s ALIVE!!
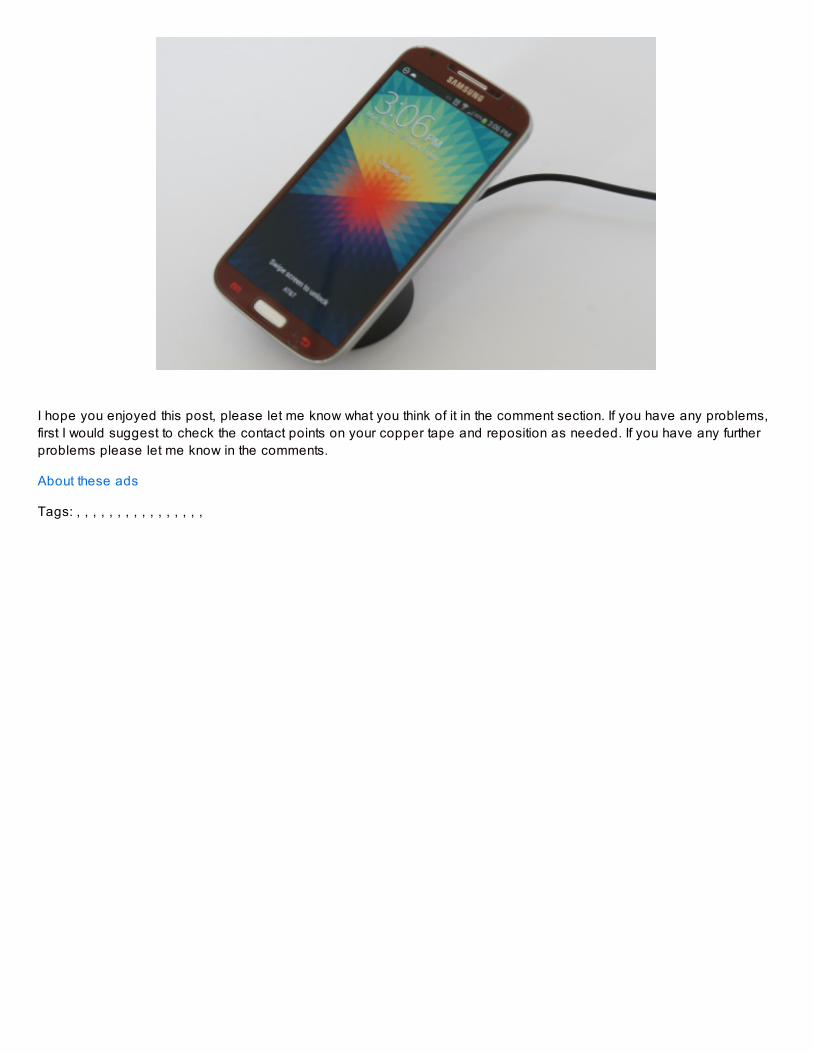
I hope you enjoyed this post, please let me know what you think of it in the comment section. If you have any problems,first I would suggest to check the contact points on your copper tape and reposition as needed. If you have any furtherproblems please let me know in the comments.
About these ads
Tags: , , , , , , , , , , , , , , , ,