Crochet Vape Holder · Form a magic ring using worsted weight yarn and a G crochet hook. Rnd 1: Ch...
2
Crochet Vape (E-Cig) Holder Abbreviations: ch = chain st = stitch sl st = slip stitch sc = single crochet sk = skip rnd(s) = round(s) Things You Will Need: • Worsted weight yarn • G crochet hook • Scissors • Button • Sewing needle and thread Special Notes: • The e-cig used for this project has a diameter slightly larger than 1/2". When testing fit, use modification suggestions for a custom fit on your electronic cigarette. • Holder is worked in continuous rnds. Do not join or ch up rnds. Sleeve Base: Form a magic ring using worsted weight yarn and a G crochet hook. Rnd 1: Ch 1, 9 sc in the ring. Pull the tail to cinch the center closed. (9 sc) Rnds 2-3: Sc around. Test Fit: 1. Insert the bottom of your e-cig into the base. 2. If the fit is too tight or too loose, undo the rounds and begin again with a smaller or larger crochet hook. 3. More or fewer sc in rnd 1 can also be done to adjust the fit. Re-test before continuing. LovetoKnow
Transcript of Crochet Vape Holder · Form a magic ring using worsted weight yarn and a G crochet hook. Rnd 1: Ch...
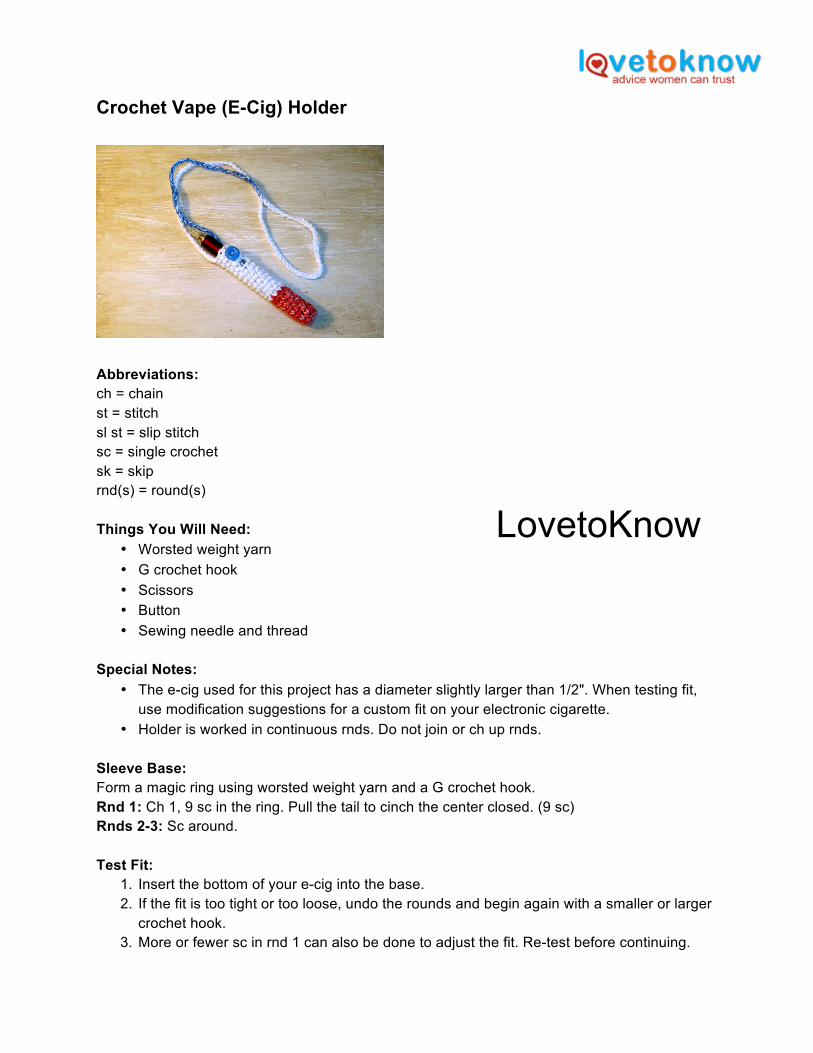
Crochet Vape (E-Cig) Holder
Abbreviations: ch = chain st = stitch sl st = slip stitch sc = single crochet sk = skip rnd(s) = round(s)
Things You Will Need: • Worsted weight yarn• G crochet hook• Scissors• Button• Sewing needle and thread
Special Notes: • The e-cig used for this project has a diameter slightly larger than 1/2". When testing fit,
use modification suggestions for a custom fit on your electronic cigarette.• Holder is worked in continuous rnds. Do not join or ch up rnds.
Sleeve Base: Form a magic ring using worsted weight yarn and a G crochet hook. Rnd 1: Ch 1, 9 sc in the ring. Pull the tail to cinch the center closed. (9 sc) Rnds 2-3: Sc around.
Test Fit: 1. Insert the bottom of your e-cig into the base.2. If the fit is too tight or too loose, undo the rounds and begin again with a smaller or larger
crochet hook.3. More or fewer sc in rnd 1 can also be done to adjust the fit. Re-test before continuing.
LovetoKnow

Continue to sc around until sleeve is just below the power button. Power Button Opening:
1. Ch 2, sk 2 sts, sc around. 2. Sc in each ch. 3. Continue to sc around until the sleeve is as tall as desired. 4. Sl st and fasten off.
Neck Strap:
1. With the power button on the sleeve facing you, attach yarn to the top edge on the side. 2. Ch 125. 3. Sl st to the top edge on the other side of the sleeve. 4. Fasten off and weave in all ends.
Embellish: Sew a button above the power button opening to finish.
LovetoKnow


![ABBREVIATIONS: …CROCHET HANDY BASKET | CROCHET 1 of 2 CROCHET HANDY BASKET | CROCHETSCC0504-002126M MEASUREMENTS Approx 10" [25.5 cm] diameter x 12" [30.5 cm] high. GAUGE 12 sc and](https://static.fdocuments.us/doc/165x107/5f09ff247e708231d42982a2/abbreviations-crochet-handy-basket-crochet-1-of-2-crochet-handy-basket-crochetscc0504-002126m.jpg)


![FLUFFY MERINGUE STITCH BLANKET | CROCHET · Say goodbye to crocheters bloc FLUFFY MERINGUE STITCH BLANKET | CROCHET MEASUREMENT Approx 30" [76 cm] square. GAUGE 21½ sc and 24 rows](https://static.fdocuments.us/doc/165x107/5b0b35397f8b9aba628d7732/fluffy-meringue-stitch-blanket-crochet-goodbye-to-crocheters-bloc-fluffy-meringue.jpg)