
Building Underwater Remotely Operated Vehicles (ROVs) in Introductory Oceanography Classes
43
Building Underwater Remotely Operated Vehicles (ROVs) in Introductory Oceanography Classes Debra Woodall, PhD
-
Upload
sage-richard -
Category
Documents
-
view
33 -
download
0
description
Building Underwater Remotely Operated Vehicles (ROVs) in Introductory Oceanography Classes. Debra Woodall, PhD. My Adventures with ROVs. Workshop sponsored by COSEE Pacific Partnership Summer 2011 Community College Faculty Institute Held at OIMB Presented by MATE. Why ROVs?. - PowerPoint PPT Presentation
Transcript of Building Underwater Remotely Operated Vehicles (ROVs) in Introductory Oceanography Classes
Building Underwater Remotely Operated
Vehicles (ROVs) in Introductory Oceanography
Classes
Debra Woodall, PhD
• Workshop sponsored by COSEE Pacific Partnership– Summer 2011
Community College Faculty Institute
• Held at OIMB• Presented by MATE
My Adventures with ROVs
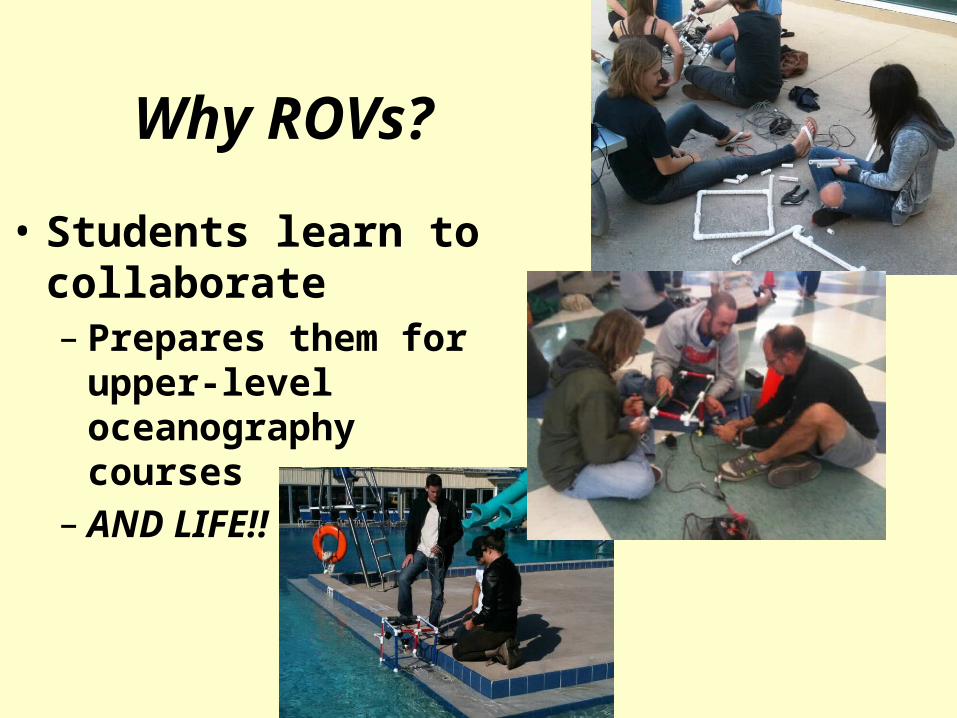
Why ROVs?
• Students learn to collaborate– Prepares them for upper-
level oceanography courses
– AND LIFE!!
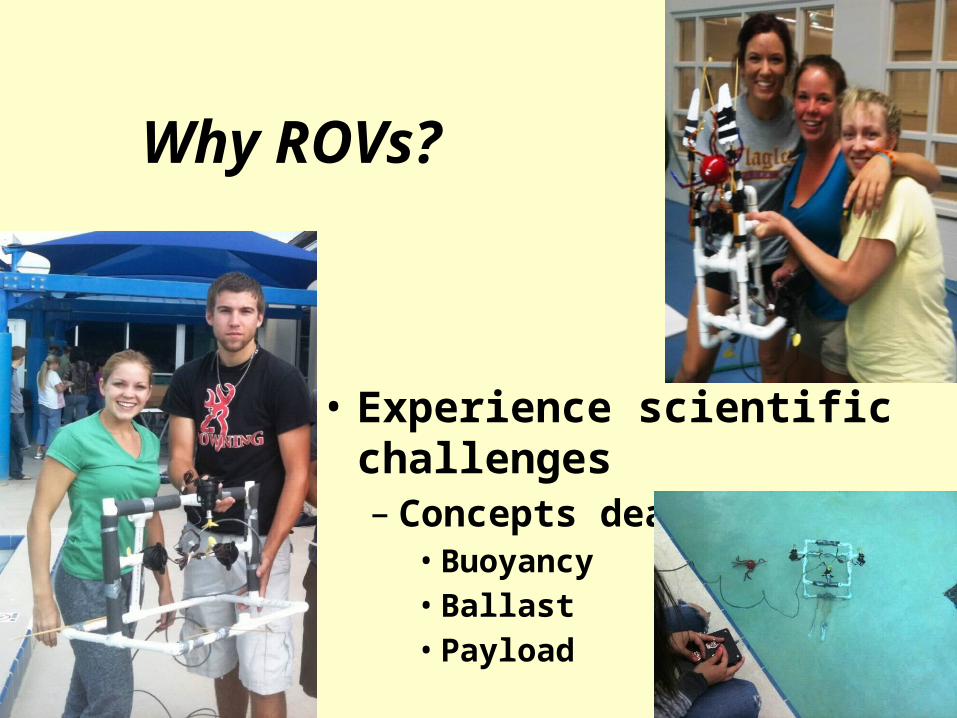
Why ROVs?
• Experience scientific challenges– Concepts dealing with
• Buoyancy• Ballast• Payload
Why ROVs?
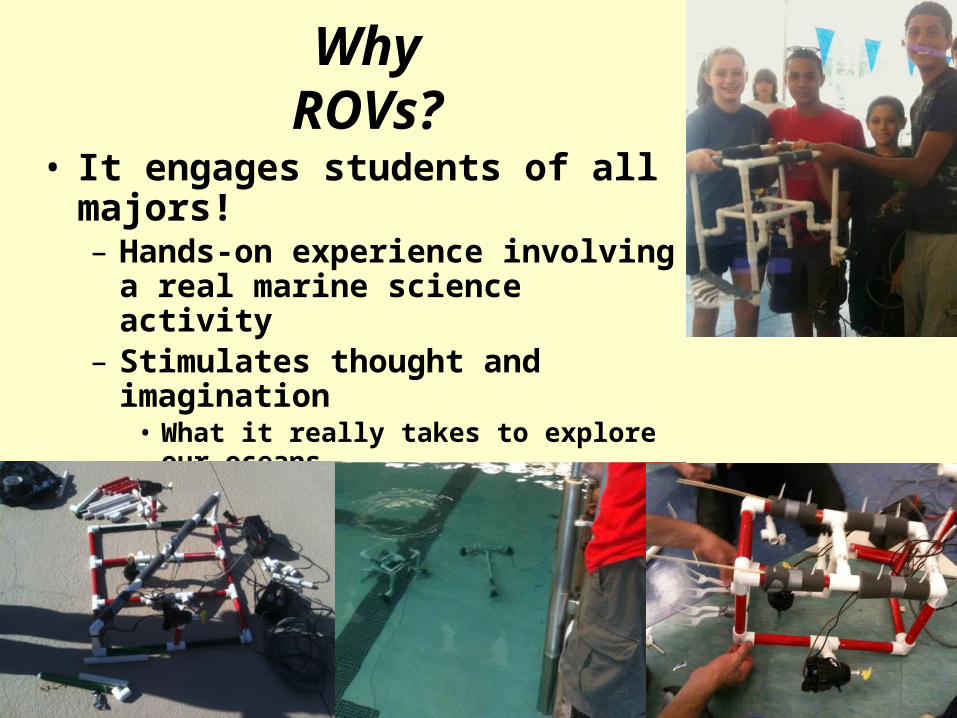
• It engages students of all majors!– Hands-on experience involving a real
marine science activity– Stimulates thought and imagination
• What it really takes to explore our oceans
• Introduces new career options
ROVs 101—building your course
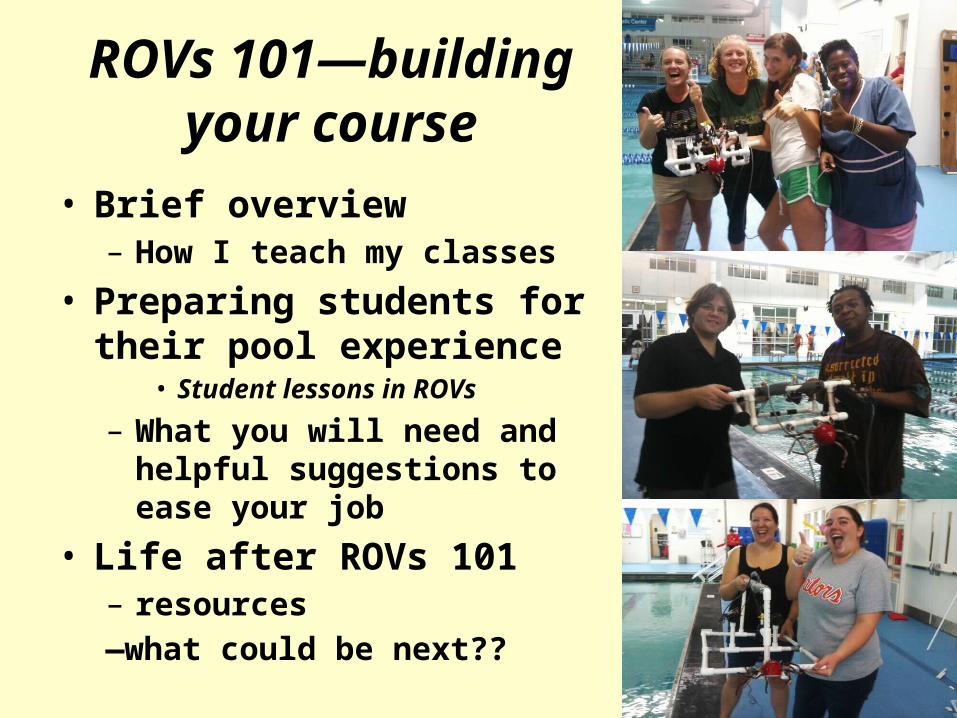
• Brief overview– How I teach my classes
• Preparing students for their pool experience
• Student lessons in ROVs
– What you will need and helpful suggestions to ease your job
• Life after ROVs 101– resources —what could be next??

How I teach my classes…• 3-4 sections of Intro to
Oceanography per semester– On the road to 2 satellite
campuses• Pool challenges
– DSC Aquatic Center– YMCA for others
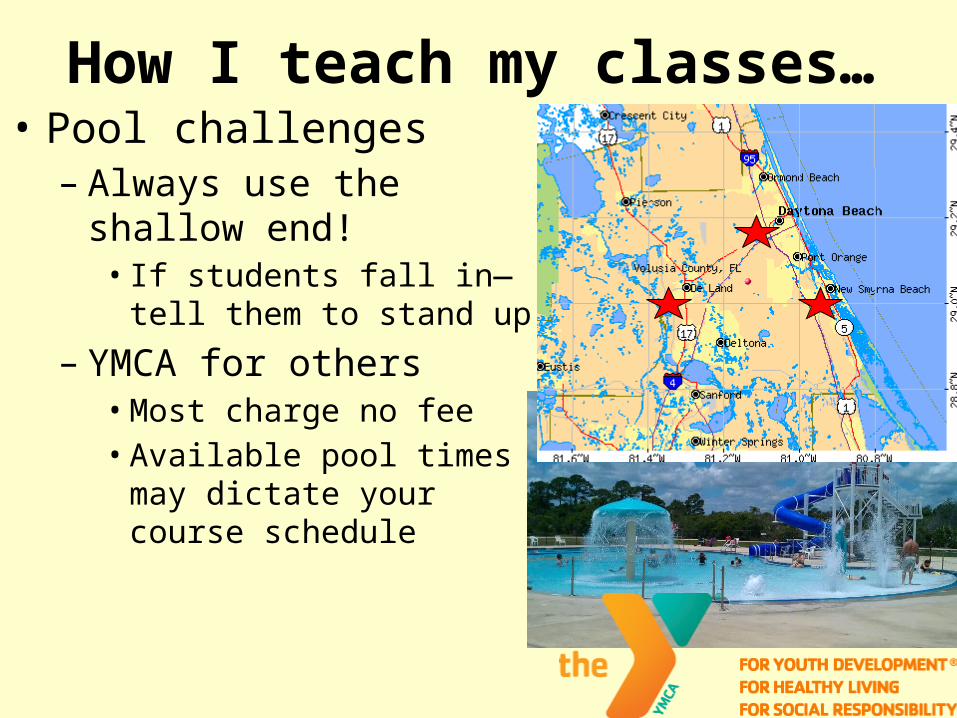
How I teach my classes…• Pool challenges
– Always use the shallow end!• If students fall in—tell them to
stand up
– YMCA for others• Most charge no fee• Available pool times may
dictate your course schedule
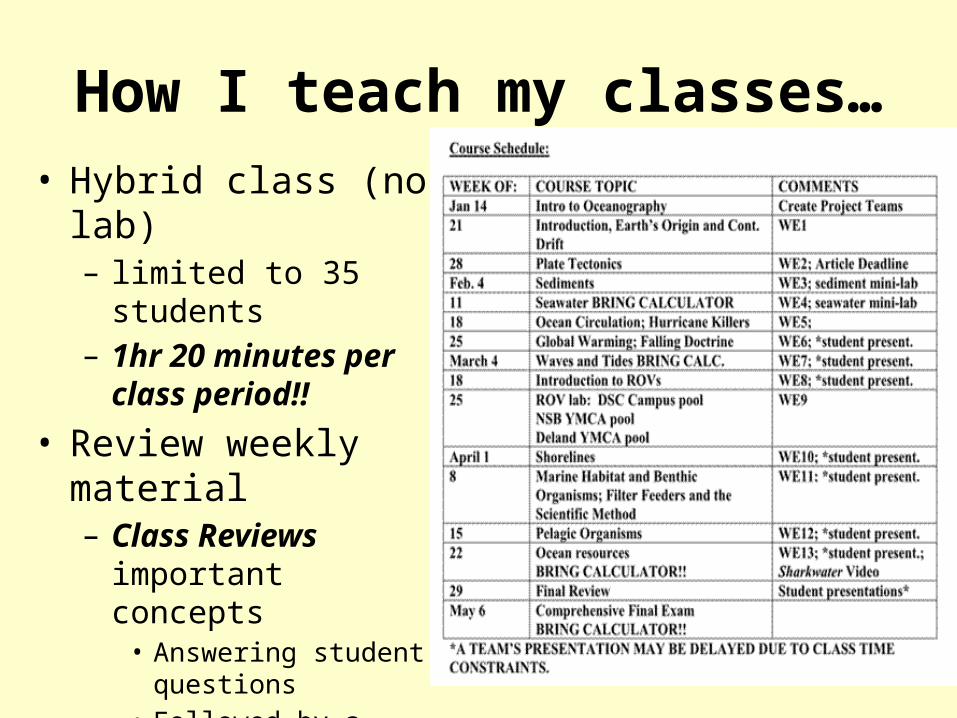
How I teach my classes…• Hybrid class (no lab)
– limited to 35 students– 1hr 20 minutes per class
period!!
• Review weekly material– Class Reviews
important concepts • Answering student
questions• Followed by a weekly
exam of the material (WE)
• ROV grade is a WE
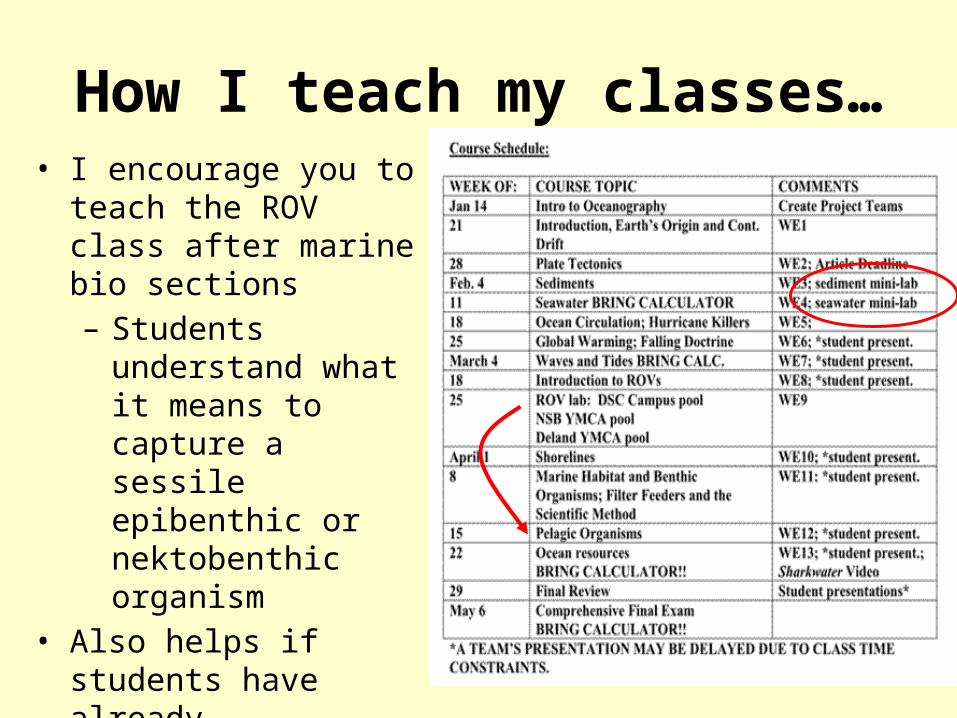
How I teach my classes…• I encourage you to teach
the ROV class after marine bio sections– Students understand
what it means to capture a sessile epibenthic or nektobenthic organism
• Also helps if students have already experienced working together (mini-labs)
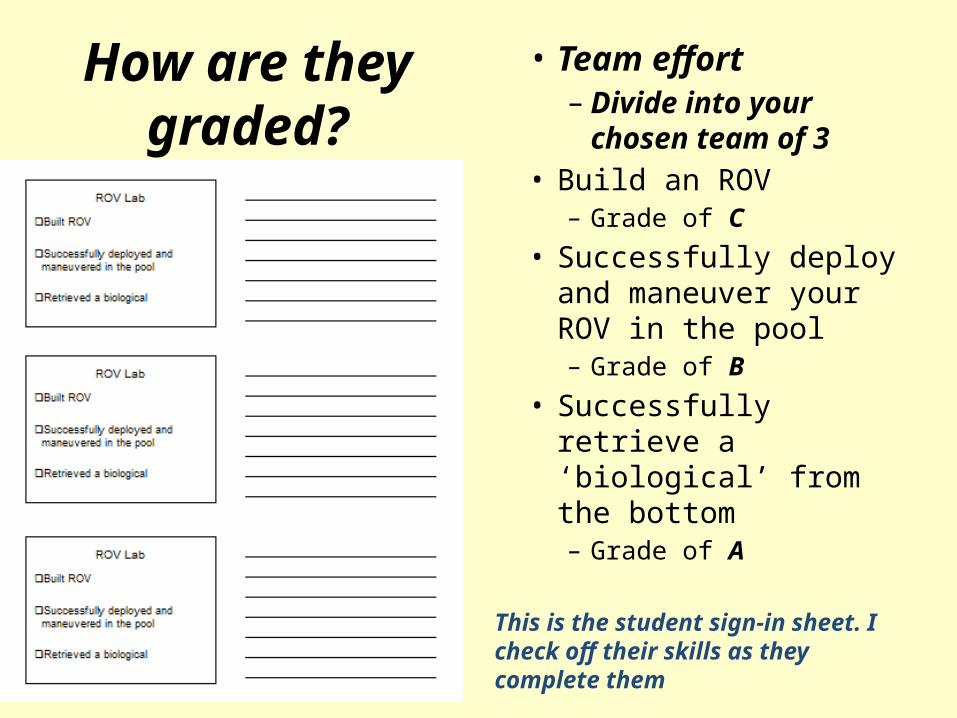
How are they graded?
• Team effort– Divide into your
chosen team of 3• Build an ROV
– Grade of C
• Successfully deploy and maneuver your ROV in the pool– Grade of B
• Successfully retrieve a ‘biological’ from the bottom– Grade of A
This is the student sign-in sheet. I check off their skills as they complete them
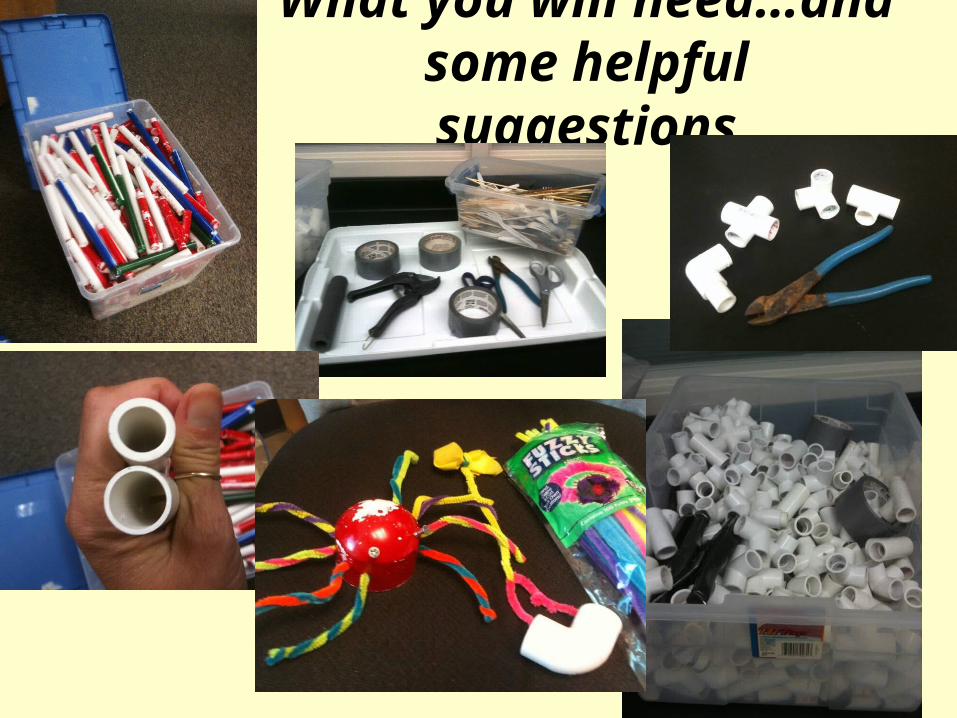
What you will need…and some helpful suggestions
What you will need…and some helpful suggestions
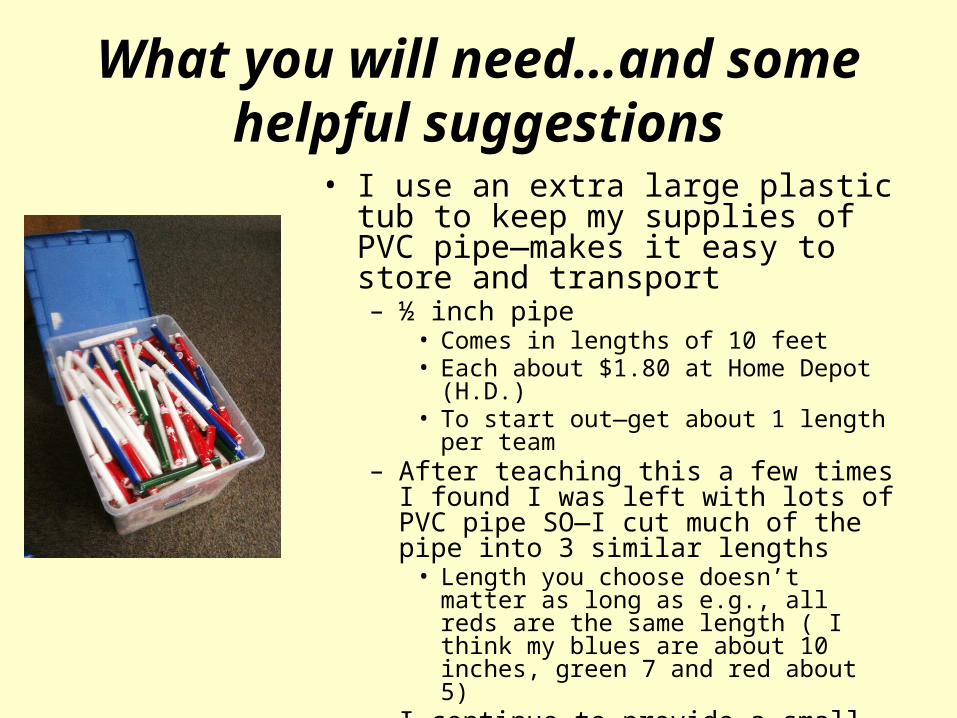
• I use an extra large plastic tub to keep my supplies of PVC pipe—makes it easy to store and transport– ½ inch pipe
• Comes in lengths of 10 feet• Each about $1.80 at Home Depot (H.D.)• To start out—get about 1 length per team
– After teaching this a few times I found I was left with lots of PVC pipe SO—I cut much of the pipe into 3 similar lengths
• Length you choose doesn’t matter as long as e.g., all reds are the same length ( I think my blues are about 10 inches, green 7 and red about 5)
– I continue to provide a small amount of white PVC so students can cut “specialty-length” pieces
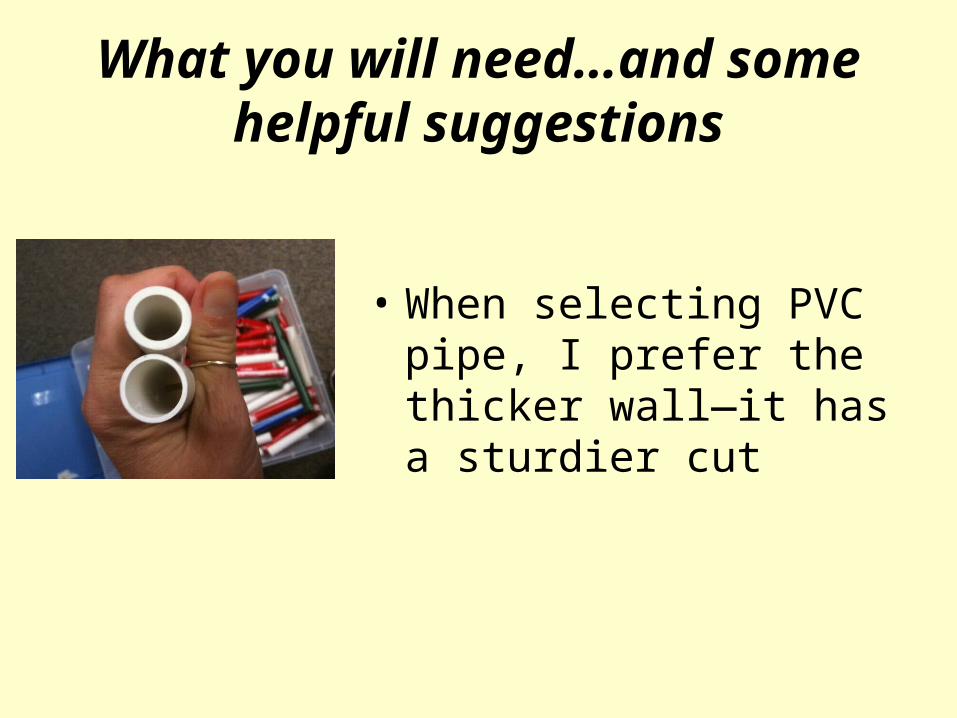
What you will need…and some helpful suggestions
• When selecting PVC pipe, I prefer the thicker wall—it has a sturdier cut

What you will need…and some helpful suggestions
• This is my tub of connectors– Make sure they do NOT have
inner threads!!! You want to smooth interior-walled connectors
– Elbows: bag of 10 $1.97 at H.D.– Ts: bag of 10 $2.76 at H.D.– Crosses, 3-D corners: only at
Lowes; sold individually about $1.50 each! (I think :-/ )
What you will need…and some helpful suggestions
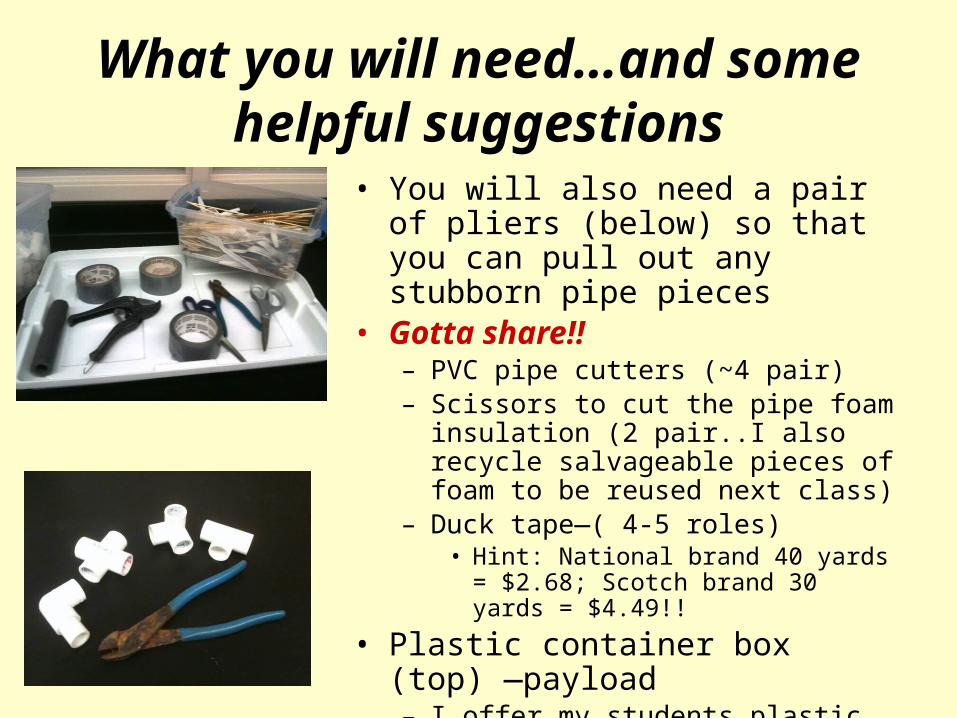
• You will also need a pair of pliers (below) so that you can pull out any stubborn pipe pieces
• Gotta share!!– PVC pipe cutters (~4 pair)– Scissors to cut the pipe foam insulation (2
pair..I also recycle salvageable pieces of foam to be reused next class)
– Duck tape—( 4-5 roles)• Hint: National brand 40 yards = $2.68;
Scotch brand 30 yards = $4.49!!
• Plastic container box (top) —payload– I offer my students plastic forks and chop
sticks/skewers
What you will need…and some helpful suggestions
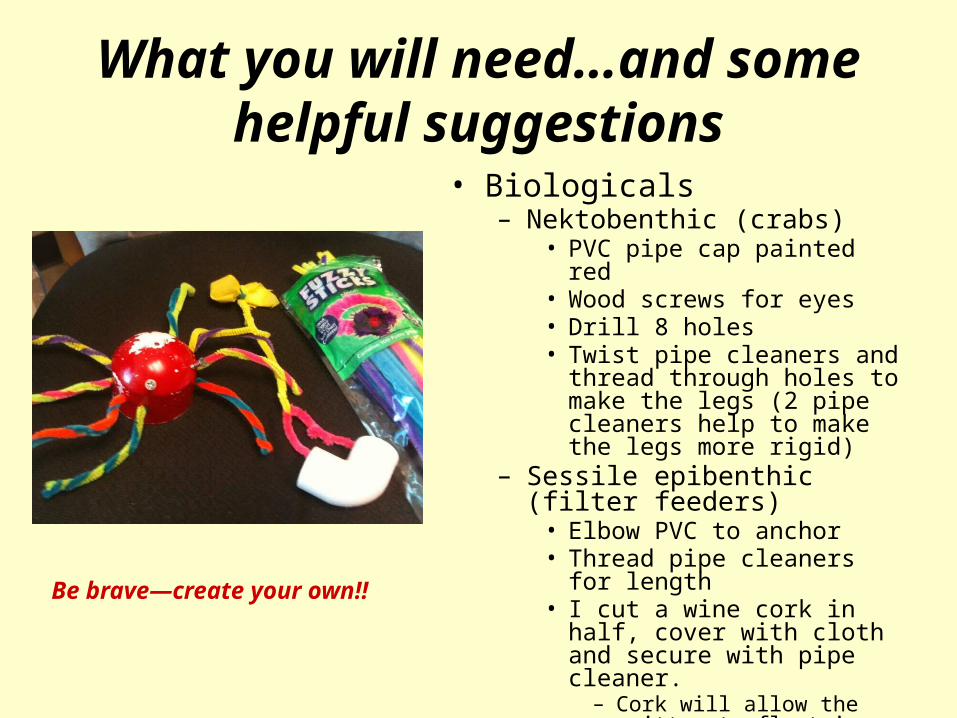
• Biologicals– Nektobenthic (crabs)
• PVC pipe cap painted red• Wood screws for eyes• Drill 8 holes• Twist pipe cleaners and thread
through holes to make the legs (2 pipe cleaners help to make the legs more rigid)
– Sessile epibenthic (filter feeders)• Elbow PVC to anchor• Thread pipe cleaners for length• I cut a wine cork in half, cover
with cloth and secure with pipe cleaner.
– Cork will allow the critter to float in the water column while the pvc connector secures it to the floor.
Be brave—create your own!!
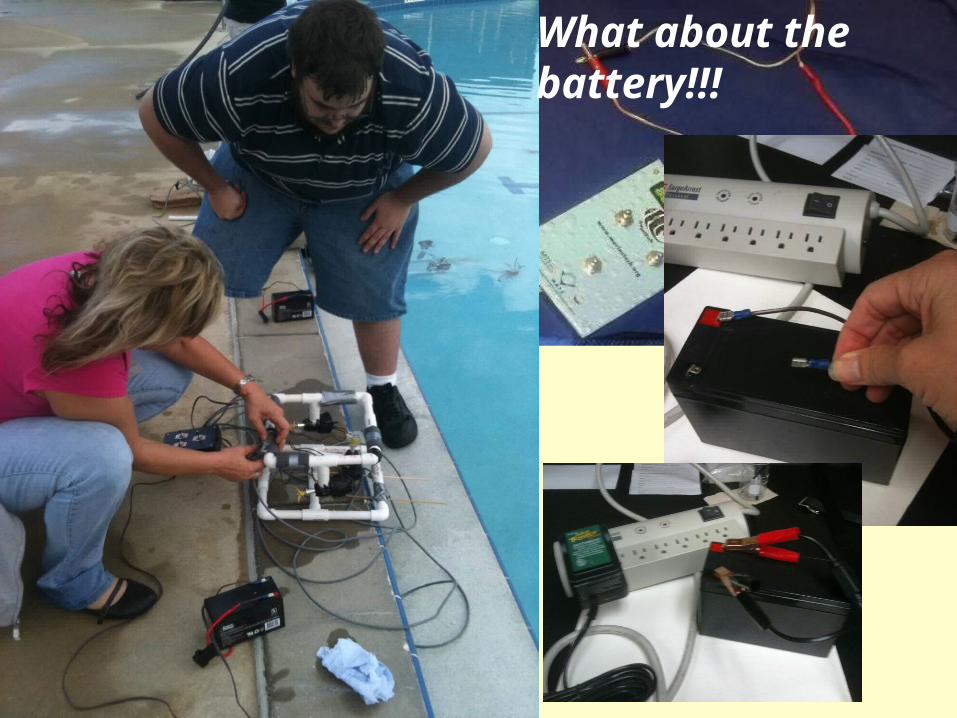
What about the battery!!!
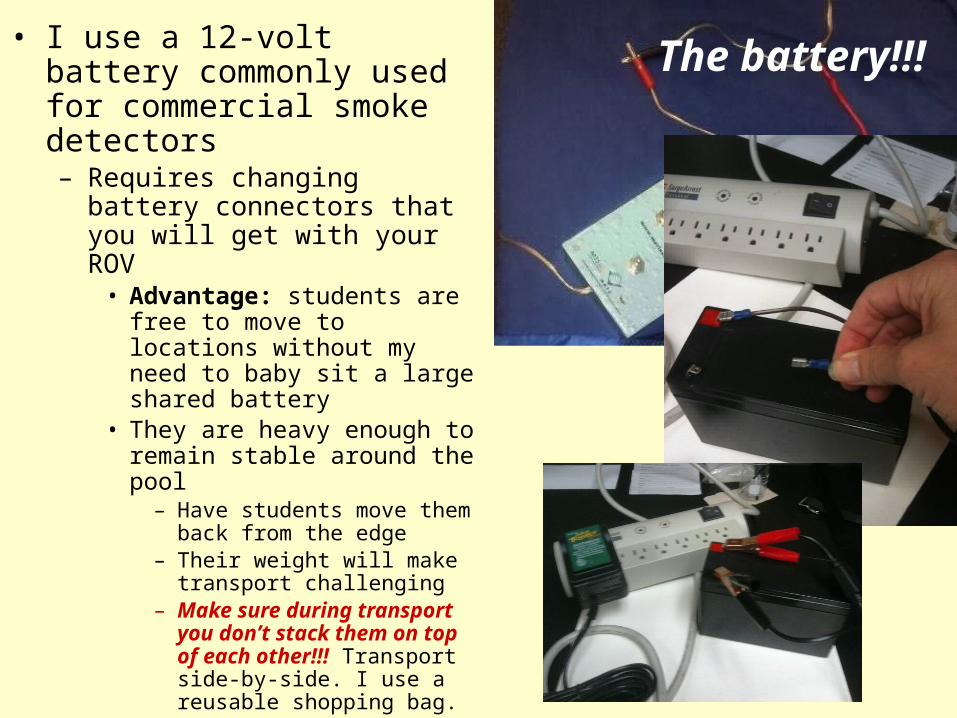
The battery!!!• I use a 12-volt battery commonly
used for commercial smoke detectors– Requires changing battery
connectors that you will get with your ROV
• Advantage: students are free to move to locations without my need to baby sit a large shared battery
• They are heavy enough to remain stable around the pool
– Have students move them back from the edge
– Their weight will make transport challenging
– Make sure during transport you don’t stack them on top of each other!!! Transport side-by-side. I use a reusable shopping bag.
• Doesn’t matter which ‘slide tip’ they plug into whether + or – side
• Wont shock if they get wet– It’s rechargeable
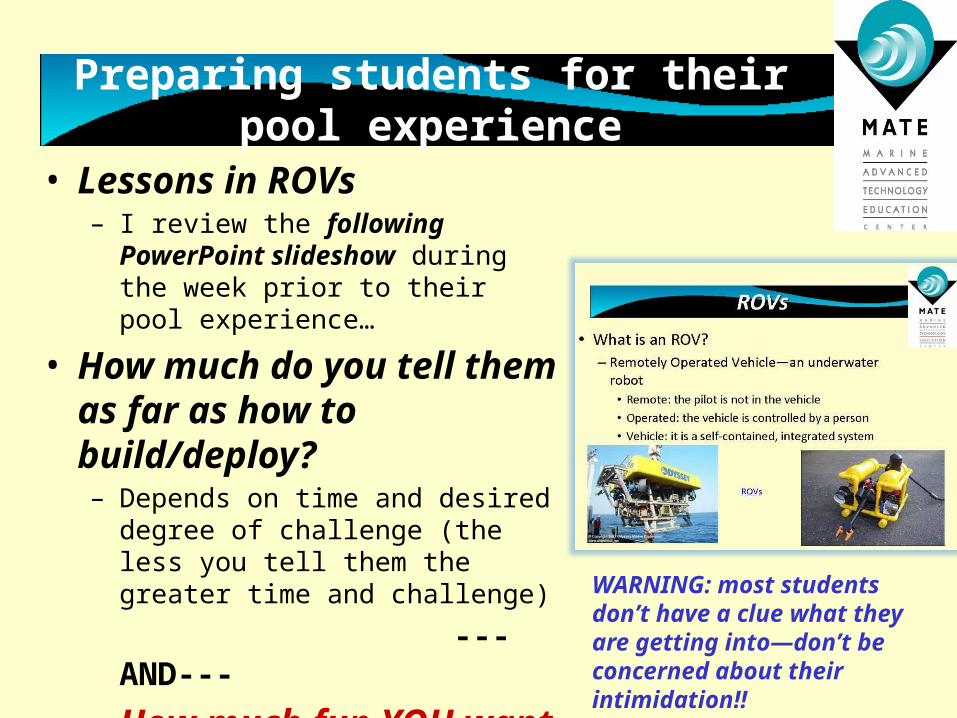
• Lessons in ROVs– I review the following PowerPoint
slideshow during the week prior to their pool experience…
• How much do you tell them as far as how to build/deploy?– Depends on time and desired degree of
challenge (the less you tell them the greater time and challenge)
---AND---
– How much fun YOU want to have watching that challenge!!
Preparing students for their pool experience
WARNING: most students don’t have a clue what they are getting into—don’t be concerned about their intimidation!!
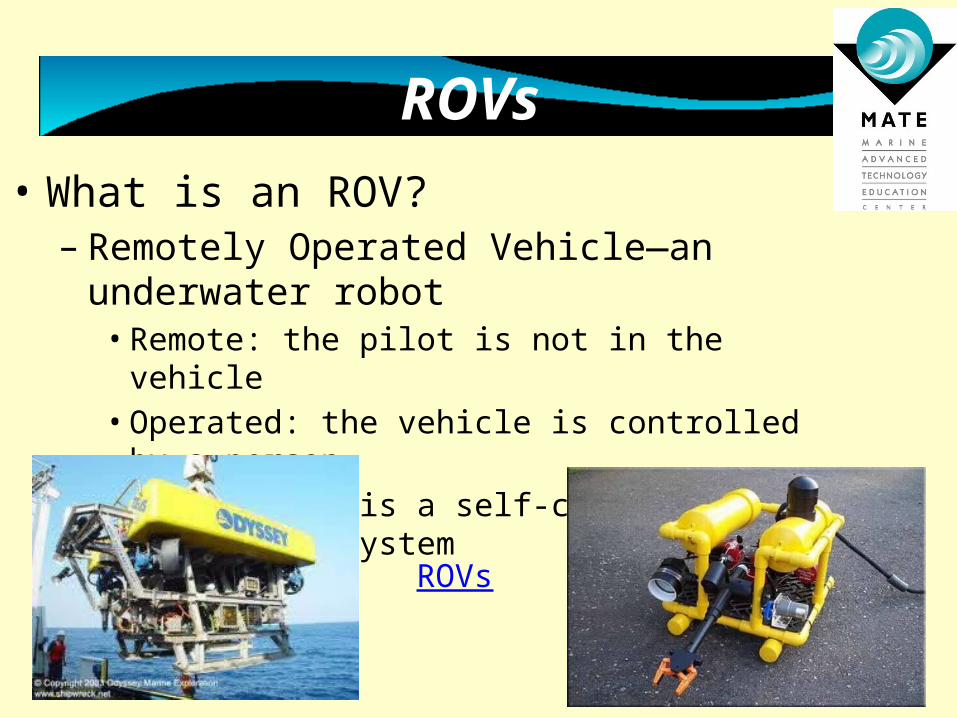
• What is an ROV?– Remotely Operated Vehicle—an underwater robot
• Remote: the pilot is not in the vehicle• Operated: the vehicle is controlled by a person• Vehicle: it is a self-contained, integrated system
ROVs
ROVs

All shapes and sizes
• ROVs come in many shapes and all sizes– Small observation vehicles may only have a
camera and be 30 to 40 cm long– Large work vehicles can be the size of a house or
semi-truck and have complex tools– Lots of vehicles in between
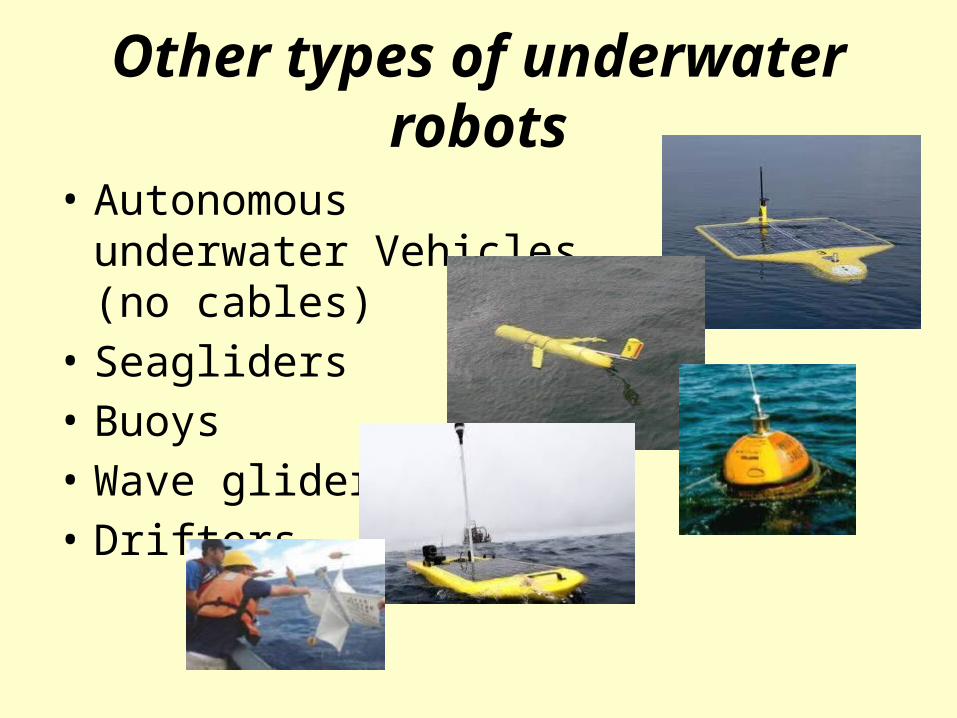
Other types of underwater robots
• Autonomous underwater Vehicles (no cables)
• Seagliders • Buoys• Wave gliders • Drifters
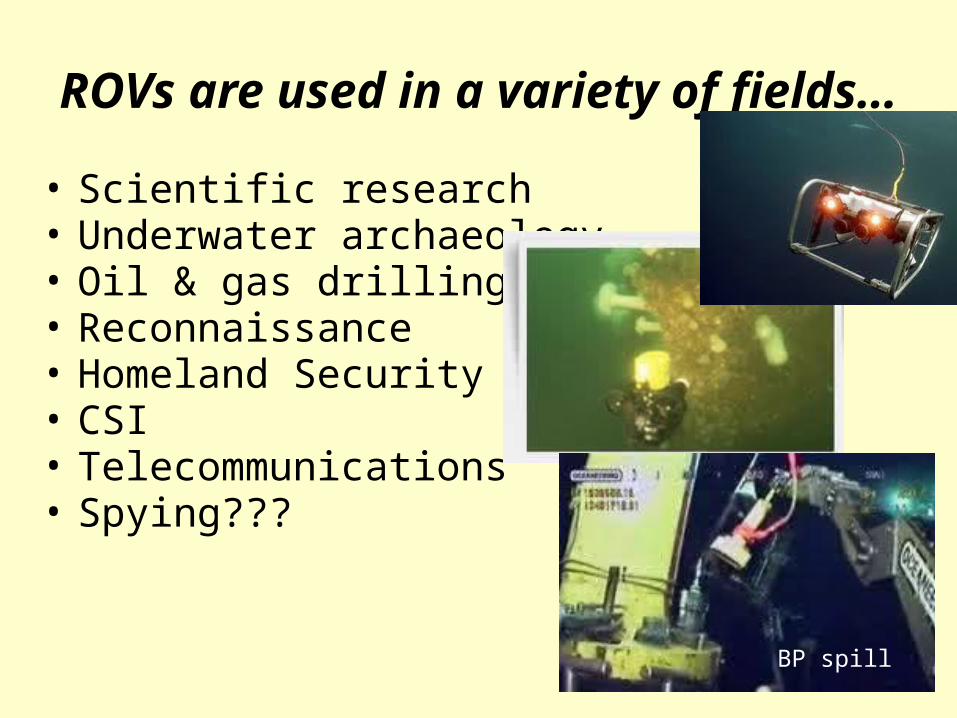
ROVs are used in a variety of fields…
• Scientific research• Underwater archaeology• Oil & gas drilling support• Reconnaissance• Homeland Security• CSI• Telecommunications• Spying???
BP spill
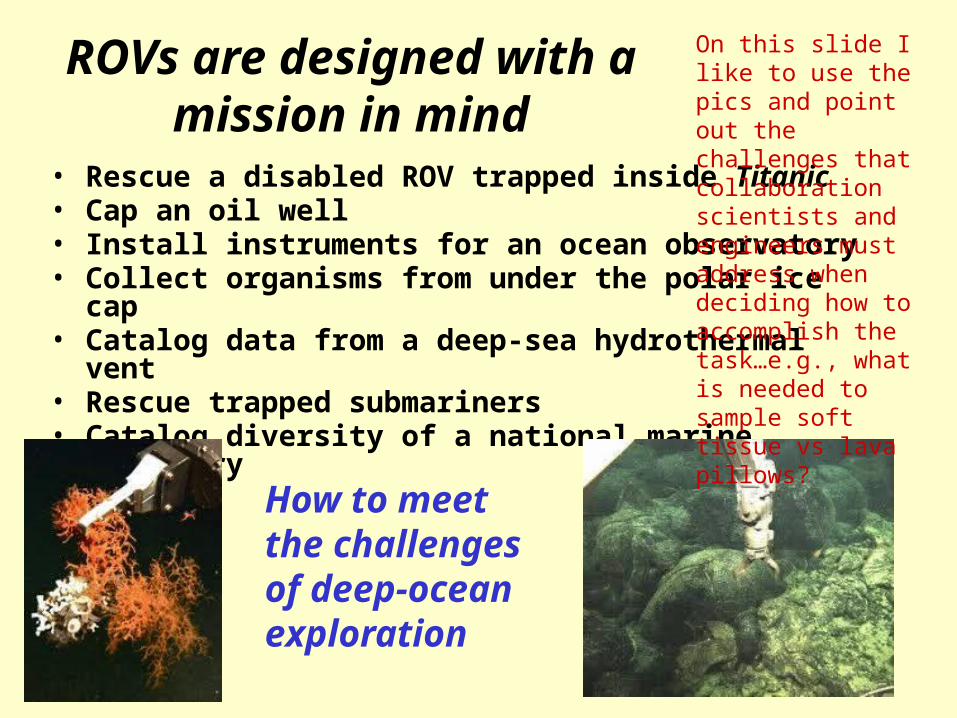
ROVs are designed with a mission in mind
• Rescue a disabled ROV trapped inside Titanic• Cap an oil well• Install instruments for an ocean observatory• Collect organisms from under the polar ice cap• Catalog data from a deep-sea hydrothermal vent• Rescue trapped submariners• Catalog diversity of a national marine sanctuary
How to meet the challenges of deep-ocean exploration
On this slide I like to use the pics and point out the challenges that collaboration scientists and engineers must address when deciding how to accomplish the task…e.g., what is needed to sample soft tissue vs lava pillows?

ROVs—it’s not just a guy thing!!
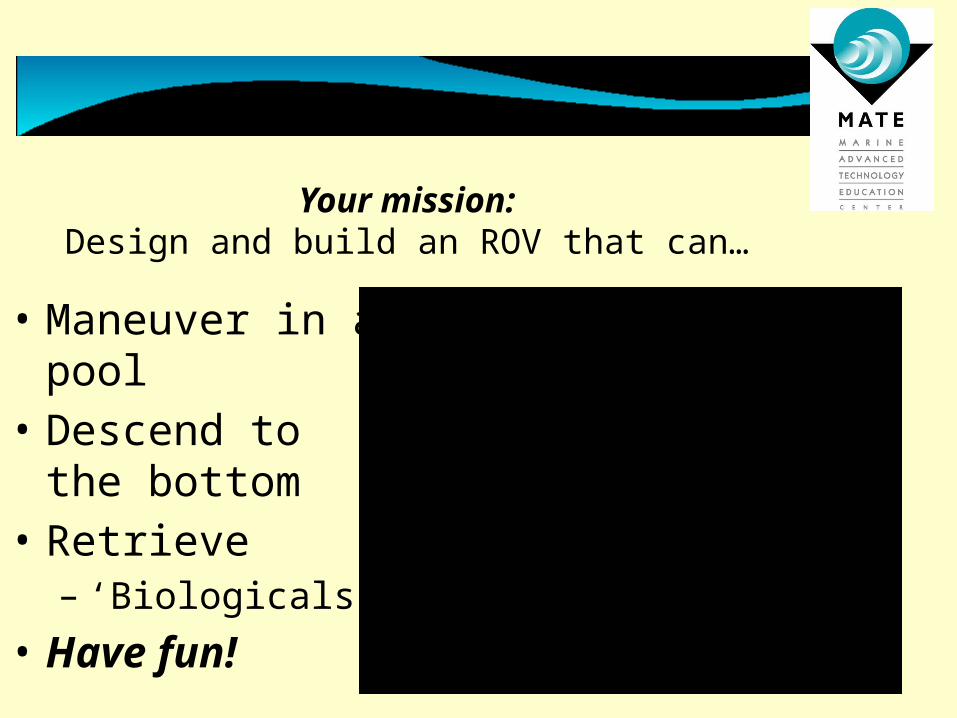
Your mission:Design and build an ROV that can…
• Maneuver in a pool
• Descend to the bottom
• Retrieve– ‘Biologicals’
• Have fun!

ROV Anatomy: Some Terminology
• Structure (frame)—what keeps it all together• Flotation—what allows it to float• Ballast—what helps it to sink• Power—what supplies the energy for the vehicle• Propulsion—devices (motors & propellers) that
transform electrical energy into motion• Control—directing the vehicle—switches, joysticks• Tools (payload)—manipulators, sampling devices
(what you need to complete the task at hand)• Navigation and sensors —cameras, lights, sonar

Our ROV Construction • Frame
– PVC pipe• Propulsion system
– Bilge Pump Motors• Buoyancy & Ballast
– Foam insulation and water
• Control and Power system– 12-volt battery and switch
box
MATE - Marine Advanced Technology Education :: AngelFish Kit
Note: the propeller with the ‘L’ must be used as the left motor on the ROV. Also, the link at the top is for you!!
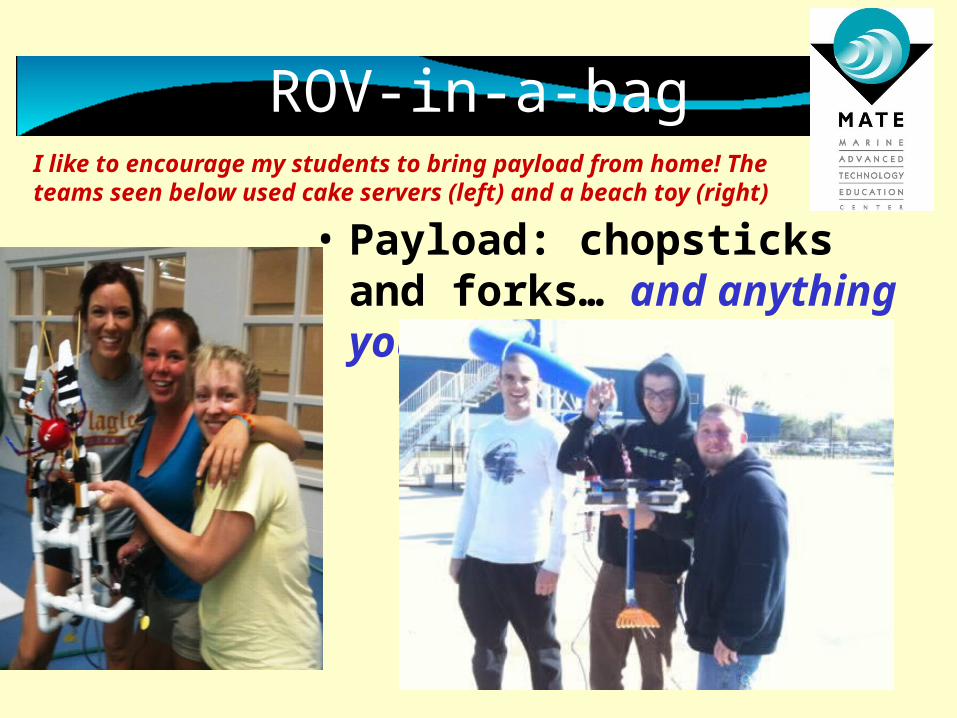
ROV-in-a-bag
• Payload: chopsticks and forks… and anything you like!
I like to encourage my students to bring payload from home! The teams seen below used cake servers (left) and a beach toy (right)
Ten guidelines to designing your ROV
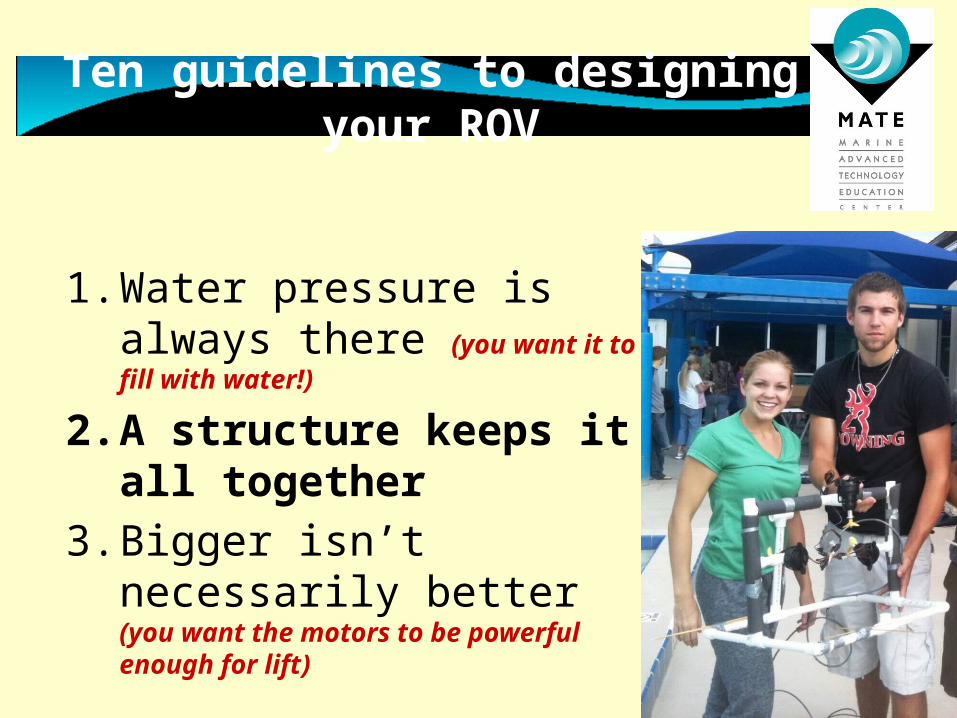
1. Water pressure is always there (you want it to fill with water!)
2. A structure keeps it all together
3. Bigger isn’t necessarily better (you want the motors to be powerful enough for lift)
Ten guidelines to designing your ROV
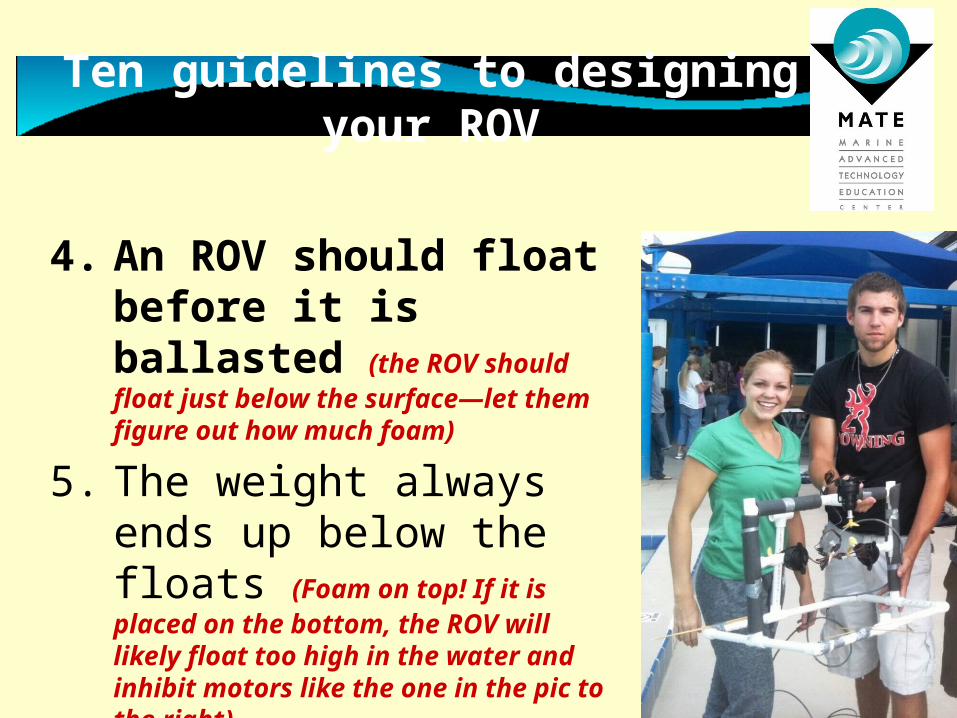
4. An ROV should float before it is ballasted (the ROV should float just below the surface—let them figure out how much foam)
5. The weight always ends up below the floats (Foam on top! If it is placed on the bottom, the ROV will likely float too high in the water and inhibit motors like the one in the pic to the right)

Ten guidelines to designing your ROV
6. Moving ballast weights tips the ROV
7. An ROV must be able to move8. An ROV needs a controllable
power source9. It is important to navigate the
ROV
Ten guidelines to designing your ROV
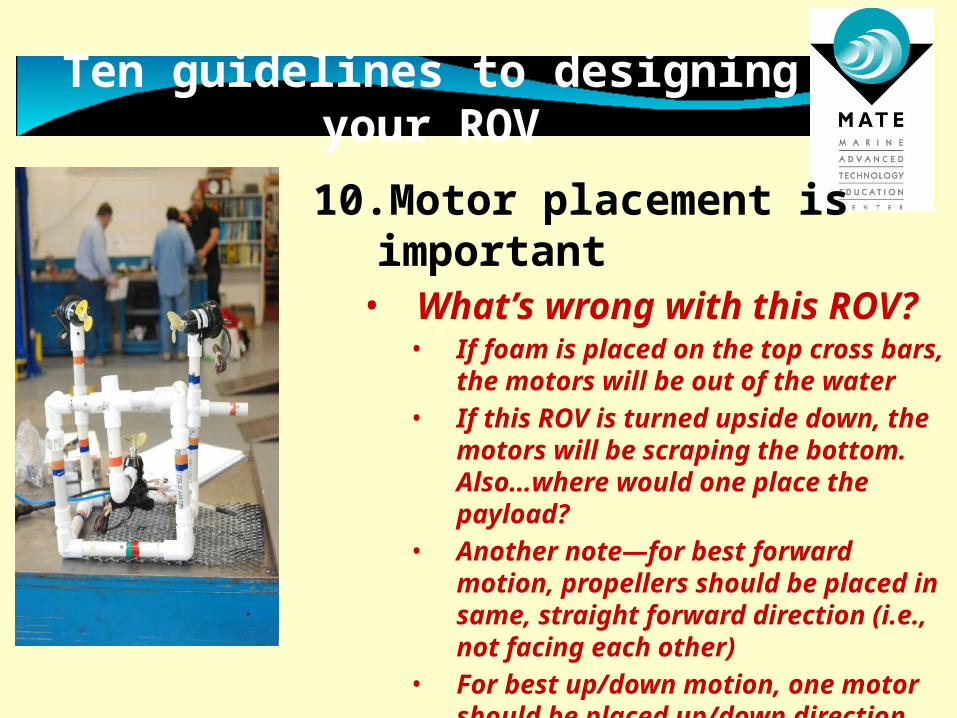
10. Motor placement is important• What’s wrong with this ROV?
• If foam is placed on the top cross bars, the motors will be out of the water
• If this ROV is turned upside down, the motors will be scraping the bottom. Also…where would one place the payload?
• Another note—for best forward motion, propellers should be placed in same, straight forward direction (i.e., not facing each other)
• For best up/down motion, one motor should be placed up/down direction
More on motor placement
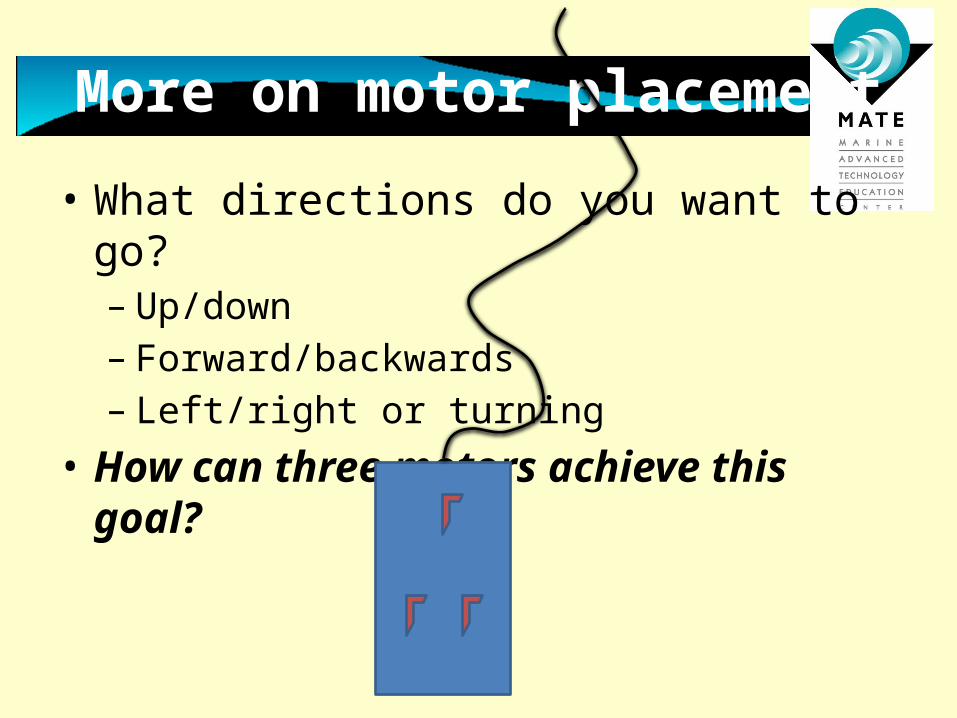
• What directions do you want to go?– Up/down– Forward/backwards– Left/right or turning
• How can three motors achieve this goal?
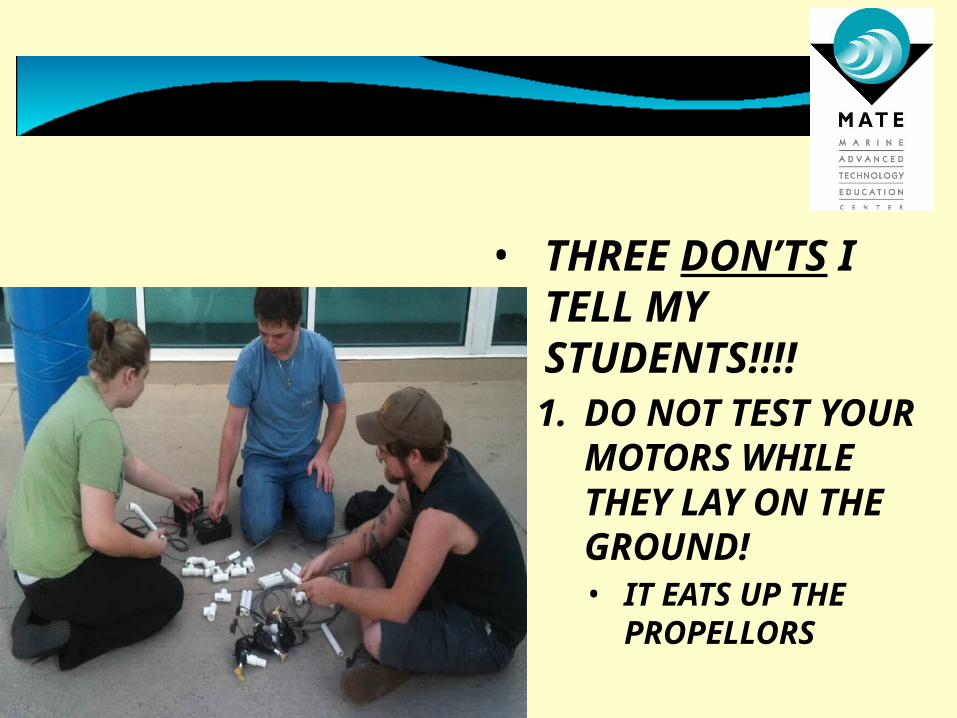
• THREE DON’TS I TELL MY STUDENTS!!!!1. DO NOT TEST YOUR
MOTORS WHILE THEY LAY ON THE GROUND!• IT EATS UP THE
PROPELLORS

THREE DON’TS I TELL MY STUDENTS!!!!
2. DO NOT PULL YOUR ROV OUT OF THE WATER BY THE UNBILICAL CORD!
• IT PULLS OUT THE WIRES (I instruct my students to tape the umbilical cord to the upper most portion of their ROV to keep it controllable. They are told that once the ROV surfaces, grab and remove it by the frame. Also—note the piece of tape on the pipe foam—this keeps it from popping off while underwater)

• THREE DON’TS I TELL MY STUDENTS!!!!
3. DO NOT CUT THE COLORED PVC PIPE• YOU MAY CUT THE
WHITE PVC PIPE
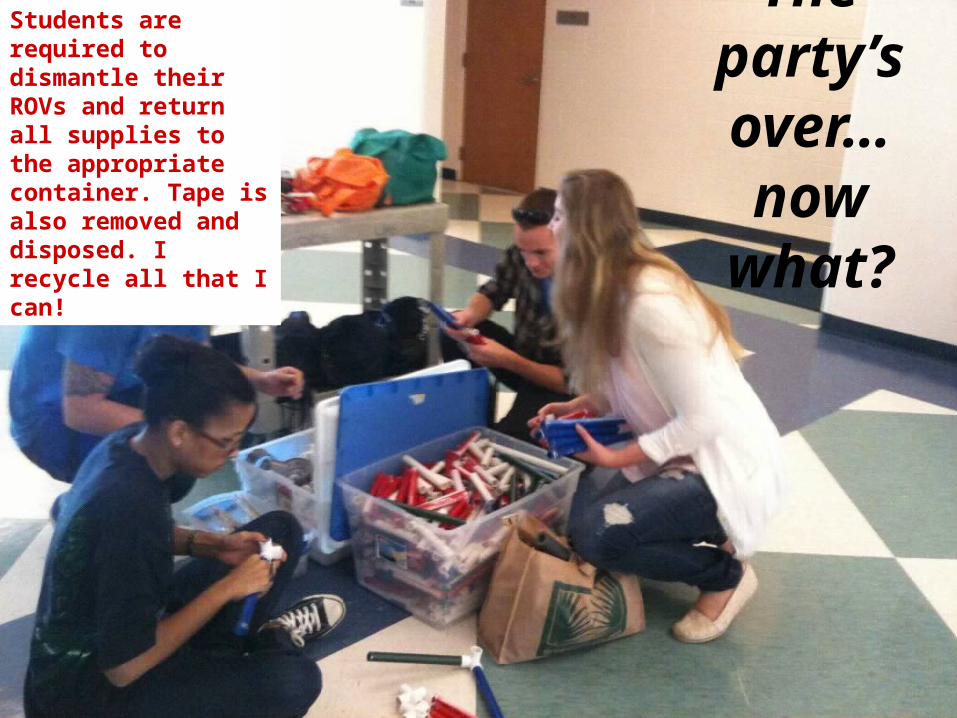
The party’s over…
now what?
Students are required to dismantle their ROVs and return all supplies to the appropriate container. Tape is also removed and disposed. I recycle all that I can!

• Engage students in STEM and expose them to science and technology careers
• Encourage students to develop and apply technical, teamwork, and problem solving skills
• Provide funds, materials, and technical expertise to support student learning provide industry with skilled individuals who can fill workforce needs
MATE and LIFE AFTER ROVs101…MATE created the ROV competitions as a way to:
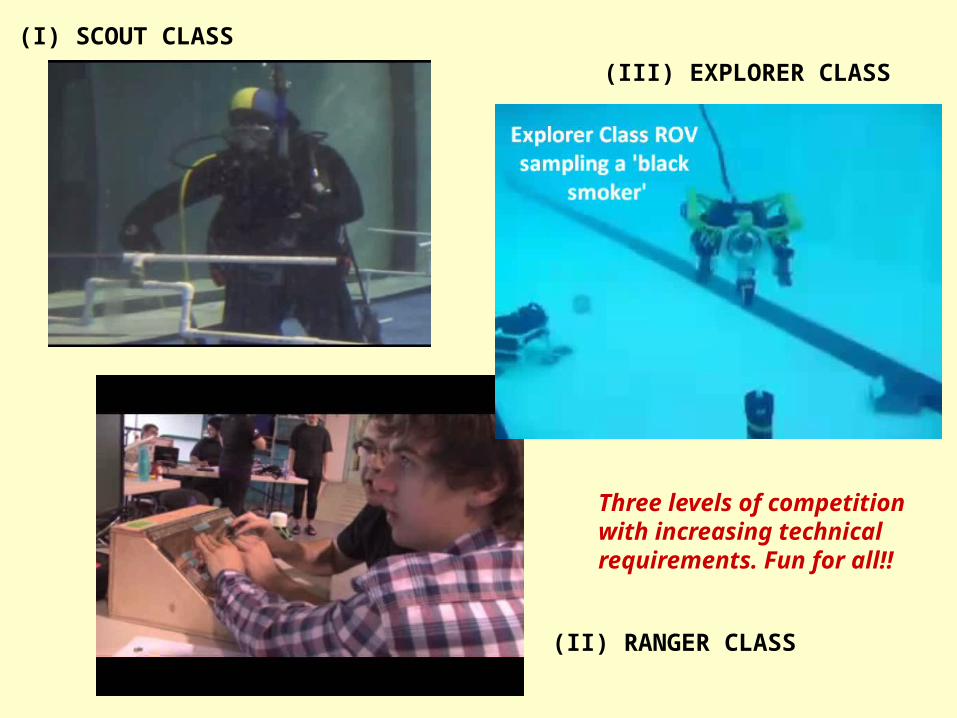
(I) SCOUT CLASS
(III) EXPLORER CLASS
(II) RANGER CLASS
Three levels of competition with increasing technical requirements. Fun for all!!
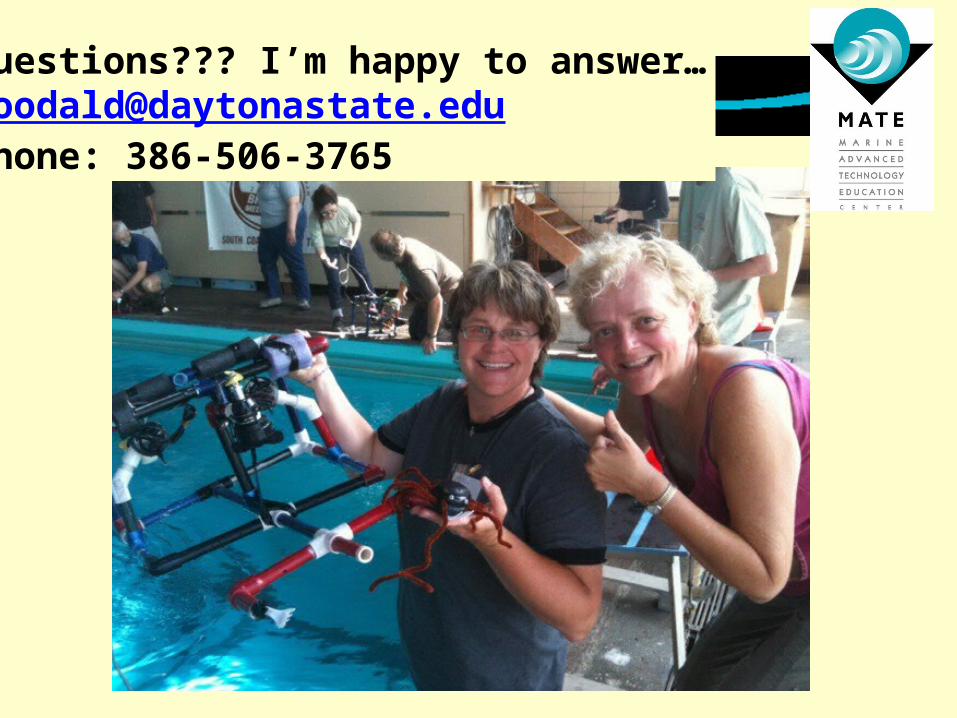
For more info on ROVs, MATE and MATE competitions…
www.marinetech.org
LIFE AFTER ROVs101…