
BEGINNING MICROSOFT SMALL BASIC
39
BEGINNING MICROSOFT SMALL BASIC PROGRAMMING TUTORIAL Sample Chapter Preview Philip Conrod & Lou Tylee, ALL RIGHTS RESERVED 4. Small Basic Program Design, Input Methods Review and Preview
-
Upload
lilashcoco -
Category
Documents
-
view
668 -
download
9
description
this will help in giving you a better understanding of small basic programming langauage
Transcript of BEGINNING MICROSOFT SMALL BASIC

BEGINNING MICROSOFT SMALL BASIC
PROGRAMMING TUTORIAL
Sample Chapter PreviewPhilip Conrod & Lou Tylee, ALL RIGHTS RESERVED
4. Small Basic Program Design, Input Methods
Review and Preview
You should now be fairly comfortable with creating and running simple Small Basic
programs. In this class, we continue learning new Small Basic topics to expand our
programming knowledge. We'll look at some program design ideas, some mathematical
functions and at ways to get input from users of your programs. And, we'll build a savings
calculator program.

Program Design
You are about to start developing fairly detailed programs using Small Basic. We will
give you programs to build and maybe you will have ideas for your own programs. Either way,
it’s fun and exciting to see ideas end up as computer programs. But before starting a program,
it’s a good idea to spend a little time thinking about what you are trying to do. This idea of
proper programdesign will save you lots of time and result in a far better program.
Proper program design is not really difficult. The main idea is to create a program that is
easy to use, easy to understand, and free of errors. That makes sense, doesn’t it? Spend some
time thinking about everything you want your program to do. What information does the
program need? What information does the computer determine? Decide what programming
steps you need to follow to accomplish desired tasks.
Make the Small Basic code in your methods readable and easy to understand. This will
make the job of making later changes (and you will make changes) much easier. Follow
accepted programming rules - you will learn these rules as you learn more about Small Basic.
Make sure there are no errors in your program. This may seem like an obvious statement, but
many programs are not error-free.
The importance of these few statements about program design might not make a lot of
sense right now, but they will. The simple idea is to make a useful, clearly written, error-free
program that is easy to use and easy to change. Planning carefully and planning ahead helps you
achieve this goal. For each program built in this course, we will attempt to give you some

insight into the program design process. We will always try to explain why we do what we do in
building a program. And, we will always try to list all the considerations we make.

One other consideration in program design is to always build your program in stages.
Don’t try to build your entire Small Basic program and test it all at once. This just compounds
the possibility of errors. We suggest always building your program in stages. Write a little code.
Test that little bit of code making sure it works correctly. Slowly add more and more code. Run
and test each code addition. Continue this approach until your program is complete. You will
find that this “go slow” approach to creating a Small Basic program will make your
programming task much simpler. Give it a try in programs we build.
Small Basic - The Second Lesson
We covered a lot of Small Basic in the last class. This was necessary to introduce you to
many basic concepts so you could write your first program. In this briefer second lesson, we
look at some mathematical functions.
Mathematical Functions
In Class 3, we saw the Small Basic arithmetic operators that allow us to perform the
basics of addition, subtraction, multiplication and division. Like other computer programming
languages, Small Basic also has the capability of doing very power mathematical computations.
Small Basic’s built-in mathematical functions (also called methods) are often used in these
computations. We used a couple of these functions in the Sub Sandwich program (Math.Floor
and Math.Remainder)
We don’t expect you to be a mathematical genius to work through these notes, so we will
only look at three mathematical functions. First, just what is a function? A function is a routine
that computes some value for you, given some information. The format for using a function is:
FunctionValue = FunctionName(ArgumentList)
FunctionName is the name of the function and ArgumentList is a list of values (inputs,
separated by commas) provided to the function so it can do its work. In this assignment
statement, FunctionName uses the values in ArgumentList to compute a result and assign that
result to the variable we have named FunctionValue.

How do you know what Small Basic mathematical functions exist, what type of
information they provide and what the arguments are? Check various Small Basic references
and the Microsoft Small Basic website. Or, just type the word Math in the Small Basic code
window and the help area will display all the functions:


Then, choose a function name and the help window will tell you how to use it. Here is
information on the first function we look at (Abs):
As mentioned, we will look at three mathematical functions here. The methods that support
mathematical functions are implemented in the Small Basic class named Math. Hence, to refer
to a particular function, you write Math, then a period, then the function name.

The first function we examine is the absolutevalue function. In math, the absolute value
is the positive part of a number. The Small Basic function is:
Math.Abs(Argument)
where argument is number we want the absolute value of. The argument can be either an int or
double type and the returned value will be the same type as the argument. Some examples:
Example ResultMath.Abs(7) 7
Math.Abs(-11) 11
Math.Abs(-3.14) 3.14
Math.Abs(72.1) 72.1
Have you ever needed the squareroot of a number? A square root is a number that when
multiplied by itself gives you the original number. For example, the square root of 4 is 2, since 2
times 2 is four. There’s a button on your calculator (√) that will do this for you. In Small Basic,
the square root function is:
Math.SquareRoot(Argument)
where Argument is number we want the square root of. The argument must be a non-negative
number. Some examples:

Example ResultMath.SquareRoot(4) 2
Math.SquareRoot(36) 6
Math.SquareRoot(72.1) 8.491

The last function we will use in this class is the exponentiation method. In
exponentiation, a number is multiplied times itself a certain number of times. If we multiply a
number by itself 4 times, we say we raise that number to the 4th power. The Small Basic function
used for exponentiation is:
Math.Power(Argument1,Argument2)
Notice the Power function has two arguments. Argument1 is the number we are multiplying
times itself Argument2 times. In other words, this function raises Argument1 to the Argument2
power. Some examples:
Example ResultMath.Power(4,2) 16
Math.Power(-3,3) -27
Math.Power(10,2) 10000
In each example here, the arguments have no decimal parts. We have done this to make the
examples clear. You are not limited to such values. It is possible to use this function to compute
what happens if you multiply 7.654 times itself 3.16 times!! (The answer is 620.99, by the way.)
For the more mathematically inclined reader, you should know that there are many more
Small Basic functions available for your use. You might want to look into using them. There
are trigonometric functions and inverse trig functions, functions to convert from radians to
degrees and vice versa, functions to find extreme values, functions for rounding, logarithm and
inverse logarithm functions and a built-in value for pi. (If none of this means anything to you,
don’t worry – we won’t be using them in this class).

Program Input Methods
In the example (Sub Sandwich Program) we built in the last class, we established variable
values in code and ran the program to see the results. The results were printed by the Small
Basic output method WriteLine. If we want to use different values, we need to change the code
and rerun. This is a pain! It would be nice, in such a program, to allow a user to type in values
while the program is running and have the computer do the computations based on the inputs.
This way no code changes or recompiling would be needed to get a new answer. We need such
capabilities in our programs.
The Small Basic language has two general methods that supports typed input. The
methods are part of the TextWindow object we have been using. The first input method
(ReadNumber) allows reading numeric (integer and floating) inputs. Its usage is:
ReturnedValue=TextWindow.ReadNumber()
where ReturnedValue is the number input by the user.
The other method (Read) returns a line of text (string information) input by the user. Its
usage is:
ReturnedValue=TextWindow.Read()
where ReturnedValue is the text input by the user.
With either of these methods, the user types the requested input and presses the <Enter> key to
have the computer accept the value.

Input Methods Example
Start SmallBasic. Click the NewProgram button in the toolbar. A blank editor will
appear. Immediately save the program as InputExample in a folder of your choice. Type these
lines in the editor
TextWindow.WriteLine("What is your age?")UserAge=TextWindow.ReadNumber()TextWindow.WriteLine("You input "+UserAge)
In this code, we ask for a user to input their age, then write it in the text window.
Run the program (click the Run button or press <F5>). You should see:
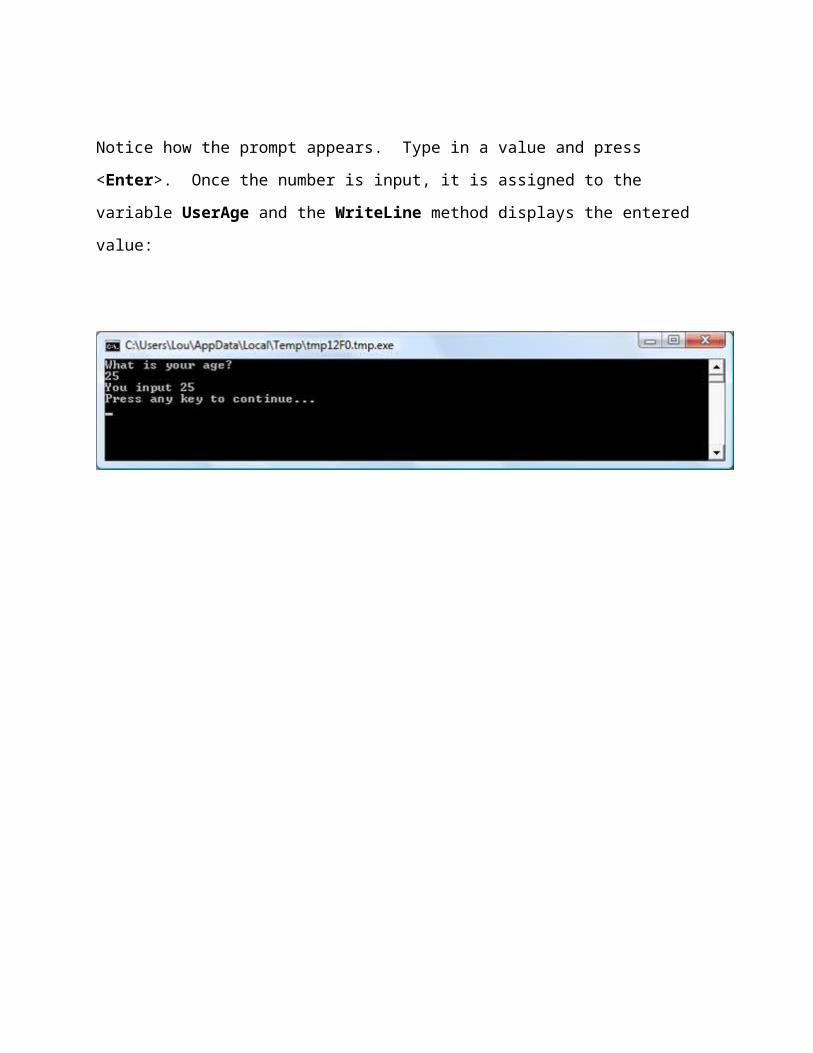
Notice how the prompt appears. Type in a value and press <Enter>. Once the number is input,
it is assigned to the variable UserAge and the WriteLine method displays the entered value:

Notice the input value appears on a separate line after the prompting question. Most
times, you would like this value to be on the same line as the prompt. This can be done by using
a different TextWindow method. The WriteLine method appends a new line character to the
output text, hence subsequent information goes to that new line. The Write method does not
begin a new line. Modify the first line of code with the shaded changes (change the WriteLine
method to Write and add a space after the question mark):
TextWindow.Write("What is your age?")
Rerun the program. Now when you type your age, it appears next to the prompting question:
Run the program again and try to enter non-numeric characters – you won’t be able to. The
ReadNumber method only accepts numeric data (the digits 0 through 9, a leading minus sign, or
a single decimal point).

Now, let’s test the Read method (to input a string of text). Add these three lines of code
that ask for a user’s name in a manner similar to requesting the age:
TextWindow.Write("What is your name? ")UserName=TextWindow.Read()TextWindow.WriteLine("You input "+UserName)
Run the program again. Type your age, press <Enter> and you will see the prompt asking for
your name:
Enter a string (any characters at all can be typed) and press <Enter> to see:


It seems the input methods are working just fine. Did you notice how building a program
in stages (adding a few lines of code at a time) is good? Always follow such a procedure.
Before leaving this example and building another program, let’s take a quick look at one other
useful Small Basic concept. In the text window above, it would be nice if there was a blank line
between each input request. This just makes your output appear a little cleaner, a quality of a
well designed Small Basic program. To insert a blank line in the output, just use a WriteLine
method with a blank argument:
TextWindow.WriteLine("")
Add the shaded line to the current code:
TextWindow.Write("What is your age? ")UserAge=TextWindow.ReadNumber()TextWindow.WriteLine("You input "+UserAge)TextWindow.WriteLine("")TextWindow.Write("What is your name? ")UserName=TextWindow.Read()TextWindow.WriteLine("You input "+UserName)
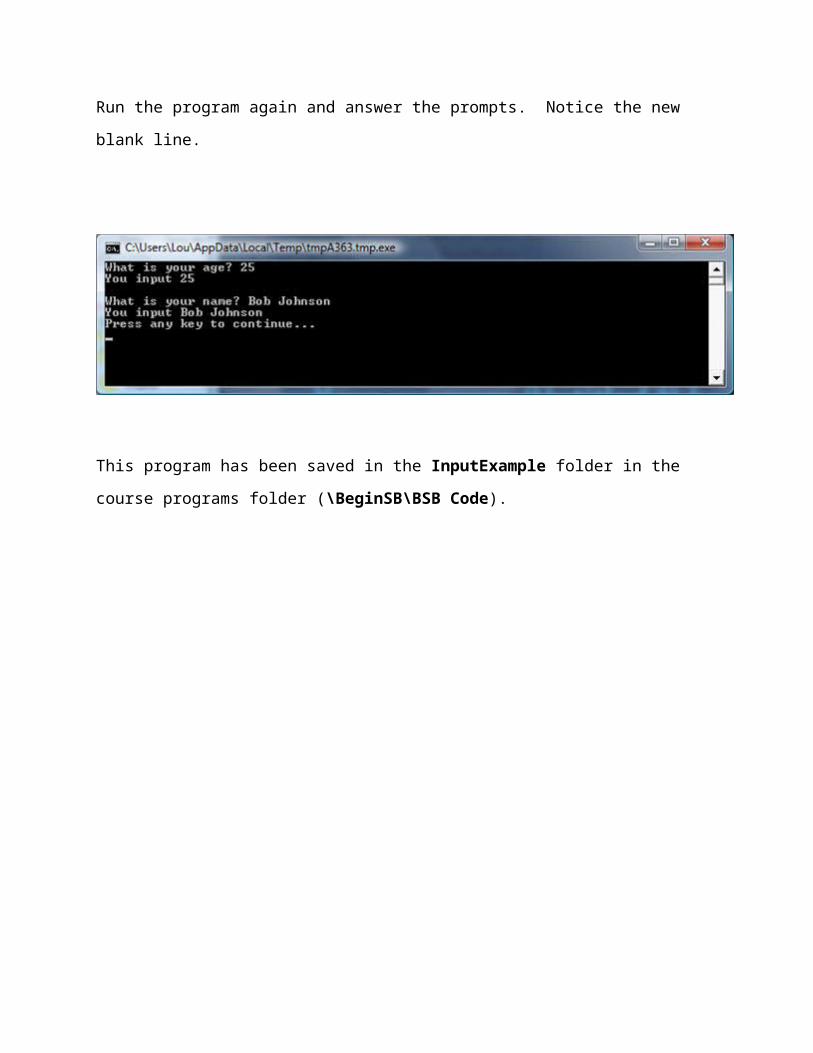
Run the program again and answer the prompts. Notice the new blank line.

This program has been saved in the InputExample folder in the course programs folder (\
BeginSB\BSB Code).

Program – Savings Calculator
In this program, we will build a savings account calculator. We will input how much
money we can put into an account each month and the number of months we put money in the
account. The program will then compute how much we saved. This program is saved in the
Savings folder in the course programs folder (\BeginSB \BSB Code).
Program Design
The steps needed to do this calculation are relatively simple:
1. Obtain an amount for each month’s deposit.
2. Obtain a number of months.
3. Multiply the two input numbers together.
4. Output the product, the total savings.
We will use the ReadNumber method to get user input. The WriteLine and Write methods
will be used to output the savings amount. We’ll throw in an additional step to ask for the user’s
name (an example of using the Read method).
Program Development
Start SmallBasic. Click the NewProgram button in the toolbar. A blank editor will
appear. Immediately save the program as Savings in a folder of your choice.
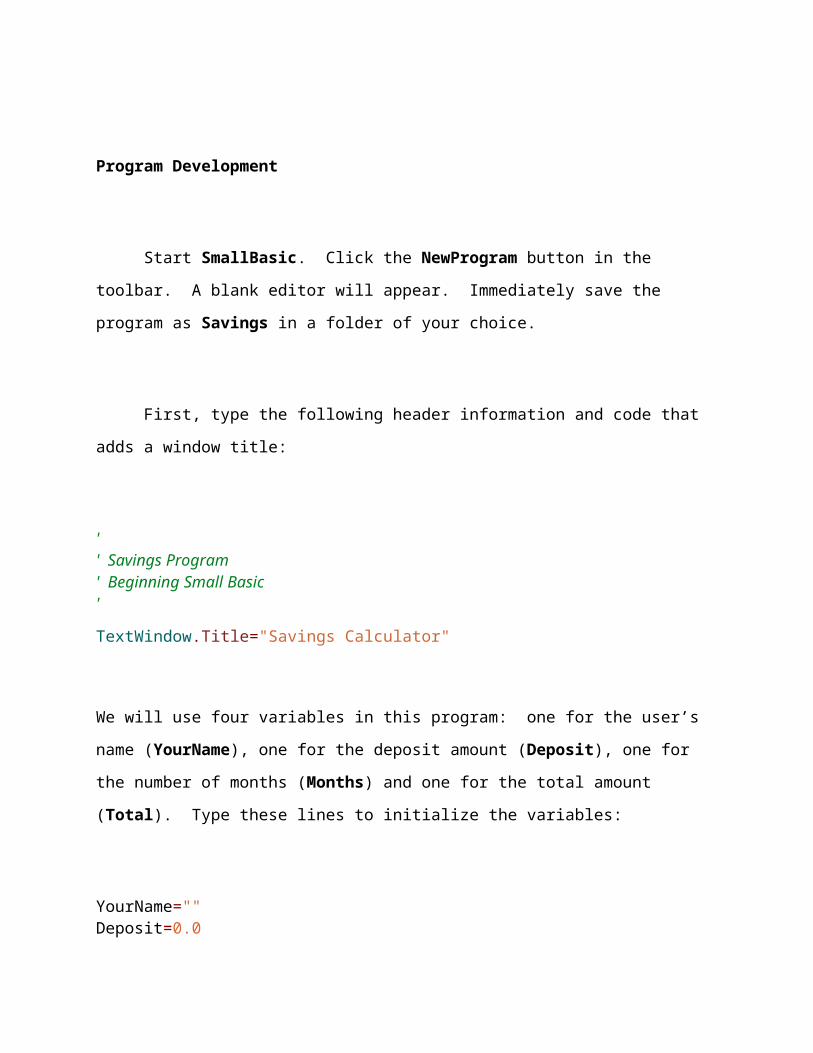
First, type the following header information and code that adds a window title:
'' Savings Program' Beginning Small Basic'
TextWindow.Title="Savings Calculator"
We will use four variables in this program: one for the user’s name (YourName), one for the
deposit amount (Deposit), one for the number of months (Months) and one for the total amount
(Total). Type these lines to initialize the variables:
YourName=""Deposit=0.0Months=0Total=0.0

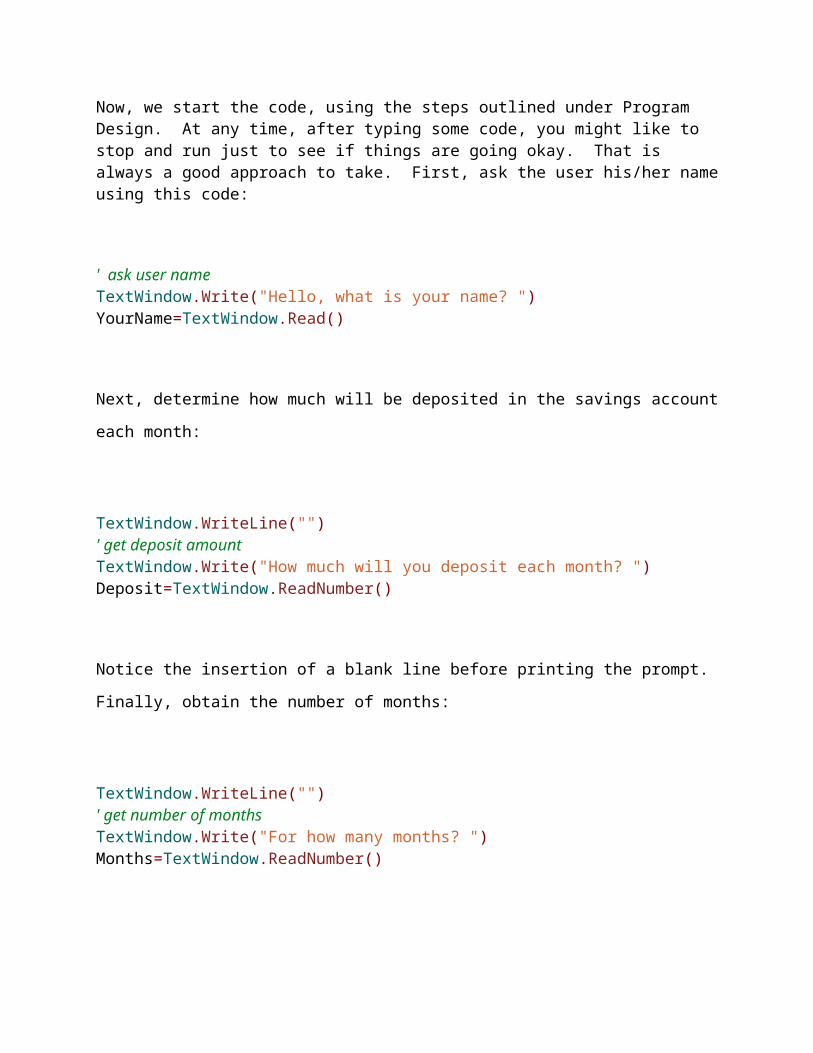
Now, we start the code, using the steps outlined under Program Design. At any time, after typing some code, you might like to stop and run just to see if things are going okay. That is always a good approach to take. First, ask the user his/her name using this code:
' ask user nameTextWindow.Write("Hello, what is your name? ")YourName=TextWindow.Read()
Next, determine how much will be deposited in the savings account each month:
TextWindow.WriteLine("")' get deposit amountTextWindow.Write("How much will you deposit each month? ")Deposit=TextWindow.ReadNumber()
Notice the insertion of a blank line before printing the prompt. Finally, obtain the number of
months:
TextWindow.WriteLine("") ' get number of monthsTextWindow.Write("For how many months? ")Months=TextWindow.ReadNumber()
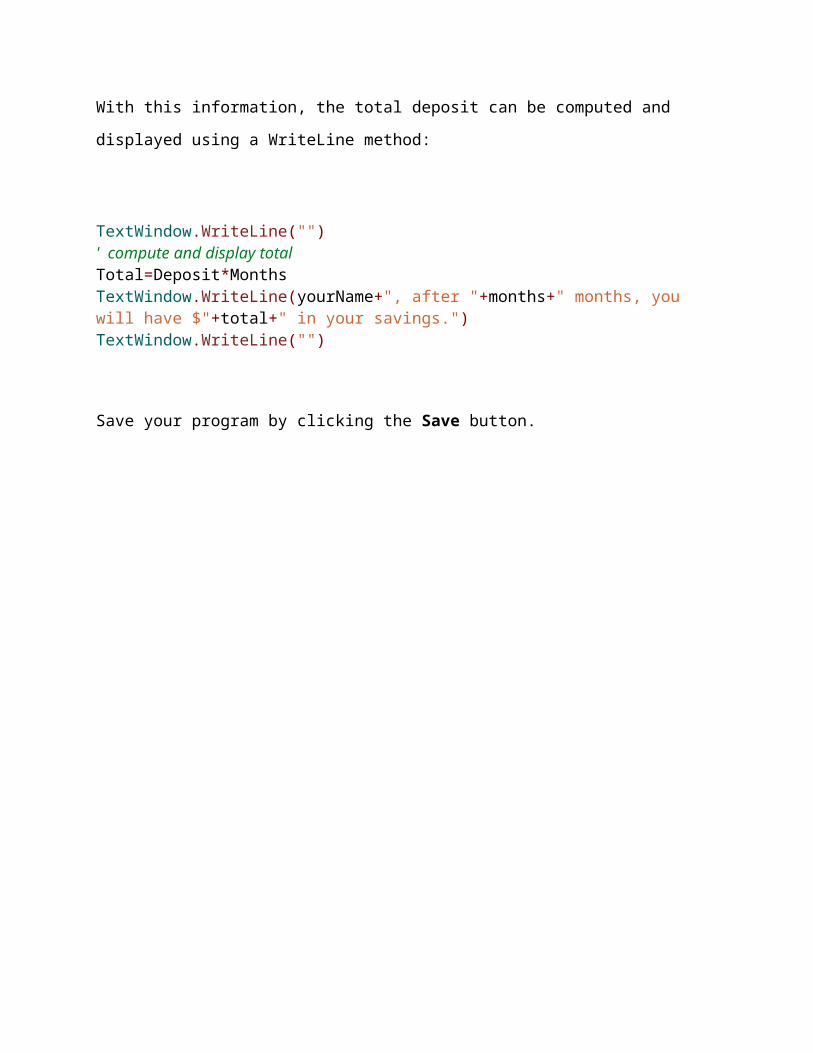
With this information, the total deposit can be computed and displayed using a WriteLine
method:
TextWindow.WriteLine("")' compute and display totalTotal=Deposit*Months

TextWindow.WriteLine(yourName+", after "+months+" months, you will have $"+total+" in your savings.")TextWindow.WriteLine("")
Save your program by clicking the Save button.
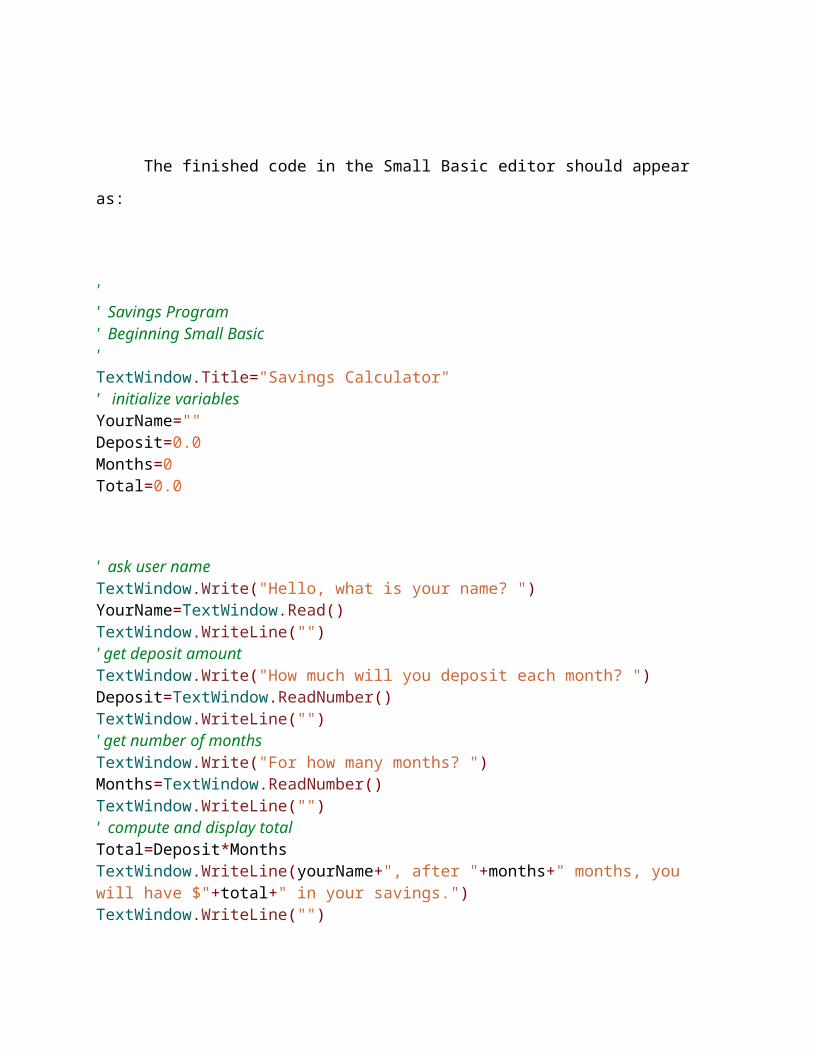
The finished code in the Small Basic editor should appear as:
'' Savings Program' Beginning Small Basic'TextWindow.Title="Savings Calculator"' initialize variablesYourName=""Deposit=0.0Months=0Total=0.0
' ask user nameTextWindow.Write("Hello, what is your name? ")YourName=TextWindow.Read()TextWindow.WriteLine("") ' get deposit amountTextWindow.Write("How much will you deposit each month? ")Deposit=TextWindow.ReadNumber()TextWindow.WriteLine("") ' get number of monthsTextWindow.Write("For how many months? ")Months=TextWindow.ReadNumber()TextWindow.WriteLine("") ' compute and display totalTotal=Deposit*MonthsTextWindow.WriteLine(yourName+", after "+months+" months, you will have $"+total+" in your savings.")TextWindow.WriteLine("")

Run the Program
Run your program. If the program does not run successfully, try to find out where your
errors are using any error messages that may appear. We will cover some possible errors in the
next class.
When the program runs successfully, you will see:
Type in your name, a deposit amount and a number of months. Your total will be given to you in
a nicely formatted string output. Notice how the name, deposit, months and total are all put
together (concatenated) in a single sentence, along with a dollar sign ($). Make sure the answer
is correct. Remember, a big step in program design is making sure your program works
correctly! If you say you want to save 200 dollars a month for 10 months and your computer
program says you will have a million dollars by that time, you should know something is wrong
somewhere!
When I tried the program, I got:
Notice if I deposit 403.52 (you don’t, and can’t, enter the dollar sign) for 11 months, the program
tells me I will have $4438.72 in my savings account.
This program may not seem all that complicated. And it isn’t. After all, we only
multiplied two numbers together. But, the program demonstrates steps that are used in every
Small Basic program. Valuable experience has been gained in recognizing how to read input
values, do the math to obtain desired results, and output those results to the user.
Other Things to Try
Most savings accounts yield interest, that is the bank actually pays you for letting them
use your money. This savings account program has ignored interest. But, it is fairly easy to
make the needed modifications to account for interest - the math is just a little more complicated.
We will give you the steps, but not show you how, to change your program. Give it a try if
you’d like:
Define a variable Interest to store the yearly savings interest rate. Interest rates are
floating decimal numbers.
Add additional statements to allow the user to input an interest rate.
Modify the code to use Interest in computing Total. The code for that computation is
(get ready - it’s messy looking):
Total = 1200 * (Deposit * (Math.Power((1 + Interest / 1200), Months) - 1) / Interest)
Make sure you type this all on one line – as often happens, the word processor has made
it look like it is on two. As we said, this is a pretty messy expression, but it’s good
practice in using parentheses and a mathematical function (Power). The number ‘1200’
is used here to convert the interest from a yearly value to a monthly value.
Now, run the modified program. Type in values for deposit, months, and interest. Make sure
you get reasonable answers. (As a check, if you use a deposit value of 300, a months value of

14, and an interest value of 6.5, the total answer should be $4351.13. Note you’d have $4200
without interest, so this makes sense). Save your program.

I told a little lie, I didn’t get $4351.13 in the above example with interest. I actually got
$4351.1272052172923076923076923!!!:
I rounded the answer. In such cases, the number should just be displayed with two numbers after
the decimal. It is possible to do this using Small Basic but beyond the scope of our discussion at
the moment.
Summary
Notice the programs are getting a little more detailed as you learn more Small Basic. In
this class, you learned about proper program design, mathematical functions and how to add
input capabilities to your Small Basic programs. You built a little savings account program.
And, an important concept to remember as you continue through this course is to always try to
build your programs a few lines of code at a time. A good mantra is “code a little, test a little.”
You will introduce fewer errors in your programs using this approach.


