


4/17/2009 SMARTBOARD RESOURCES 2010 PETERSON HOME PAGE.
43
4/17/2009 2010 PETERSON HOME PAGE
-
Upload
scott-willis -
Category
Documents
-
view
213 -
download
0
Transcript of 4/17/2009 SMARTBOARD RESOURCES 2010 PETERSON HOME PAGE.

4/17/2009

4/17/2009
4/17/2009

4/17/2009

4/17/2009

4/17/2009

4/17/2009
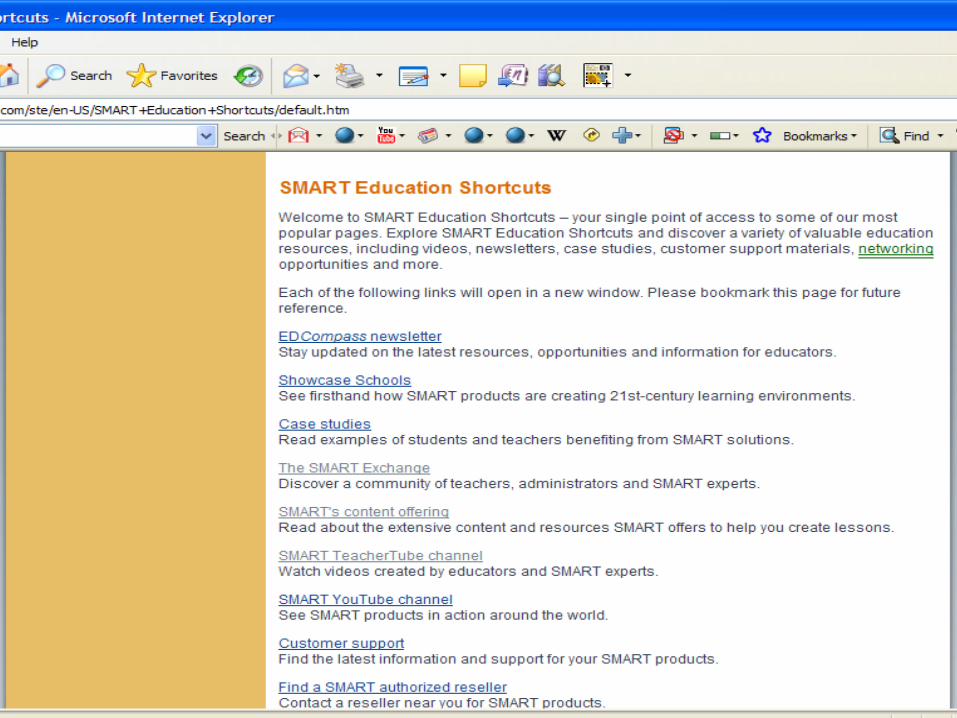
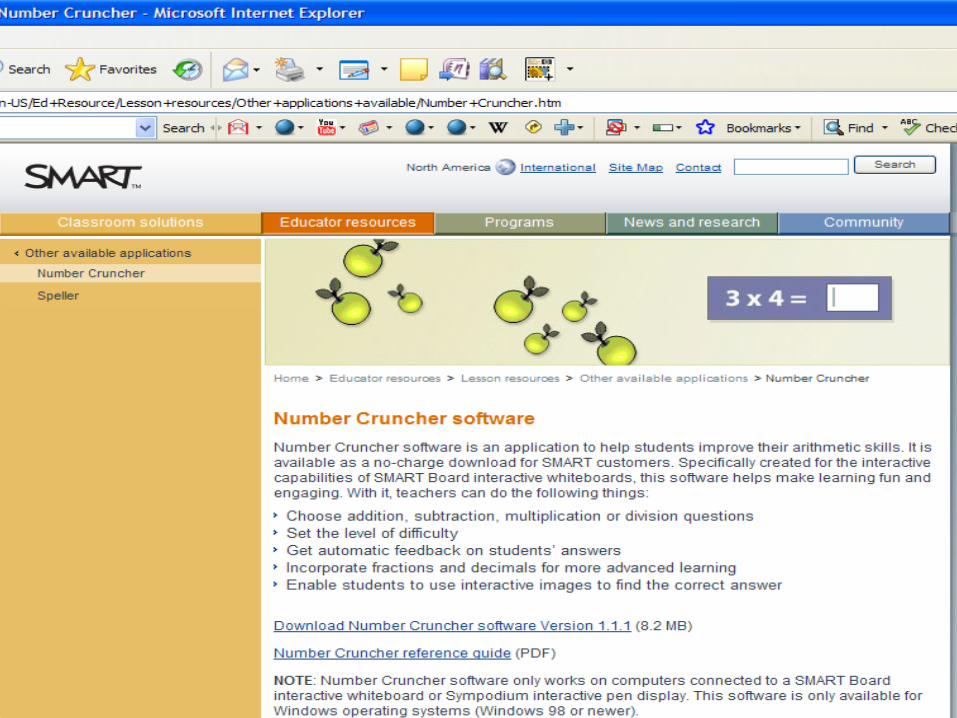
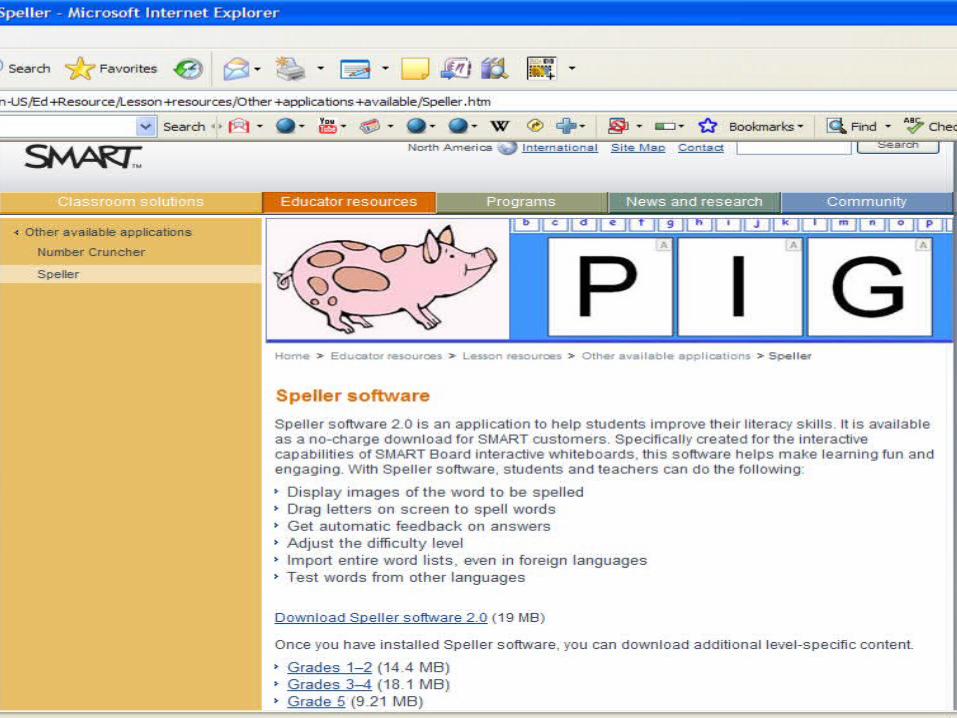
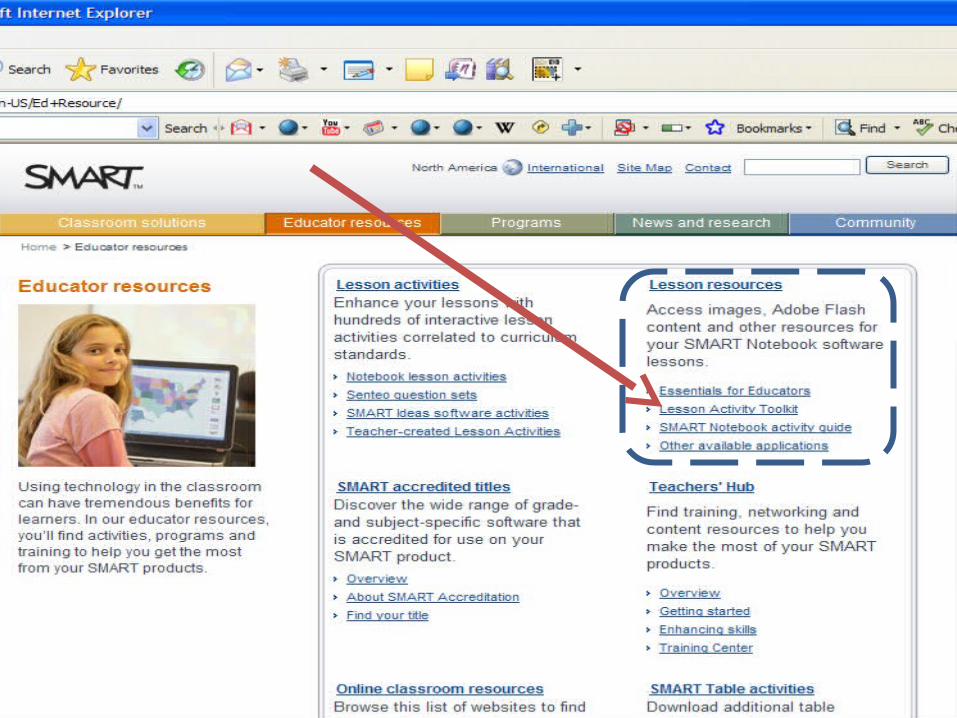
OTHER APPLICATIONS
4/17/2009
4/17/2009

4/17/2009
4/17/2009
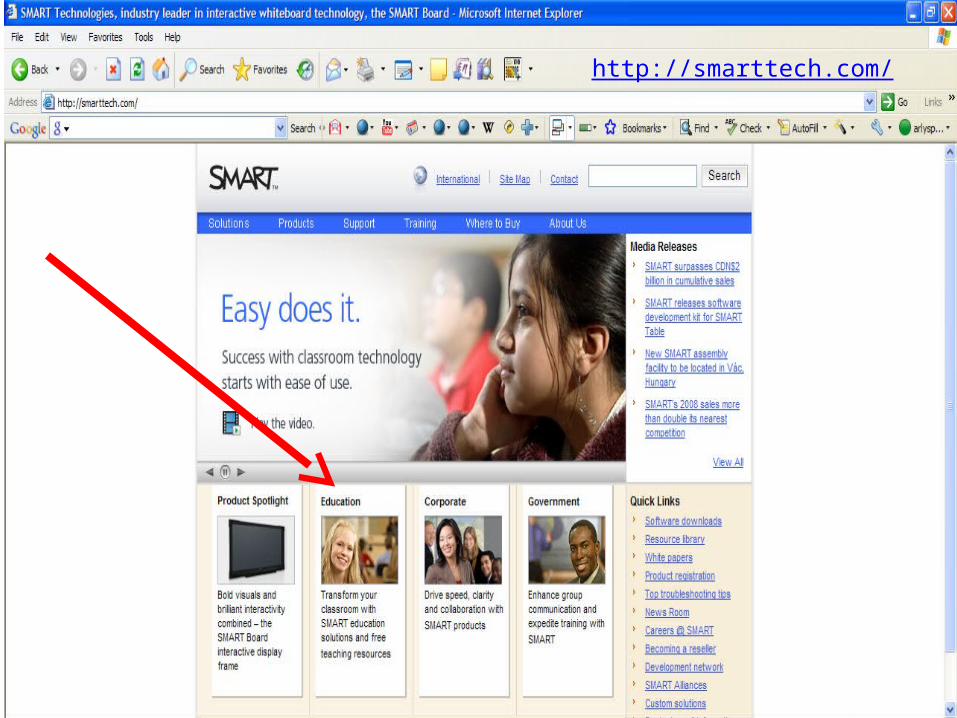
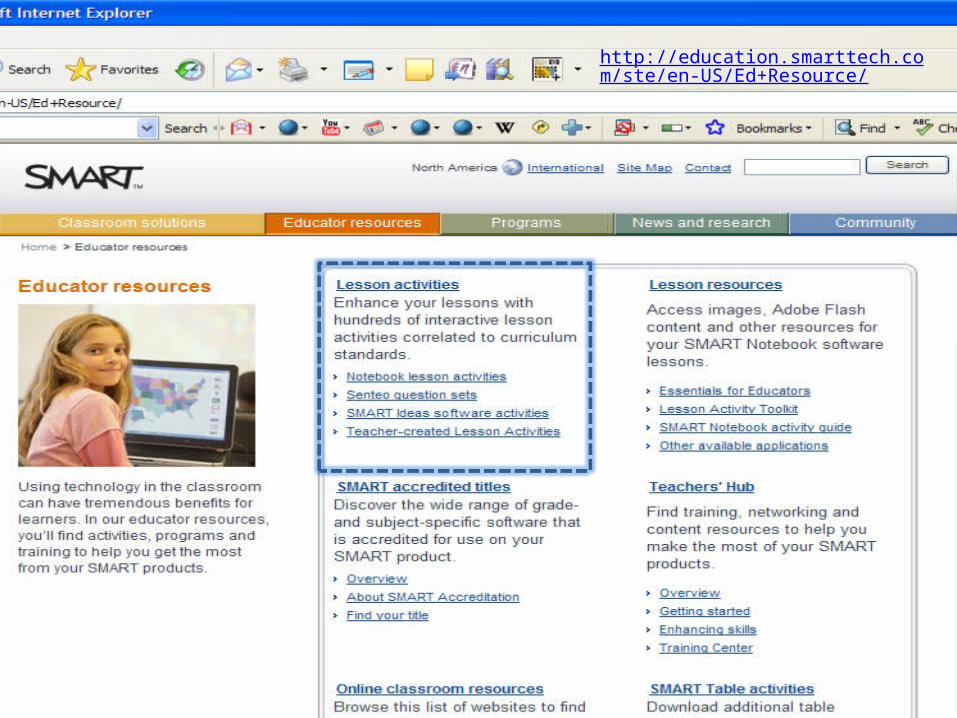
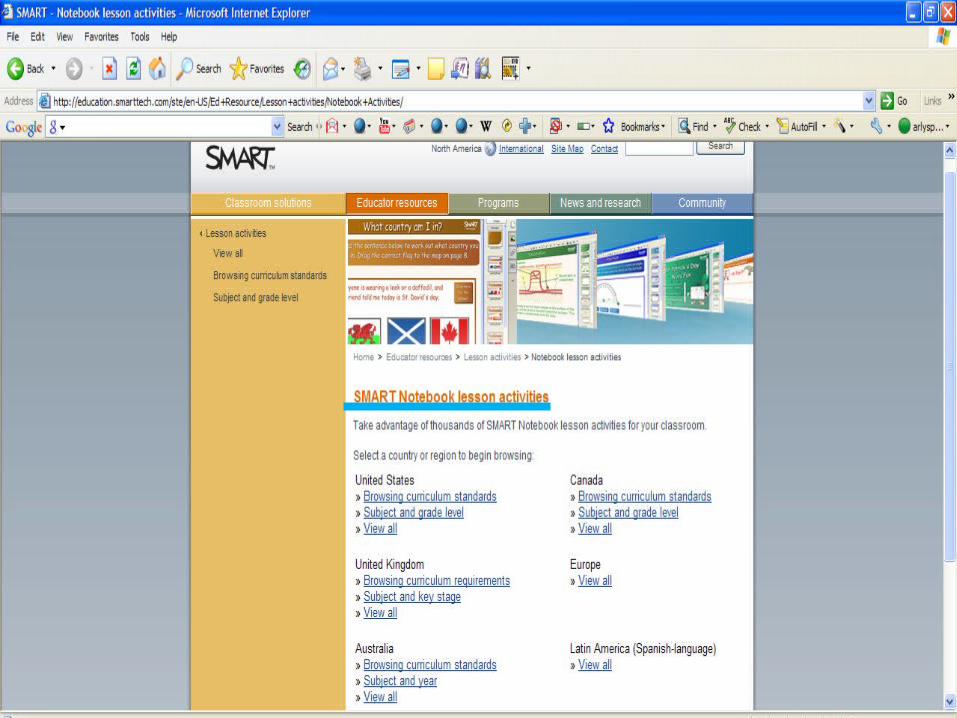
http://education.smarttech.com/ste/en-US/Ed+Resource/
4/17/2009
4/17/2009

4/17/2009

4/17/2009

4/17/2009
http://education.smarttech.com/ste/en-US/Ed+Resource/Teachers+Hub/default.htm

4/17/2009
4/17/2009

4/17/2009
4/17/2009
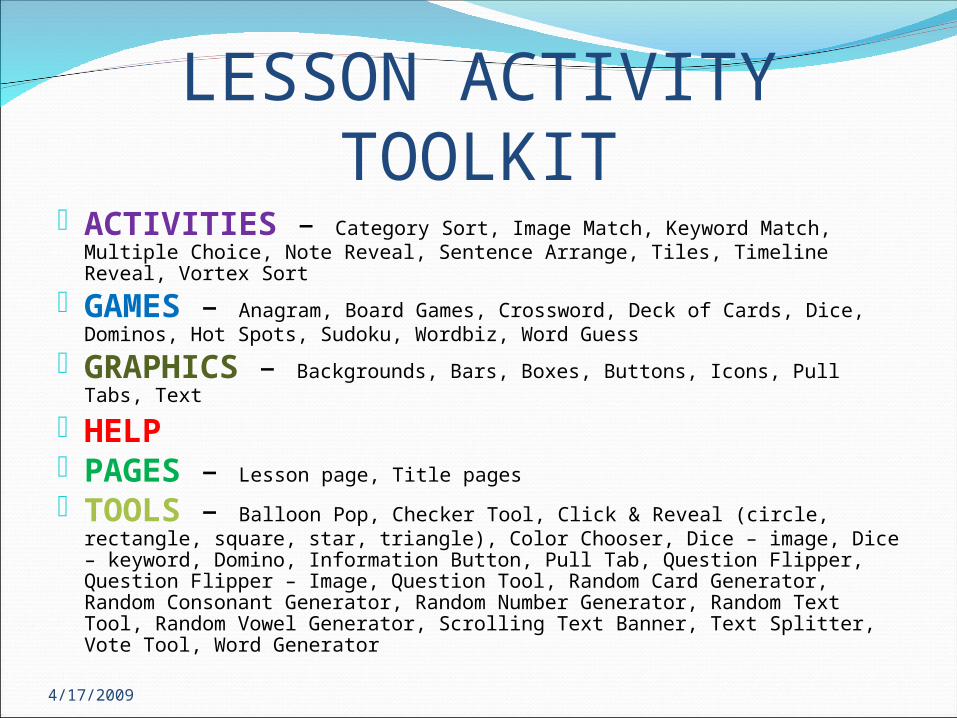
LESSON ACTIVITY TOOLKIT ACTIVITIES – Category Sort, Image Match, Keyword Match,
Multiple Choice, Note Reveal, Sentence Arrange, Tiles, Timeline Reveal, Vortex Sort
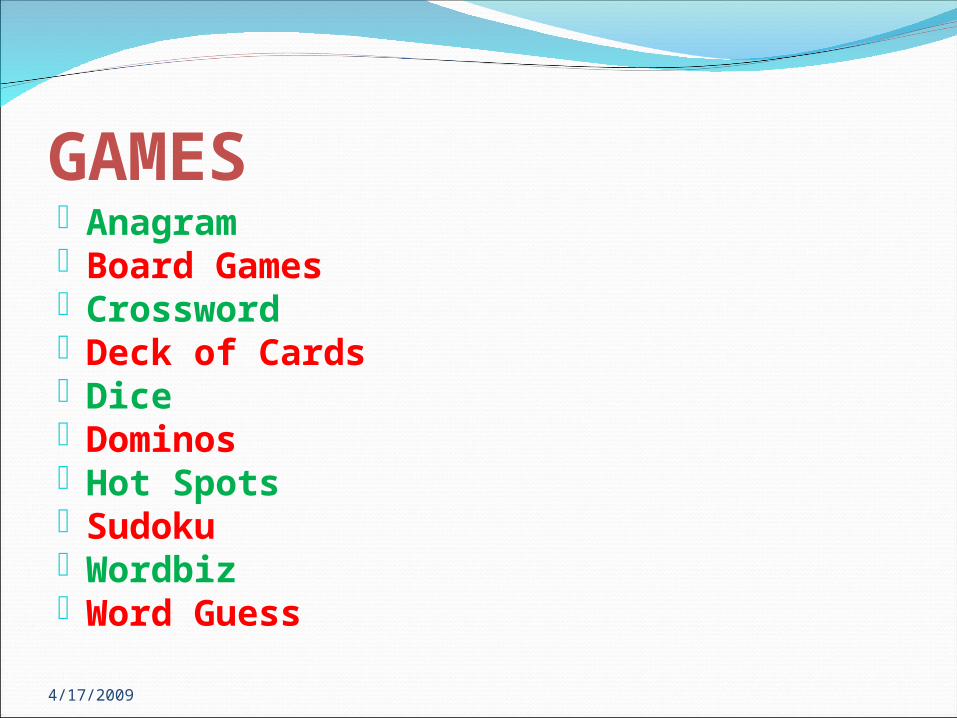
GAMES – Anagram, Board Games, Crossword, Deck of Cards, Dice, Dominos, Hot Spots, Sudoku, Wordbiz, Word Guess
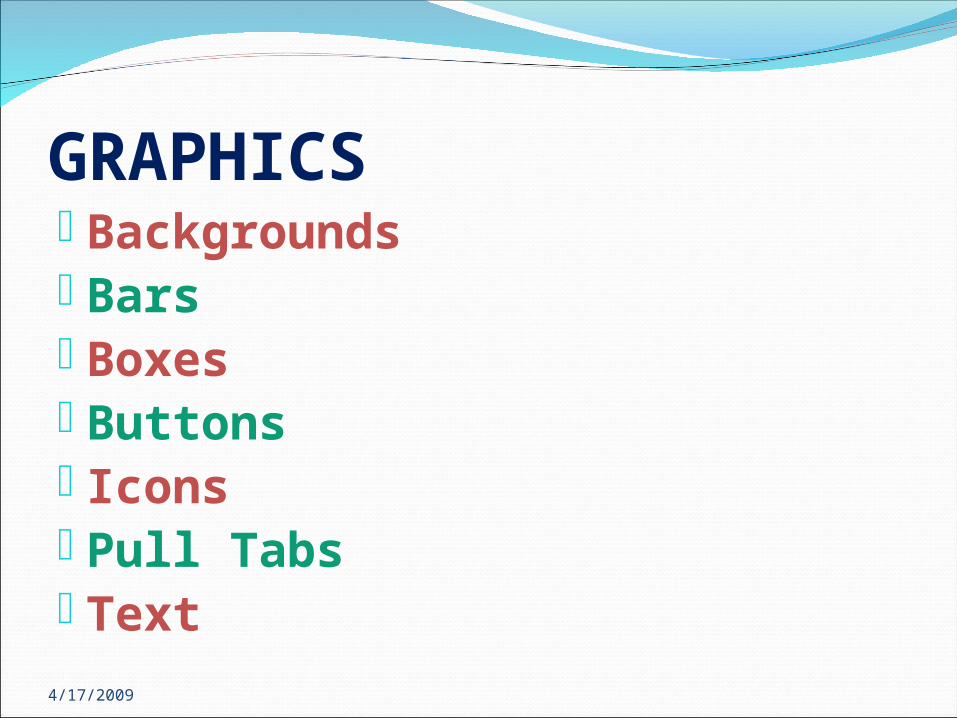
GRAPHICS – Backgrounds, Bars, Boxes, Buttons, Icons, Pull Tabs, Text
HELP PAGES – Lesson page, Title pages
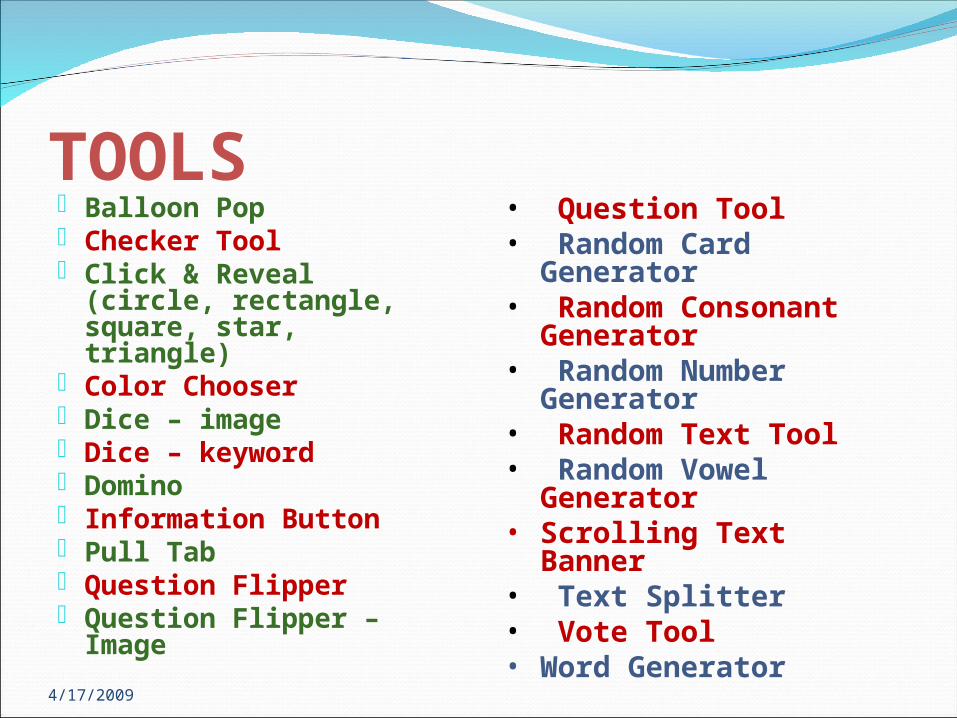
TOOLS – Balloon Pop, Checker Tool, Click & Reveal (circle, rectangle, square, star, triangle), Color Chooser, Dice – image, Dice – keyword, Domino, Information Button, Pull Tab, Question Flipper, Question Flipper – Image, Question Tool, Random Card Generator, Random Consonant Generator, Random Number Generator, Random Text Tool, Random Vowel Generator, Scrolling Text Banner, Text Splitter, Vote Tool, Word Generator

4/17/2009
ACTIVITIES Category Sort Image Match Keyword Match Multiple Choice Note Reveal Sentence Arrange Tiles Timeline Reveal Vortex Sort
4/17/2009
GAMES Anagram Board Games Crossword Deck of Cards Dice Dominos Hot Spots Sudoku Wordbiz Word Guess
4/17/2009
GRAPHICS Backgrounds Bars Boxes Buttons Icons Pull Tabs Text
4/17/2009
PAGES Lesson page Title pages
4/17/2009
TOOLS Balloon Pop Checker Tool Click & Reveal
(circle, rectangle, square, star, triangle)
Color Chooser Dice – image Dice – keyword Domino Information Button Pull Tab Question Flipper Question Flipper –
Image
• Question Tool• Random Card
Generator• Random
Consonant Generator
• Random Number Generator
• Random Text Tool• Random Vowel
Generator• Scrolling Text
Banner• Text Splitter• Vote Tool• Word Generator

4/17/2009
SMARTBOARD TOOLS Smart Slideshow – open SmartBoard v.10
4/17/2009
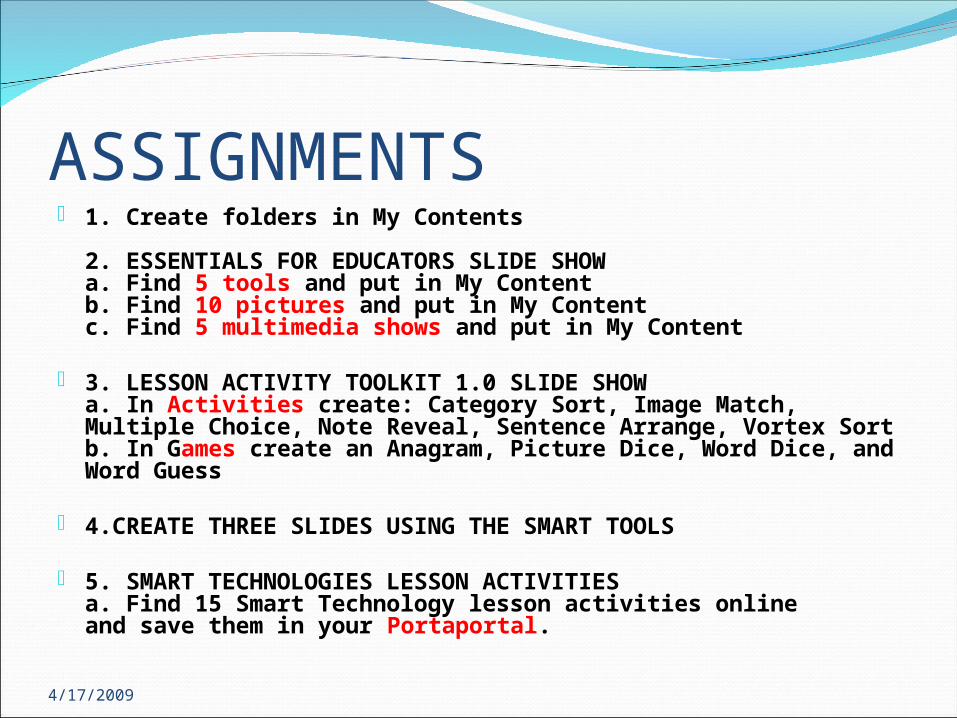
ASSIGNMENTS 1. Create folders in My Contents
2. ESSENTIALS FOR EDUCATORS SLIDE SHOWa. Find 5 tools and put in My Content b. Find 10 pictures and put in My Contentc. Find 5 multimedia shows and put in My Content
3. LESSON ACTIVITY TOOLKIT 1.0 SLIDE SHOWa. In Activities create: Category Sort, Image Match, Multiple Choice, Note Reveal, Sentence Arrange, Vortex Sortb. In Games create an Anagram, Picture Dice, Word Dice, and Word Guess
4.CREATE THREE SLIDES USING THE SMART TOOLS
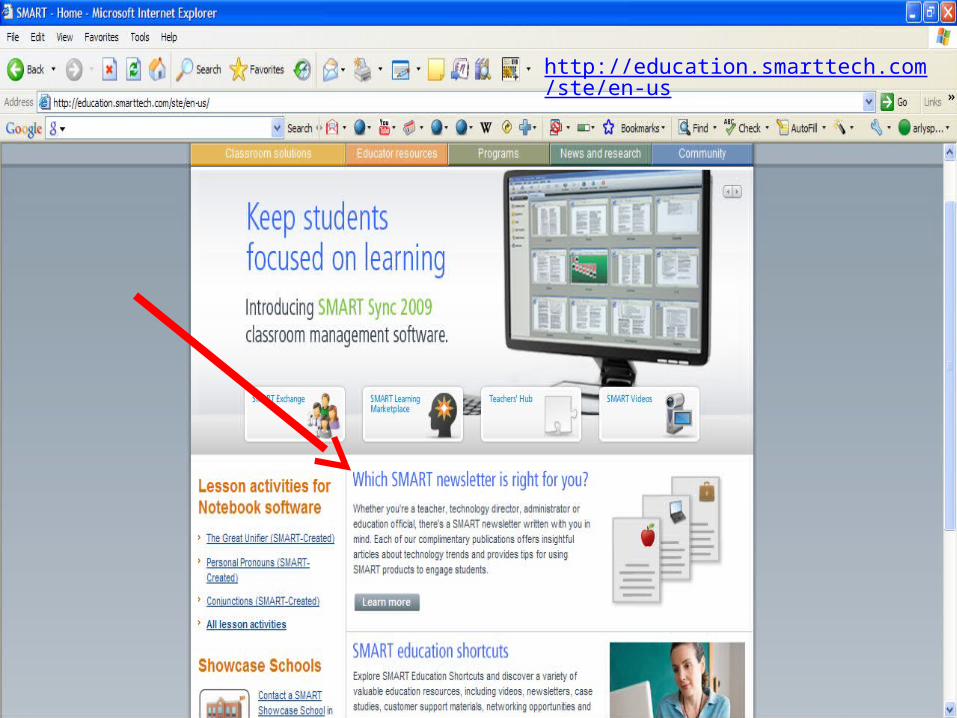
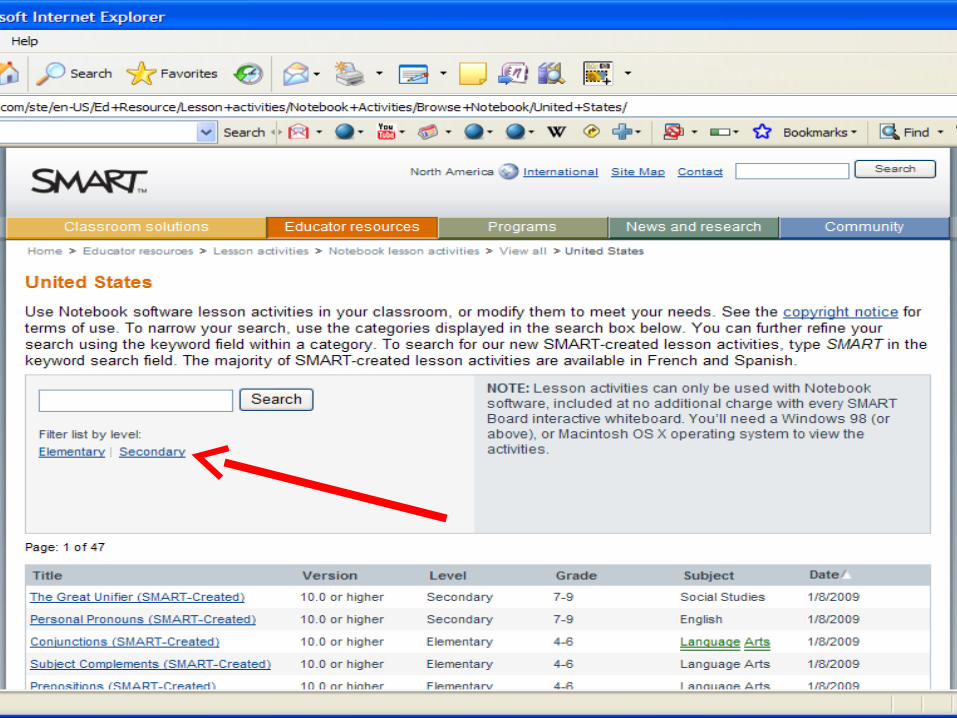
5. SMART TECHNOLOGIES LESSON ACTIVITIESa. Find 15 Smart Technology lesson activities online and save them in your Portaportal.

4/17/2009
4/17/2009
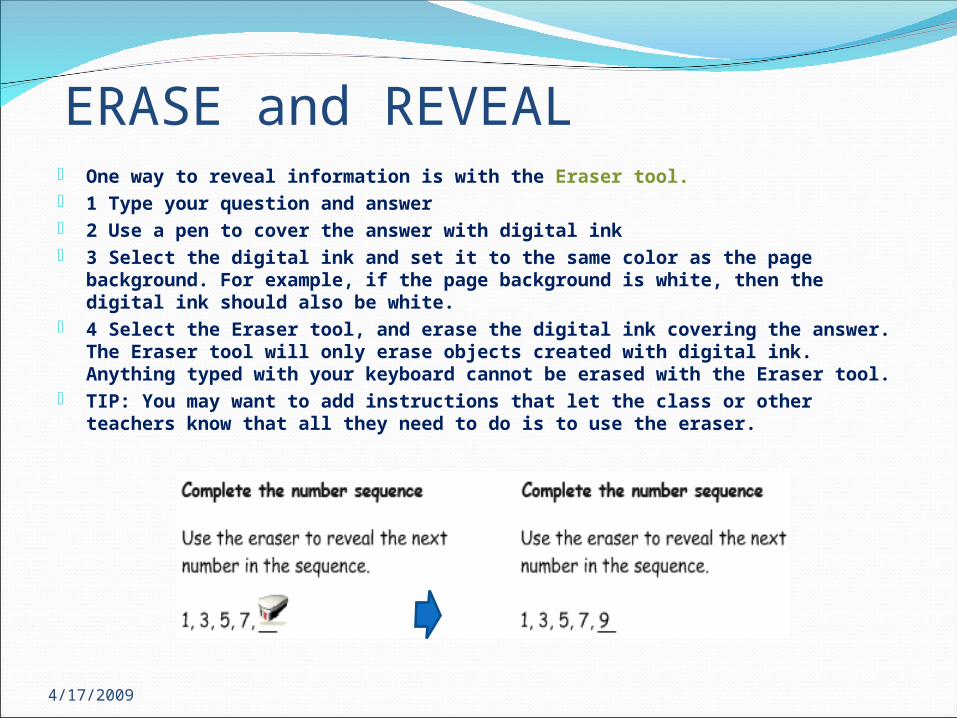
ERASE and REVEAL One way to reveal information is with the Eraser tool. 1 Type your question and answer 2 Use a pen to cover the answer with digital ink 3 Select the digital ink and set it to the same color as the page background.
For example, if the page background is white, then the digital ink should also be white.
4 Select the Eraser tool, and erase the digital ink covering the answer. The Eraser tool will only erase objects created with digital ink. Anything typed with your keyboard cannot be erased with the Eraser tool.
TIP: You may want to add instructions that let the class or other teachers know that all they need to do is to use the eraser.

4/17/2009
SCREENSHADE Another way to reveal information is with the
ScreenShade Reveal. 1 Type your question and answer 2 Press the Screen Shade button on the Notebook
software toolbar 3 Drag the Screen Shade so only the answer to your
question is covered 4 When you are ready, drag the Screen Shade so it no
longer covers the answer. This action is similar to using paper to cover answers that would be displayed through an overhead projector.
NOTE: When you open a Notebook file, the Screen Shade will be covering the same area it was hiding, and you will be able to start discussing the content in your file from exactly where you left off.

4/17/2009
IDENTIFYING AND LABELING Drag and drop activities are an excellent way to determine if your
class has achieved recognition about specific learning objectives. To create a drag and drop labeling activity, add the object you
want labeled to the work area. The object can come from the Notebook software Gallery, the My Content area or it might be a graphic you imported using the Insert menu. Use the object drop-down menu to lock the object that will be labeled in place. This action ensures the object won’t be accidentally moved during the lesson activity.
Next, make the labels for your diagram and line them up at the bottom of the Notebook page. Then you can ask members of the class to drag the labels to the appropriate area of the graphic.
You may want to add a link to an object, such as the eyeball above, to another Notebook software page with an answer key. This page will help anyone you share the file with find the correct answers.

4/17/2009
DRAG AND DROP Drag and drop activities can also be used for
text-based lessons. For example, you might drag events to specific dates on a timeline or define a series of words.
4/17/2009
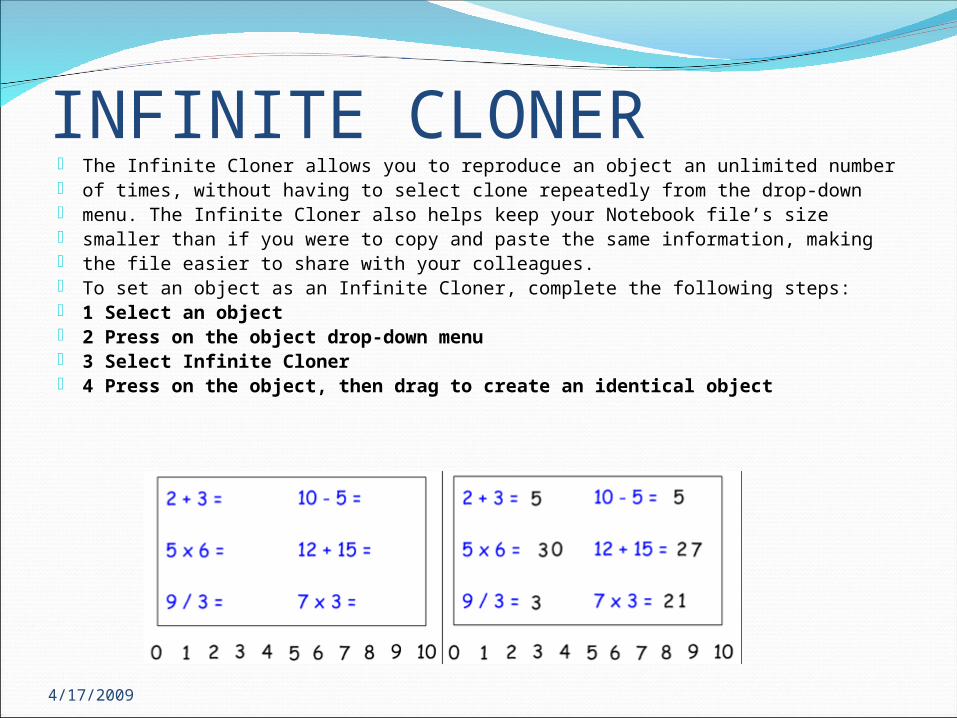
INFINITE CLONER The Infinite Cloner allows you to reproduce an object an unlimited number of times, without having to select clone repeatedly from the drop-down menu. The Infinite Cloner also helps keep your Notebook file’s size smaller than if you were to copy and paste the same information, making the file easier to share with your colleagues. To set an object as an Infinite Cloner, complete the following steps: 1 Select an object 2 Press on the object drop-down menu 3 Select Infinite Cloner 4 Press on the object, then drag to create an identical object
4/17/2009
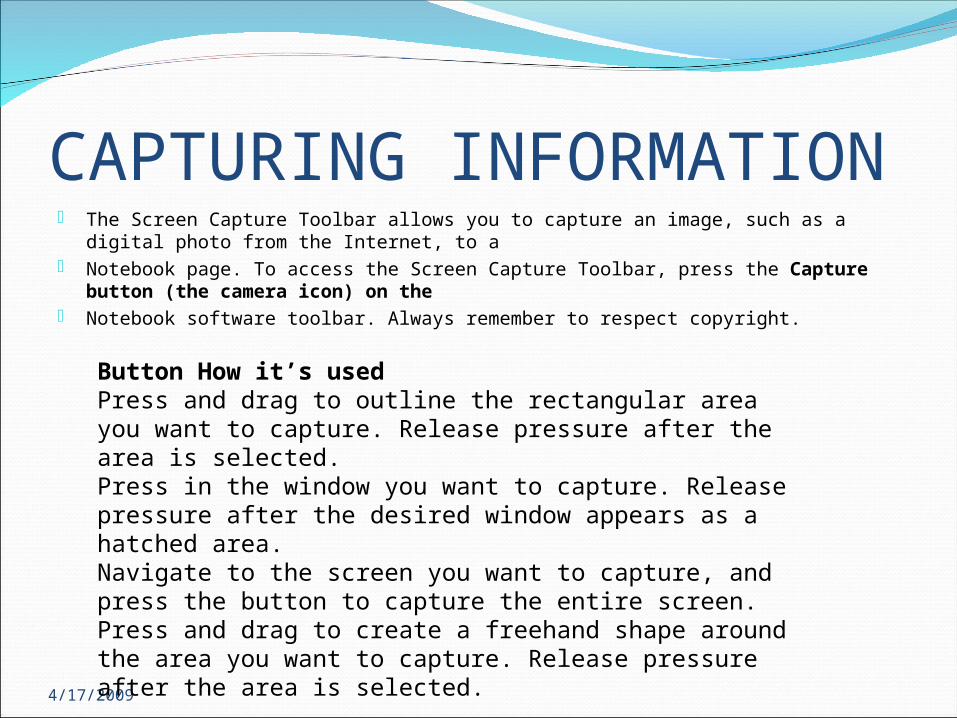
CAPTURING INFORMATION The Screen Capture Toolbar allows you to capture an image, such as a digital photo
from the Internet, to a Notebook page. To access the Screen Capture Toolbar, press the Capture button
(the camera icon) on the Notebook software toolbar. Always remember to respect copyright.
Button How it’s usedPress and drag to outline the rectangular area you want to capture. Release pressure after the area is selected.Press in the window you want to capture. Release pressure after the desired window appears as a hatched area.Navigate to the screen you want to capture, and press the button to capture the entire screen.Press and drag to create a freehand shape around the area you want to capture. Release pressure after the area is selected.
4/17/2009
LINK OBJECTS Link objects in a Notebook software lesson activity to a related Web page. A note stating the author and
relevance of linked content gives insight to what your students can expect to see and increases the usefulness of the link for your peers who might be sharing your content.
Link to another page within your Notebook file. You might use this type of linkwhen presenting a question. For example, you could ask a question, then ask astudent to select from a set of objects representing potential answers. The objectcontaining the correct answer could link to a reward screen. Objects containingincorrect answers could link to a page that encourages the students to try again.
Link to a file stored on your computer that relates to your lesson or presentation.For example, you could link to a Microsoft Word or Excel file that containsinformation that qualifies a statement in your Notebook file.
Link to a file you have stored in the Attachments tab. Some teachers store videofiles in the Attachments tab. By linking to these videos directly from an object onthe Notebook page, you can seamlessly launch the related video without openingthe Attachments tab or while presenting a lesson in full-screen mode.
4/17/2009
INTERACTIVE AND MULTIMEDIA CONTENT Video and Macromedia® Flash® content is easily accessible
from the Notebook software gallery. Video content can be usedto give students an impression of a historical event or todemonstrate how something moves, such as microscopic cells.Flash can be used when you want students to interact directlywith a learning object and receive instant feedback.
When you are searching for content related to a specific topic,Flash and video Gallery items are always located under thegallery header Interactive and Multimedia.
There are hundreds of Flash and video Gallery items.
To browse through the Interactive and Multimedia content available fromthe Notebook software gallery, type video or Flash in the Gallery search field, and experiment with the Gallery items to learn how you can apply them to your lessons.
4/17/2009
Assignments• SMARTBOARD WORKSHOP IDEAS• 1.OVERVIEW OF TOOLS• SmartBoard Toolbar Menus• Essentials for Educators List
Create folders in My Contents
2. ESSENTIALS FOR EDUCATORS SLIDE SHOWa. Find 5 tools and put in My Content b. Find 10 pictures and put in My Contentc. Find 5 multimedia shows and put in My Content
• 3. LESSON ACTIVITY TOOLKIT 1.0 SLIDE SHOWa. In Activities create: Category Sort, Image Match, Multiple Choice, Note Reveal, Sentence Arrange, Vortext Sortb. In Games create an Anagram, Picture Dice, Word Dice, and Word Guess
• 4.CREATE THREE SLIDES USING THE SMART TOOLS• 5. SMART TECHNOLOGIES LESSON ACTIVITIES
a. Find 15 Smart Technology lesson activities and save them in your Portaportal.
• *Smart Tech Elementary Resources*Primary Lesson Activities
*Smart Tech Secondary ResourcesSecondary Lesson Activities