


Languages
Pages
Legal

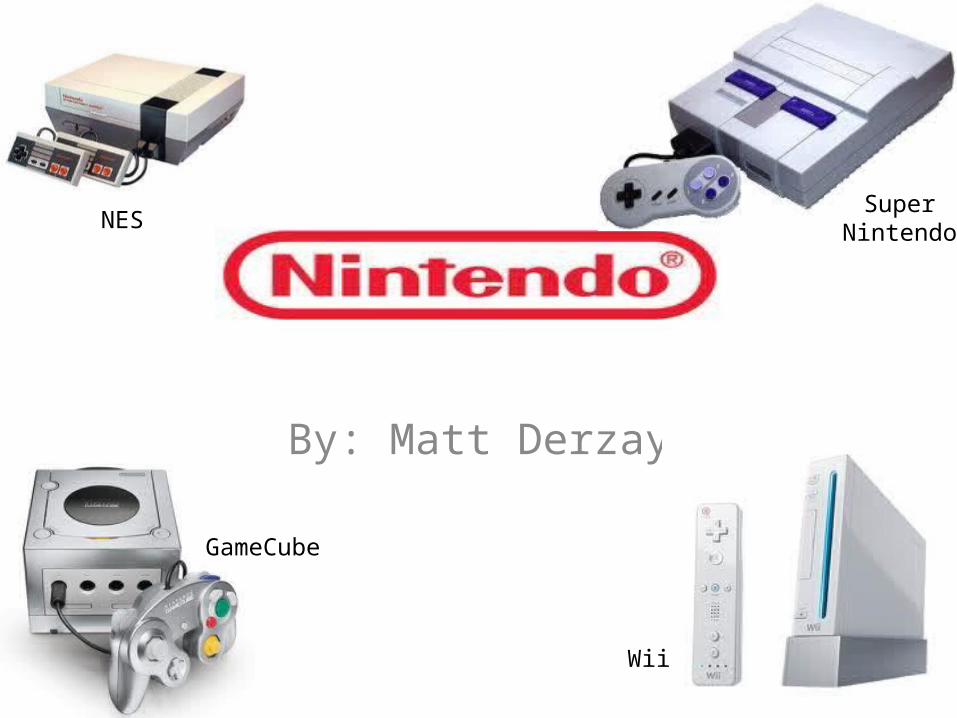
By: Matt Derzay
NES
GameCube
SuperNintendo
Wii

From Early Beginnings Began in 1889 by Fusajiro Yamauchi Started with a card game called “Nintendo Koppai” also known as “Hanafuda”.
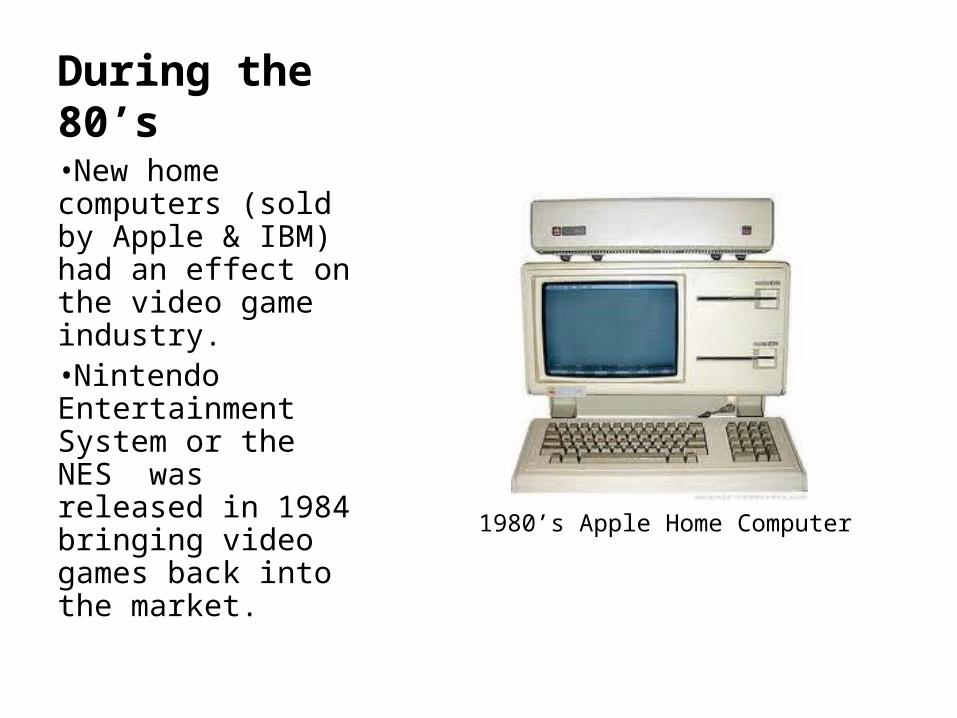
During the 80’s•New home computers (sold by Apple & IBM) had an effect on the video game industry.•Nintendo Entertainment System or the NES was released in 1984 bringing video games back into the market.
1980’s Apple Home Computer
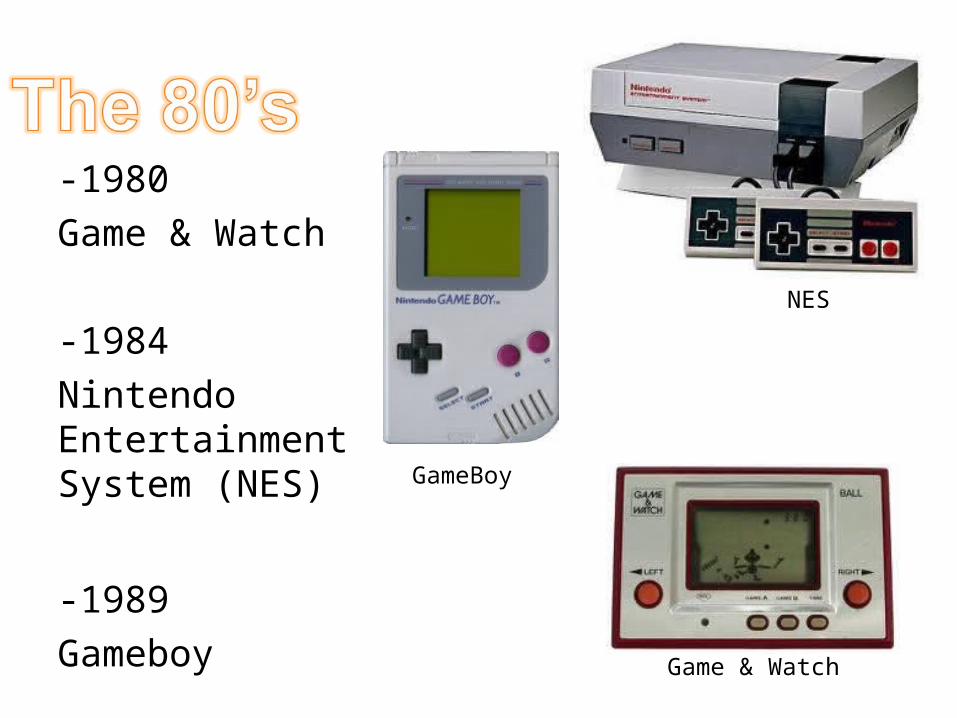
-1980Game & Watch
-1984 Nintendo Entertainment System (NES)
-1989Gameboy
GameBoy
Game & Watch
NES
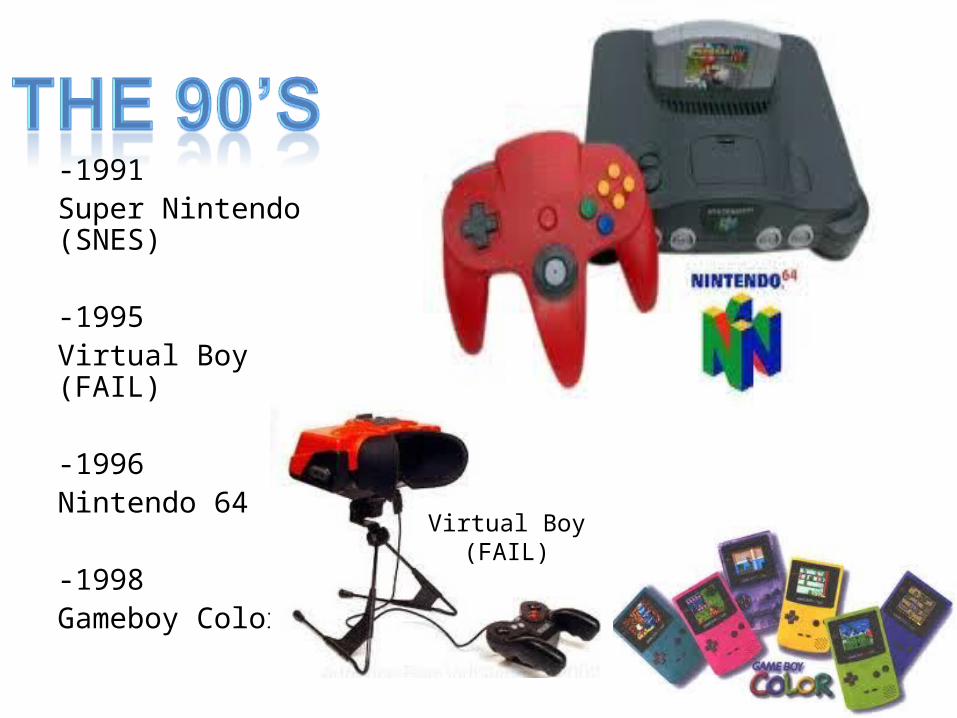
-1991Super Nintendo (SNES)
-1995Virtual Boy (FAIL)
-1996 Nintendo 64
-1998Gameboy Color
Virtual Boy(FAIL)
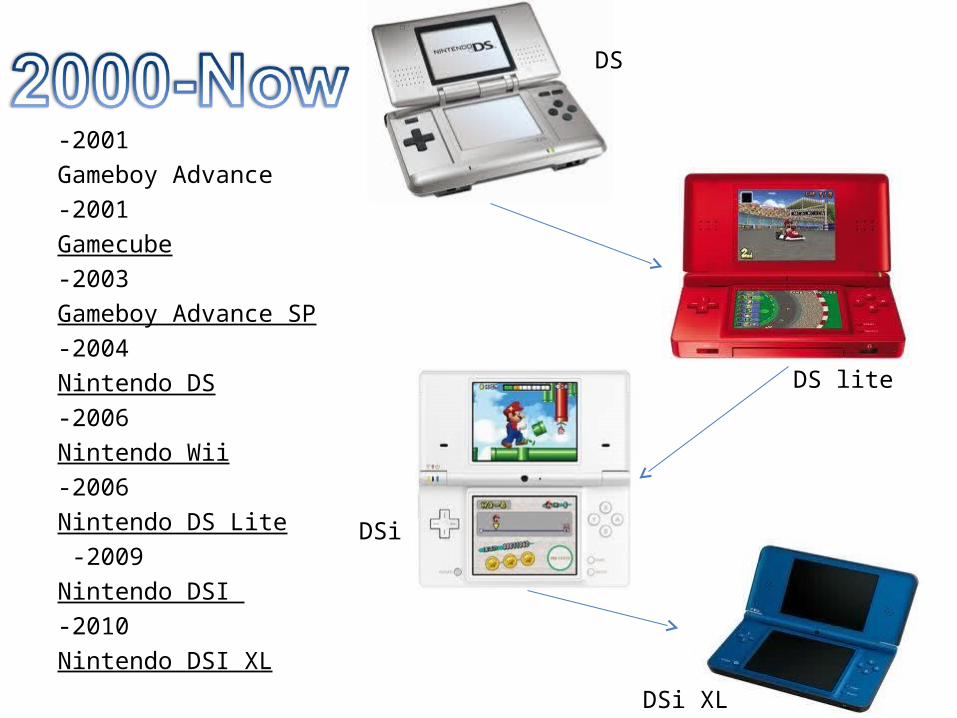
-2001Gameboy Advance-2001Gamecube-2003Gameboy Advance SP-2004Nintendo DS-2006Nintendo Wii-2006Nintendo DS Lite -2009Nintendo DSI -2010Nintendo DSI XL
DS
DS lite
DSi
DSi XL
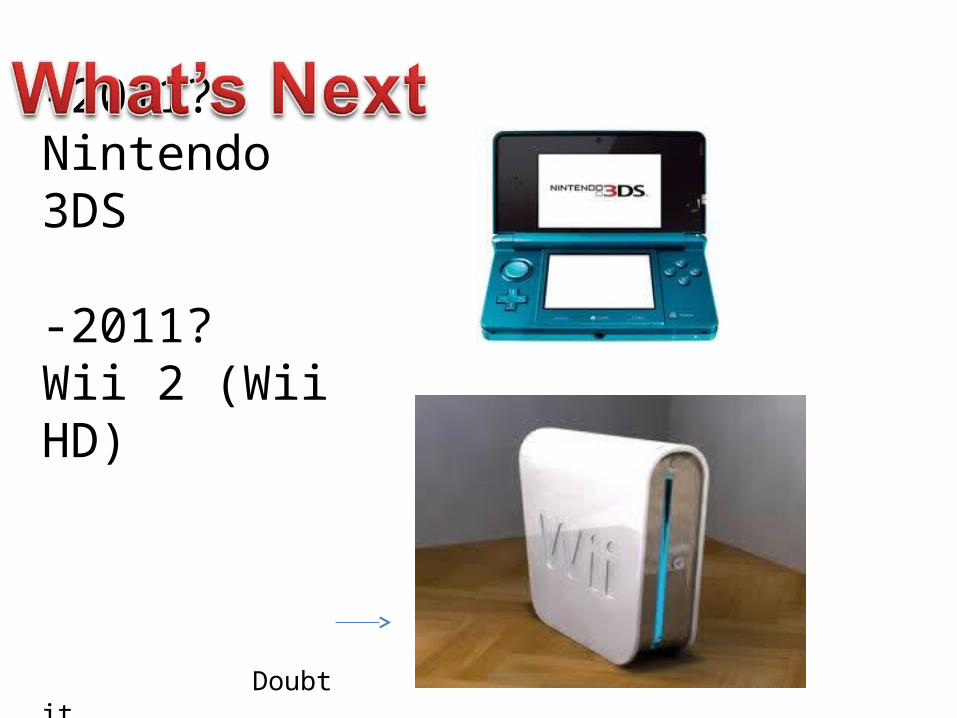
-2011?Nintendo 3DS
-2011?Wii 2 (Wii HD)
Doubt it
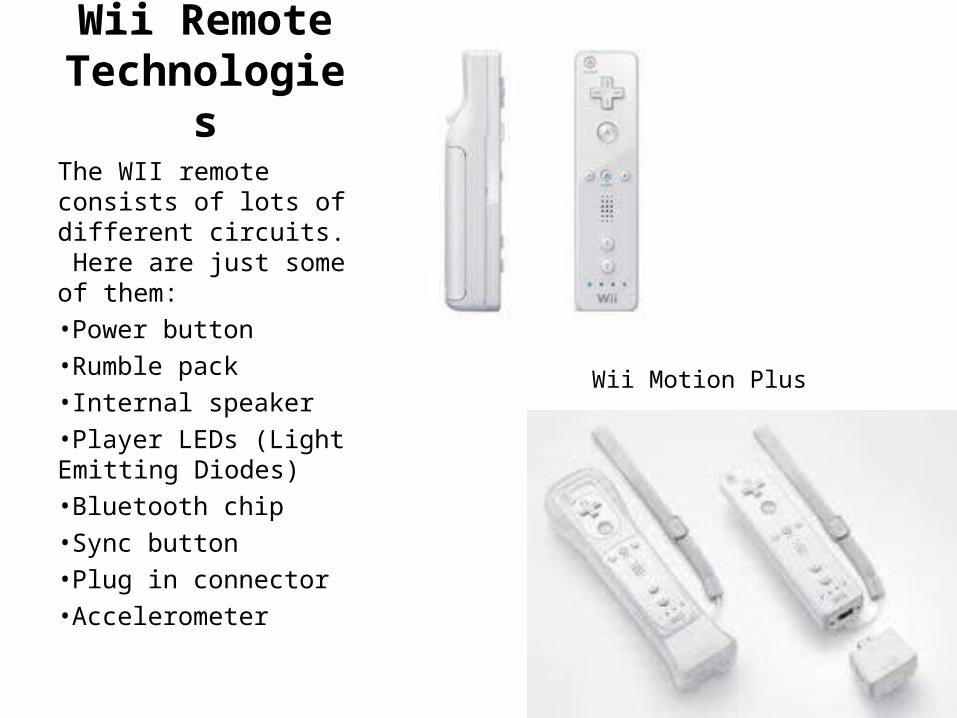
Wii Remote Technologies
The WII remote consists of lots of different circuits. Here are just some of them:•Power button •Rumble pack •Internal speaker •Player LEDs (Light Emitting Diodes) •Bluetooth chip •Sync button •Plug in connector •Accelerometer
Wii Motion Plus
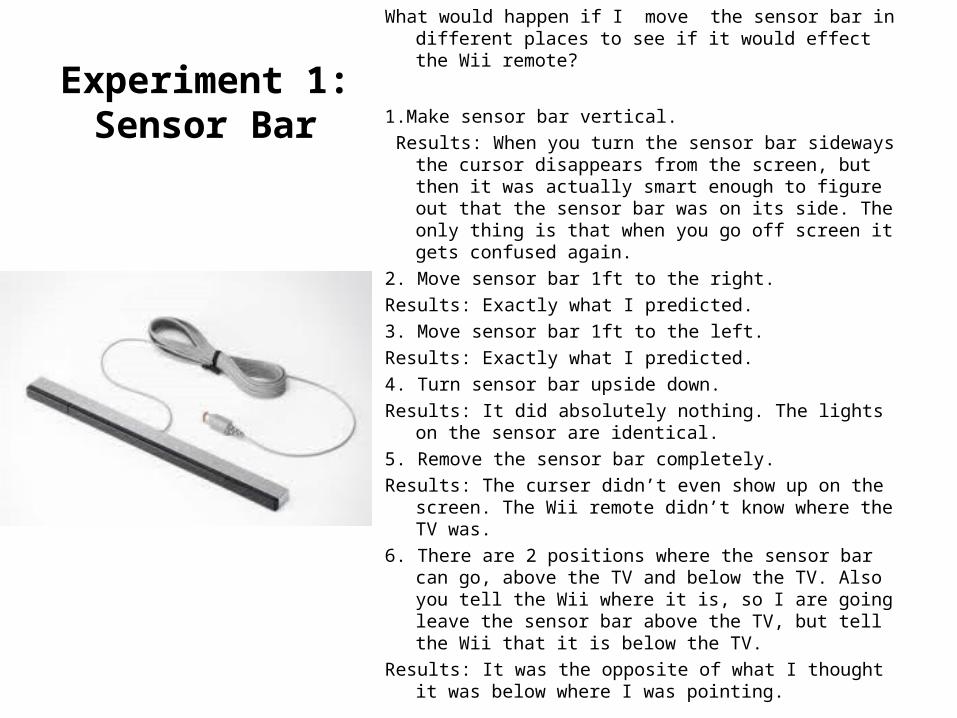
Experiment 1: Sensor Bar
What would happen if I move the sensor bar in different places to see if it would effect the Wii remote?
1.Make sensor bar vertical. Results: When you turn the sensor bar sideways the cursor
disappears from the screen, but then it was actually smart enough to figure out that the sensor bar was on its side. The only thing is that when you go off screen it gets confused again.
2. Move sensor bar 1ft to the right.Results: Exactly what I predicted.3. Move sensor bar 1ft to the left.Results: Exactly what I predicted.4. Turn sensor bar upside down.Results: It did absolutely nothing. The lights on the sensor
are identical. 5. Remove the sensor bar completely.Results: The curser didn’t even show up on the screen. The
Wii remote didn’t know where the TV was.6. There are 2 positions where the sensor bar can go, above
the TV and below the TV. Also you tell the Wii where it is, so I are going leave the sensor bar above the TV, but tell the Wii that it is below the TV.
Results: It was the opposite of what I thought it was below where I was pointing.
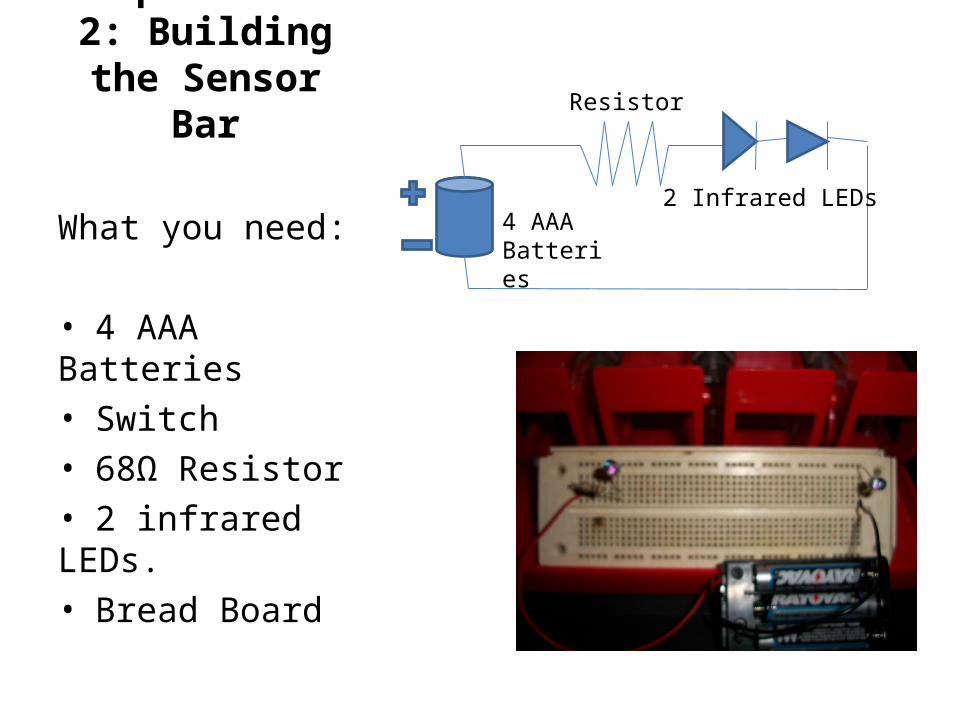
Experiment 2: Building the Sensor Bar
What you need:
• 4 AAA Batteries• Switch • 68Ω Resistor• 2 infrared LEDs.• Bread Board
4 AAA Batteries
Resistor
2 Infrared LEDs
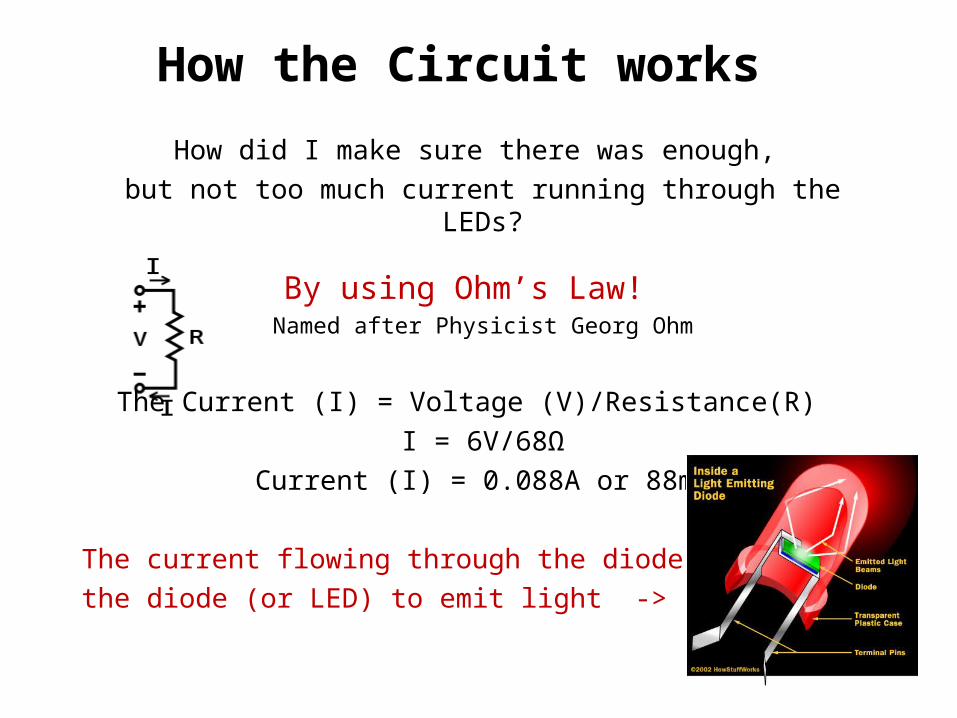
How the Circuit works
How did I make sure there was enough, but not too much current running through the LEDs?
By using Ohm’s Law! Named after Physicist Georg Ohm
The Current (I) = Voltage (V)/Resistance(R) I = 6V/68Ω
Current (I) = 0.088A or 88mA
The current flowing through the diode enablesthe diode (or LED) to emit light ->
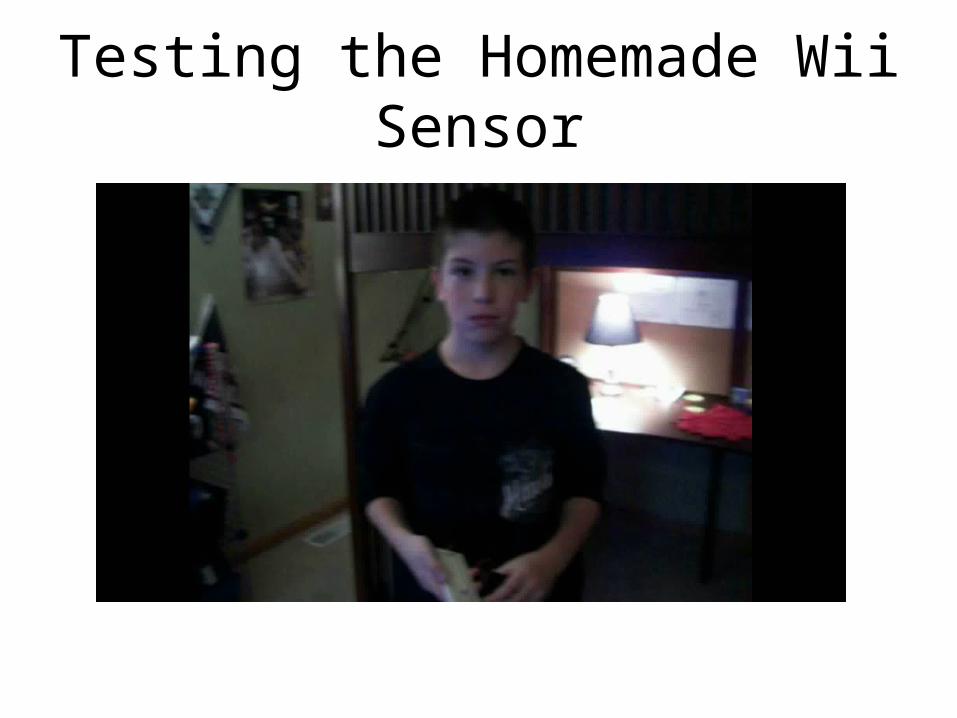
Testing the Homemade Wii Sensor

Negative Health Effects
These are just 3 problems out the hundreds of them.
-Obesity
-Carpal Tunnel
-Tendonitis

Retirement Homesand
Rehab Centers
•Older adults using Wii to keep active.•Keeps seniors socially active.•Promotes positive attitude and it’s fun!
Rehabilitation:•Strengthen muscles•Easy to use at home.
Top Related