


Languages
Pages
Legal

Native PlantPropagation
Gregory A. Koob

Methods
Seeds
Seeds• Harvesting seeds
• Cleaning seeds• Storing seeds
• Seed starting media• Planting seeds
• Care of seedlings

Harvesting Seeds
• Ripe seeds are best• Pick at peak of ripeness• Process immediately
Harvesting Seeds
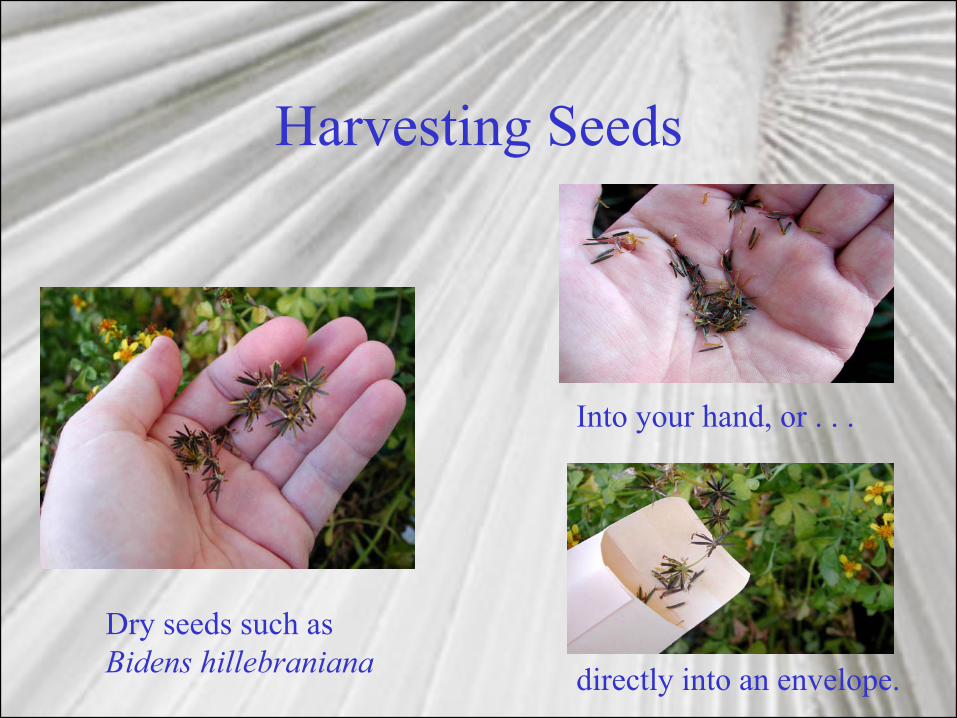
Dry seeds such as Bidens hillebraniana
Into your hand, or . . .
directly into an envelope.

Harvesting Seeds
Some fruit don’t look ripe until it is too late. Brighamia insignis fruit stay green until they pop open and drop all their seeds.
Place the green, but full-size fruit on a piece of paper until they pop open and drop their seeds.
Harvesting Seeds
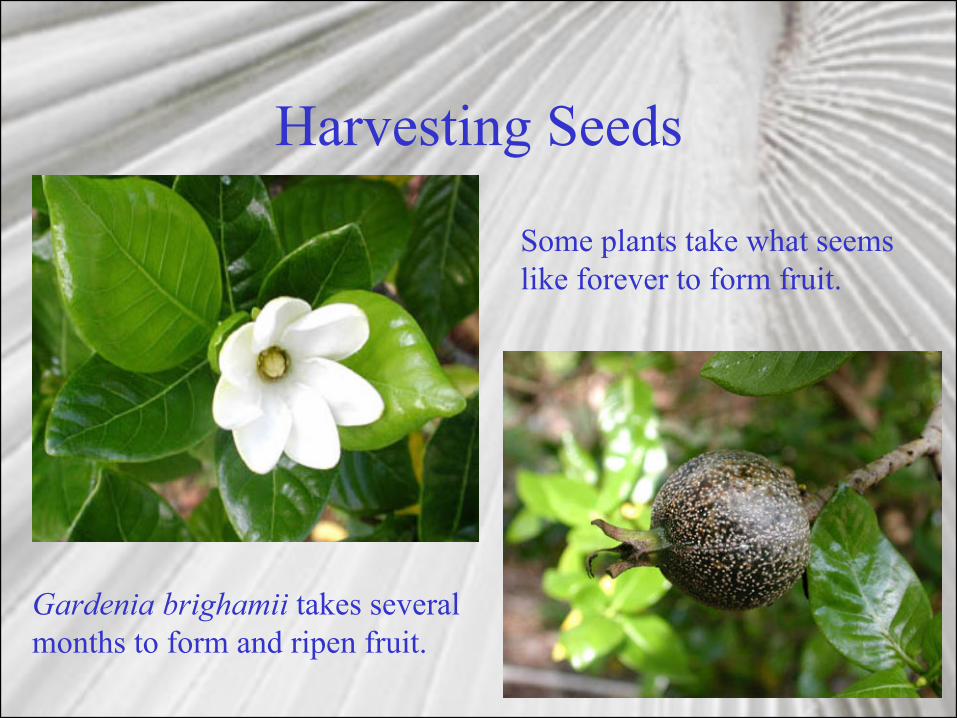
Some plants take what seems like forever to form fruit.
Gardenia brighamii takes several months to form and ripen fruit.
Harvesting Seeds
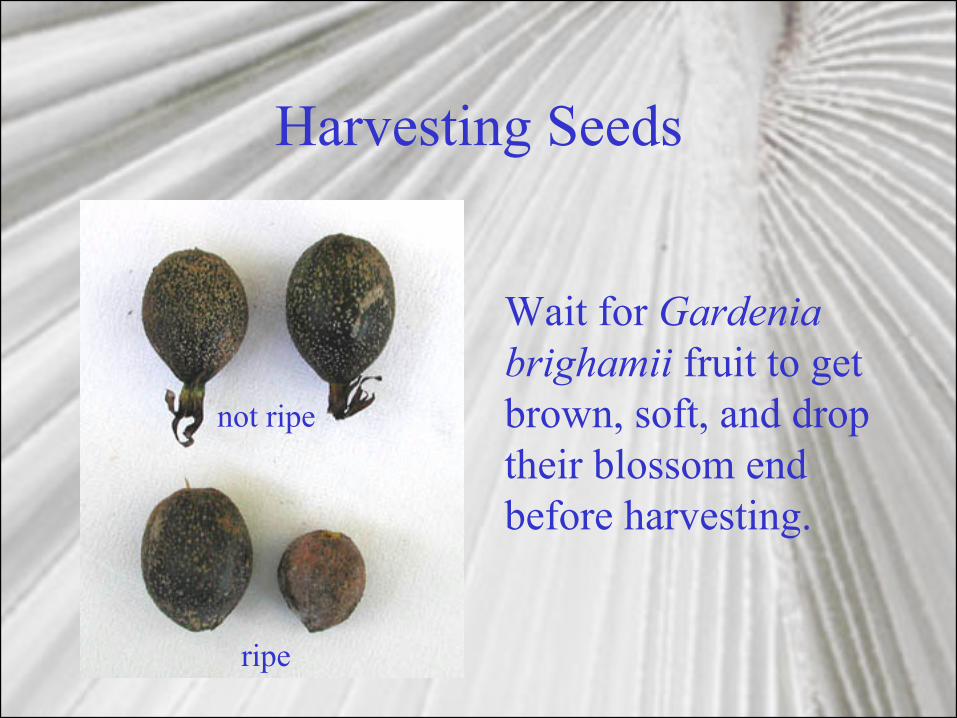
Wait for Gardenia brighamii fruit to get brown, soft, and drop their blossom end before harvesting.
not ripe
ripe

Seeds• Harvesting seeds
• Cleaning seeds• Storing seeds
• Seed starting media• Planting seeds
• Care of seedlings
Cleaning Seeds
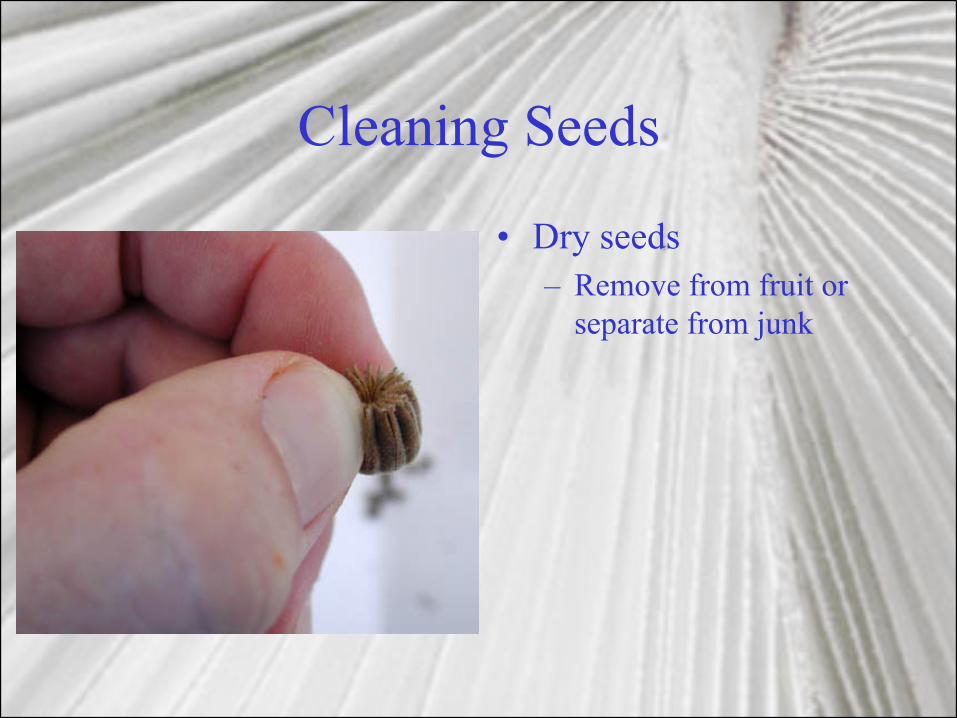
• Dry seeds– Remove from fruit or
separate from junk

Cleaning Seeds
• Fleshy fruit– Place in water
Cleaning Seeds
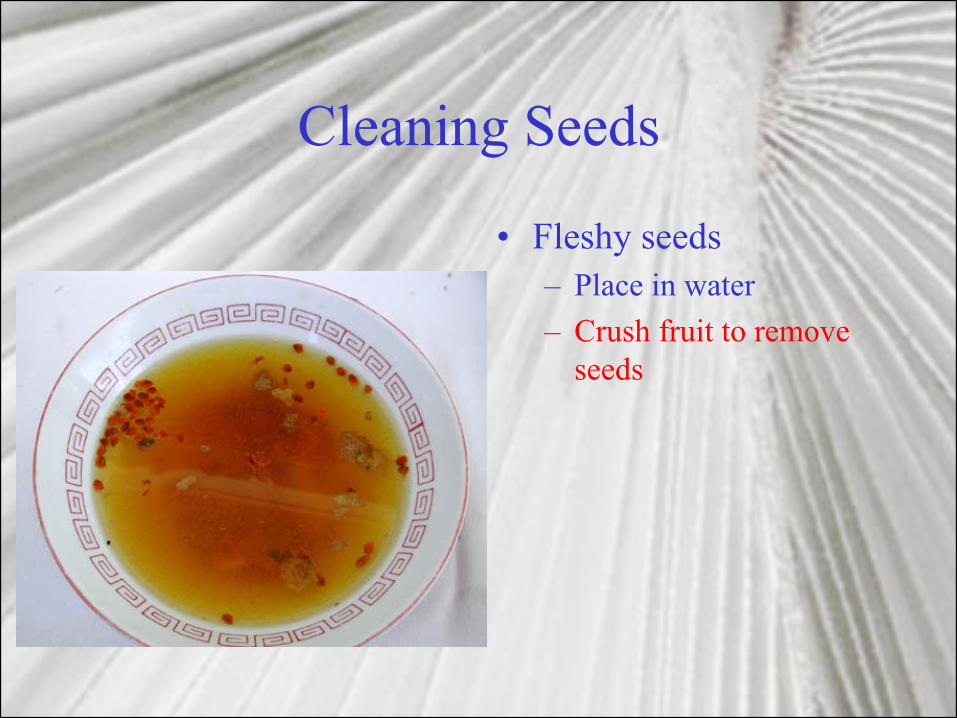
• Fleshy seeds– Place in water– Crush fruit to remove
seeds

Cleaning Seeds
• Fleshy seeds– Place in water– Crush fruit to remove
seeds– Pick out large pieces

Cleaning Seeds
• Fleshy seeds– Place in water– Crush fruit to remove
seeds– Pick out large pieces– Swirl and dump to
removed junk
Cleaning Seeds
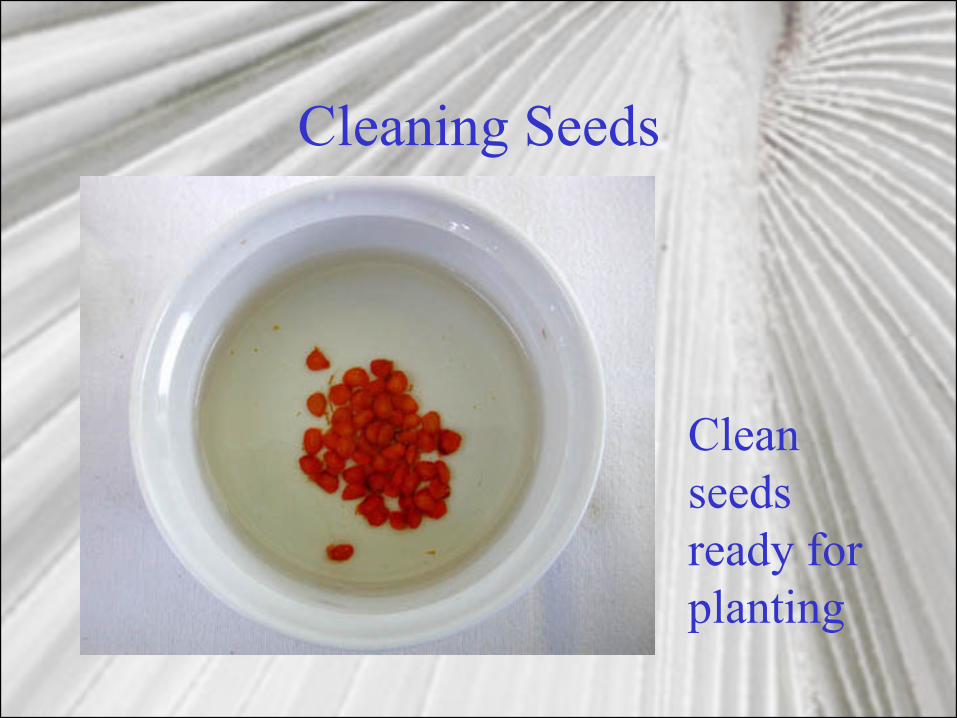
Clean seeds ready for planting

Cleaning seeds
• Use a knife to remove flesh
Seeds• Harvesting seeds
• Cleaning seeds• Storing seeds
• Seed starting media• Planting seeds
• Care of seedlings

Storing Seeds
• Not all native seeds store well, experiment
• Dry to a low relative humidity
• Store in paper envelopes placed in plastic bags in crisper of refrigerator
Seeds• Harvesting seeds
• Cleaning seeds• Storing seeds
• Seed starting media• Planting seeds
• Care of seedlings

Seeds Starting Media
• Vermiculite• Perlite• Sterile potting mix

Seeds• Harvesting seeds
• Cleaning seeds• Storing seeds
• Seed starting media• Planting seeds
• Care of seedlings
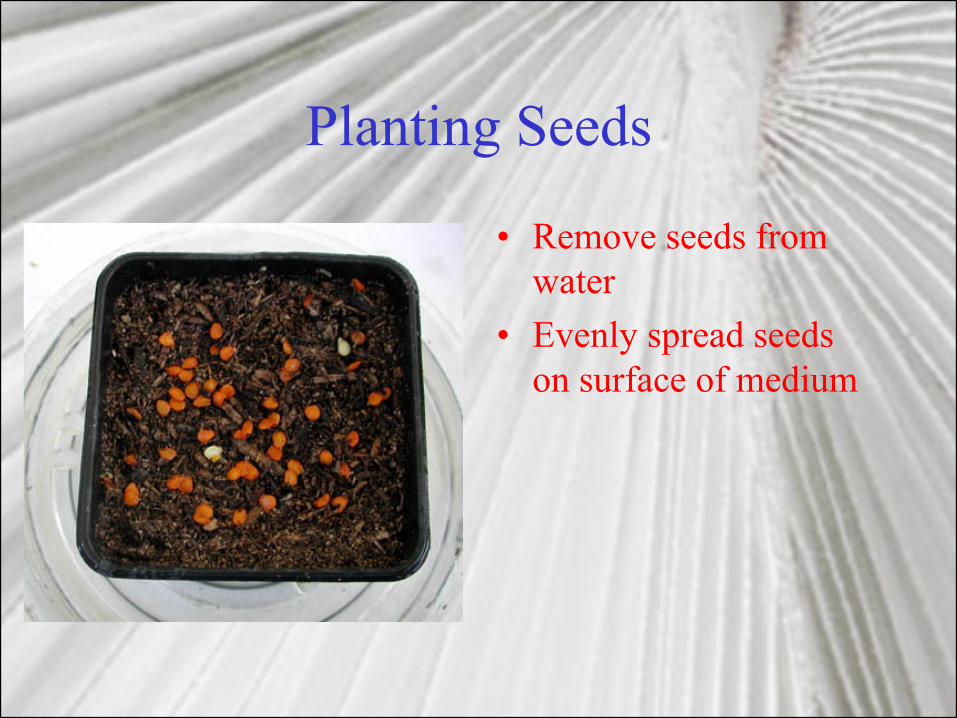
Planting Seeds
• Remove seeds from water
• Evenly spread seeds on surface of medium
Planting Seeds
• Remove seeds from water• Evenly spread seeds on
surface of medium• Water
– top water for big seeds– Bottom water for small
seeds
• Keep moist, but not wet

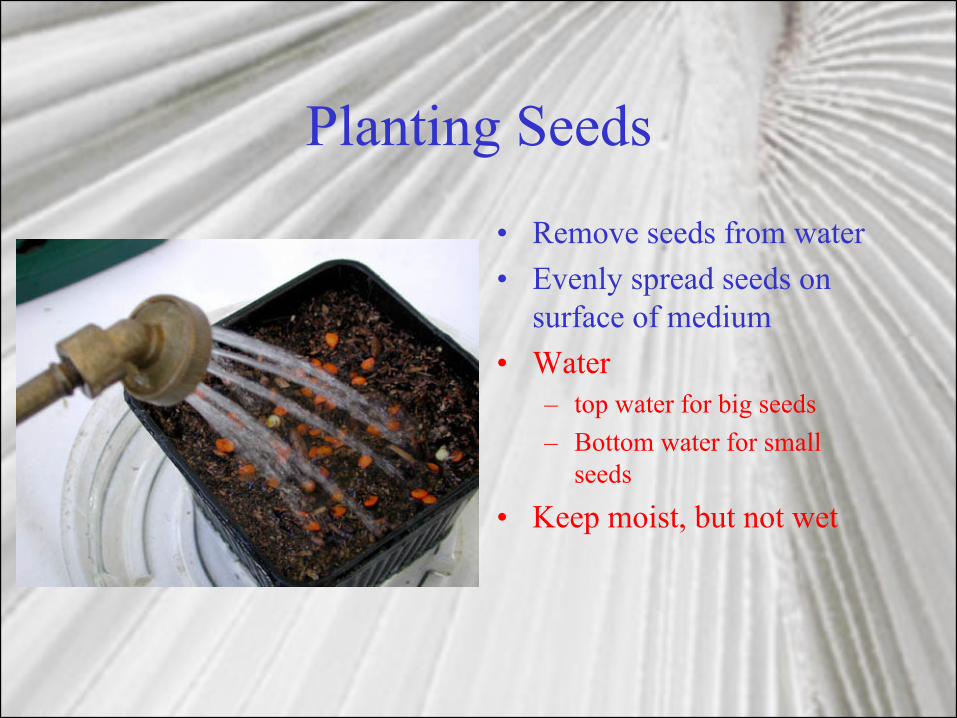
Planting Seeds
• Remove seeds from water• Evenly spread seeds on
surface of medium• Water
– top water for big seeds– Bottom water for small
seeds
• Keep moist, but not wet• No need to cover most
native seeds with medium
Seeds• Harvesting seeds
• Cleaning seeds• Storing seeds
• Seed starting media• Planting seeds
• Care of seedlings
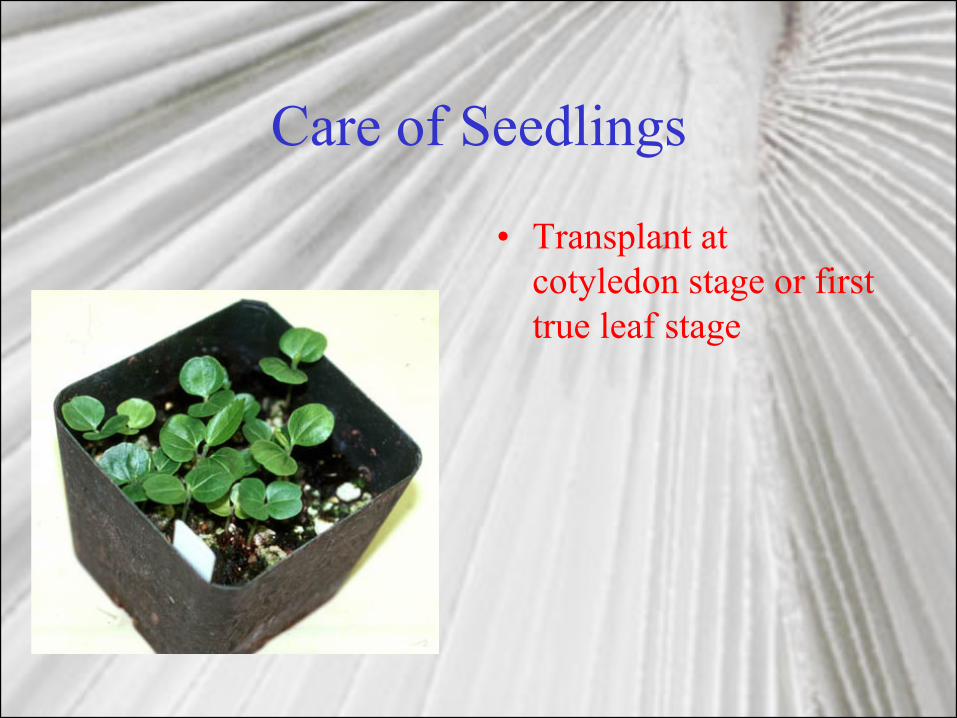
Care of Seedlings
• Transplant at cotyledon stage or first true leaf stage
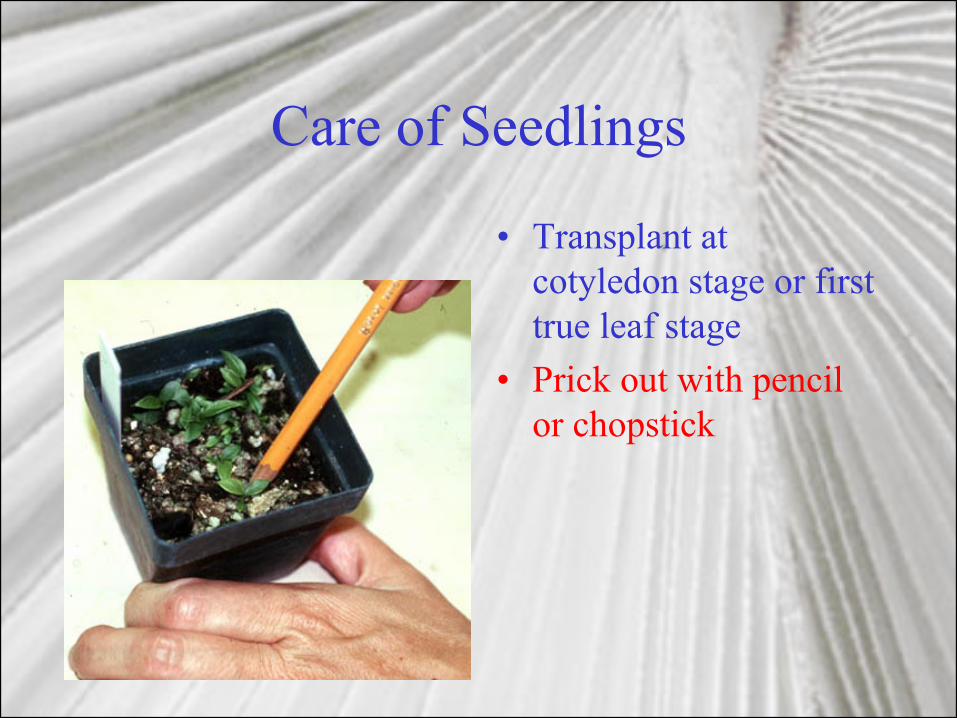
Care of Seedlings
• Transplant at cotyledon stage or first true leaf stage
• Prick out with pencil or chopstick
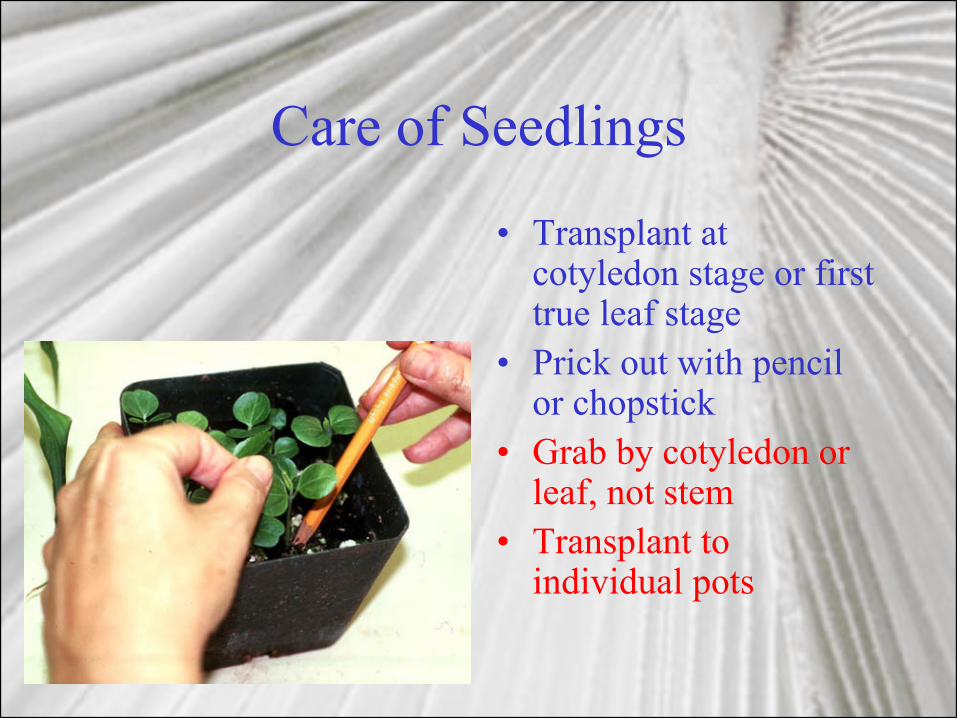
Care of Seedlings
• Transplant at cotyledon stage or first true leaf stage
• Prick out with pencil or chopstick
• Grab by cotyledon or leaf, not stem
• Transplant to individual pots

Methods
Cuttings
Cuttings• Harvesting cuttings
• Preparing cuttings• Rooting hormones
• Rooting media• Humidity control
• Care of cuttings• Juvenility

Harvesting Cuttings
• Choose healthy growth
• Non-flowering, non-seeding growth is best
• When taking cuttings from woody plants, use proper pruning methods
Cuttings• Harvesting cuttings
• Preparing cuttings• Rooting hormones
• Rooting media• Humidity control
• Care of cuttings• Juvenility

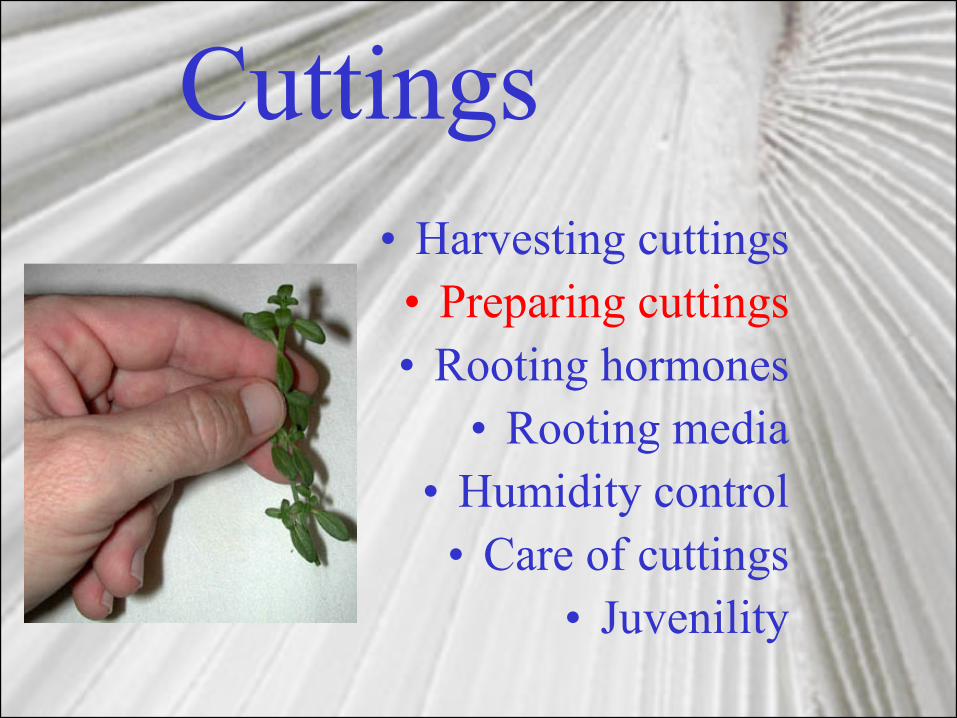
Preparing Cuttings
• Remove lower leaves• Use sharp pruners or
knife to make a clean cut
• Dip in rooting hormone, if needed

Cuttings• Harvesting cuttings
• Preparing cuttings• Rooting hormones
• Rooting media• Humidity control
• Care of cuttings• Juvenility

Rooting Hormones
• Liquid• Powdered• Not necessary for all
cuttings
Cuttings• Harvesting cuttings
• Preparing cuttings• Rooting hormones
• Rooting media• Humidity control
• Care of cuttings• Juvenility

Rooting Media
• Perlite• Vermiculite• Potting mix

Cuttings• Harvesting cuttings
• Preparing cuttings• Rooting hormones
• Rooting media• Humidity control
• Care of cuttings• Juvenility
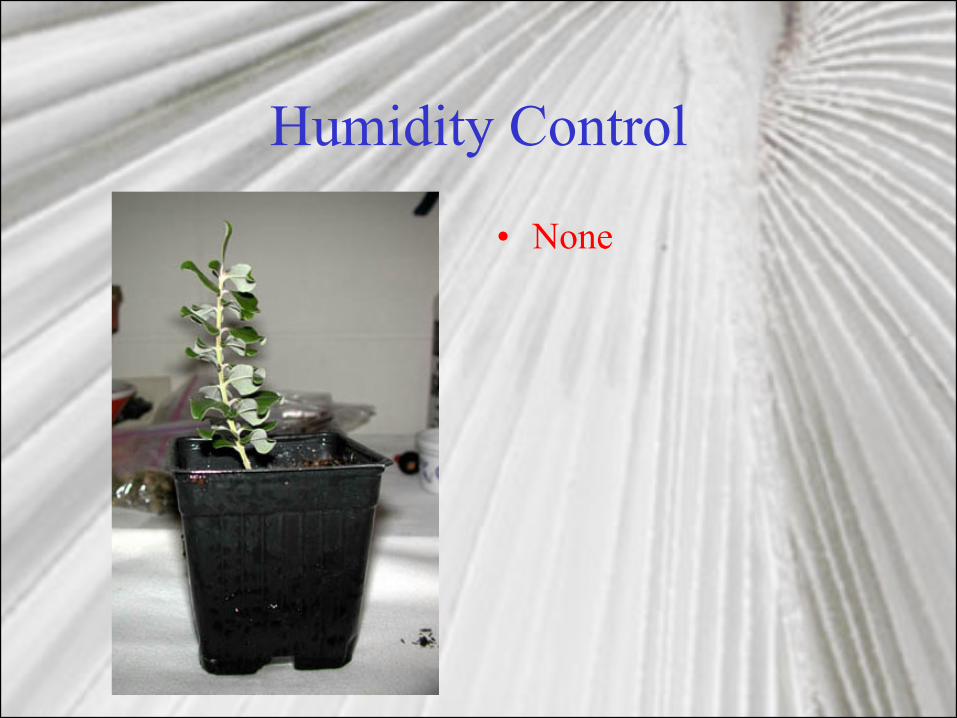
Humidity Control
• None
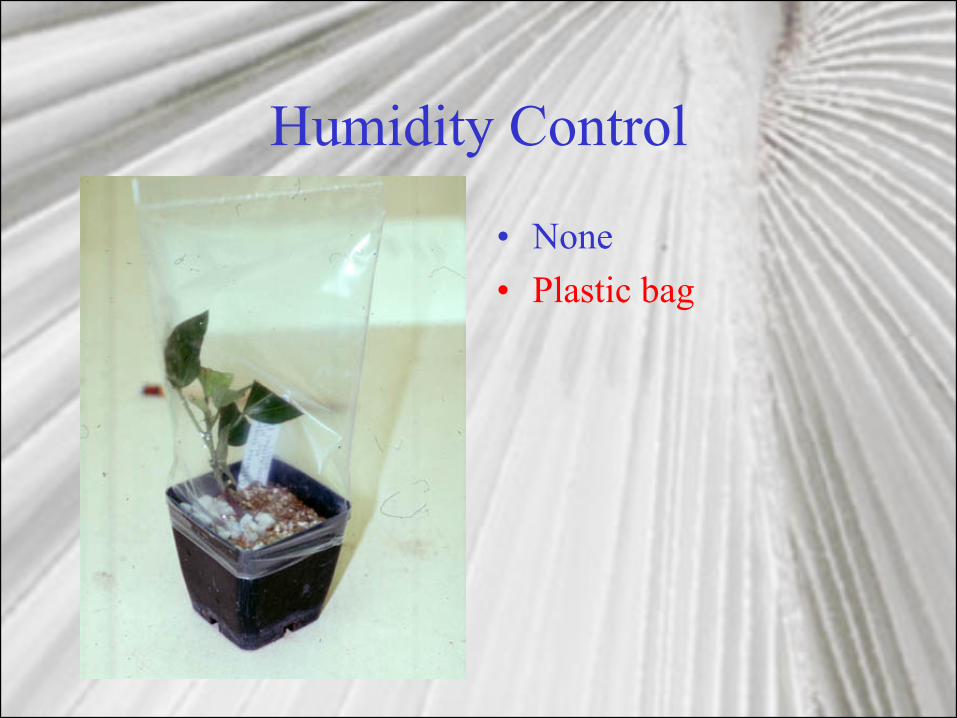
Humidity Control
• None• Plastic bag
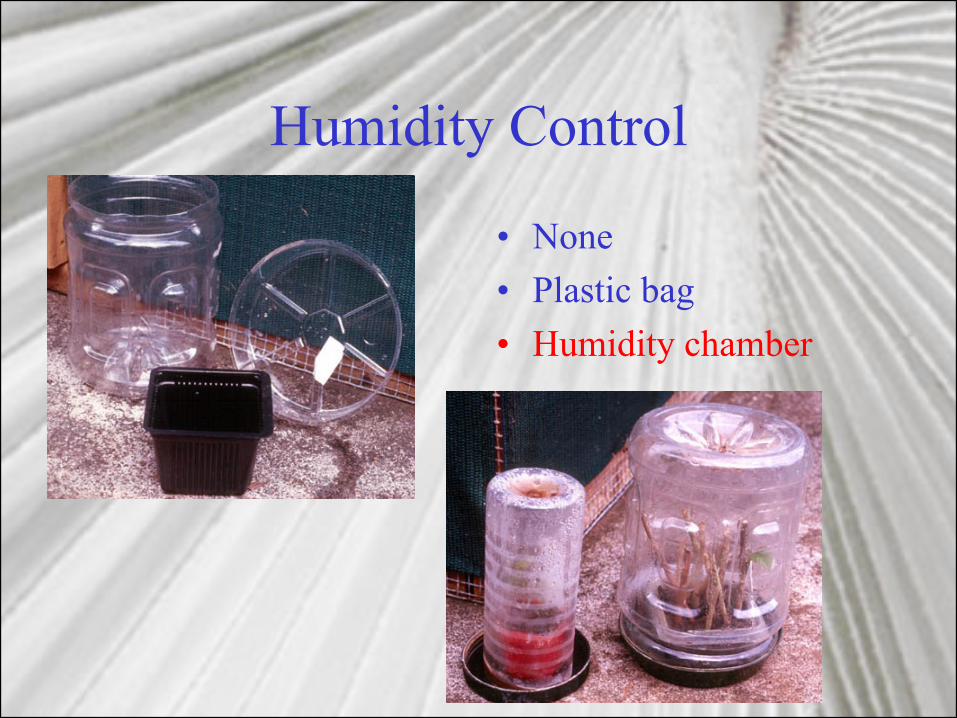
Humidity Control
• None• Plastic bag• Humidity chamber

Humidity Control
• None• Plastic bag• Humidity chamber• Mist

Cuttings• Harvesting cuttings
• Preparing cuttings• Rooting hormones
• Rooting media• Humidity control
• Care of cuttings• Juvenility
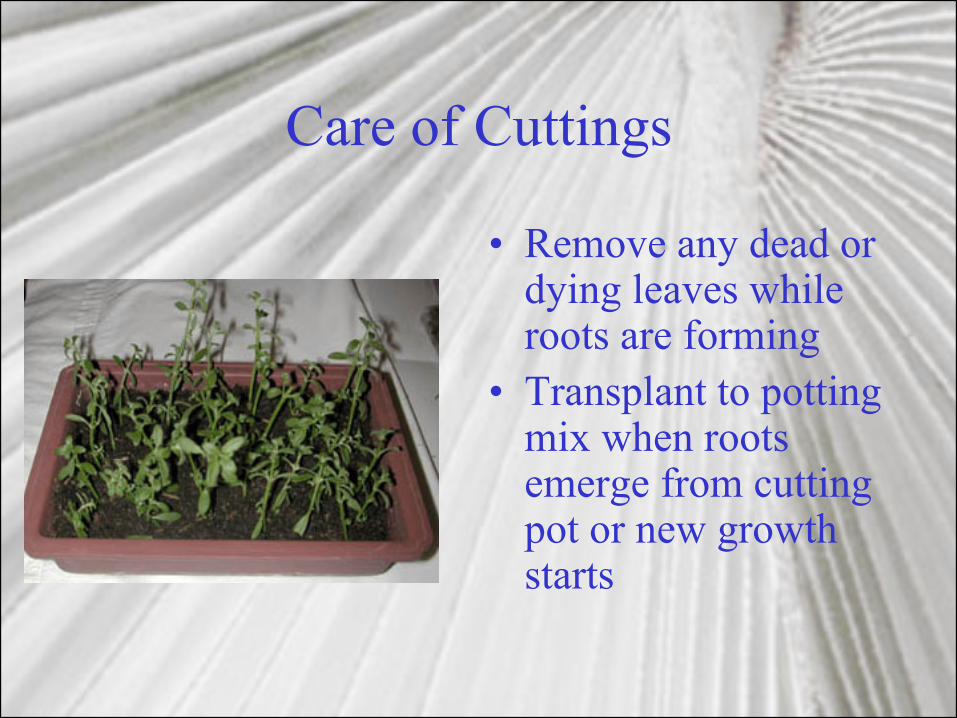
Care of Cuttings
• Remove any dead or dying leaves while roots are forming
• Transplant to potting mix when roots emerge from cutting pot or new growth starts
Cuttings• Harvesting cuttings
• Preparing cuttings• Rooting hormones
• Rooting media• Humidity control
• Care of cuttings• Juvenility
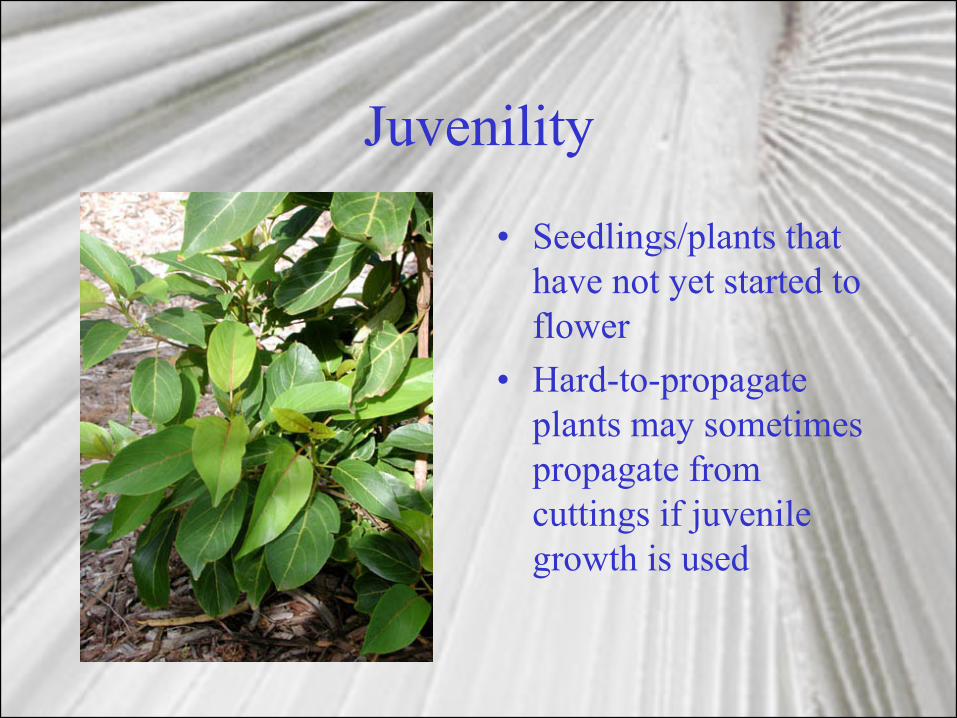
Juvenility
• Seedlings/plants that have not yet started to flower
• Hard-to-propagate plants may sometimes propagate from cuttings if juvenile growth is used

Juvenility
• Examples– Kauila– Alahe`e
Methods
Air Layering
Air Layering
• Choosing a branch• Procedures
• Maintenance of air layer• Care of air layered plant
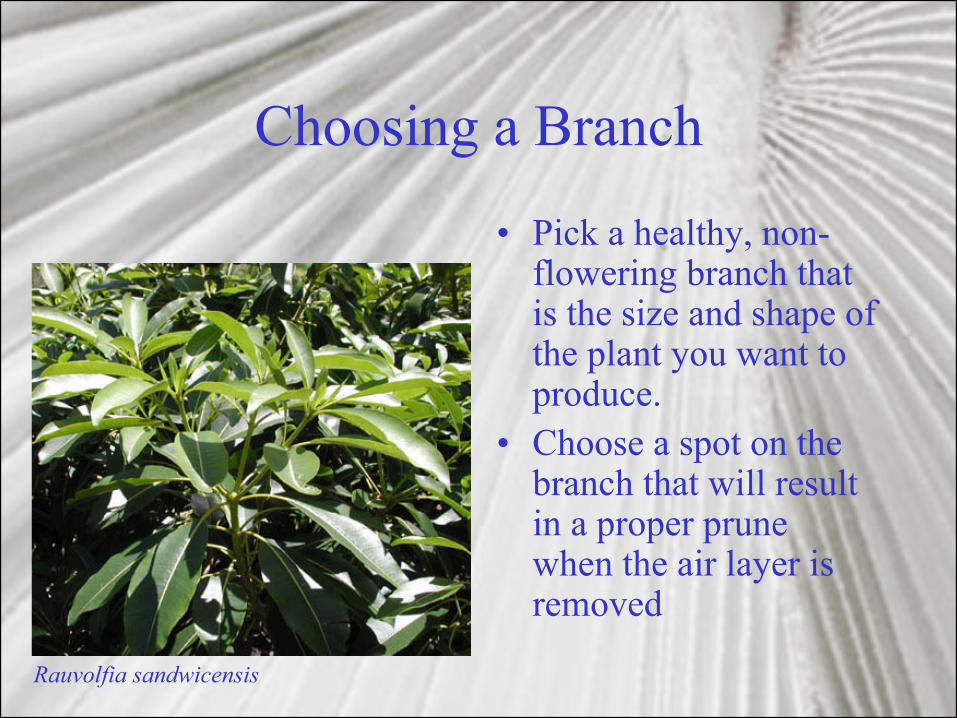
Choosing a Branch
• Pick a healthy, non-flowering branch that is the size and shape of the plant you want to produce.
• Choose a spot on the branch that will result in a proper prune when the air layer is removed
Rauvolfia sandwicensis

Air Layering
• Choosing a branch• Procedures
• Maintenance of air layer
Air Layer Procedures
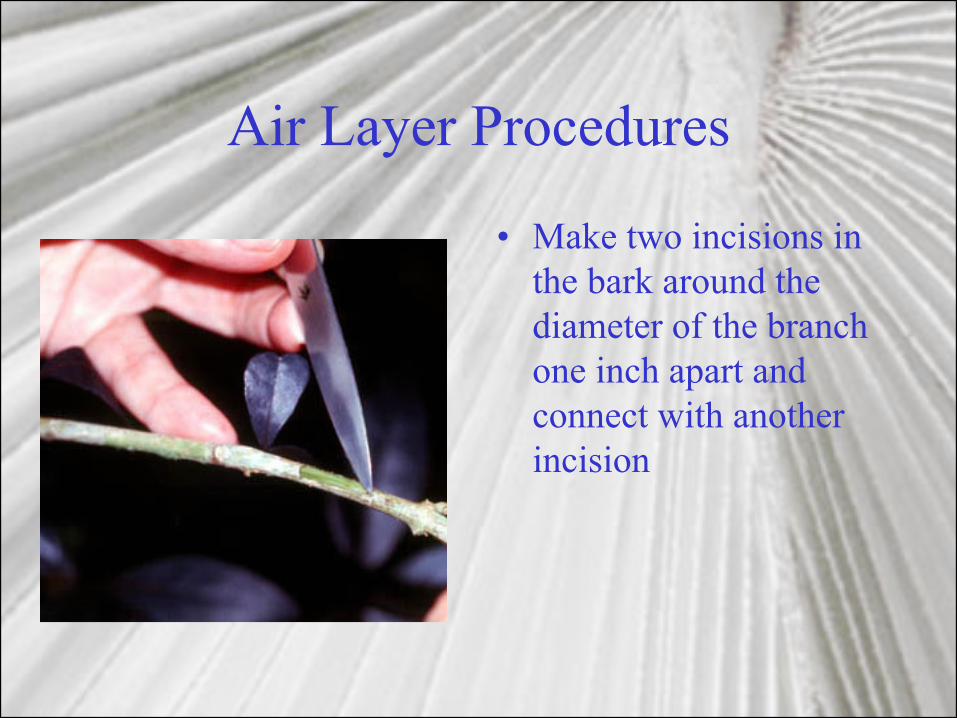
• Make two incisions in the bark around the diameter of the branch one inch apart and connect with another incision
Air Layer Procedures
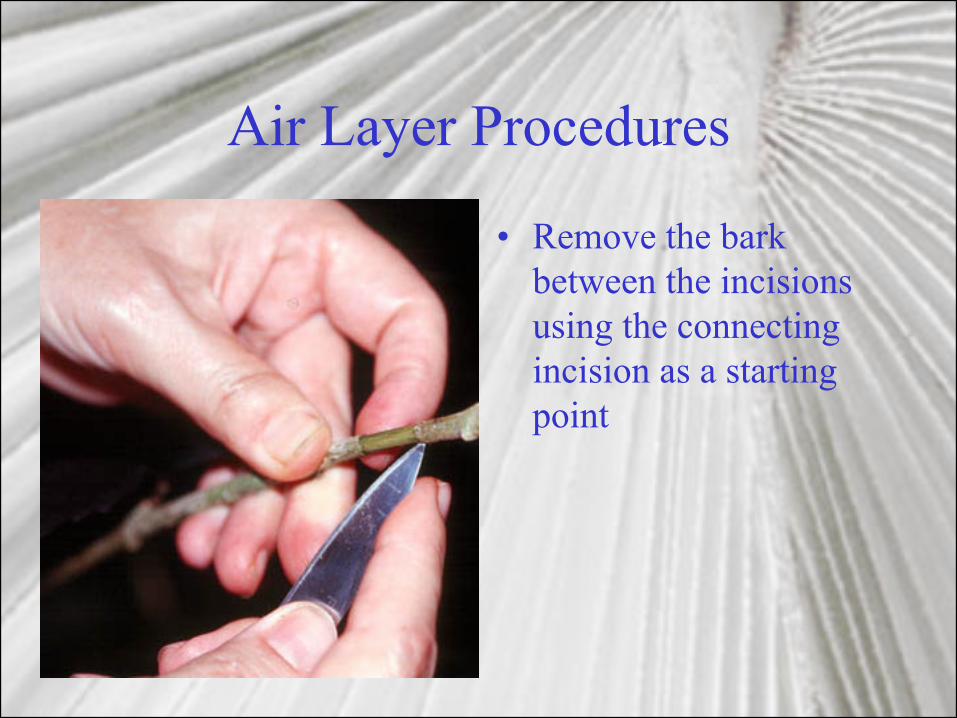
• Remove the bark between the incisions using the connecting incision as a starting point
Air Layer Procedures
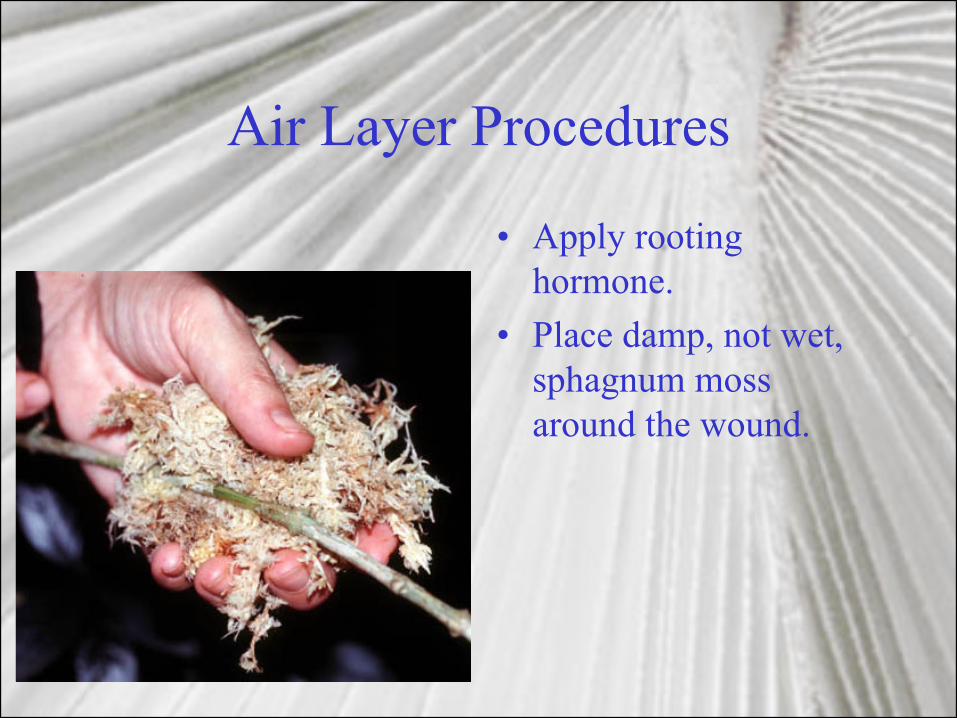
• Apply rooting hormone.
• Place damp, not wet, sphagnum moss around the wound.
Air Layer Procedures
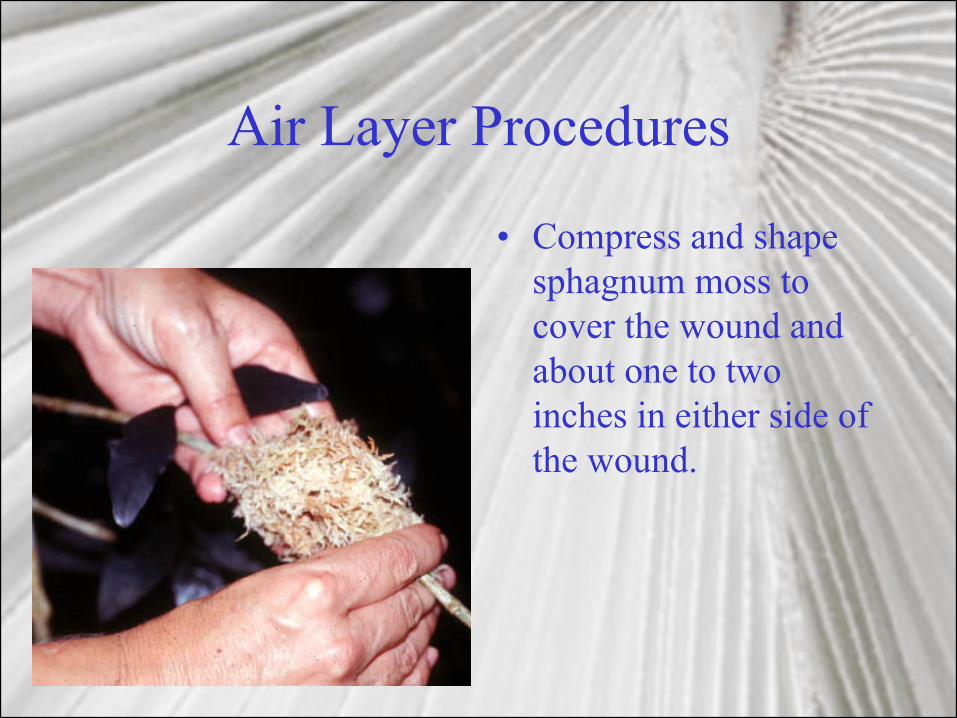
• Compress and shape sphagnum moss to cover the wound and about one to two inches in either side of the wound.

Air Layer Procedures
• Cover with plastic (and foil if desired) and tie off ends with twist ties.

Air Layering
• Choosing a branch• Procedures
• Maintenance of air layer

Maintenance of Air Layer
• Leave it alone for a few months.
• Check occasionally for roots by gently squeezing the sphagnum moss.
• Remoisten moss if it dries out.

Methods
Division
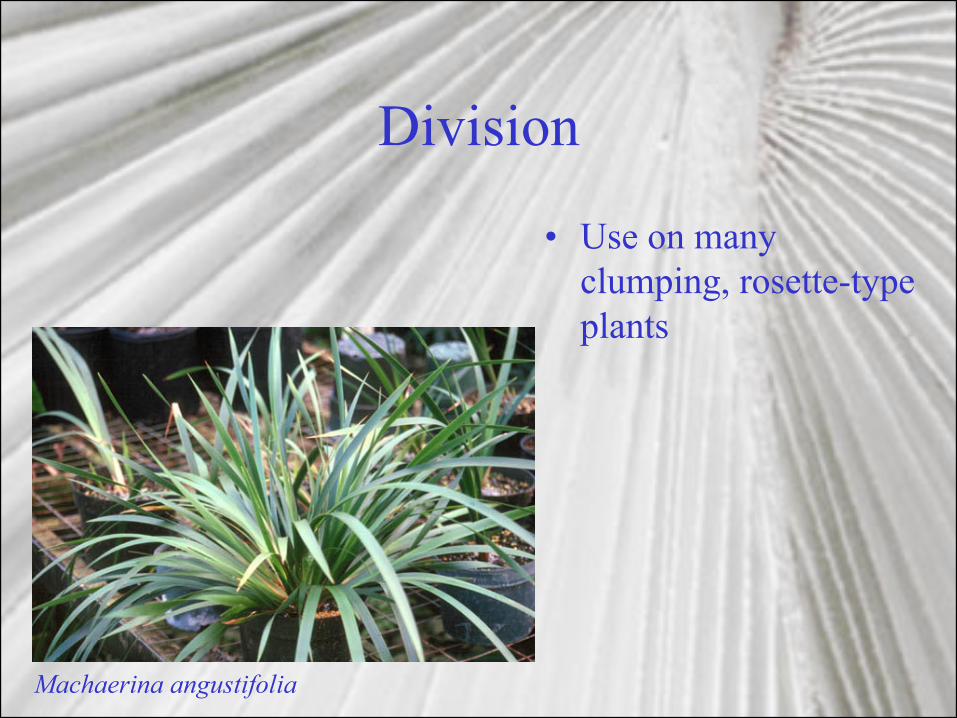
Division
• Use on many clumping, rosette-type plants
Machaerina angustifolia
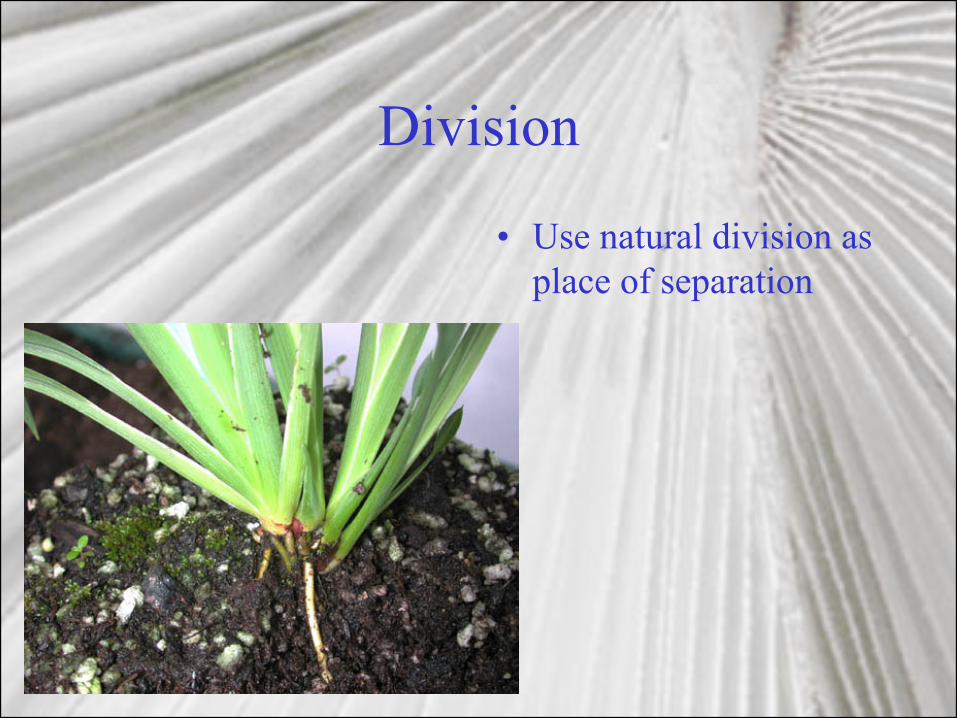
Division
• Use natural division as place of separation
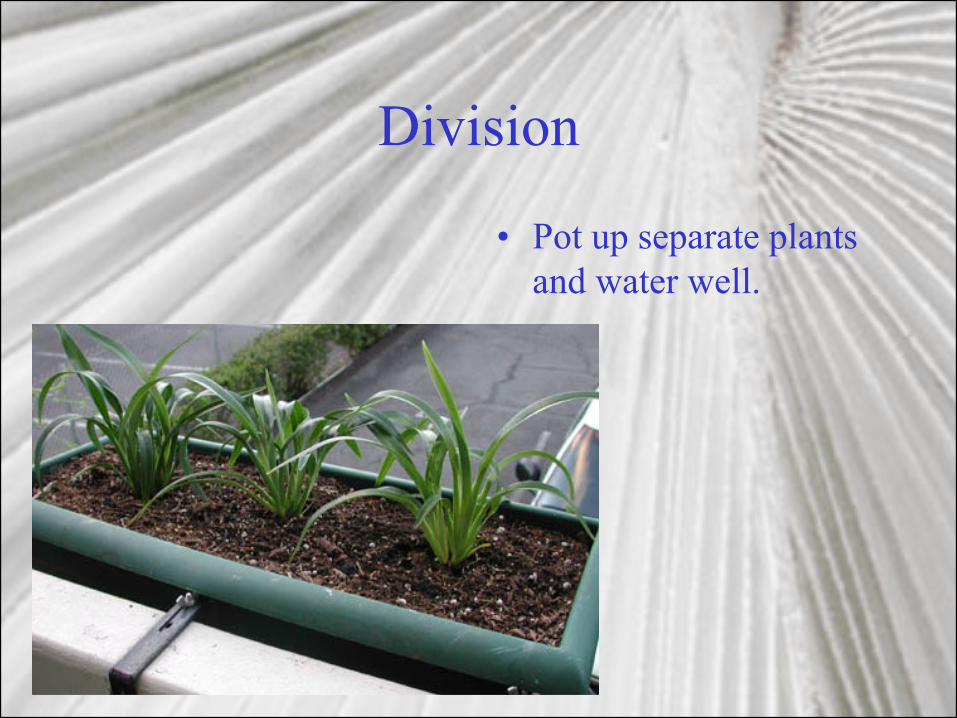
Division
• Pot up separate plants and water well.
Top Related