


Languages
Pages
Legal


Page | 1
Ready Made RC, LLC
Assembly Instructions for:
Last Revised 3/17/15
RMRC Mako

Page | 2
Thank you for purchasing the RMRC Mako! It is important to read the manual in its entirety
before your maiden flight. This model is intended to be a short to medium range FPV aircraft.
The Mako is easy to operate with excellent flight characteristics, but we do not recommend a
flying wing as a beginner airframe for FPV unless they have assistance from an experienced
pilot. Please obey all current laws and use common sense for safety when operating. Note: We reserve the right to modify information presented and cannot be held liable for errors
within.
Required to operate:
Motor – 2212 2200KV (Included in PNP)
Propeller – 6x4 E (Included in PNP)
ESC – Hobby Wing 30A (Included in PNP)
Servos – 2x 9g (Included in PNP)
Batteries – 3s 2200-4200
Required for assembly:
Epoxy or personal choice of glue
Medium and Small Phillips screw driver
Hobby Knife
Servo Centering Tool

Page | 3
Package Contents: (PNP version Shown)
Assembled Fuselage with Motor & ESC
Hardware Package
a. Upper and Lower Wing Bracket Joiners with Screws
b. Optional Wooden Camera Plate
c. Propeller, Adapter, and Rings
Main Wings with Installed Servos
Landing Skids
Wing Spar
Optional Nose with Clear and Tinted Domes
Rudders
Decal Sheet

Page | 4
Assembly
1. Locate Wing Spar and feed it half way through the fuselage.
2. Locate Right and Left wings and slide each side over the spar until they reach
the center. Aileron servos should be on top.
Page | 5
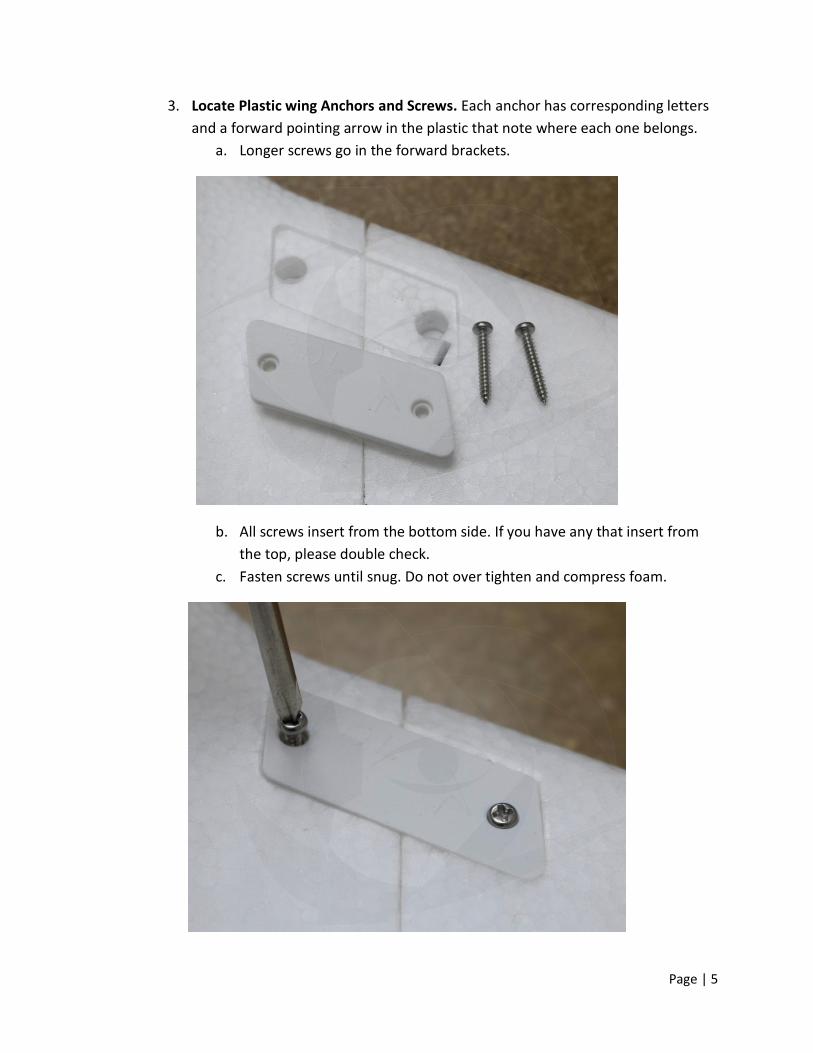
3. Locate Plastic wing Anchors and Screws. Each anchor has corresponding letters
and a forward pointing arrow in the plastic that note where each one belongs.
a. Longer screws go in the forward brackets.
b. All screws insert from the bottom side. If you have any that insert from
the top, please double check.
c. Fasten screws until snug. Do not over tighten and compress foam.
Page | 6
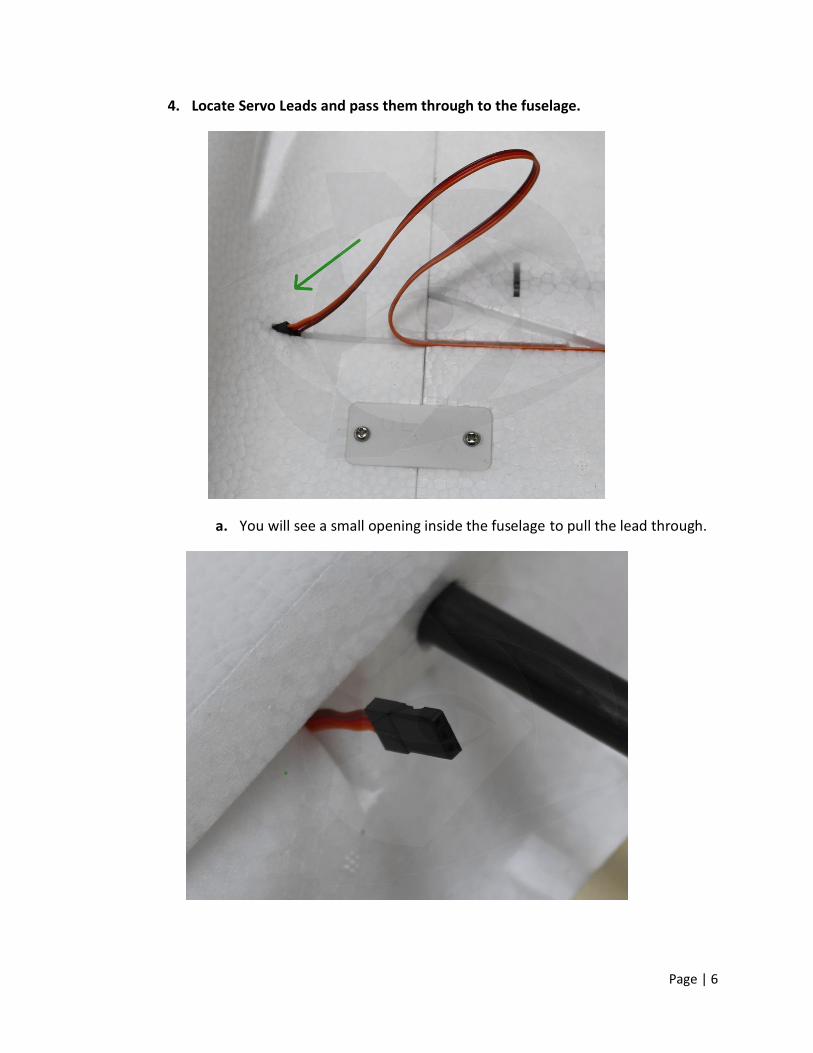
4. Locate Servo Leads and pass them through to the fuselage.
a. You will see a small opening inside the fuselage to pull the lead through.
Page | 7
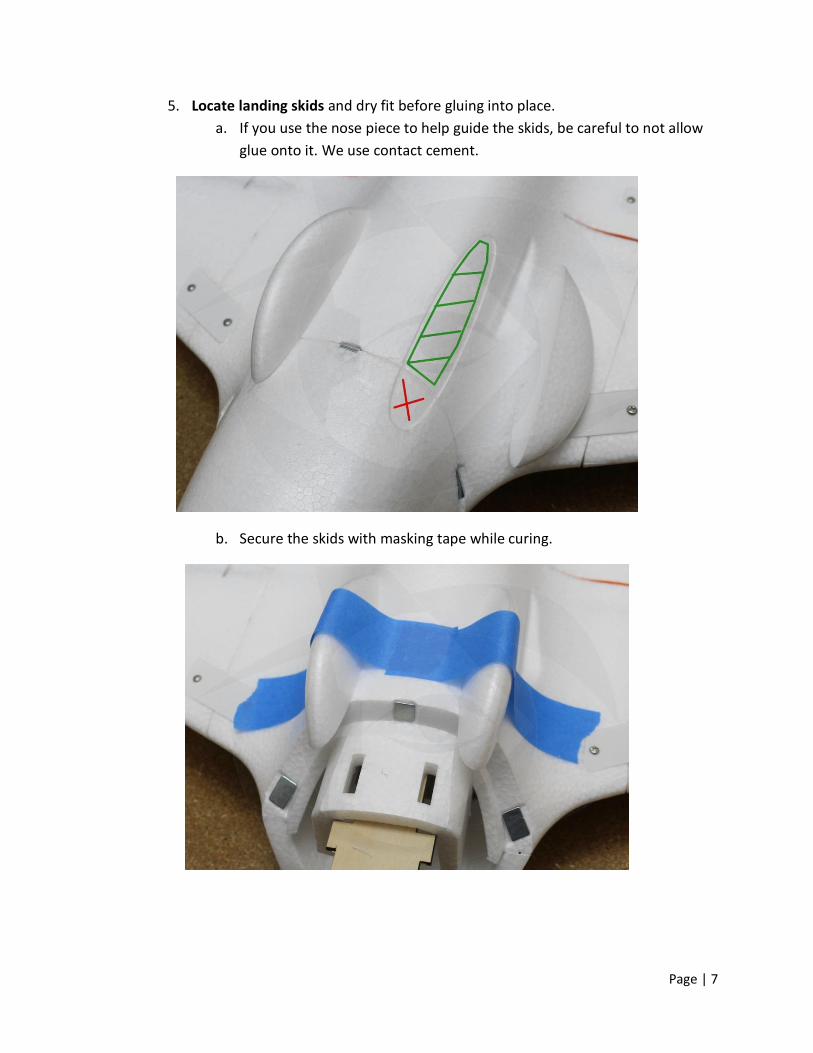
5. Locate landing skids and dry fit before gluing into place.
a. If you use the nose piece to help guide the skids, be careful to not allow
glue onto it. We use contact cement.
b. Secure the skids with masking tape while curing.

Page | 8
6. Locate rudders, screws and secure into place. It is not necessary to glue the
rudders into place.

Page | 9
7. Locate optional dome nose, clear or tinted dome, and 4 small screws.
a. Secure dome onto nose with screws.
8. Locate prop adapter, propeller, and adapter rings. Install onto motor shaft and
tighten completely.
a. It is always best to balance the propeller before flying.
b. Note proper direction. The “letters” printed on the prop always face
forward.
Page | 10
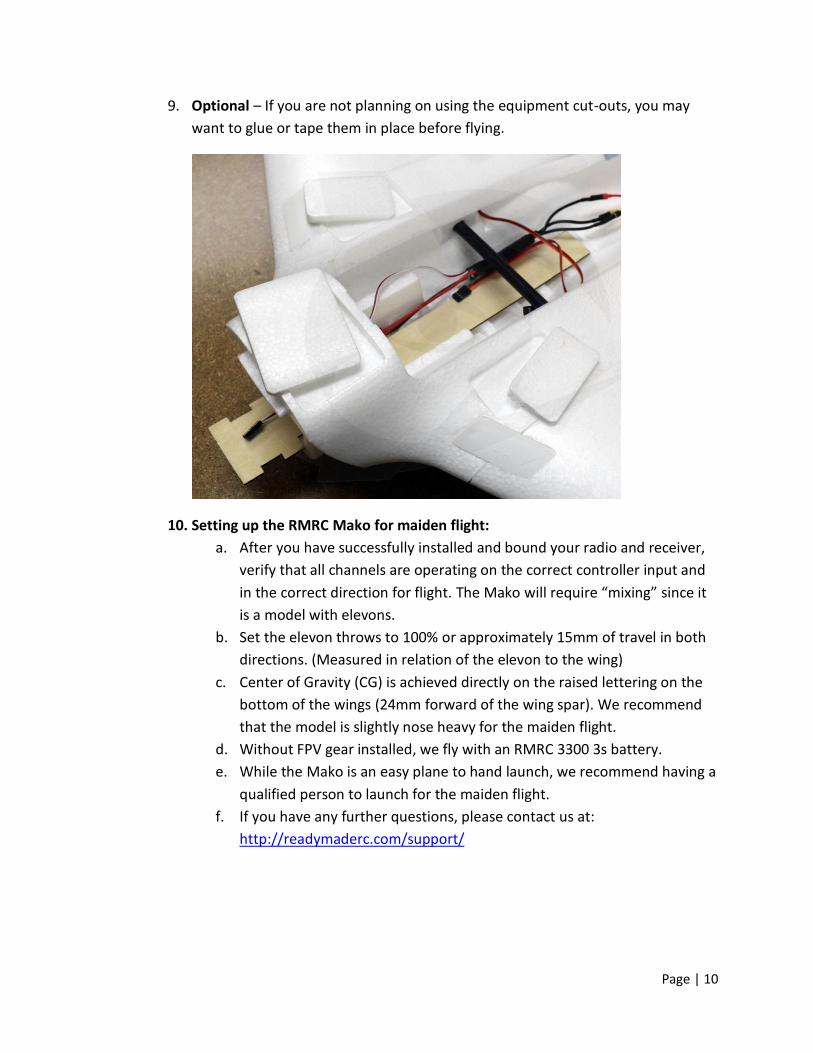
9. Optional – If you are not planning on using the equipment cut-outs, you may
want to glue or tape them in place before flying.
10. Setting up the RMRC Mako for maiden flight:
a. After you have successfully installed and bound your radio and receiver,
verify that all channels are operating on the correct controller input and
in the correct direction for flight. The Mako will require “mixing” since it
is a model with elevons.
b. Set the elevon throws to 100% or approximately 15mm of travel in both
directions. (Measured in relation of the elevon to the wing)
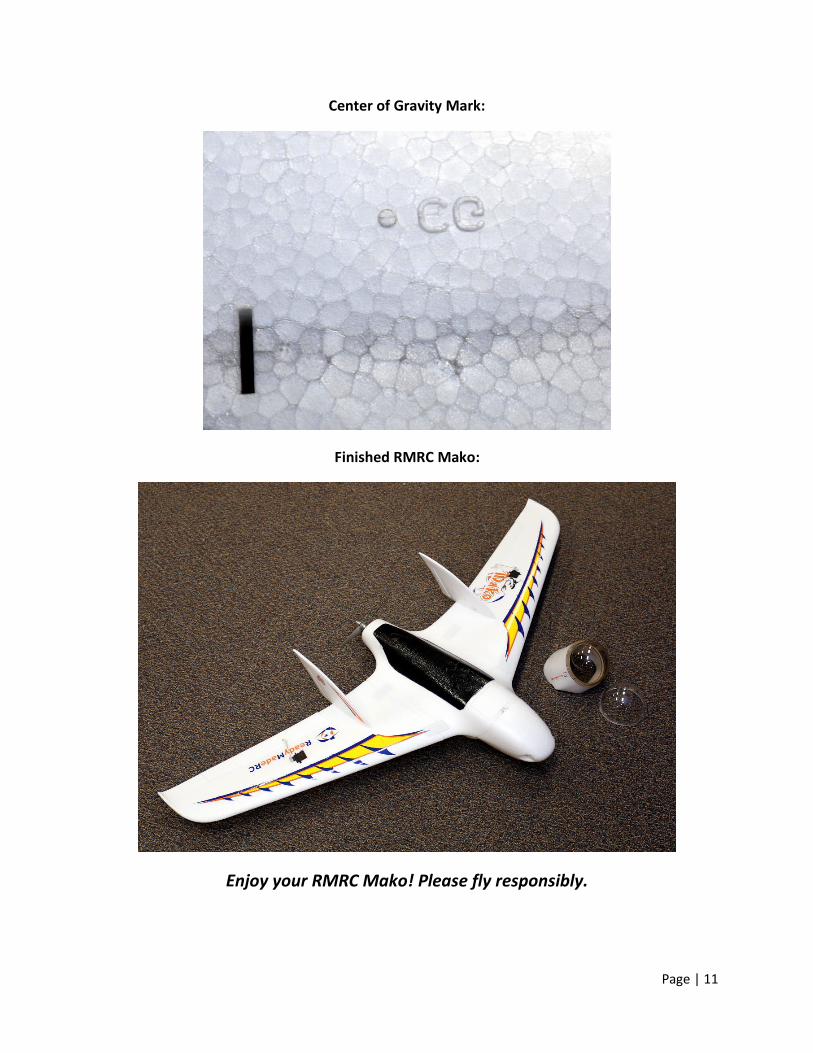
c. Center of Gravity (CG) is achieved directly on the raised lettering on the
bottom of the wings (24mm forward of the wing spar). We recommend
that the model is slightly nose heavy for the maiden flight.
d. Without FPV gear installed, we fly with an RMRC 3300 3s battery.
e. While the Mako is an easy plane to hand launch, we recommend having a
qualified person to launch for the maiden flight.
f. If you have any further questions, please contact us at:
http://readymaderc.com/support/
Page | 11
Center of Gravity Mark:
Finished RMRC Mako:
Enjoy your RMRC Mako! Please fly responsibly.
Top Related