


Languages
Pages
Legal


11
How to Install, Configure, Administer and
Troubleshoot Linux

22
An Overview of Red Hat

33
An Overview of Red Hat
• What is Linux?• A free, Unix clone operating system• Developed from 1991-1994 by Linus
Torvalds• Linus wrote the kernel (the heart of the OS)
while a student at the University of Helsinki in Finland
• The Internet community enhanced it

44
An Overview of Red Hat
• What Features are in Linux?• Multiuser, multitasking• GUI (X Window System)
• Supported with third-party desktop environments (GNOME and KDE)
• Hardware and network protocol support• Application support
• POSIX.1 compatible (for job control) IEEE Std. 1003.1-1990 Standard for Information Technology Portable Operating System Interface (POSIX) - Part 1: System Application Programming Interface (API)

55
An Overview of Red Hat
• Why Choose Red Hat?• Software packaging and distribution
(RPM)• Easy installation (anaconda and disk
druid)• UNIX System-V run-level scripting• Desktop managers ready-to-run• Administration tools• Testing and support (RHN and
up2date)

66
An Overview of Red Hat
• Companies Using Red Hat Linux• Credit Suisse Bank• First Boston Bank• Amazon.com• Morgan Stanley• Cisco Systems• AOL-Time Warner• Sherwin Williams• Disney

77
Linux Essentials

88
Linux Essentials
• The basic configuration steps• Other operating systems needed or
present• Is there available hard disk space• Will the Linux installation be:
• Personal Desktop (1.5 – 1.8 GB)• Workstation (2.0 – 2.3 GB)• Server (1.3 – 2.1 GB)• Custom (400 MB – 4.5 GB)• Upgrade (existing)

99
1. Change BIOS to boot from CD2. Boot from Disk 13. At installation “Welcome” screen
type “text” at command prompt4. Language = English5. Keyboard = US6. Mouse = Generic 2 Button Mouse
(PS/2)
Linux Essentials

1010
1. Welcome – OK2. What type of system? = Custom3. Disk Partitioning Setup = Disk
Druid4. Delete all existing partitions
Linux Essentials
1111
Linux Essentials
• Partitioning• Auto Partitioning• Disk Druid• fdisk

1212
Linux Essentials
• Adding Partitions• Mount Point• Filesystem Type• Allowable Drives• Size
• Fixed size• Fill max size of• Fill all available space

1313
Linux Essentials
• Adding Partitions• Force to be a primary partition• Check for bad blocks

1414
1. Add the following partitions: /boot 75 MB / 512 MB /usr 2500 MB /var 512 MB /tmp 512 MB
/home 100 MB Swap (no mount point – use swap fs) 256 MB
Linux Essentials

1515
1. After adding partitions, select OK and save new partition scheme
2. Boot Loader Configuration = Grub3. Where do you want to install the
boot loader? = (MBR) Master Boot Record
4. Pass special options - leave blank5. Booting other Os’s – leave default
Linux Essentials

1616
1. Network Configuration = Use bootp/dhcp – do NOT activate on bootup
2. Firewall = Medium + Customize (select eth0 as trusted device)
3. Language Support = English (USA)4. Time Zone Selection: Hardware
clock set to GMT? – leave blank
Linux Essentials

1717
1. Root Password – set as: password2. Add User – do not add user at this
time
Linux Essentials

1818
Linux Essentials
• Authentication Configuration• Shadow Passwords• MD5 Passwords• NIS• LDAP• Kerberos

1919
1. Authentication Configuration – leave all at default setting
Linux Essentials

2020
Linux Essentials
1. Package Group Selection Administration Tools DNS Name Server Development Tools
FTP Server Gnome Desktop Environment Graphical Internet Kernel Development

2121
Linux Essentials
1. Package Group Selection cont. Mail Server Network Server Printing Support Server Configuration Tools System Tools Web Server

2222
Linux Essentials
1. Package Group Selection cont. Windows File Server X Window System
Select Individual Packages

2323
Linux Essentials
1. Individual Package Selection (in addition to what is already selected) –
Applications/System- ipxutils- samba-swat

2424
Linux Essentials
1. Individual Package Selection (in addition to what is already selected) –
System Environment/Daemons- sendmail-cf- sendmail-devel

2525
Linux Essentials
1. Installation Log = OK2. Would You Like To Create Boot
Disk? = No3. Video Card Configuration = Skip
X Configuration4. Complete = OK

2626
Linux Essentials
C:
D:
E:
F:

2727
Linux Essentials
/boot
/
/var
/usr
/dev/hda1
/dev/hda5
/dev/hda6
/dev/hda7

2828
Linux Essentials

2929
/boot
/
/var
/usr
cdrom

3030
Must-Know Administration Tools and Techniques
• Navigating the Red Hat Filesystem• Complies with the (FHS) Filesystem
Hierarchy Standard/lib/lost + found/mnt/proc/root
/sbin/tmp/usr/var
/bin/boot/dev/etc/home

3131
Must-Know Administration Tools and Techniques
• Navigating the Red Hat Filesystem• White – text• Green – executable• Dark blue – directory• Light blue – soft link• Light green – hard link• Yellow – device• Red – archive/zip• Pink – graphic/image

3232
Linux Essentials
• File/Directory Syntax• cd /root/docs• cd docs
• mkdir /mnt/win• mkdir win

3333
Linux Essentials
• Troubleshooting a failed Linux installation• Video cards and monitors are
number one source of configuration errors
• Everything is logged to:• /root/install.log• /root/upgrade.log

3434
Linux Essentials
• Deciphering the on-screen messages during the boot and halt processes• Press Shift and Page Up/Down
keys together• View recorded information in:
• /var/log/dmesg• /var/log/boot.log
3535
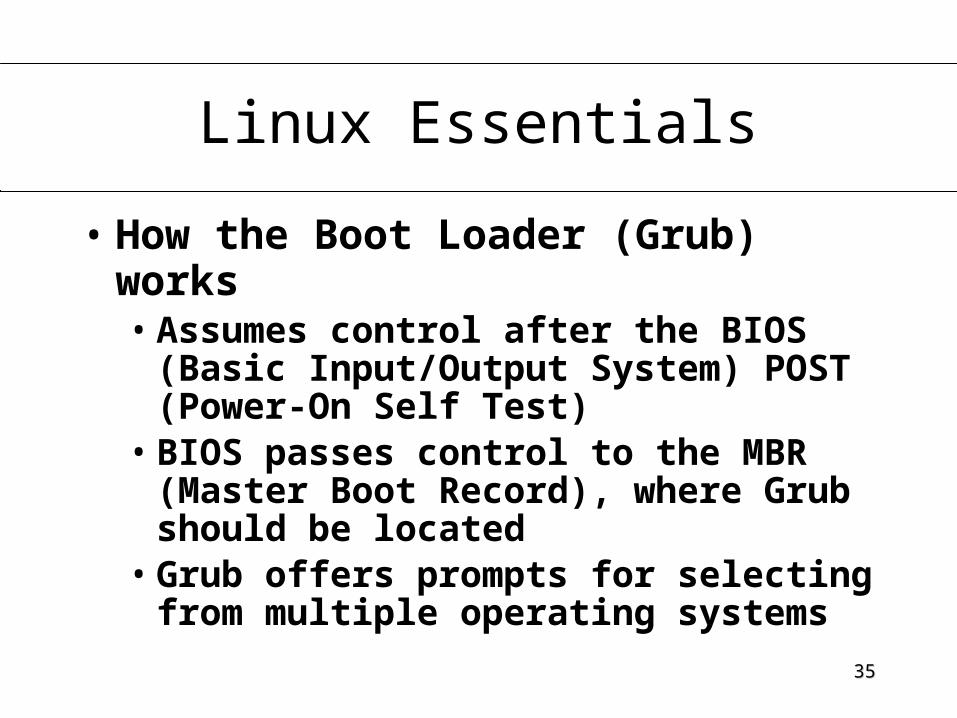
Linux Essentials
• How the Boot Loader (Grub) works• Assumes control after the BIOS
(Basic Input/Output System) POST (Power-On Self Test)
• BIOS passes control to the MBR (Master Boot Record), where Grub should be located
• Grub offers prompts for selecting from multiple operating systems

3636
Linux Essentials
• How to create a Grub boot floppy after installation
• At command prompt1. uname -r2. mkbootdisk 2.4.x-y

3737
Linux Essentials
• Configure X Windows after installation• redhat-config-xfree86
• Configuration files located in /etc/X11
• startx

3838
1. Login as root2. redhat-config-xfree863. Select Resolution - 1024x7684. Select Color Depth – Thousands of
colors (16 bit)5. Click on the Advanced tab located
at the top left of the window
Linux Essentials

3939
1. Make changes to the Monitor configuration if necessary
2. Make changes to the Video Card configuration if necessary
3. Click on the OK button at the lower right of the window
Linux Essentials

4040
1. Click on the OK button of the Display settings changed window
2. startx
Linux Essentials

4141
Must-Know Administration Tools and Techniques

4242
Must-Know Administration Tools and Techniques
• Creating accounts/groups in a shell• useradd <user> - add users
• /etc/login.defs – contains default login settings
• /etc/skel – user home directory template• /etc/passwd - contains account information• /etc/group - contains group information• /etc/shadow - contains account passwords
• userdel <user> - remove users

4343
Must-Know Administration Tools and Techniques
• Creating accounts/groups in a shell• passwd <user> - change passwords• groupadd <group> - create new
groups• gpasswd -a <user> <group> - add
user to new group

4444
Must-Know Administration Tools and Techniques
• Users can also be administered via X using User Manager• Main menu -> System Settings ->
Users and Groups

4545
Must-Know Administration Tools and Techniques
• The shell configuration• bash (Bourne Again Shell)• sh (Bourne Shell)• csh (C Shell)• ksh (Korn Shell)

4646
Must-Know Administration Tools and Techniques
• Managing your login session• <Ctrl>+<Alt>+<Fn> - Toggles
terminal & X windows• history - history of commands issued• !<history#> - repeat command• can use up/down arrow keys to scroll
through history list

4747
Must-Know Administration Tools and Techniques
• Working with the filesystem• df - display free space• cat <file> - displays contents of file• info <topic> - displays information
about a particular command or configuration file
• ls - display contents of directory

4848
Must-Know Administration Tools and Techniques
-rwxrwxrwx
Owner Group-owner
Others

4949
Must-Know Administration Tools and Techniques
• Managing file permissions• chmod <permissions> <file> - change
file permissions• chown <owner> <file> - change owner• chgrp <group> <file> - change group

5050
Must-Know Administration Tools and Techniques
• Octal permission set• r = 4• w = 2• x = 1

5151
Must-Know Administration Tools and Techniques
-rwxr-x--x
4+2+1=7
0+0+1=1
4+0+1=5
chmod 751 <filename>

5252
Must-Know Administration Tools and Techniques
• System-V run levels• 0: system halt• 1: single-user mode• 2: multiuser mode, no network or X
support• 3: multiuser mode with network support• 4: multiuser mode with network support• 5: multiuser mode with network and X
support• 6: system reboot

5353
Must-Know Administration Tools and Techniques
• System-V run levels• /etc/rc.d contains scripting directories• Scripts are maintained in /etc/rc.d/init.d
• /etc/rc.d/rcn.d contains links to init.d scripts
• Number represents priority (low = higher priority)
• K for "kill"• S for "start"

5454
Must-Know Administration Tools and Techniques
• Also in /etc/rc.d• rc.sysinit - loads kerneld, checks and
mounts filesystems and turns on swapping
• rc - manages the run level processes inherited from rc.sysinit and inittab
• rc.local – programs to execute when the system boots, after all other routines are completed

5555
Must-Know Administration Tools and Techniques
• Vi• vi <filename>• i - insert text before cursor• [Esc] – return to command mode• :q! - quit without saving• :wq - write and quit

5656
Must-Know Administration Tools and Techniques
• Disk quotas• Impose quotas on the file system to
limit disk consumption by users• Quotas can be defined on a per user
basis• Measurements are taken against
ownership of files, so might include E-mail and Web pages

5757
Must-Know Administration Tools and Techniques
• Commands for administering disk quotas• edquota -u <username>• edquota -g <groupname>• edquota –p <proto-username> <username>
• repquota -a

5858
Must-Know Administration Tools and Techniques
1. cp /etc/fstab /etc/fstab.bak2. vi /etc/fstab3. Add ,usrquota,grpquota to the line
LABEL=/home as shown in the example below:
LABEL=/home /home ext3 defaults,usrquota,grpquota 1 2• Write and quit vi• umount /home
5959
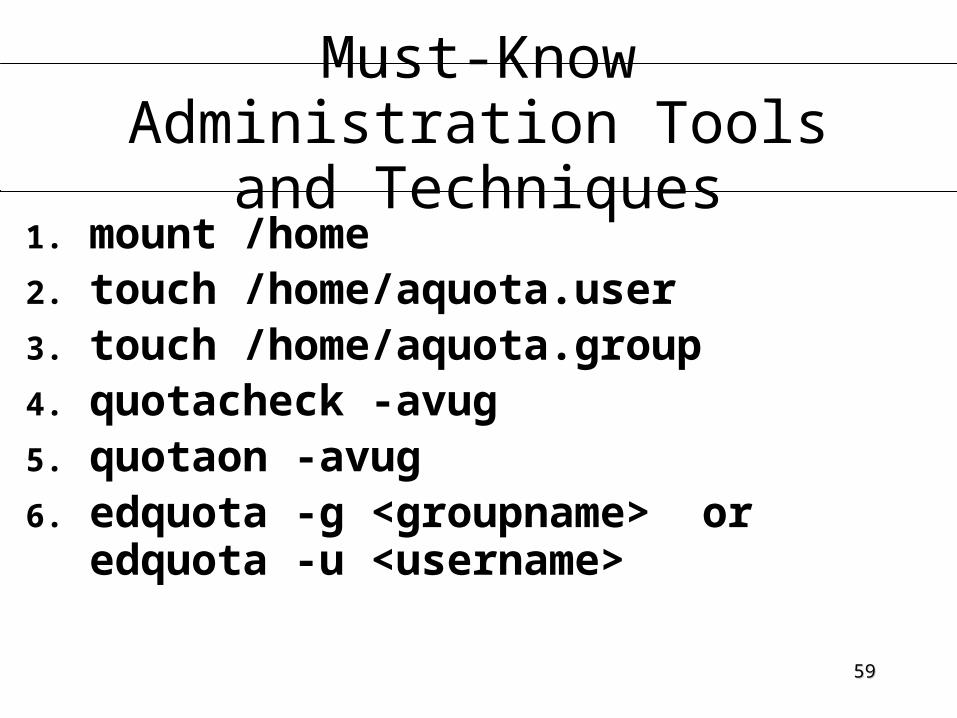
Must-Know Administration Tools and Techniques
1. mount /home2. touch /home/aquota.user3. touch /home/aquota.group4. quotacheck -avug5. quotaon -avug6. edquota -g <groupname> or
edquota -u <username>

6060
Must-Know Administration Tools and Techniques
• Monitoring and controlling processes• ps - process status for running applications
• ps -aux | less – display output one page at a time
• ps -aux | grep <string> - locate running processes
• top - listing of all currently running processes• uptime - display time passed since the
system was booted up• vmstat - virtual memory statistics• kill <process ID> - terminate processes

6161
Simplifying the Complexities of Network
Administration

6262
Simplifying the Complexities of Network Administration
• How TCP/IP addressing works• The InterNIC is the governing body
that classifies and delegates IP addresses
• An IP address is 32-bits long and consists of two parts, the network number and host number
• The four-byte value, or IP number, converts each byte into a decimal number (0-255) separated by a period

6363
Simplifying the Complexities of Network Administration
000000111248163264128
128 + 64 = 192

6464
Simplifying the Complexities of Network Administration
000101011248163264128
128 + 32 + 8 = 168
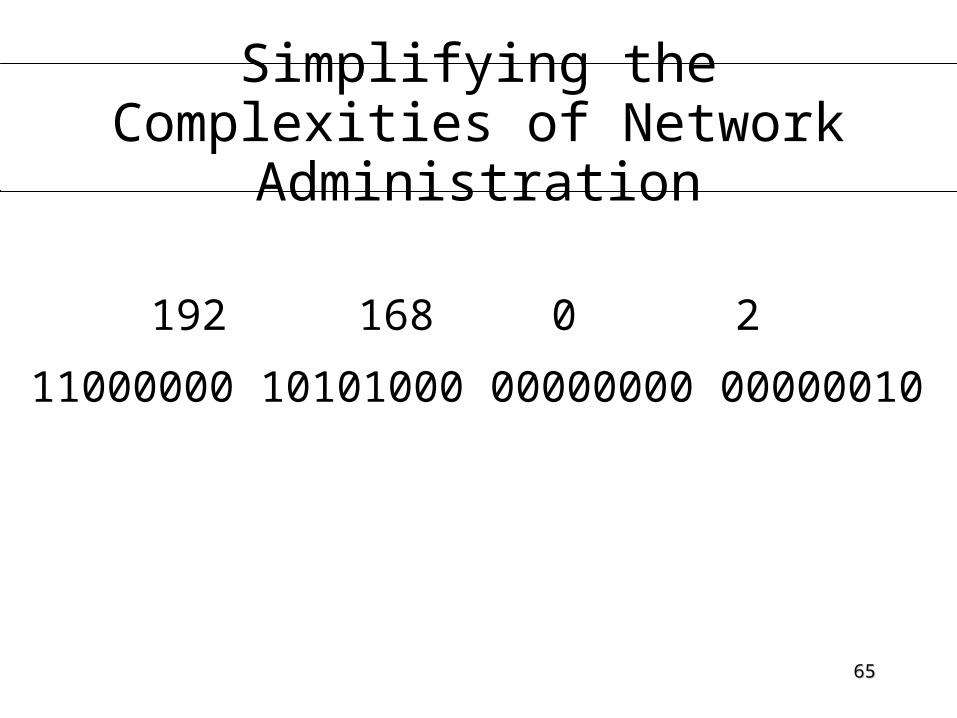
6565
Simplifying the Complexities of Network Administration
192
11000000 10101000 00000000 00000010
0168 2

6666
Simplifying the Complexities of Network Administration
111111111248163264128
128 + 64 + 32 + 16 + 8 + 4 + 2 + 1 = 255

6767
Simplifying the Complexities of Network Administration
255
11111111 11111111 11111111 00000000
255 255 0

6868
Simplifying the Complexities of Network Administration
11000000 10101000 00000000 00000010
11111111 11111111 11111111 00000000
11000000 10101000 00000000 00000000
192 0168 0
6969
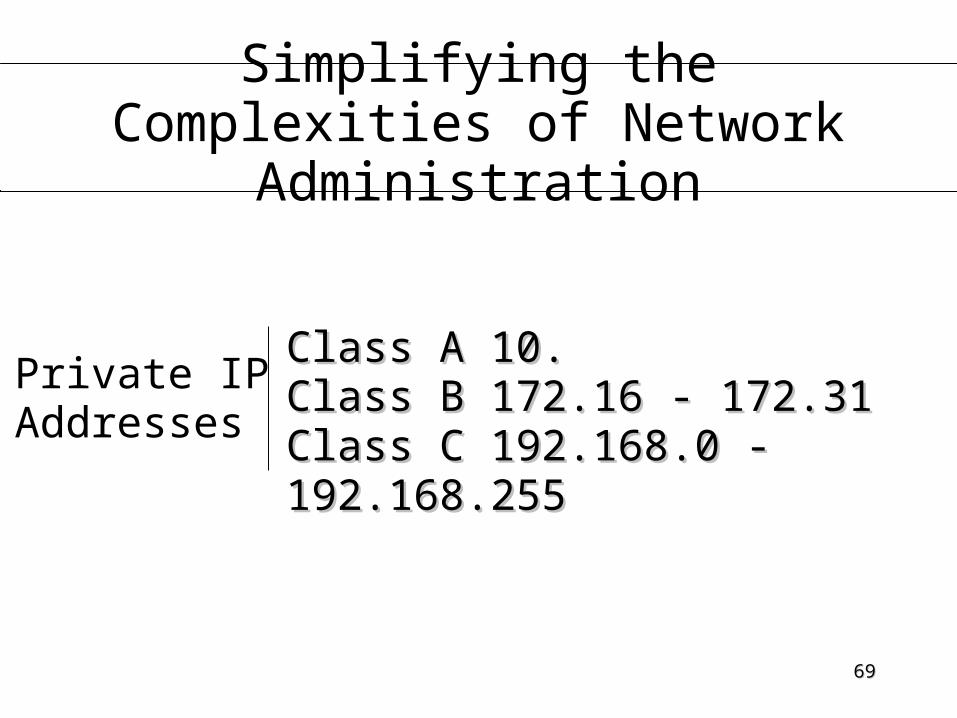
Simplifying the Complexities of Network Administration
Class A 10.Class A 10.Class B 172.16 - 172.31Class B 172.16 - 172.31Class C 192.168.0 - 192.168.255Class C 192.168.0 - 192.168.255
Private IPAddresses

7070
Simplifying the Complexities of Network Administration
• Network administrators utilities• ifconfig - report the status of
network interfaces or disconnect them
• netstat - report TCP and UDP traffic across network devices and ports
• dig - for IP/host mappings from a DNS server (replaces nslookup)

7171
Simplifying the Complexities of Network Administration
• Configuring network interfaces on your Linux systems• Host information
• /etc/hosts• /etc/sysconfig/network• /etc/resolv.conf
• Interface information• /etc/sysconfig/network-scripts/ifcfg-eth0

7272
Simplifying the Complexities of Network Administration
• Configuring network interfaces on your Linux systems• Network hardware can be
manipulated dynamically without a reboot• ifup ifcfg-eth0• ifdown ifcfg-eth0

7373
Simplifying the Complexities of Network Administration
1. hostname lab<x>.class.com2. cd /etc/sysconfig3. ls4. vi network5. Change line:
HOSTNAME=localhost.localdomain to: HOSTNAME=lab<x>.class.com
6. Add line: GATEWAY=192.168.0.254

7474
Simplifying the Complexities of Network Administration
1. Write and quit vi2. cd /etc/sysconfig/network-scripts3. ls4. vi ifcfg-eth05. Change BOOTPROTO=dhcp to
BOOTPROTO=static6. Change ONBOOT=no to ONBOOT=yes

7575
Simplifying the Complexities of Network Administration
1. Add line: IPADDR=192.168.0.<x>2. Add line: NETMASK=255.255.255.03. Write and quit vi4. vi /etc/hosts5. Add line: 192.168.0.<x> lab<x>.class.com lab<x>

7676
Simplifying the Complexities of Network Administration
1. Write and quit vi2. vi /etc/resolv.conf3. Add line: search class.com4. Write and quit vi5. ifup ifcfg-eth06. ifconfig

7777
Simplifying the Complexities of Network Administration
• How to assign multiple IP addresses to a single network interface• Use the ifup-aliases script
• Create a range template in /etc/sysconfig/network-scripts for a currently identified device
• Provide a start and stop range of additional IP addresses
• Range templates are started at boot without any further modification

7878
Simplifying the Complexities of Network Administration
1. cd /etc/sysconfig/network-scripts
2. ls3. cp ifcfg-eth0 ifcfg-eth0-range04. ls5. vi ifcfg-eth0-range06. Change line IPADDR to:
IPADDR_START="<first IP address in range>"
7979
Simplifying the Complexities of Network Administration
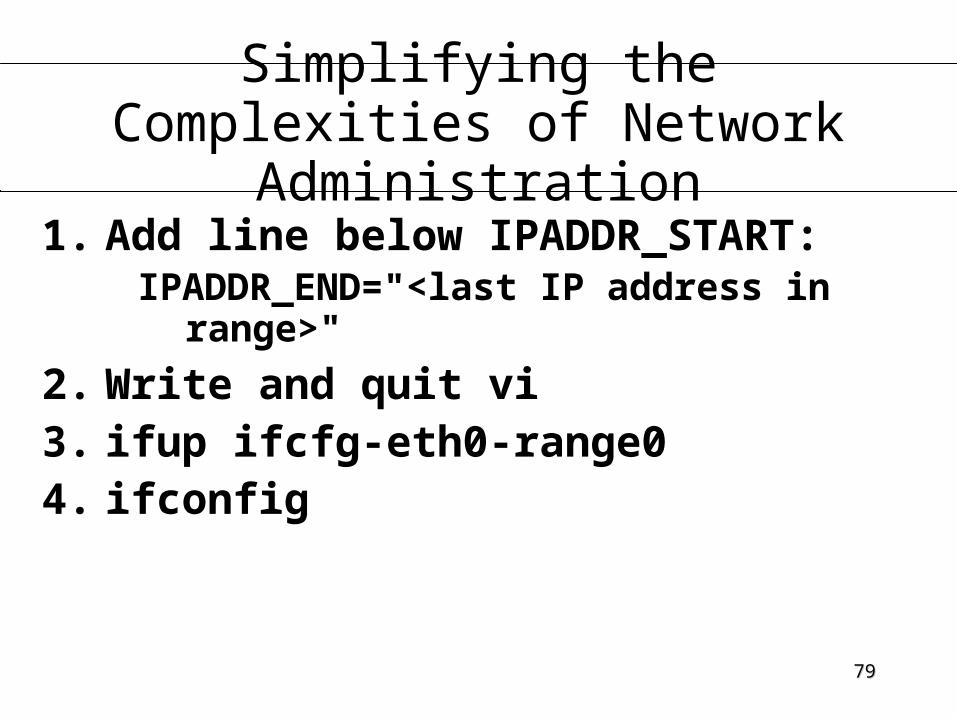
1. Add line below IPADDR_START:IPADDR_END="<last IP address in
range>"
2. Write and quit vi3. ifup ifcfg-eth0-range04. ifconfig

8080
Setting Up Internet and Intranet Services
• DNS• Domain Name System• Converts (resolves) hostnames to IP
addresses• Also known as forward mapping
• Converts (resolves) IP addresses to hostnames• Also known as reverse mapping

8181
Setting Up Internet and Intranet Services
• DNS terminology• Forward Master (Primary) Zone
• Host names are converted into IP addresses
• Reverse Master (Primary) Zone• IP addresses are converted into host names
• Slave (Secondary) Zone• Nameserver that copies zone files from a
master• A zone is only copied if the serial number on the
master is larger than on the slave

8282
Setting Up Internet and Intranet Services
• DNS terminology• State of Authority (SOA)
• The best resource of information for this domain
• Mail Exchanger (MX)• The host that handles email for this
domain (the email server)
• Full hostname• Hostname that includes the domain and a
period (.) at the end

8383
Setting Up Internet and Intranet Services
• DNS configuration• named – nameserver daemon
• Part of the BIND package• Berkley Internet Name Daemon

8484
Setting Up Internet and Intranet Services
• DNS configuration• /etc/named.conf – configuration file for
named• /var/named – default directory for zone
files• .zone files• named.ca• named.local
• /etc/resolv.conf – used by the resolver to locate nameservers

8585
Setting Up Internet and Intranet Services
• Pointing clients to the DNS servers• /etc/resolv.conf

8686
Setting Up Internet and Intranet Services
1. Main menu -> System Settings -->Server Settings -> Domain Name Service
1. Add a Forward Master Zone2. Add a Reverse Master Zone3. Apply changes and quit4. /etc/rc.d/init.d/service named start
5. cd /etc/rc.d/rc3.d

8787
Setting Up Internet and Intranet Services
7.ls1.mv K45named S45named2.vi /etc/resolv.conf3.Add line: nameserver 192.168.0.<x>
4.Write and quit vi

8888
Setting Up Internet and Intranet Services
1.vi /etc/resolv.conf2.Add line: nameserver 192.168.0.<x>
3.Write and quit vi

8989
Integrating Linux with UNIX-Based Systems
9090
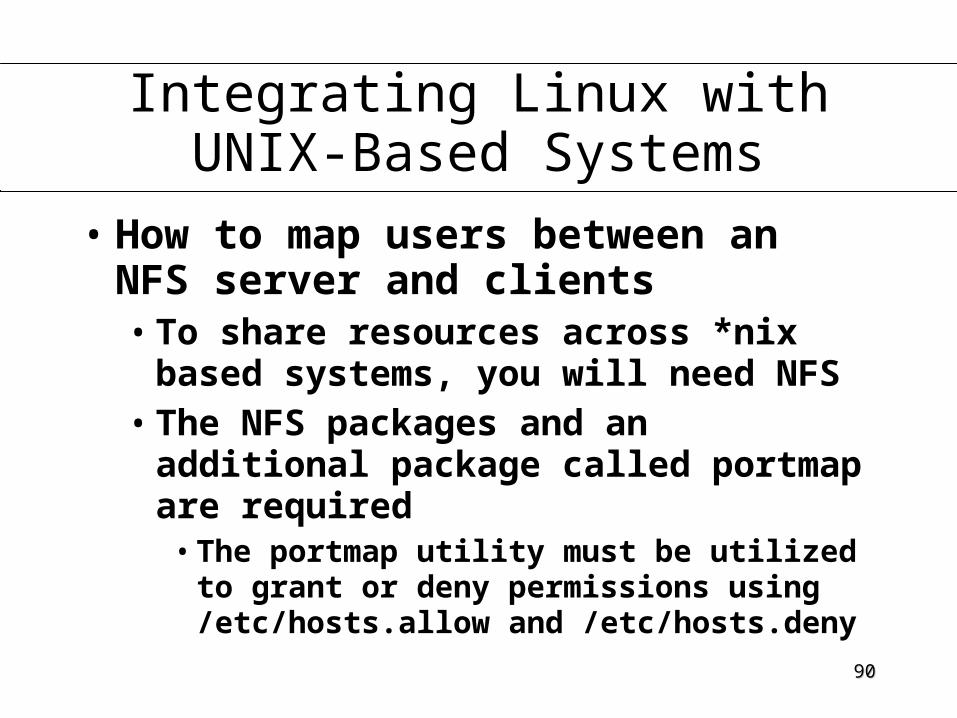
Integrating Linux with UNIX-Based Systems
• How to map users between an NFS server and clients• To share resources across *nix
based systems, you will need NFS• The NFS packages and an
additional package called portmap are required• The portmap utility must be utilized
to grant or deny permissions using /etc/hosts.allow and /etc/hosts.deny
9191
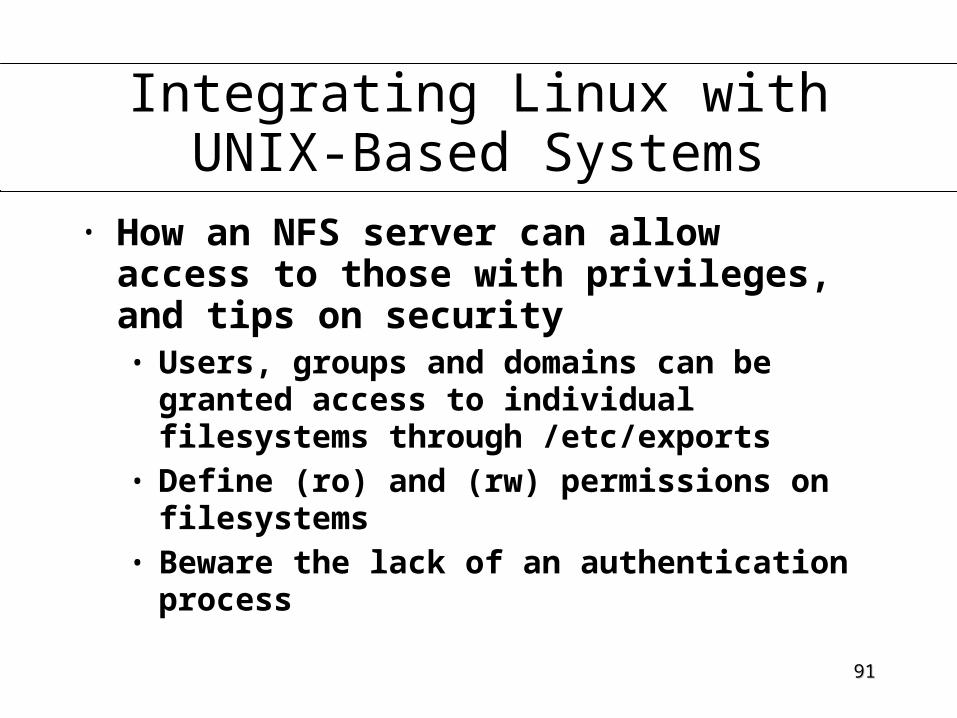
Integrating Linux with UNIX-Based Systems
• How an NFS server can allow access to those with privileges, and tips on security• Users, groups and domains can be
granted access to individual filesystems through /etc/exports
• Define (ro) and (rw) permissions on filesystems
• Beware the lack of an authentication process

9292
Integrating Linux with UNIX-Based Systems
• NFS client installation and configuration tips and techniques• An NFS client is included as default
with any Red Hat installation• The client is also available as a separate
RPM• NFS shares can be loaded at boot
time through run level management• Create a mount point at /mnt/

9393
Integrating Linux with UNIX-Based Systems
1. mkdir /home/data2. chmod 777 /home/data3. vi /etc/exports4. Add line:
/home/data 192.168.0.0/24(rw)(no spaces)
5. Write and quit vi6. vi /etc/hosts.allow

9494
Integrating Linux with UNIX-Based Systems
1. Add line: portmap: 192.168.0.
2. Write and quit vi3. vi /etc/hosts.deny4. Add line:
portmap: ALL1. Write and quit vi

9595
Integrating Linux with UNIX-Based Systems
1. exportfs -vra2. /etc/rc.d/init.d/nfs start3. cd /etc/rc.d/rc3.d4. ls5. mv K20nfs S20nfs

9696
Integrating Linux with UNIX-Based Systems
• NFS commands• rpcinfo -p• showmount• showmount -e <host>

9797
Integrating Linux with UNIX-Based Systems
1. mkdir /mnt/remote2. mount lab<x>:/home/data /mnt/remote3. cd /mnt/remote4. ls5. touch <filename>6. ls

9898
Integrating Linux with UNIX-Based Systems
1. cd2. umount /mnt/remote

9999
Your Key To Success - Integrating Linux with
Windows-Based Computers

100100
Integrating Linux with Windows-Based Computers
• The Server Message Block protocol• The SMB protocol overcomes the
shortfalls of NFS by allowing for expanded file and printer sharing services
• SMB is supported by all major operating systems today, including Windows, Windows NT, OS/2, BeOS, Linux and many variations of Unix

101101
Integrating Linux with Windows-Based Computers
• Security and Access Control• Samba inherits the username from the
login session on the client computer• guest and nobody accounts are enabled by
default

102102
Integrating Linux with Windows-Based Computers
Connecting Linux to a Windows share
mkdir /mnt/win smbmount //lab100/test /mnt/win -o
username=linux cd /mnt/win ls touch <filename>

103103
Integrating Linux with Windows-Based Computers
1. ls2. cd3. umount /mnt/win

104104
Integrating Linux with Windows-Based Computers
Configuring Samba cd /etc/samba cp smb.conf smb.conf.bak vi smb.conf Change line workgroup = MYGROUP
to: workgroup = class.com
105105
Integrating Linux with Windows-Based Computers
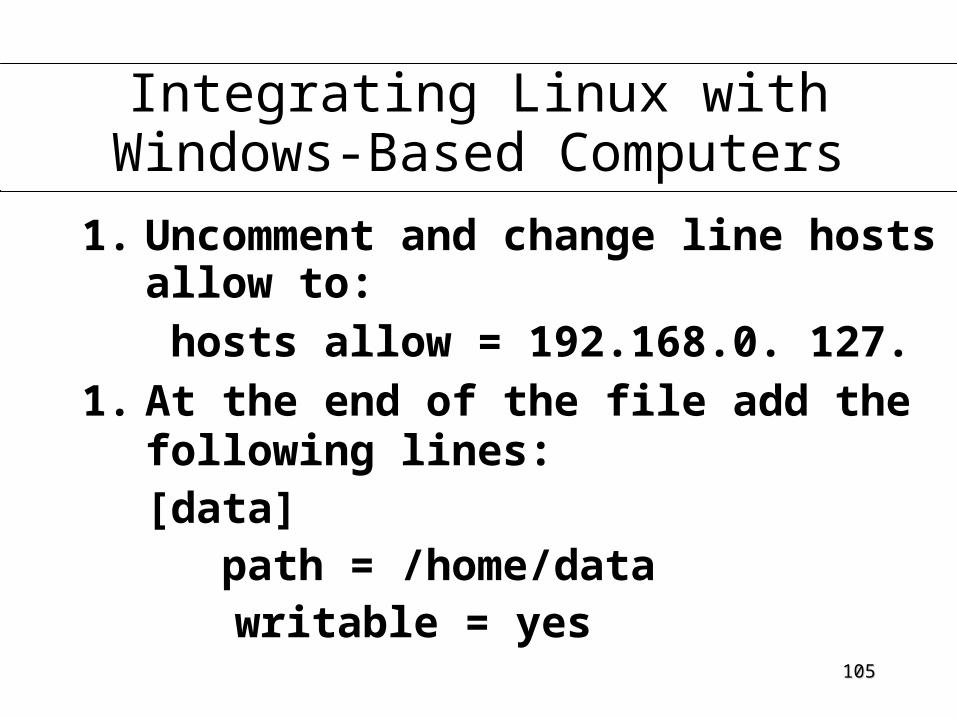
1. Uncomment and change line hosts allow to: hosts allow = 192.168.0. 127.
1. At the end of the file add the following lines:[data] path = /home/data
writable = yes

106106
Integrating Linux with Windows-Based Computers
1. Write and quit vi2. service smb start
• May also want to change run-level script to start automatically at boot up
3. smbpasswd -a <user>

107107
Integrating Linux with Windows-Based Computers
• To Use SWAT• Edit /etc/services to make sure the
following line exists: swat 901/tcp #Samba Web Administration Tool• Edit /etc/xinetd.d/swat to change disable to no
• To have changes take effect, restart xinetd

108108
Integrating Linux with Windows-Based Computers
1. vi /etc/services2. Locate the line:
swat 901/tcp #Samba Web Administration Tool
3. Quit vi4. cd /etc/xinetd.d5. ls

109109
Integrating Linux with Windows-Based Computers
1. vi swat2. Change line disable = yes to:
disable = no3. Write and quit vi4. service xinetd restart

110110
Setting Up Internet and Intranet Services
111111
Setting Up Internet and Intranet Services
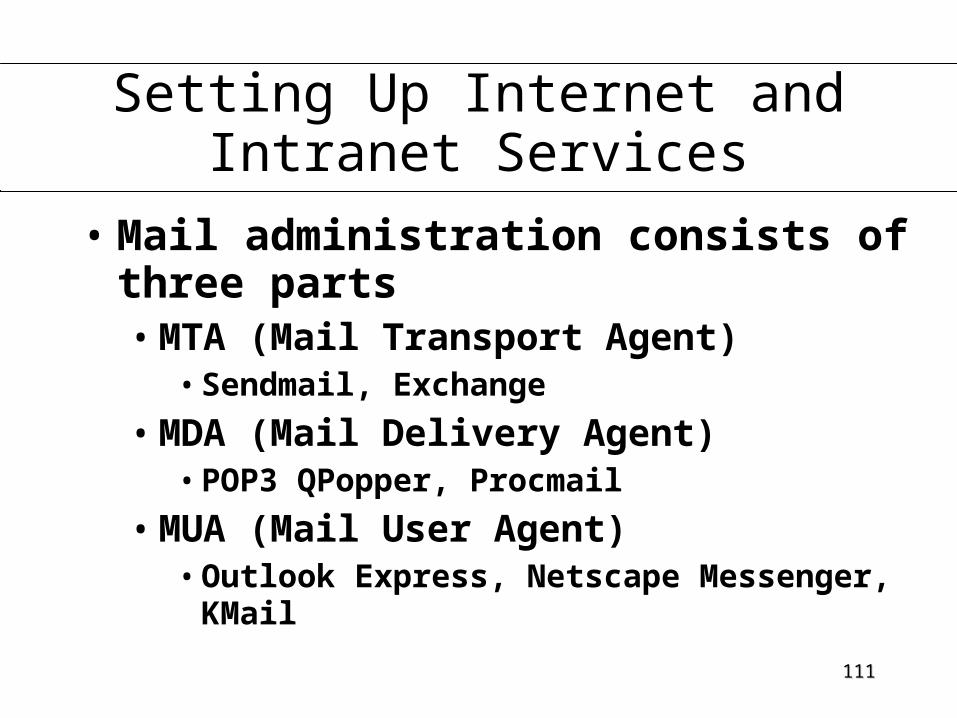
• Mail administration consists of three parts• MTA (Mail Transport Agent)
• Sendmail, Exchange
• MDA (Mail Delivery Agent)• POP3 QPopper, Procmail
• MUA (Mail User Agent)• Outlook Express, Netscape Messenger,
KMail

112112
Setting Up Internet and Intranet Services
• Managing mail (user)• mail - view recent messages• mail <email address> - send a
new message

113113
Setting Up Internet and Intranet Services
• To route mail from one address to another, edit /etc/aliases
• When editing aliases the database needs to be rebuilt with the newaliases command

114114
1. vi /etc/aliases2. Add/edit aliases3. Write and quit vi4. newaliases
Setting Up Internet and Intranet Services

115115
Setting Up Internet and Intranet Services
• Managing mail (administrator)• User mailboxes located in /var/spool/mail
• Log files located in /var/log/maillog
116116
Setting Up Internet and Intranet Services
• Sendmail configuration• Directives are located in /etc/mail/sendmail.cf
• /etc/mail/sendmail.mc -- friendlier configuration file

117117
Setting Up Internet and Intranet Services
1. cd /etc/mail2. ls3. cp sendmail.cf sendmail.cf.bak4. ls5. cp sendmail.mc sendmail.mc.bak6. ls

118118
Setting Up Internet and Intranet Services
1. vi sendmail.mc - delete line: “DAEMON_OPTIONS”
2. Write and quit vi3. m4 /etc/mail/sendmail.mc >
/etc/mail/sendmail.cf4. service sendmail restart
119119
Setting Up Internet and Intranet Services
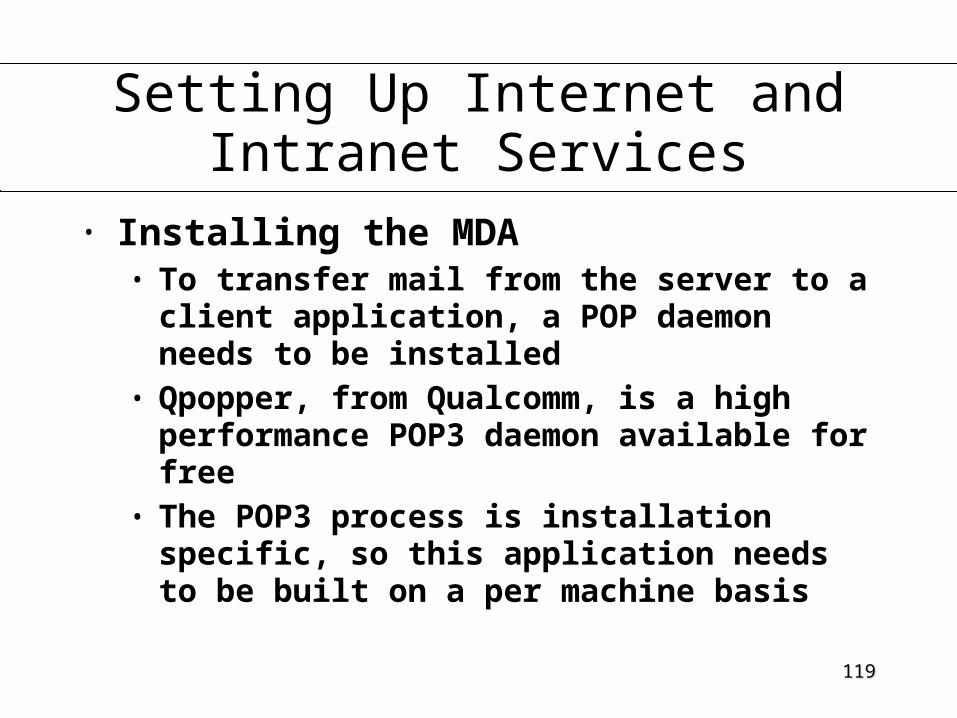
• Installing the MDA• To transfer mail from the server to a
client application, a POP daemon needs to be installed
• Qpopper, from Qualcomm, is a high performance POP3 daemon available for free
• The POP3 process is installation specific, so this application needs to be built on a per machine basis

120120
Setting Up Internet and Intranet Services
• Installing the MDA• Unpack the popper “tarball”
• tar -zxvf
• Configure the installation• ./configure --enable-standalone --enable-specialauth
• Build the binary• make
• Install to the path• cp popper /usr/sbin/popper
121121
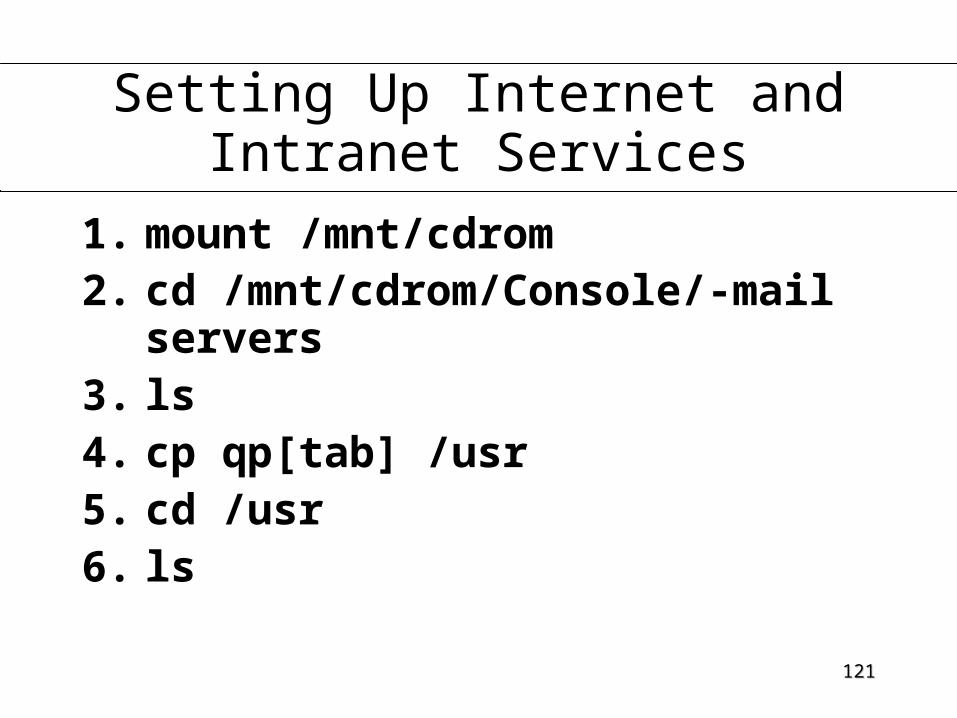
Setting Up Internet and Intranet Services
1. mount /mnt/cdrom2. cd /mnt/cdrom/Console/-mail
servers3. ls4. cp qp[tab] /usr5. cd /usr6. ls

122122
Setting Up Internet and Intranet Services
1.tar -zxvf qp[tab]2.ls3.cd qp[tab]4.Ls 5../configure --enable-
standalone --enable-specialauth
6.make

123123
Setting Up Internet and Intranet Services
1. cd popper2. ls3. cp popper /usr/sbin4. popper 192.168.0.<x>:110 -S -s

124124
Setting Up Internet and Intranet Services
1. cd /etc/rc.d2. ls3. vi rc.local4. Add popper 192.168.0.<x>:110 -
S -s on a new line at the end of the file
125125
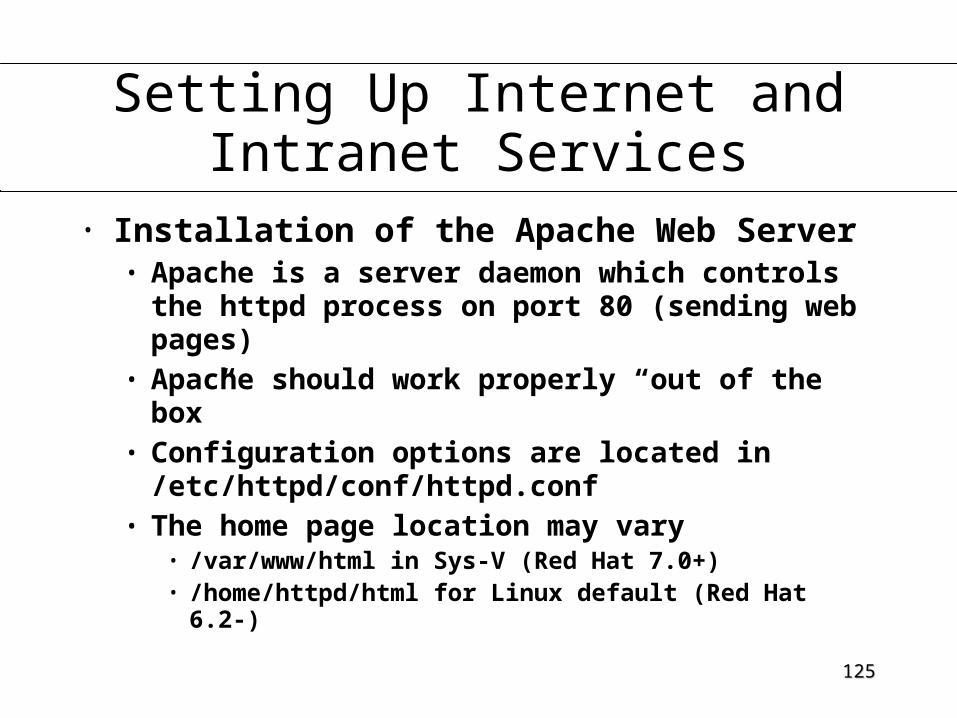
Setting Up Internet and Intranet Services
• Installation of the Apache Web Server• Apache is a server daemon which controls
the httpd process on port 80 (sending web pages)
• Apache should work properly “out of the box”
• Configuration options are located in /etc/httpd/conf/httpd.conf
• The home page location may vary• /var/www/html in Sys-V (Red Hat 7.0+)• /home/httpd/html for Linux default (Red Hat
6.2-)
126126
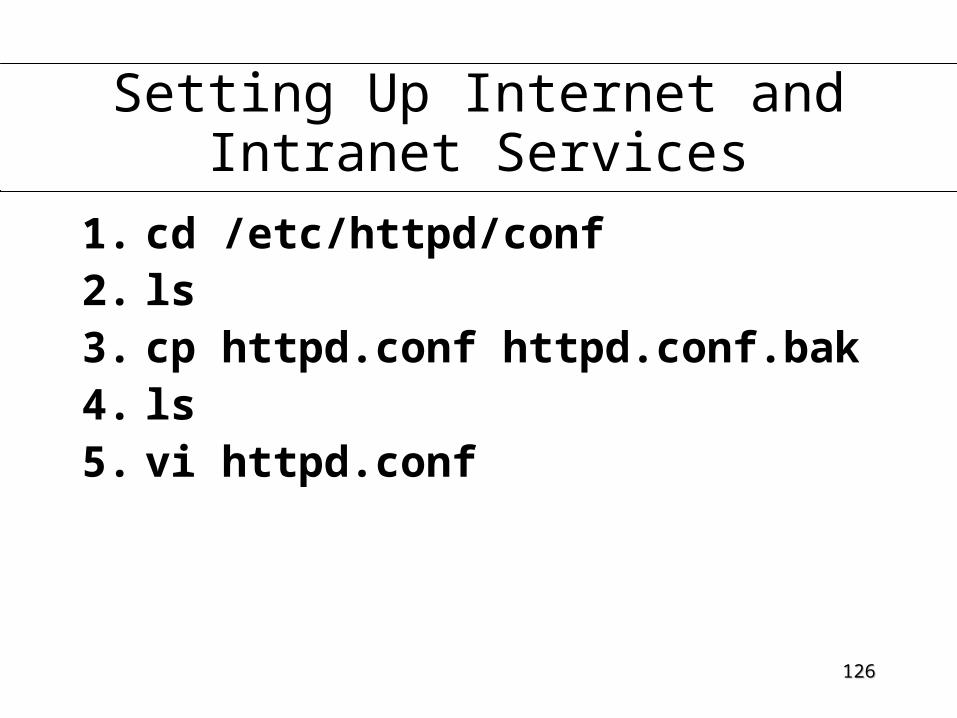
Setting Up Internet and Intranet Services
1. cd /etc/httpd/conf2. ls3. cp httpd.conf httpd.conf.bak4. ls5. vi httpd.conf

127127
Setting Up Internet and Intranet Services
1. service httpd start2. ps -aux | grep httpd3. Open your web browser, type
“localhost” in URL address field and press the Enter key

128128
Setting Up Internet and Intranet Services
• How to install, configure and secure FTP services on your Linux server• FTP is a standard xinetd server process
installed as a default• Anonymous users are automatically
given an FTP directory as their root directory• /var/ftp
• Can only access files and directories below that point

129129
Setting Up Internet and Intranet Services
• How to install, configure and secure FTP services on your Linux server• /etc/vsftpd/vsftpd.conf - defines
most of the access control• /etc/vsftpd.user_list – used to deny
access to certain accounts• or set userlist_deny=NO to include only
names of users to whom you want to allow

130130
Setting Up Internet and Intranet Services
1. vi /etc/vsftpd/vsftpd.conf2. service vsftpd restart

131131
Setting Up Internet and Intranet Services
• Managing log activity• Daemon processes log output in /var/log
• /var/log/httpd• /var/log/maillog• /var/log/vsftpd.log
• Xinetd processes will utilize syslogd• /var/log/messages
• View running log information with tail -f
• Caution! Do NOT write lock a log file!

132132
Securing Linux-Based Computers

133133
Securing Linux-Based Computers
Who is on the system (server)? At the command line type:
• w
This will produce a list of users currently logged on the system
• passwd -l usernameWill lock the account of a user

134134
Securing Linux-Based Computers
Check the history• last
Runs the activity report from the /var/log/wtmp file
1. grep fail /var/log/messages2. Grep repeat /var/log/messages

135135
Securing Linux-Based Computers
1. Rpm -Va > /tmp/rpmVa.log
S –file size changedM – Mode (permissions)5 – MD5 checksumD – device nodeL – link has changedU – Owner of a file has changedG – Group ownership of file has changedT – Modification Timestamp is changed
136136
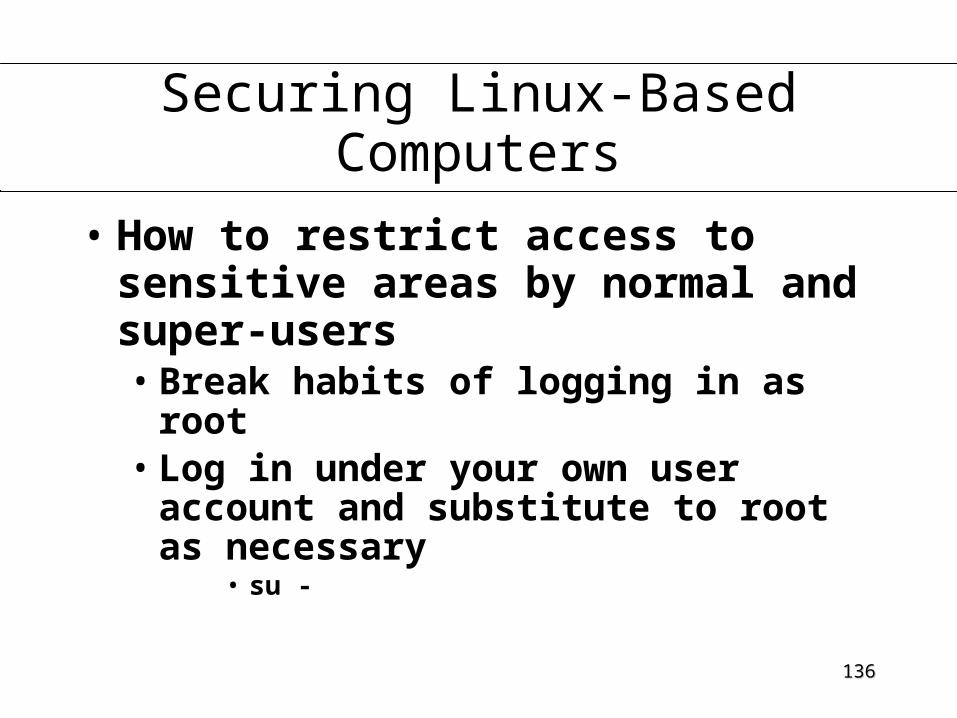
Securing Linux-Based Computers
• How to restrict access to sensitive areas by normal and super-users• Break habits of logging in as root• Log in under your own user
account and substitute to root as necessary
• su -

137137
Securing Linux-Based Computers
• How to disable root from logging in• /etc/securetty contains a list of
terminals/consoles from which root is allowed to log in
• Comment-out the terminals/consoles for which you wish to disable

138138
Securing Linux-Based Computers
1.vi /etc/securetty2.Comment-out the line tty33.Write and quit vi
139139
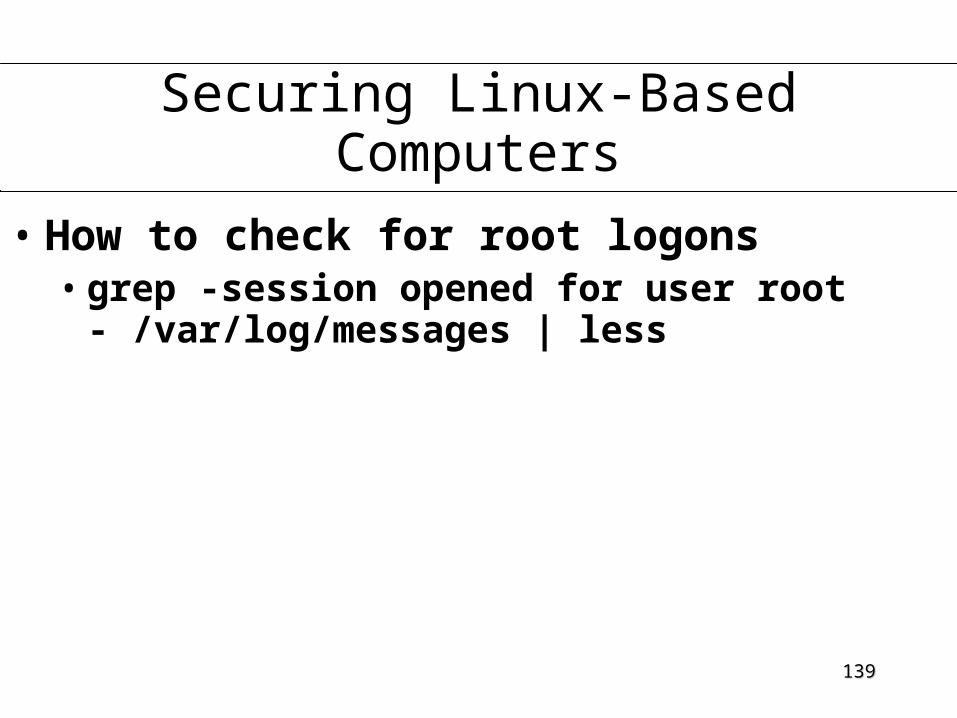
Securing Linux-Based Computers
• How to check for root logons• grep -session opened for user root - /var/log/messages | less
140140
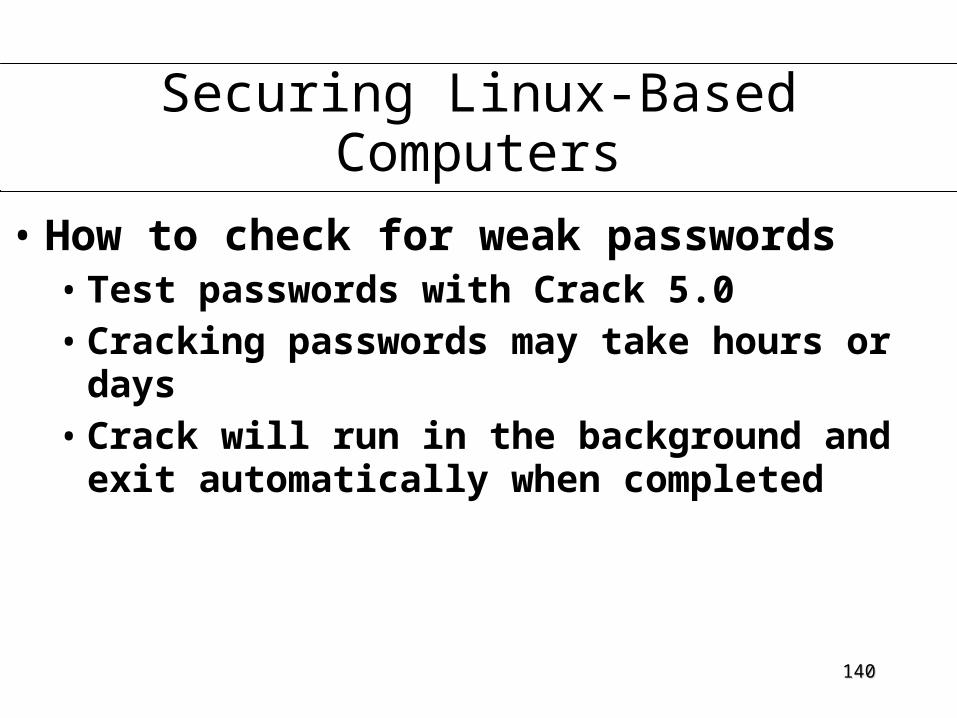
Securing Linux-Based Computers
• How to check for weak passwords• Test passwords with Crack 5.0• Cracking passwords may take hours or
days• Crack will run in the background and
exit automatically when completed

141141
Securing Linux-Based Computers
1. mount /mnt/cdrom2. cd /mnt/cdrom/crack5.03. ls4. cp * /root5. cd6. ls7. tar -zxvf crack5.0.tar.gz

142142
Securing Linux-Based Computers
1. ls2. cp crack_Makefile.txt ./c50a/src/util/Makefile3. Overwrite? y4. cd c50a5. ls6. ./Crack -makeonly

143143
Securing Linux-Based Computers
1. ./Crack -makedict2. ./scripts/shadmrg.sv > passwords3. ls4. chmod 600 passwords5. ls -l passwords6. ./Crack passwords7. ./Reporter | less

144144
Securing Linux-Based Computers
To stop Crack• ./Crack -kill <password_file>

145145
Securing Linux-Based Computers
• Using PAM• Works only with privilege granting
applications that are PAM-aware• PAM libraries are located in /lib/security
• Configuration is managed from two locations• /etc/security/• /etc/pam.d/

146146
Securing Linux-Based Computers
• Use Tripwire to detect spoofed files• Tripwire reads system critical files
and builds “checksums”• For maintenance, Tripwire will
rescan the filesystem to detect checksum mismatches
• For this security model to be effective, the Tripwire database should be kept on a write-locked device (like a CD-ROM)

147147
Securing Linux-Based Computers
1. Customize sample configuration file
vi /etc/tripwire/twcfg.txt2. Customize sample policy file vi /etc/tripwire/twpol.txt3. Run configuration script /etc/tripwire/twinstall.sh4. Initialize the database tripwire --init
148148
Securing Linux-Based Computers
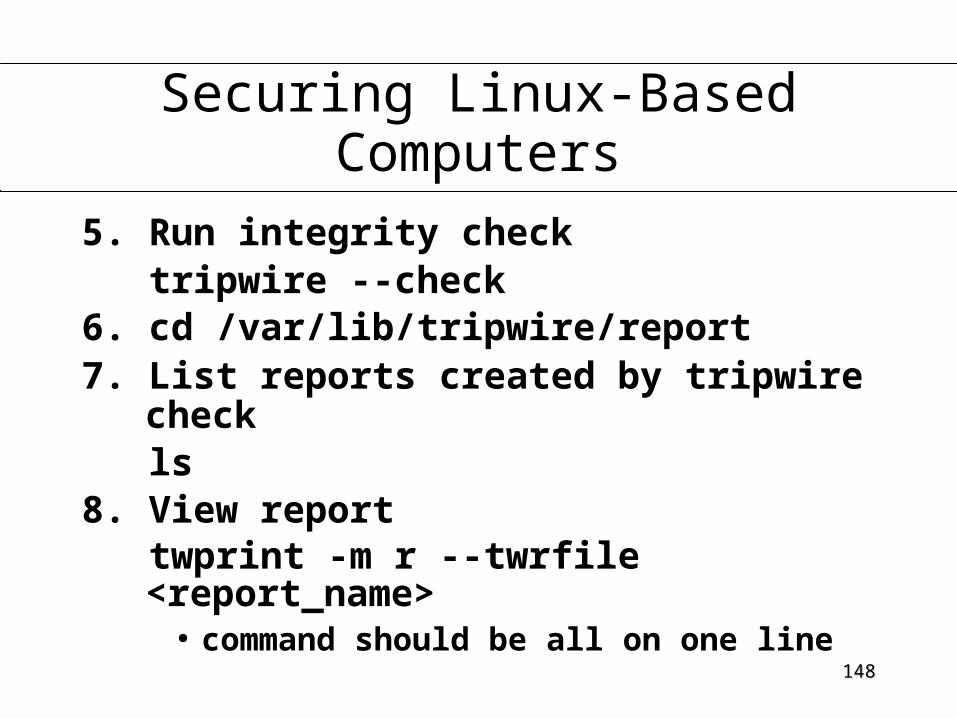
5. Run integrity check tripwire --check6. cd /var/lib/tripwire/report7. List reports created by tripwire check ls8. View report twprint -m r --twrfile
<report_name>● command should be all on one line

149149
Securing Linux-Based Computers
9. Update the database after an integrity check tripwire --update --twrfile <report_name>
● Command should be all on one line● Will show report in default editor● Proposed updates start with [X]● Remove the X from box to exclude from
update● Save file and close editor● As soon as editor closes, database will be
written

150150
Securing Linux-Based Computers
● Can update the policy and configuration files as necessary using twadmin

151151
Protecting Networked Systems

152152
1. Take the machine off the network2. Determine the required services3. Determine Service Dependences4. Prevent Services From Running5. Reboot6. Check Configuration for Unnecessary
services7. Check configuration for Necessary
Services8. Return Machine to Network
Protecting Networked Systems

153153
1. Take the machine off the network• ifconfig eth0 down
If not in runlevel 3 already, then...• init 3
Protecting Networked Systems

154154
Protecting Networked SystemsDetermine the required services

155155
Protecting Networked SystemsDetermine the required services

156156
Protecting Networked Systems
Determine Service Dependences• Always Check the specific distro• Good place to start
• http://www.redhat.com/docs/manuals/linux/RHL-9-Manual/install-guide/
• RH Linux Bible

157157
Protecting Networked Systems
Prevent Services From Runningsu –root
Insert screen capture for services (p 37)
chkconfig --level 2345/sbin/chkconfig -- list | more
158158
Protecting Networked Systems
Rebootsync;sync init 6
Orreboot

159159
Protecting Networked Systems
Check Configuration for unnecessary services
What services were halted?
services –status-all |grep –v “stopped”

160160
Protecting Networked Systems
Check Configuration for necessary servicesIs the mail daemon running?
ps aux |grep –v grep | grep sendmail

161161
Protecting Networked Systems
Return Machine to the Network• Ping the gateway1.ip route2.ping 192.168.xxx.xxx

162162
Protecting Networked Systems
• IP Spoofing• “R” services allow for remote
connectivity under a model called “trusted hosts”
• You only have to authenticate once• Services like rlogin, rexec, and rcp should
be disabled or replaced
• Non-routable IP addresses• Use “loopback” IP addresses on the
LAN for PCs not requiring Internet services

163163
Protecting Networked Systems
• iptables• A table is a set of chains• A chain is a list of rules• Each table has a group of built-in
chains

164164
Protecting Networked Systems
• iptables• A chain is a checklist of rules. Each rule
says `if the packet header looks like this, then here's what to do with the packet'. If the rule doesn't match the packet, then the next rule in the chain is consulted. Finally, if there are no more rules to consult, then the kernel looks at the chain policy to decide what to do. In a security-conscious system, this policy usually tells the kernel to reject or deny the packet.

165165
Protecting Networked Systems
• iptables• filter – default table that handles network
packets• INPUT – applies to packets received via
a network interface• OUTPUT – applies to packets sent out
via the same interface which received the packets
• FORWARD – applies to packets received on one network interface and sent out on another

166166
Protecting Networked Systems
• iptables• nat – used to alter packets that create new
connections• PREROUTING – alters packets received
via a network interface when they arrive• OUTPUT – alters locally-generated
packets before they are routed via a network interface
• POSTROUTING – alters packets before they are sent out via a network interface

167167
Protecting Networked Systems
• iptables• mangle – used to alter packets in
specialized ways• PREROUTING – alters packets received
via a network interface before they are routed
• OUTPUT – alters locally-generated packets before they are routed via a network interface

168168
Protecting Networked Systems
• iptables• iptables stops examining a rule after
finding the first match• Rules with very specific conditions
should go before those with similar but broader conditions
169169
Protecting Networked Systems
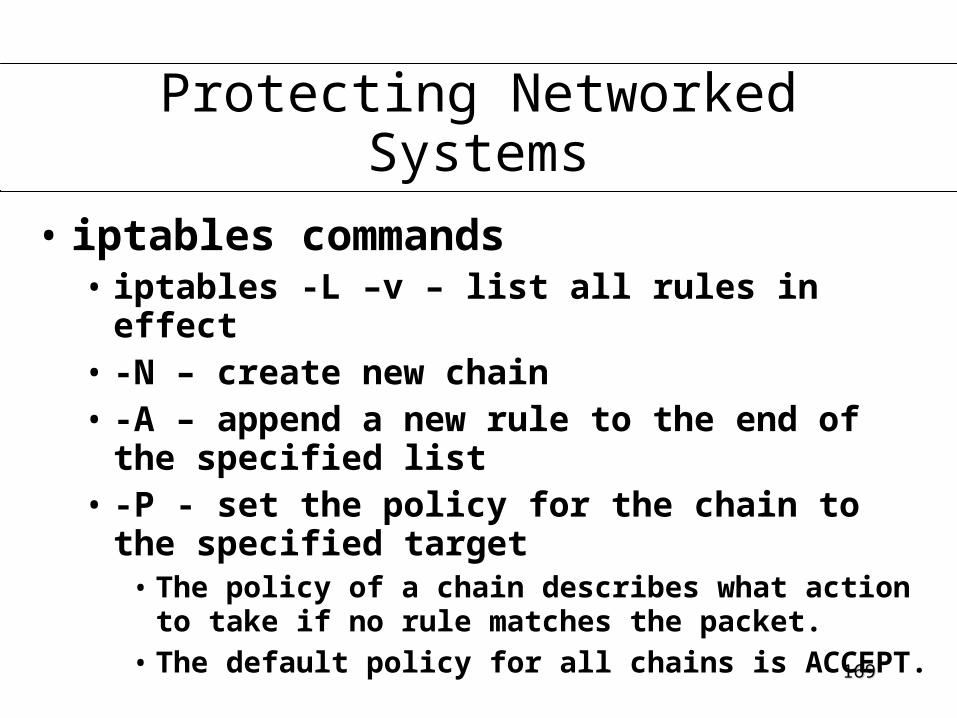
• iptables commands • iptables -L –v – list all rules in effect • -N – create new chain• -A – append a new rule to the end of the
specified list• -P - set the policy for the chain to the
specified target• The policy of a chain describes what action to
take if no rule matches the packet.• The default policy for all chains is ACCEPT.

170170
Protecting Networked Systems
• iptables parameters• -t – table to use• -j – name of the action to execute
when the rule matches• -i – incoming interface to which this
rule applies• -o – outgoing interface to which this
rule applies

171171
Protecting Networked Systems
• iptables parameters• -s – source address to match• -d – destination address to match• -p – protocol to match

172172
Protecting Networked Systems
• iptables options• -m – module to use• --syn – match against a syn packet
which requests a new connection• --state – connection states to match

173173
Protecting Networked Systems
RoutingDecision
LocalProcess
FORWARD
INPUT OUTPUT
POSTROUTING

174174
Protecting Networked Systems
Firewall configurationAs root…
1. -> Start Here
2. -> System Settings
3. -> Security Level
4. Review Firewall Configuration Tool

175175
Protecting Networked Systems
• How to configure Linux as a router• Need two network interfaces
• eth0• eth1
• Turn on packet forwarding• Set gateway device• Enable IP Masquerading

176176
Protecting Networked Systems
1.vi /etc/sysctl.conf2. Change line net.ipv4.ip_forward =
0 to: net.ipv4.ip_forward = 13.vi /etc/sysconfig/network4. Add line: GATEWAYDEV=eth15. Enable NAT/IP Masquerading

177177
Protecting Networked Systems
• IP Masquerading• Allows packets from non-routable IP
addresses to be forwarded with a routable IP address
• Similar to NAT (Network Address Translation)
• Effectively creates a firewall against remote connections directly to the masqueraded network
• Requires two NICs on an Ethernet network

178178
Protecting Networked Systems
• IP Masquerading• When a packet comes into the Linux
router from a host on the internal network, it will assign the packet to a new TCP/IP source port number and insert its own IP address inside the packet header, saving the originals. The MASQ server will then send the modified packet onto the Internet.

179179
Protecting Networked Systems
• IP Masquerading• When a packet returns from the
Internet into the Linux router, Linux examines if the port number is one of those ports that was assigned above. If so, the MASQ server will then take the original port and IP address, put them back in the returned packet header, and send the packet to the host on the internal network.

180180
Protecting Networked Systems
• iptables – set policies so that any packet must be specifically matched by one of the other rules to get throughiptables -P INPUT DROPiptables -P OUTPUT DROPiptables -P FORWARD DROP

181181
Protecting Networked Systems
• iptables – incoming from LANiptables -A INPUT -p ALL -i eth0 -s 192.168.0.0/24 -j ACCEPT
iptables -A INPUT -p ALL -i lo -s 127.0.0.1 -j ACCEPT
iptables -A INPUT -p ALL -i lo -s <internal_ip_address> -j ACCEPT
iptables -A INPUT -p ALL -i lo -s <external_ip_address> -j ACCEPT

182182
Protecting Networked Systems
• iptables – incoming from internet – established connections onlyiptables -A INPUT -p ALL -d <external_ip_address> -m state –-state ESTABLISHED,RELATED -j ACCEPT
183183
Protecting Networked Systems
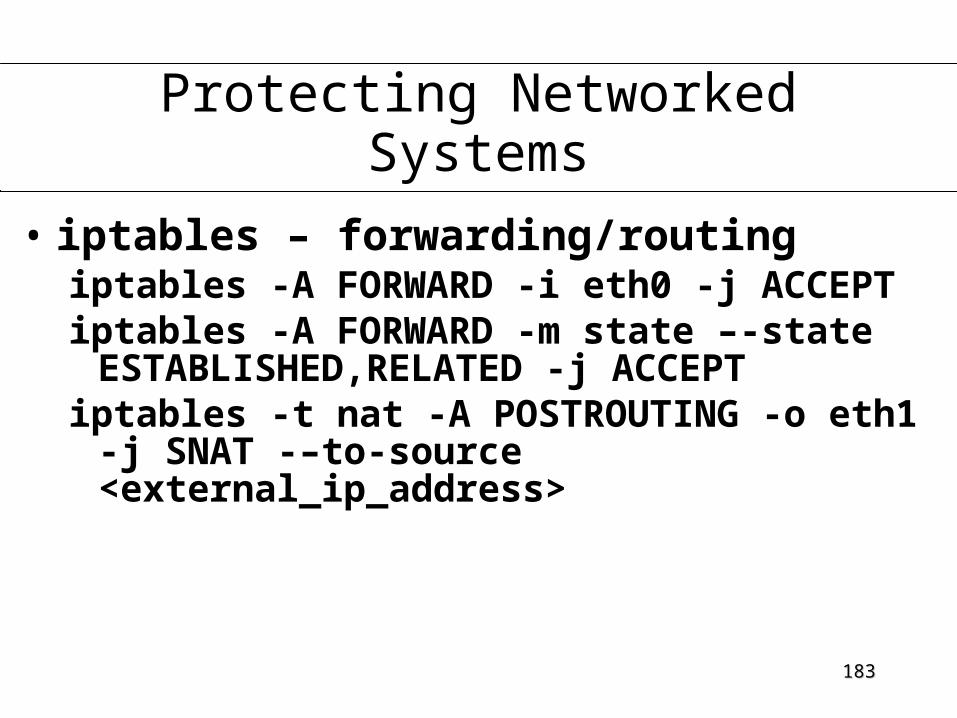
• iptables – forwarding/routingiptables -A FORWARD -i eth0 -j ACCEPTiptables -A FORWARD -m state –-state ESTABLISHED,RELATED -j ACCEPT
iptables -t nat -A POSTROUTING -o eth1 -j SNAT -–to-source <external_ip_address>
184184
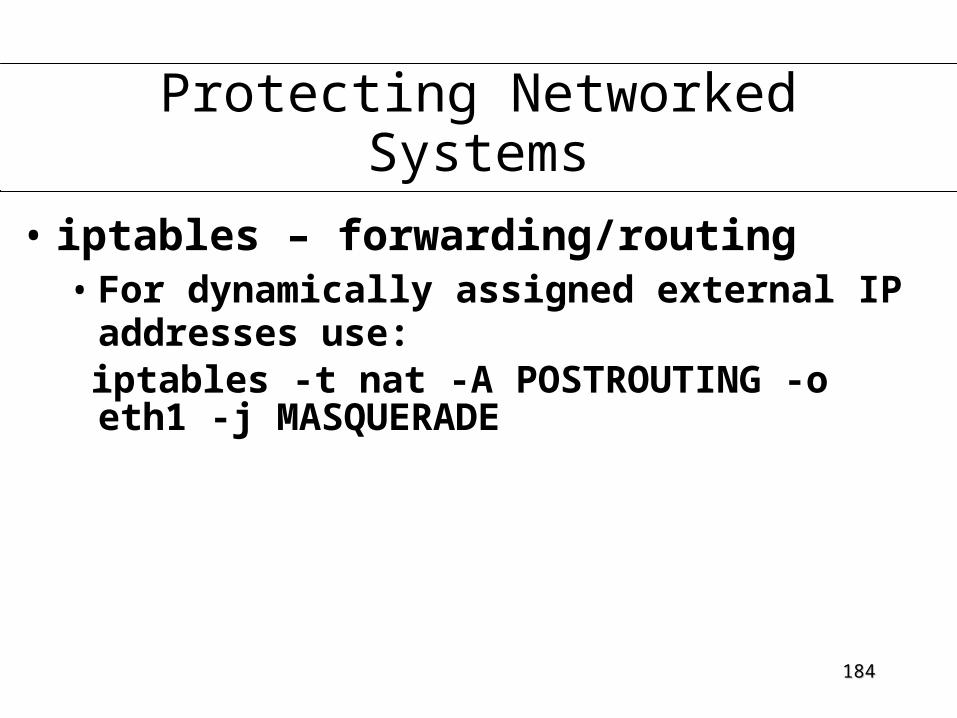
Protecting Networked Systems
• iptables – forwarding/routing• For dynamically assigned external IP
addresses use: iptables -t nat -A POSTROUTING -o eth1 -j MASQUERADE

185185
Protecting Networked Systems
• Saving your firewall settings● service iptables save
● iptables-save● iptables-restore

186186
Protecting Networked Systems
• Squid Proxy Server• High-performance proxy-caching
server• Supports HTTP and FTP protocols
and SSL encryption data• Utilizes ICP (Internet Cache
Protocol) and integrates with Cidera SkyCache and CacheFlow appliances
• Duplicates client requests to increase speed and reduce network overhead

187187
Protecting Networked Systems
1. cd /etc/squid2. cp squid.conf squid.conf.bak3. vi squid.conf4. Locate the line INSERT YOUR OWN
RULE

188188
Protecting Networked Systems
1. Above the line http_access deny all add: acl class.com src 192.168.0.0/24 http_access allow class.com

189189
Protecting Networked Systems
1. Write and quit vi2. service squid start
• May also want to change run-level script to start automatically at boot up

190190
Protecting Networked Systems
• Other acl optionsacl valid_clients src 192.168.0.2 192.168.0.3 192.168.0.4
http_access allow valid_clientshttp_access deny !valid_clients

191191
Protecting Networked Systems
• Other acl optionsacl clientA src 192.168.0.1acl clientB src 192.168.0.2acl morning time 08:00-12:00acl lunch time 12:30-13:30acl evening time 15:00-21:00http_access allow clientA morninghttp_access allow clientB eveninghttp_access allow clientA lunch
192192
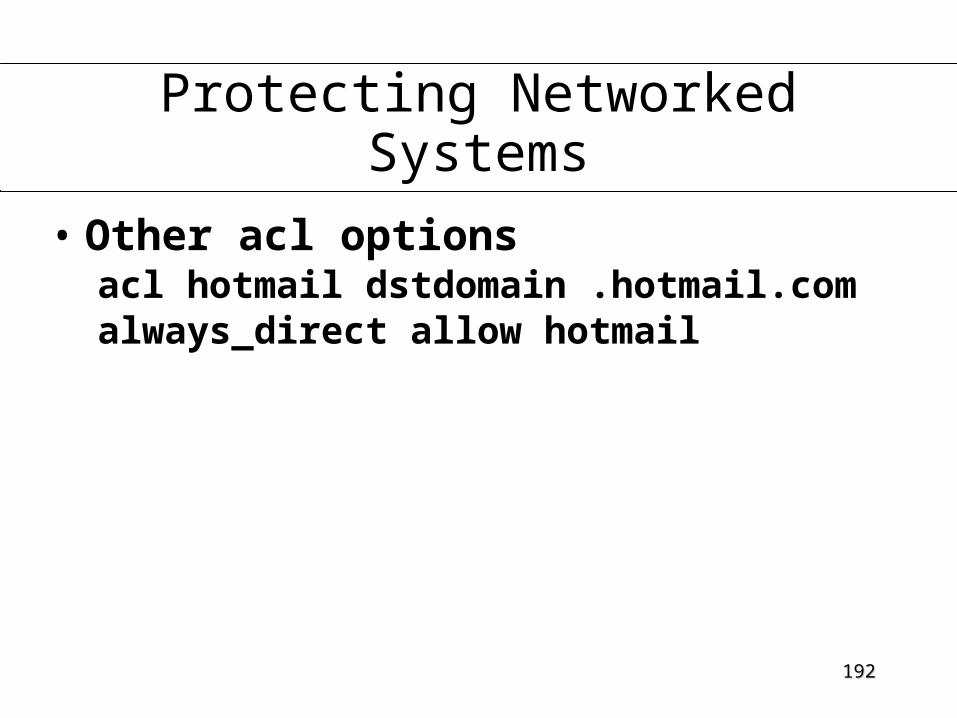
Protecting Networked Systems
• Other acl optionsacl hotmail dstdomain .hotmail.comalways_direct allow hotmail

193193
Protecting Networked Systems
• The Security Administrators Integrated Network Tool (SAINT)• Examines network services
searching for vulnerabilities• Provides reports based on its
analysis to suggest possible remedies

194194
Protecting Networked Systems
1. mount /mnt/cdrom2. cd /mnt/cdrom3. ls4. cp saint[tab] /root5. cd6. ls7. tar -zxvf saint[tab]

195195
Protecting Networked Systems
1. cd saint[tab]2. ls3. cd config4. ls5. vi paths.pl6. Change line $MOSAIC= to:
$MOSAIC=”usr/bin/mozilla”;

196196
Protecting Networked Systems
1. Write and quit vi2. cd ..3. ls4. ./configure5. make6. make install7. ./saint

197197
Virtual Network Computing – Sharing
Remote Desktops

198198
VNC – Sharing Remote Desktops
• Using VNC to share desktops with other machines• Virtual Network Computing is free
• Linux, WinNT, Win9x, MacOS,• Allows users to open desktop
sessions remotely to administer machines
• Only the screen state is transferred through the connection, processing is done server-side

199199
VNC – Sharing Remote Desktops
• Launching a server• vncserver - starts a new server process
• IDs can be forced with the vncserver :nn options
• Launching a viewer• vncviewer – spawns a viewer in X
• Specify a machine name vncviewer <host>:<desktop number>
• Netscape or Internet Explorer - vncviewer includes a Java applet to run in a Web browser
• Specify the display number + 5800 (<host>:5801)

200200
Starting vncserver1. cd2. vncserver
• VNC will ask you to set the password the first time you run vncserver
Stopping vncserver 1. vncserver –kill :<desktop number>
VNC - Sharing Remote Desktops

201201
Connecting to a remote VNC desktop
vncviewer <host>:<desktop number> Enter password of remote host
• To stop vncviewer, simply close the vncviewer window
VNC - Sharing Remote Desktops

202202
Tunneling a remote VNC desktop using sshvncviewer -via <host_ip> <host_ip>:<desktop number>Enter ssh password of remote host and then the vnc password
• To stop vncviewer, simply close the vncviewer window
VNC - Sharing Remote Desktops

203203
Performance Monitoring and Troubleshooting

204204
Performance Monitoring and Troubleshooting
• How to schedule tasks to run after regular business hours• Linux uses the cron daemon for
scheduling• cron information is located in /etc with .daily and .weekly cron scripts and folders
• Scheduling might also be committed with the crontab -e command

205205
Performance Monitoring and Troubleshooting
• Kernel Configuration• Even numbered kernels are “stable”
2.4.x• Odd numbered kernels are
“development” 2.5.x• Current kernels are compressed
in /boot• vmlinuz
• Hardware can be supported natively or as a loadable “module”

206206
Performance Monitoring and Troubleshooting
• Kernel Configuration• Loading and removing new kernel
modules• insmod (or) rmmod /lib/modules/<directory_path>/<module>
207207
Performance Monitoring and Troubleshooting
1. cd /usr/src/linux-2.42. cp Makefile Makefile.bak3. vi Makefile
change EXTRAVERSION = -14custom to EXTRAVERSION = -14test
4. make mrproper5. make oldconfig6. make xconfig

208208
Performance Monitoring and Troubleshooting
1. make dep2. make clean9. make bzImage10. make modules11. make modules_install12. make install

209209
Performance Monitoring and Troubleshooting
13. vi /etc/lilo.conf14. Copy image= paragraph to end
of file15. Change vmlinuz-2.4.18-14 to
vmlinuz-2.4.18-14test16. Change label=linux to
label=linux-test 17. Write and quit vi

210210
Performance Monitoring and Troubleshooting
1.lilo2.reboot
Top Related