Y9 Food Technology Recipes - Ecclesfield Design...
12
1 Year 9 Food Technology – Ecclesfield School (I. Morecroft) Y9 Food Technology Recipes
Transcript of Y9 Food Technology Recipes - Ecclesfield Design...
1 Year 9 Food Technology – Ecclesfield School (I. Morecroft)
Y9 Food
Technology
Recipes

Year 9 Food Technology – Ecclesfield School (I. Morecroft) 2
Classic Minestrone Soup
Minestrone (literally Big Soup) is a thick soup of Italian origin made with vegetables, often with the addition of pasta or rice. Common ingredients include beans, onions, celery, carrots, stock, and tomatoes.
Learning Objective In this activity, you will:
learn how to make a soup using vegetables and pasta;
demonstrate safe use of a knife and other small tools and equipment;
prepare a range of fresh ingredients, e.g. peeling, slicing;
use the cooker safely.
Keywords: sweat, fry, boil, simmer, reduce. Ingredients 1 clove of garlic 1 x 10ml spoon oil ¼ cabbage 1 stock cube (or you could use fresh stock) 1 onion 800ml boiling water 1 stick of celery 1 x 5ml spoon mixed herbs 1 carrot 1 x 15ml spoon tomato puree 1 potato Black pepper 1 tomato 25g small pasta shapes or broken spaghetti 1 rasher of bacon Equipment Knife, chopping board, garlic press, measuring spoons, saucepan, wooden spoon, saucepan. Method 1. Prepare the vegetables and bacon: peel and crush the garlic; shred the cabbage; peel and chop the onion; slice the celery; peel and dice the carrot; peel and dice the potato; chop the tomato; chop the bacon, with a fresh knife on a clean chopping board. 2. Fry the onion, garlic and bacon in the oil for 2 minutes. 3. Stir in the carrot, celery and potato. 4. Add the stock (water and stock cube mixed together). 5. Stir in the sliced tomato and finely shredded cabbage. 6. Add the mixed herbs, tomato puree and black pepper, bring to the boil and then simmer for 10 minutes. 7. Add the pasta and allow to simmer for a further 10 minutes. 8. Serve. Top tips
Serve with a sprinkle of parmesan cheese
Try different types of vegetables (use what’s in season)
Add 2 tablespoons of cannellini beans Skills
Using the hob Onion preparation (Bridge hold / Claw grip)
Simmering (heat control)
3 Year 9 Food Technology – Ecclesfield School (I. Morecroft)
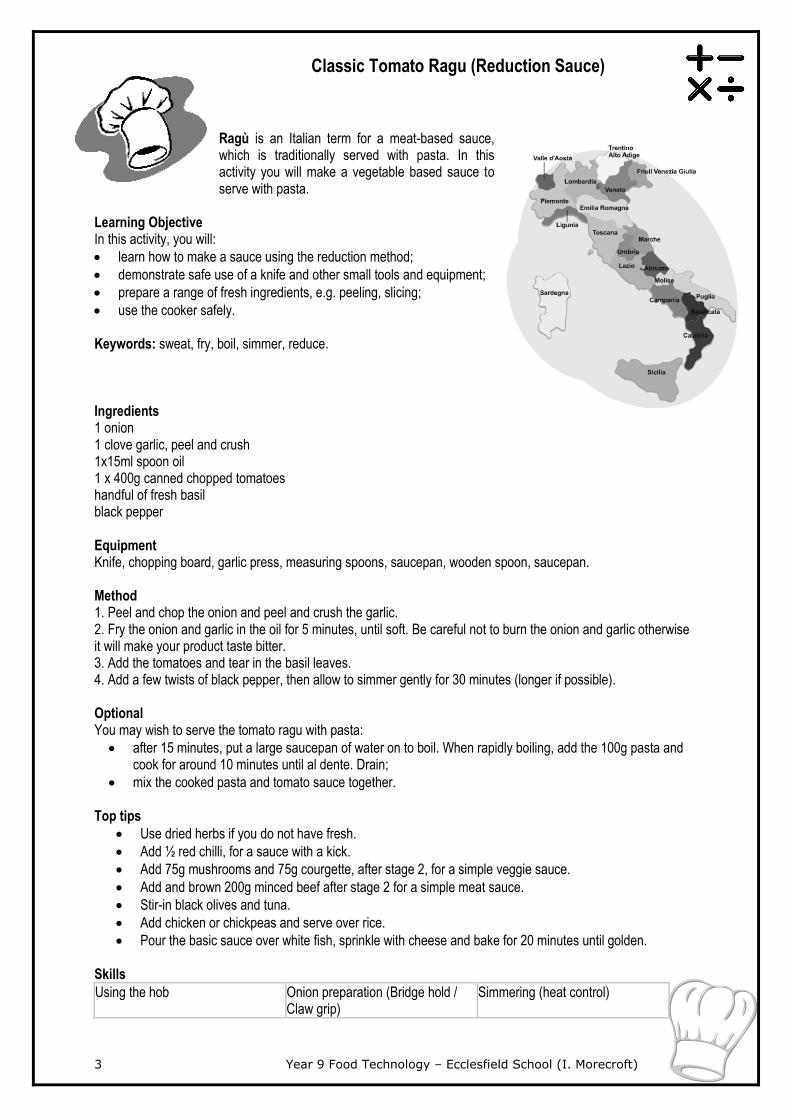
Classic Tomato Ragu (Reduction Sauce) Ragù is an Italian term for a meat-based sauce, which is traditionally served with pasta. In this activity you will make a vegetable based sauce to serve with pasta.
Learning Objective In this activity, you will:
learn how to make a sauce using the reduction method;
demonstrate safe use of a knife and other small tools and equipment;
prepare a range of fresh ingredients, e.g. peeling, slicing;
use the cooker safely.
Keywords: sweat, fry, boil, simmer, reduce. Ingredients 1 onion 1 clove garlic, peel and crush 1x15ml spoon oil 1 x 400g canned chopped tomatoes handful of fresh basil black pepper Equipment Knife, chopping board, garlic press, measuring spoons, saucepan, wooden spoon, saucepan. Method 1. Peel and chop the onion and peel and crush the garlic. 2. Fry the onion and garlic in the oil for 5 minutes, until soft. Be careful not to burn the onion and garlic otherwise it will make your product taste bitter. 3. Add the tomatoes and tear in the basil leaves. 4. Add a few twists of black pepper, then allow to simmer gently for 30 minutes (longer if possible). Optional You may wish to serve the tomato ragu with pasta:
after 15 minutes, put a large saucepan of water on to boil. When rapidly boiling, add the 100g pasta and cook for around 10 minutes until al dente. Drain;
mix the cooked pasta and tomato sauce together. Top tips
Use dried herbs if you do not have fresh.
Add ½ red chilli, for a sauce with a kick.
Add 75g mushrooms and 75g courgette, after stage 2, for a simple veggie sauce.
Add and brown 200g minced beef after stage 2 for a simple meat sauce.
Stir-in black olives and tuna.
Add chicken or chickpeas and serve over rice.
Pour the basic sauce over white fish, sprinkle with cheese and bake for 20 minutes until golden. Skills
Using the hob Onion preparation (Bridge hold / Claw grip)
Simmering (heat control)
Year 9 Food Technology – Ecclesfield School (I. Morecroft) 4
Ratatouille (Reduction Sauce)
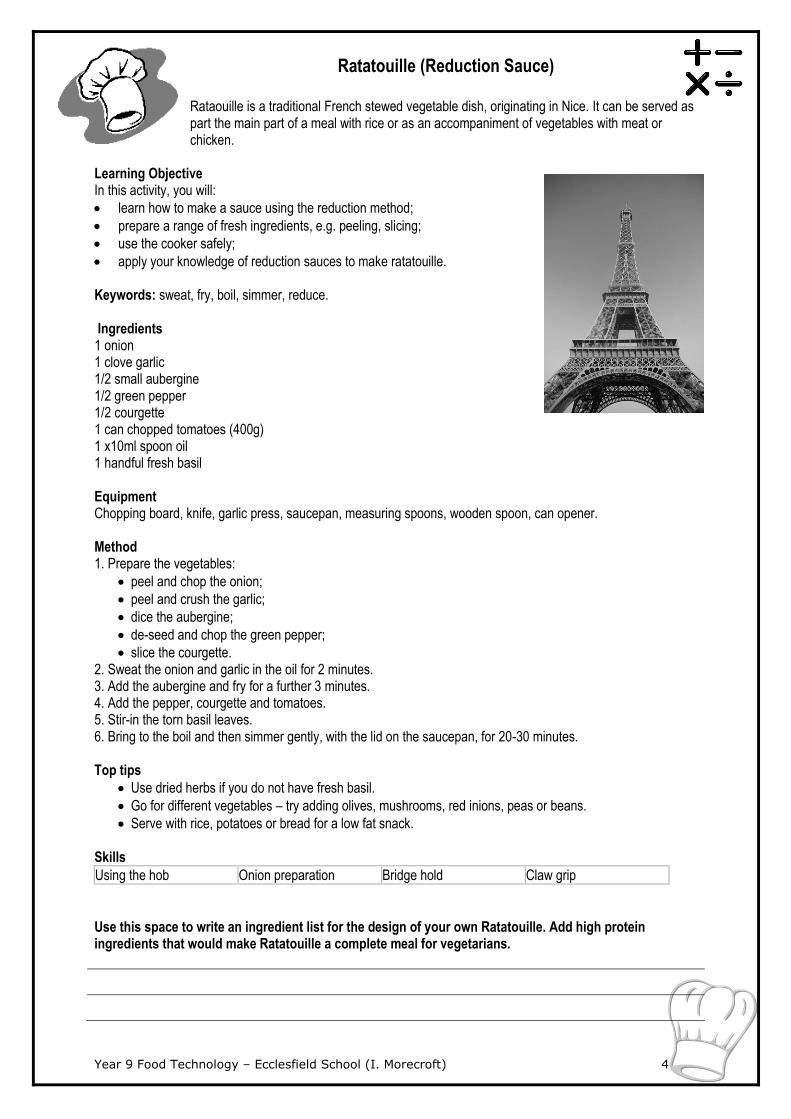
Rataouille is a traditional French stewed vegetable dish, originating in Nice. It can be served as part the main part of a meal with rice or as an accompaniment of vegetables with meat or chicken.
Learning Objective In this activity, you will:
learn how to make a sauce using the reduction method;
prepare a range of fresh ingredients, e.g. peeling, slicing;
use the cooker safely;
apply your knowledge of reduction sauces to make ratatouille.
Keywords: sweat, fry, boil, simmer, reduce. Ingredients 1 onion 1 clove garlic 1/2 small aubergine 1/2 green pepper 1/2 courgette 1 can chopped tomatoes (400g) 1 x10ml spoon oil 1 handful fresh basil Equipment Chopping board, knife, garlic press, saucepan, measuring spoons, wooden spoon, can opener. Method 1. Prepare the vegetables:
peel and chop the onion;
peel and crush the garlic;
dice the aubergine;
de-seed and chop the green pepper;
slice the courgette. 2. Sweat the onion and garlic in the oil for 2 minutes. 3. Add the aubergine and fry for a further 3 minutes. 4. Add the pepper, courgette and tomatoes. 5. Stir-in the torn basil leaves. 6. Bring to the boil and then simmer gently, with the lid on the saucepan, for 20-30 minutes. Top tips
Use dried herbs if you do not have fresh basil.
Go for different vegetables – try adding olives, mushrooms, red inions, peas or beans.
Serve with rice, potatoes or bread for a low fat snack. Skills
Using the hob Onion preparation Bridge hold Claw grip
Use this space to write an ingredient list for the design of your own Ratatouille. Add high protein ingredients that would make Ratatouille a complete meal for vegetarians.

5 Year 9 Food Technology – Ecclesfield School (I. Morecroft)
Macaroni Cheese (Roux Sauce) Learning Objective In this activity, you will:
learn how to make a roux (blend of butter and flour sauce);
demonstrate safe use of the cooker and other small tools and equipment;
prepare a range of fresh ingredients, e.g. grating;
understand the principle of gelatinisation.
Keywords: stir, boil, simmer, bake, separating agent.
Ingredients
Quantity Ingredient Function
250ml Milk For the béchamel sauce
30g Butter Separating agent. Prevents flour from forming lumps in the sauce.
20g flour Thicken the sauce (gelatinisation)
175g Cheddar cheese (grated) Taste
200g Macaroni Forms the bulk of the product
Equipment Oven proof casserole dish 2 saucepans – 1 for pasta and the other to make the sauce Measuring jug Wooden spoon Measuring equipment Grater Colander Method 1. Preheat the oven to 220oC / Gas 7. 2. Boil a saucepan of water. Add pasta and bring to the boil. 3. In another saucepan melt the butter over a medium heat and, when foaming, add the flour. Stir well.
The mixture will be thick to start with. Don't allow it to burn. 4. Gradually add the milk to the butter and flour mixture, stirring constantly. Add the milk slowly until
it's all used up. 5. The finished white sauce is called a béchamel sauce. Simmer and stir the béchamel sauce until it
has a rich, smooth consistency and is free from lumps. 6. Add 2/3 grated cheddar to the béchamel and stir until melted and smooth. Turn off the heat. Once
the cheese is added to the béchamel, don't allow it to boil or the cheese will become stringy. 7. Drain the pasta using a colander. Put the pasta back in the saucepan. 8. Mix the cheese sauce to the pasta and mix thoroughly. 9. Place the macaroni into a shallow ovenproof dish and sprinkle with remaining cheese. Put it in the
preheated oven to bake until golden brown, about 15 minutes. 10. Serve individual portions straight from the baking dish.
Year 9 Food Technology – Ecclesfield School (I. Morecroft) 6
Savoury Rice
Learning Objectives In this activity you will
demonstrate competence in cooking a rice based dish, using minimal pieces of equipment;
prepare a range of vegetables, e.g. peeling, slicing, dicing;
use the hob safely.
Ingredients 1 onion 3 mushrooms 1/2 red pepper 1 tomato 1 x 10ml spoon oil 150g long grain rice 550ml water, boiling 1 x 5ml spoon vegetable stock powder 50g peas 1 x 10ml spoon curry powder Equipment Chopping board, knife, saucepan, wooden spoon, weighing scales, measuring jug, measuring spoons. Method 1. Prepare the vegetables:
peel and chop the onion; slice the mushrooms; dice the red pepper; chop the tomato.
2. Fry the onion in oil until soft. 3. Add the mushrooms and red pepper and cook for a further 2 minutes. 4. Stir in the rice. 5. Mix the stock powder with the water. 6. Add the stock, peas and curry powder. 7. Simmer for 15 minutes, until the rice is tender. 8. To serve place the rice in a bowl and sprinkle the chopped tomato on top. Skills
Using the hob Onion preparation Bridge hold / Claw grip Frying/Simmering
Top tips
Try using different ingredients, such as chicken, prawns or Mediterranean vegetables.
Use different herbs and spices e.g. basil, parsley or chilli

7 Year 9 Food Technology – Ecclesfield School (I. Morecroft)
Pizza
Pizza is an oven-baked, flat, round bread typically topped with a tomato sauce, cheese and various toppings. After its invention in Italy, the dish has become popular in many parts of the world. An establishment that makes and sells pizzas is called a "pizzeria". The bottom of the pizza, called the "crust", may vary widely according to style—thin as in a typical pizza or thick as in a typical pan pizza or Chicago-style pizza. It is traditionally plain, but may also be seasoned with garlic or herbs, or stuffed with cheese.
Learning Objectives In this activity you will:
become confident preparing and cooking bread based dishes.
prepare a range of ingredients, e.g. de-seeding chillies, grating cheese, slicing vegetables. Ingredients 175 g Strong Bread Flour 1 tsp Fast Action Dried Yeast Pinch of Salt 2 tbsp Oil (olive if possible) 100ml Warm Water Extra flour for kneading Toppings: 1 Tablespoon tomato puree, 75g grated cheese, 1 tsp mixed herbs (optional) A selection from the following: onion, garlic, pepper, mushroom, chillies, cooked chicken, ham, pepperoni, salami, sweetcorn. Or any others of your own choice. Equipment Large Mixing Bowl, Measuring Jug, Teaspoon, Flour Dredger, Chopping Boards, Knives, Grater, Wooden Spoon, Measuring Spoon, Serving Dish, Weighing Scales. Method
1. Put the flour, yeast and salt into the bowl, mix and make a well in the middle.
2. Measure the water in your jug and add the oil. 3. Pour the water and oil mix into the well in the flour. 4. Using just one hand, start to add in the flour from around the
edge. Keep mixing until you have a soft dough. 5. Put some flour on your clean work top add your dough and start to knead the dough until it becomes
very stretchy (about 10-15 mins). 6. Roll out to approximately 23cm (9 inches) round, place onto your baking tray and make a crust with your
fingers. 7. Mix the tomato puree with water and herbs and spread onto the base up to the crust. Sprinkle the
cheese over the tomato sauce and add the rest of your chosen toppings. 8. Bake in a preheated oven at
Top tips
To tell if you pizza is finished cooking, look to see if the cheese is melted, and is beginning to become golden brown. The edge of the crust should be medium golden brown, and when you lift the bottom edge of the crust the dough should look evenly browned
Make small holes in your base after you’ve rolled it to stop it bubbling up Roll your dough on a lightly floured surface and turn 90º between rolls to maintain a good shape
Design your pizza on an A3 planning sheet
Year 9 Food Technology – Ecclesfield School (I. Morecroft) 8
Pinwheels
Pinwheels are great finger food for a picnic or party, these pinwheels are tasty when still warm from the oven. You can even freeze them. These can be made with all kinds of dough’s.
Learning Objectives In this activity you will:
Develop an understanding of processing dough based products
Develop your rubbing in, dough making and rolling skills. Ingredients 200g self raising flour 50 block margarine 1 egg + milk (150mls) 2 table spoons tomato puree with 3 tablespoons water 100g cheese Half onion (chopped) 1 tea spoon mixed herbs (Sweet version use jam or lemon curd and 25g sugar in dough) Equipment Large Mixing Bowl, Measuring Jug, Teaspoon, Flour Dredger, Chopping Boards, Knives, Grater, Wooden Spoon, Measuring Spoon, Weighing Scales. Method
1. Rub margarine and flour together to create breadcrumbs 2. Stir in the rest of the dry ingredients 3. Add the egg and enough milk to make a stiff dough 4. Roll out the dough to a rectangle shape. 5. Spread the tomato on the dough and cover with the filling ingredients 6. Roll up the dough and slice into rounds 7. Place circle side down on a greased baking tray
8. Cook 200C / Gas 6 for 15 mins
Skills
Rolling Vegetable preparation Grating Baking
Top tips
Try adding sweet or savoury to give these a different flavour
To tell if your pinwheels are cooked check they are golden on top and underneath
Make sure you use the right amount of flour when rolling your pinwheels out, ensure you flour the rolling pin
9 Year 9 Food Technology – Ecclesfield School (I. Morecroft)
Shortcrust Pastry
Shortcrust pastry is a type of pastry often used for the base of a tart, quiche or pie. It does not puff up during baking because it usually contains no leavening agent. It is possible to make shortcrust pastry with self-raising flour, however. Shortcrust pastry can be used to make both sweet and savory pies such as apple pie, quiche, lemon meringue or chicken pie.
Learning Objectives In this activity you will:
learn how to make shortcrust pastry using the rubbing in method;
demonstrate safe use of small tools and equipment;
prepare a shortcrust pastry product, e.g. quiche, egg custard, Australian crunch;
use the cooker safely Keywords: shortening, rubbing, binding, rolling, lining, blind-baking, mixing Ingredients 100g plain flour 25g block margarine/butter 25g lard 1 tablespoon water & filling ingredients Equipment Large Mixing Bowl, Measuring Jug, Teaspoon, Flour Dredger, Rolling Pin, Chopping Boards, Knives, Grater, Wooden Spoon, Measuring Spoon, Weighing Scales. Method
1. Sift the flour into a large bowl, add the butter and rub in with your fingertips until the mixture resembles fine breadcrumbs.
2. Stir in the salt, then add 1 tbsp water and mix to a firm dough. Knead the dough briefly and gently on a floured surface. Wrap in cling film and chill while preparing the filling.
Rolling Vegetable preparation Blind-baking Lining
Top tips
To make more or less, remember the proportions - half fat to flour - and don't add too much water or the pastry will be hard.
For best results, make sure the butter is cold.
Try adding other dry ingredients (i.e. cheese) in the recipe, add them at the same time as the salt.
Year 9 Food Technology – Ecclesfield School (I. Morecroft) 10
Sausage Rolls/Cheese Pasty
Puff pastry is a light, flaky, leavened pastry containing several layers of fat which is in solid state at 20 °C (68 °F). In raw form, puff pastry is a dough which is spread with solid fat and repeatedly folded and rolled out (never mashed, as this will destroy layering) and used to produce pastries. It is sometimes called a "water dough" or détrempe. The gaps that form between the layers are a result of the puff pastry rising as the water
evaporates into steam during the baking process. Piercing the dough will prevent excessive puffing, and crimping along the sides will prevent the layers from flaking all of the way to the edges.
Learning Objectives In this activity you will:
learn how to handle and roll puff pastry;
demonstrate safe use of small tools and equipment;
produce a puff pastry product (sweet or savoury);
use the cooker safely. Ingredients
Sausage rolls 250g of readymade puff pastry 2 Sausages (skinned) Egg to glaze Method
1. Switch oven on Gas 7 or electric 220°C. 2. Roll out pastry into one long rectangle. 3. Cut pastry in half and place pastry on baking tray. 4. Roll each sausage until as long as pastry. 5. Wet edges of pastry, then roll and seal the edges. 6. Glaze the top and cut into smaller sausage rolls. 7. Make 2 holes in each sausage roll and place on
baking tray. Cook for 20-25 minutes.
Cheese Pasty 250g of readymade puff pastry 50g Cheese Small piece of onion (optional) Egg to glaze Method
1. Switch oven on Gas 6 or electric 200°C. 2. Roll out pastry into one a square. Wet edges. 3. Place pastry on baking tray. 4. Grate cheese and peel and chop onion. 5. Sprinkle on top of pastry. 6. Fold over pastry and seal edges well together. 7. Glaze the top and make 2 slits in the pastry. 8. Cook for 15-20 minutes until golden brown.
Equipment Flour Dredger, Rolling Pin, Chopping Boards, Knives, Grater, Wooden Spoon, Measuring Spoon, Weighing Scales. Top tips
You cannot re-roll puff pastry, so if you don’t roll it straight, or it’s not quite right do not squash it back together!
Use flour sparingly, try to avoid using too much
Use egg glaze to stick the pastry down
Make sure your oven is pre-heated to 220º/Gas 7, a really hot oven is what puff pastry needs to rise, try to avoid opening during cooking
11 Year 9 Food Technology – Ecclesfield School (I. Morecroft)
Carrot Cake
Carrot cake is a cake which contains carrots. It is mixed with batter. The carrot softens in the cooking process, and the cake usually has a soft, dense texture. The carrots themselves enhance the flavor, texture, and appearance of the cake.
Learning Objectives In this activity you will:
learn how to incorporate vegetables into sweet products;
demonstrate safe use of small tools and equipment;
prepare a cake batter using a creaming method
use the cooker safely Ingredients 100g soft brown sugar 75g margarine 2 eggs 2 tinned pineapple rings chopped 100g carrot grated 2 tablespoons sultanas 50g wholemeal flour 50g self-raising flour 1 teaspoon baking powder 1 teaspoon mixed spice Icing topping ½ packet icing sugar 25g butter 1 lemon Equipment Large Mixing Bowl, Measuring Jug, Teaspoon, Grater, Knives, Wooden Spoon, Measuring Spoon, Weighing Scales, Sieve, Palette Knife, Cake Tin Method
1. Cream together the sugar and margarine 2. Add the eggs, carrot, pineapple and sultanas 3. Sieve together the flour, spices and baking powder and mix in quickly 4. Pour mixture into a lined tin
5. Cook 180C / Gas 4 for 25 mins 6. Zest the lemon save half for later 7. Cream together the butter, juice from half a lemon and add enough icing sugar to create a butter cream
consistency 8. Spread cream on top of the cooled cake and decorate with the remaining lemon zest
Skills
Creaming Vegetable preparation Grating Zesting
Sieving Lining/Greasing Baking Juicing
Top tips
Ensure your margarine and sugar are thoroughly creamed until pale and with no lumps of sugar
Try other citrus fruits such as lime or orange to give this a different flavour
Avoid getting any mixture around the edge of your tins, if you do make sure you wipe it before you but your cake in the oven
To test if your cake is ready use a skewer, insert into the centre, the skewer should come out clean
Year 9 Food Technology – Ecclesfield School (I. Morecroft) 12
Bakewell Tart
Bakewell tart originated as a variation of the ―Bakewell pudding‖. According to local history, the famous Bakewell pudding was first made accidentally in the 1860's at the White Horse Inn in Bakewell, Derbyshire. The story goes that Mrs. Greaves, the landlady, asked an inexperienced kitchen assistant to make a strawberry tart. The assistant, however, made a non
sweet pastry, leaving out the eggs and sugar by mistake. Instead the eggs and sugar were used to make a filling for the plain pastry case, with the strawberry jam spread on the bottom.
Learning Objectives In this activity you will:
Develop your understanding of pastry products
Design a bakewell with flavours and ingredients of your choice Ingredients Pastry 100g (4oz) plain flour 50g (2oz) margarine 1 tablespoon water 1 ½ tablespoons raspberry or strawberry jam 1 egg 50g (2oz) self-raising flour 50g (2oz) margarine 50g (2oz) caster sugar a few drops of almond essence (optional) Icing sugar and glacé cherries (optional) Equipment Method
1. Light oven gas 6 / 200°C 2. Grease baking tray 3. Rub the fat into the flour to fine breadcrumbs 4. Add the liquid, mix to a dough. If a little dry add more, a teaspoon at a time 5. Roll out pastry and shape into baking tray 6. Add spoonful of jam/chocolate spread to each pastry tart 7. Add all of the sponge ingredients into a bowl and beat with a wooden spoon until the mixture is fluffy 8. Cover jam/ chocolate spread with the cake mix 9. Place in oven and bake until golden brown (about 20 minutes)
Top tips
Make sure you use your fingertips when rubbing into breadcrumbs
Make your pastry up at home to save you time
If you are making one large bakewell, blind bake the case with baking beans for ten minutes before spreading the jam and adding the filling