Www.bsc.es BSC tools hands-on session. 2 Objectives Copy ~nct00001/tools-material into your ${HOME}...
12
www.bsc.es BSC tools hands-on session
-
Upload
jonathan-harmon -
Category
Documents
-
view
214 -
download
0
Transcript of Www.bsc.es BSC tools hands-on session. 2 Objectives Copy ~nct00001/tools-material into your ${HOME}...

www.bsc.es
BSC tools hands-on session
2
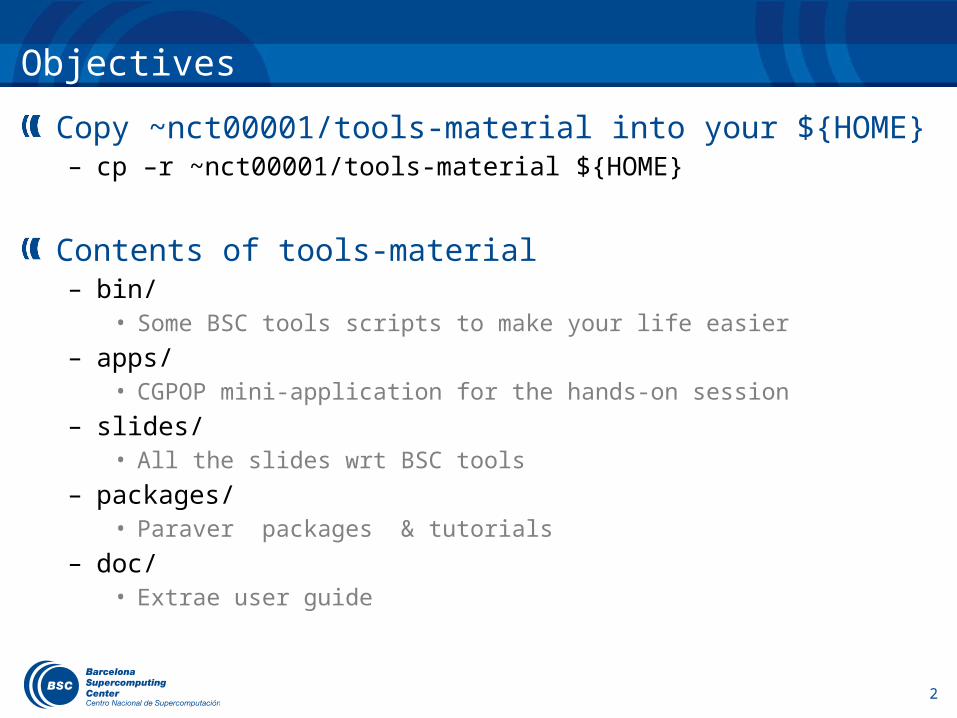
Objectives
Copy ~nct00001/tools-material into your ${HOME}– cp –r ~nct00001/tools-material ${HOME}
Contents of tools-material– bin/
• Some BSC tools scripts to make your life easier
– apps/• CGPOP mini-application for the hands-on session
– slides/• All the slides wrt BSC tools
– packages/• Paraver packages & tutorials
– doc/• Extrae user guide
3
Paraver
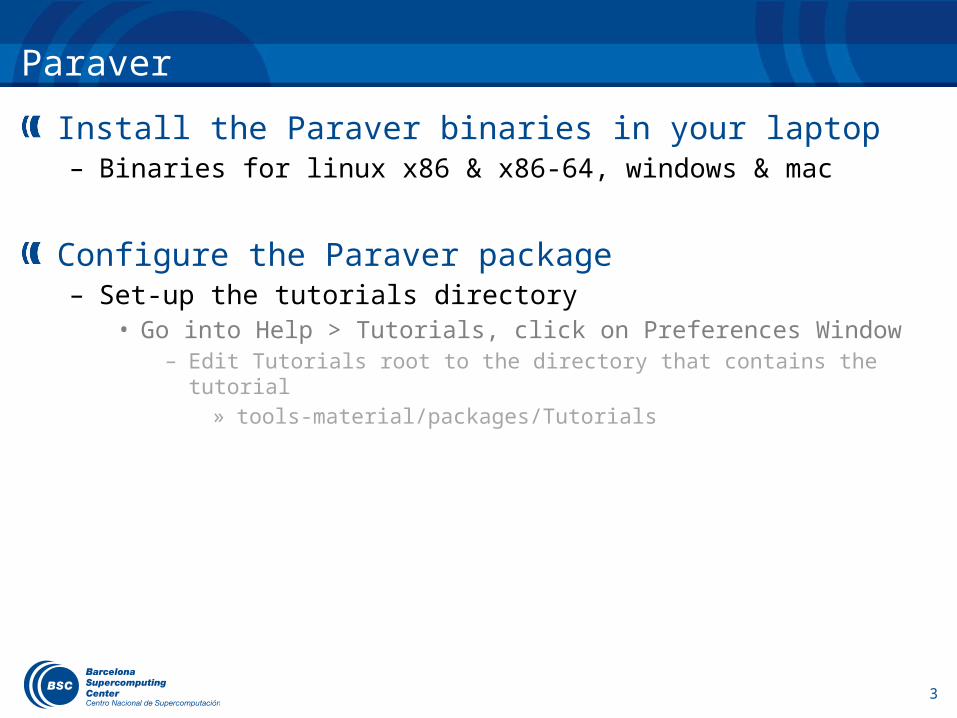
Install the Paraver binaries in your laptop– Binaries for linux x86 & x86-64, windows & mac
Configure the Paraver package– Set-up the tutorials directory
• Go into Help > Tutorials, click on Preferences Window– Edit Tutorials root to the directory that contains the tutorial
» tools-material/packages/Tutorials

4
Trace generation workflow
Instrumentation
MPIT
ApplicationProcess
Extrae
ApplicationProcess
Extrae
ApplicationProcess
Extrae libMPIT
MPIT
ParaverDimemasClustering
Folding…
Analysis
.prv
.pcf
.row
5
Obtaining traces (CGPOP)
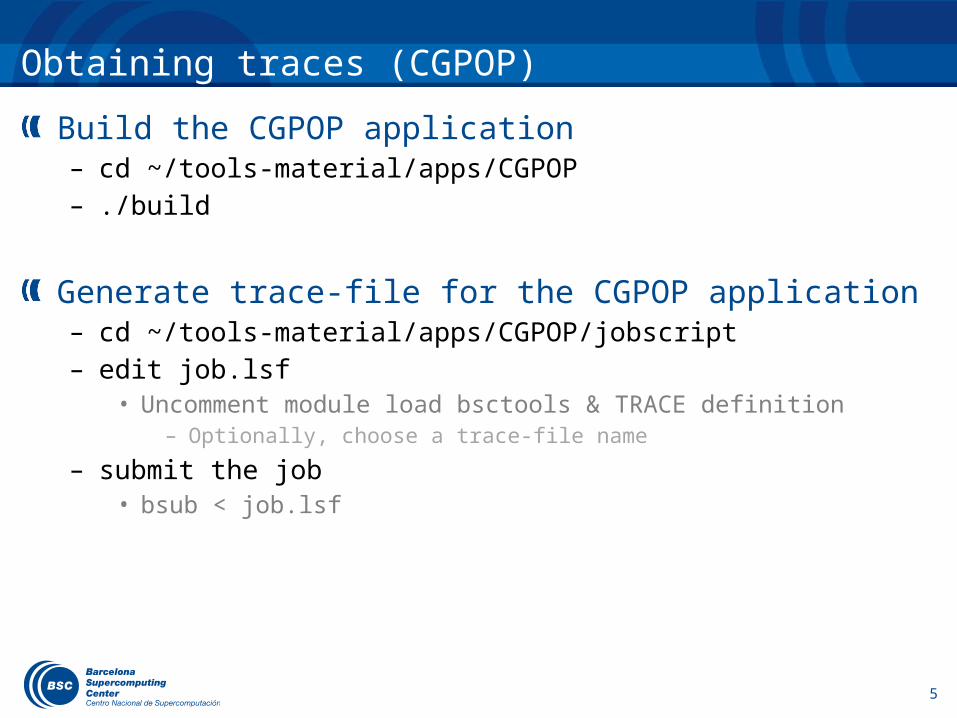
Build the CGPOP application– cd ~/tools-material/apps/CGPOP– ./build
Generate trace-file for the CGPOP application– cd ~/tools-material/apps/CGPOP/jobscript– edit job.lsf
• Uncomment module load bsctools & TRACE definition– Optionally, choose a trace-file name
– submit the job• bsub < job.lsf
6
Inside job.lsf
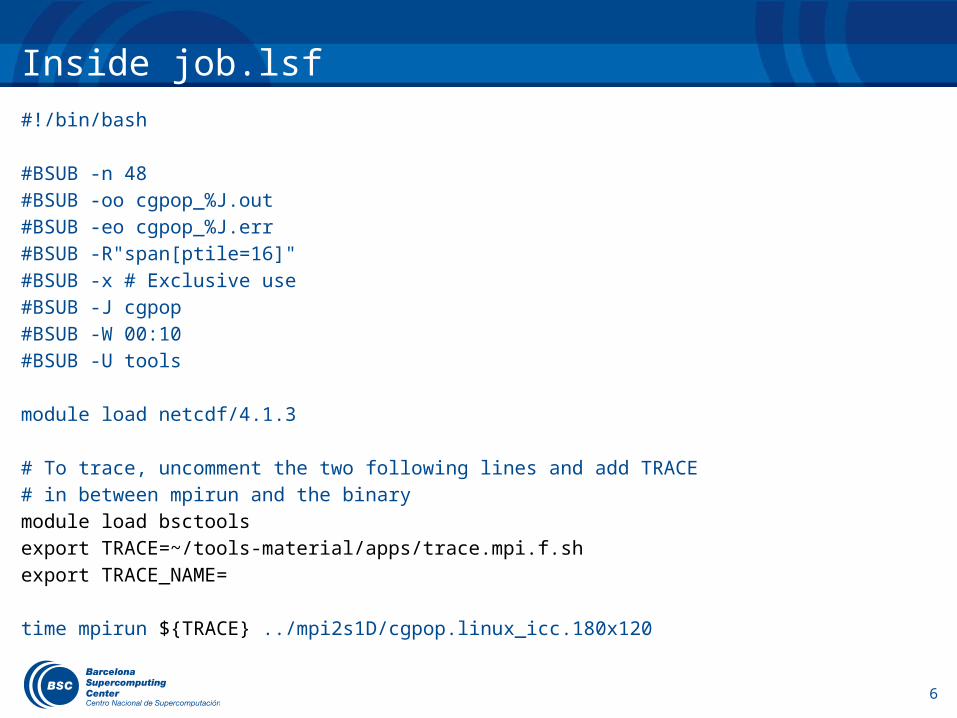
#!/bin/bash
#BSUB -n 48#BSUB -oo cgpop_%J.out#BSUB -eo cgpop_%J.err#BSUB -R"span[ptile=16]"#BSUB -x # Exclusive use#BSUB -J cgpop#BSUB -W 00:10#BSUB -U tools
module load netcdf/4.1.3
# To trace, uncomment the two following lines and add TRACE# in between mpirun and the binarymodule load bsctoolsexport TRACE=~/tools-material/apps/trace.mpi.f.shexport TRACE_NAME=
time mpirun ${TRACE} ../mpi2s1D/cgpop.linux_icc.180x120
7
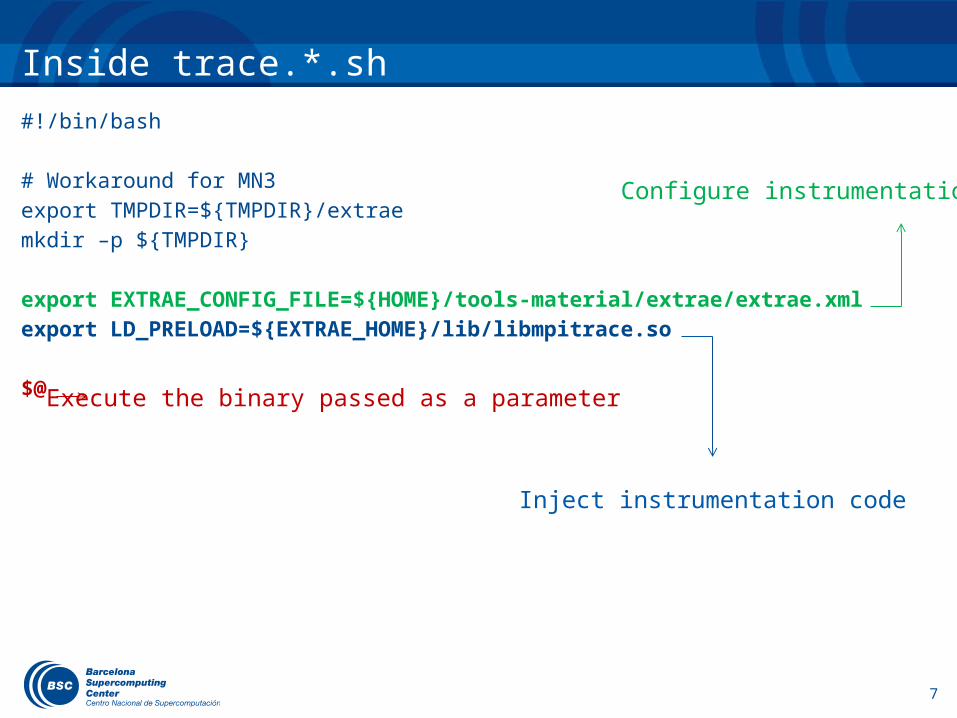
Inside trace.*.sh
#!/bin/bash
# Workaround for MN3export TMPDIR=${TMPDIR}/extraemkdir –p ${TMPDIR}
export EXTRAE_CONFIG_FILE=${HOME}/tools-material/extrae/extrae.xmlexport LD_PRELOAD=${EXTRAE_HOME}/lib/libmpitrace.so
$@ Execute the binary passed as a parameter
Inject instrumentation code
Configure instrumentation
8
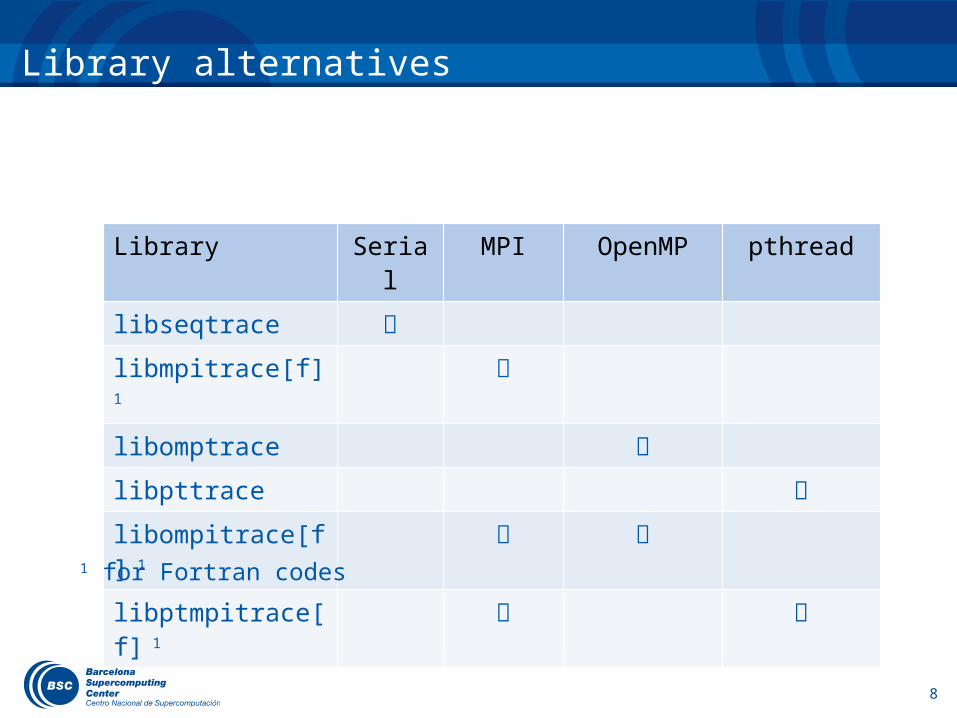
Library alternatives
Library Serial MPI OpenMP pthread
libseqtrace
libmpitrace[f]1
libomptrace
libpttrace
libompitrace[f] 1
libptmpitrace[f] 1
1 for Fortran codes

Extrae XML configuration
<counters enabled="yes">
<cpu enabled="yes" starting-set-distribution="1">
<set enabled="yes" domain="all" changeat-time="100000us“>
PAPI_TOT_INS,PAPI_TOT_CYC,PAPI_L1_DCM,PAPI_L2_DCM,PAPI_L3_TCM,PAPI_FP_INS,PAPI_BR_MSP
</set>
<set enabled="yes" domain="all" changeat-time="100000us"> PAPI_TOT_INS,PAPI_TOT_CYC,PAPI_LD_INS,PAPI_SR_INS,RESOURCE_STALLS,PAPI_BR_UCN,PAPI_BR_CN,PAPI_VEC_SP
</set>
<set enabled="yes" domain="all" changeat-time="100000us"> PAPI_TOT_INS,PAPI_TOT_CYC,RESOURCE_STALLS:LB,RESOURCE_STALLS:RS,RESOURCE_STALLS:SB,RESOURCE_STALLS:ROB,PAPI_VEC_DP
</set>
</cpu>
<network enabled="no" />
<resource-usage enabled="no" />
<memory-usage enabled="no" />
</counters>
GUIA DE USUARIO
explained.xml

Extrae XML configuration
<buffer enabled="yes">
<size enabled="yes">500000</size>
<circular enabled="no" />
</buffer>
<sampling enabled="no" type="default" period="50m" variability="10m" />
<merge enabled="yes"
synchronization="default"
tree-fan-out="16"
max-memory="512"
joint-states="yes"
keep-mpits="yes"
sort-addresses="yes"
overwrite="yes"
>
$TRACE_NAME$
</merge>

Extrae XML configuration
<mpi enabled="yes">
<counters enabled="yes" />
</mpi>
<openmp enabled="yes">
<locks enabled="no" />
<counters enabled="yes" />
</openmp>
<pthread enabled="no">
<locks enabled="no" />
<counters enabled="yes" />
</pthread>
<callers enabled="yes">
<mpi enabled="yes">1-3</mpi>
<sampling enabled="no">1-5</sampling>
</callers>
Using Paraver
Analyse the results with Paraver
Tutorials available– Tutorial 1: Introductory tutorial on the usage of the Paraver GUI– Tutorial 2: Analysis of HydroC application– Tutorial 3: Introductory tutorial on the usage of Dimemas– Tutorial 4: General Paraver & Dimemas analysis applied to WRF– Tutorial 5: General Paraver & Dimemas analysis methodology
REMEMBER! Configuration files (*.cfg) can be applied to any trace-file.