Workshop Introduction powerpoint
28
Level 1 Diploma in Carpentry and Joinery 1 of 28 © 2013 City and Guilds of London Institute. All rights reserved. Unit 115: Produce woodworking joints Workshop introduction
-
Upload
charlie-robinson -
Category
Education
-
view
171 -
download
1
Transcript of Workshop Introduction powerpoint
Level 1 Diploma in Carpentry and Joinery
1 of 28© 2013 City and Guilds of London Institute. All rights reserved.
Unit 115: Produce woodworking joints
Workshop introduction
Level 1 Diploma in Carpentry and Joinery
2 of 28© 2013 City and Guilds of London Institute. All rights reserved.
Aims and objectives
Aim:
Introduce learners to the workshop.
Objectives:• Identify at least one type of chisel.• List at least one type of handsaw.• List at least one marking out tool.• Identify at least two health and safety notices.
Level 1 Diploma in Carpentry and Joinery
3 of 28© 2013 City and Guilds of London Institute. All rights reserved.
Types of chiselThere are many types of chisels available, each one designed to be used for a specific purpose.
The five most popular are:• Bevelled edge• Firmer• Mortice• Paring• Gouge
Level 1 Diploma in Carpentry and Joinery
4 of 28© 2013 City and Guilds of London Institute. All rights reserved.
SizesWhat do you think determines the size of a chisel?
The size of a chisel is determined by the width of the chisel blade. The sizes range from 3mm to 50mm, but the most common are between 6mm and 25mm.
Level 1 Diploma in Carpentry and Joinery
5 of 28© 2013 City and Guilds of London Institute. All rights reserved.
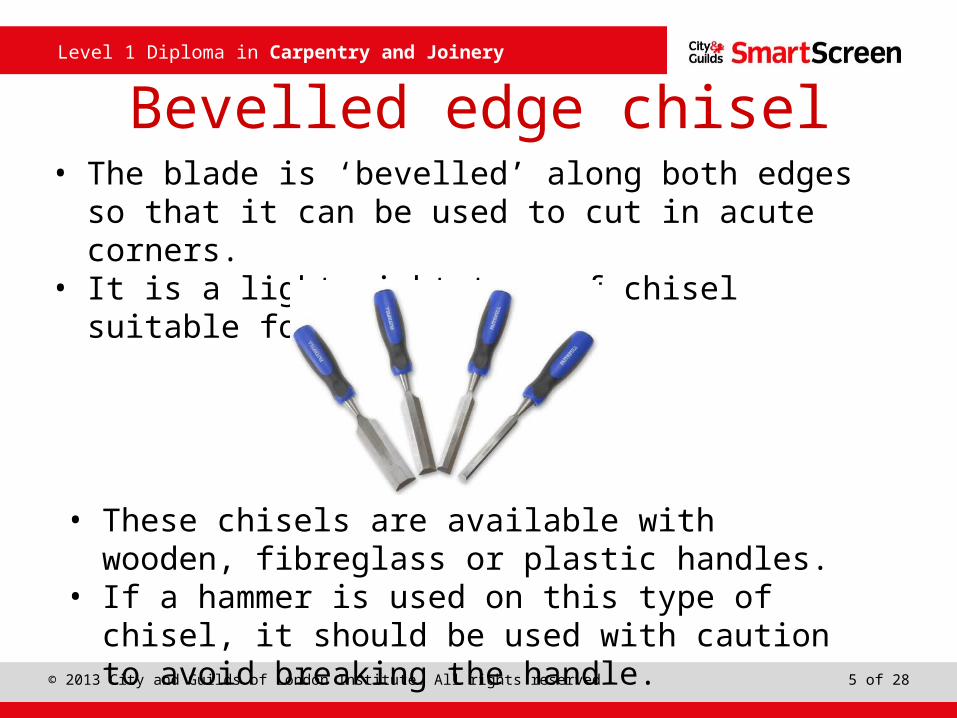
Bevelled edge chisel• The blade is ‘bevelled’ along both edges so that it can be
used to cut in acute corners. • It is a lightweight type of chisel suitable for paring.
• These chisels are available with wooden, fibreglass or plastic handles.
• If a hammer is used on this type of chisel, it should be used with caution to avoid breaking the handle.
Level 1 Diploma in Carpentry and Joinery
6 of 28© 2013 City and Guilds of London Institute. All rights reserved.
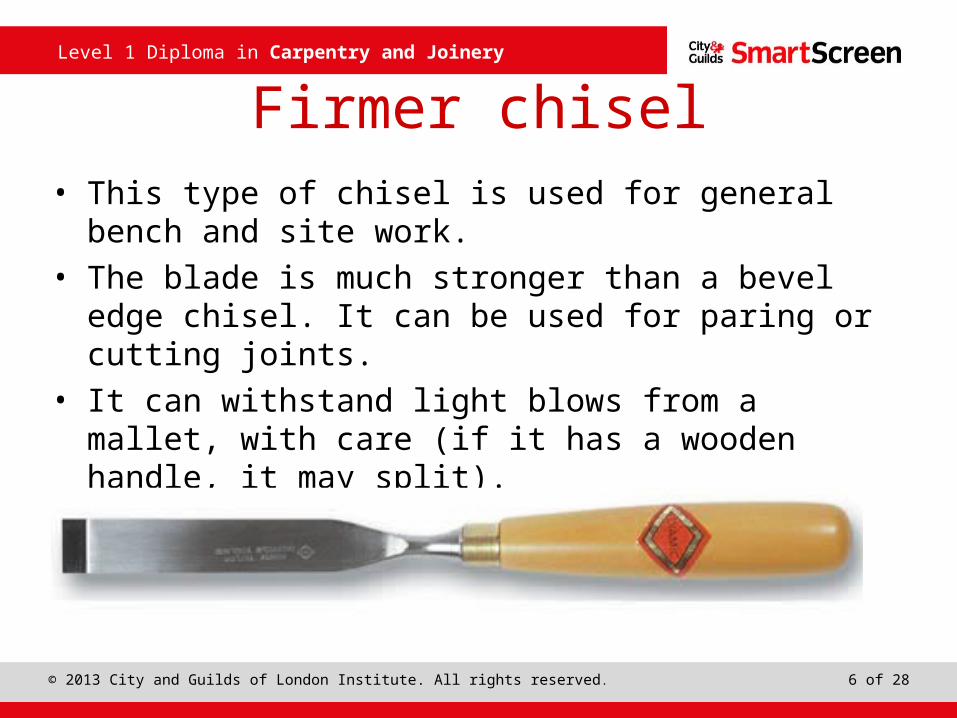
Firmer chisel• This type of chisel is used for general bench and site
work.• The blade is much stronger than a bevel edge chisel. It
can be used for paring or cutting joints.• It can withstand light blows from a mallet, with care (if it
has a wooden handle, it may split).
Level 1 Diploma in Carpentry and Joinery
7 of 28© 2013 City and Guilds of London Institute. All rights reserved.
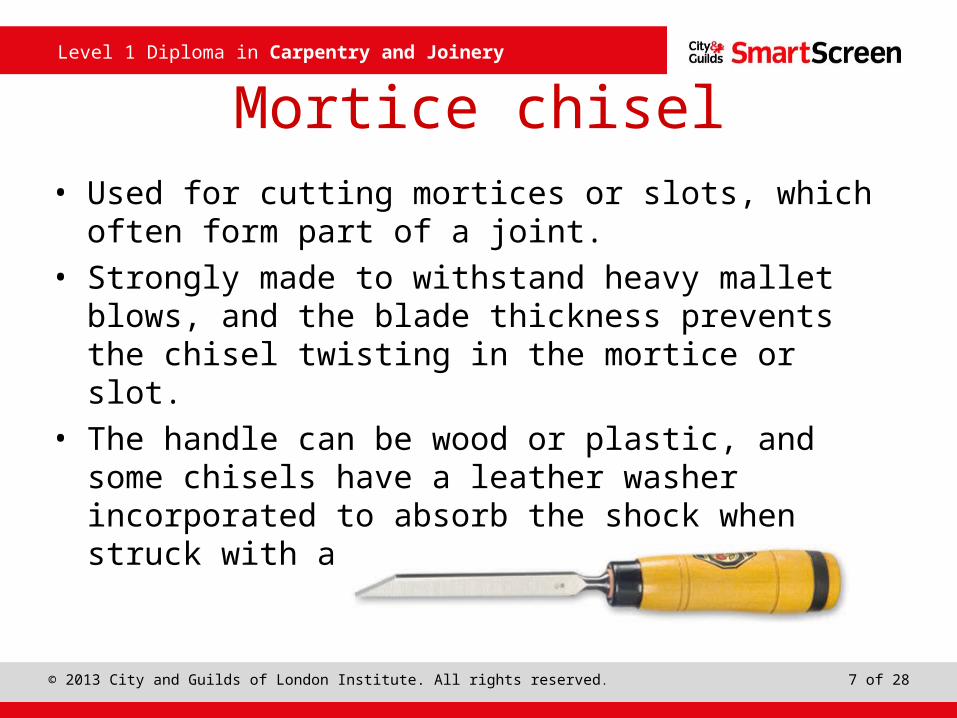
Mortice chisel• Used for cutting mortices or slots, which often form part
of a joint.• Strongly made to withstand heavy mallet blows, and the
blade thickness prevents the chisel twisting in the mortice or slot.
• The handle can be wood or plastic, and some chisels have a leather washer incorporated to absorb the shock when struck with a mallet or hammer.
Level 1 Diploma in Carpentry and Joinery
8 of 28© 2013 City and Guilds of London Institute. All rights reserved.
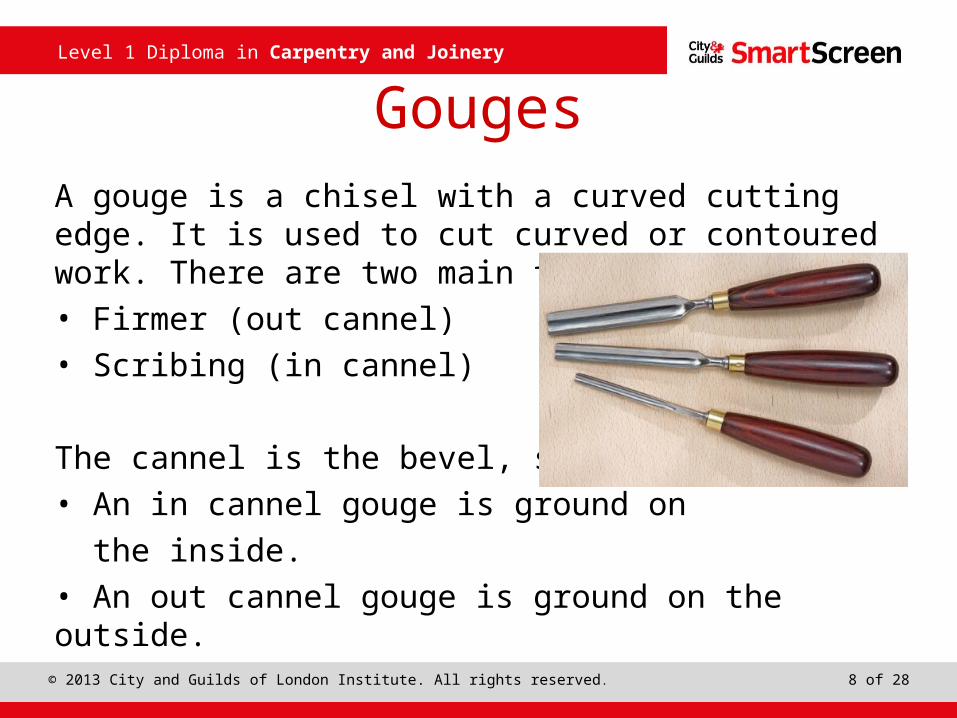
GougesA gouge is a chisel with a curved cutting edge. It is used to cut curved or contoured work. There are two main types of gouge:• Firmer (out cannel)• Scribing (in cannel)
The cannel is the bevel, so:
• An in cannel gouge is ground on
the inside.
• An out cannel gouge is ground on the outside.
Level 1 Diploma in Carpentry and Joinery
9 of 28© 2013 City and Guilds of London Institute. All rights reserved.
Hand sawsThere are four basic types of saws that the carpenter and joiner will use on a day-to-day basis.
These are:
1. Rip saws
2. Crosscut saws
3. Tenon saws
4. Dovetail saws
Other saws include: pad, fret and coping saws.
Level 1 Diploma in Carpentry and Joinery
10 of 28© 2013 City and Guilds of London Institute. All rights reserved.
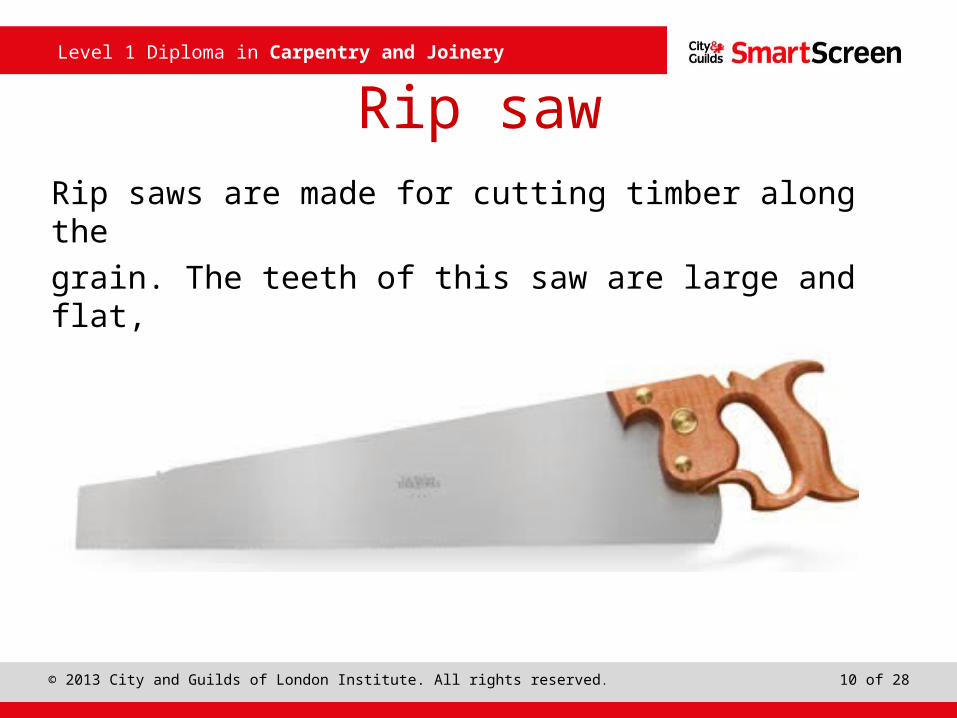
Rip sawRip saws are made for cutting timber along the
grain. The teeth of this saw are large and flat,
shaped to cut like chisels.
Level 1 Diploma in Carpentry and Joinery
11 of 28© 2013 City and Guilds of London Institute. All rights reserved.
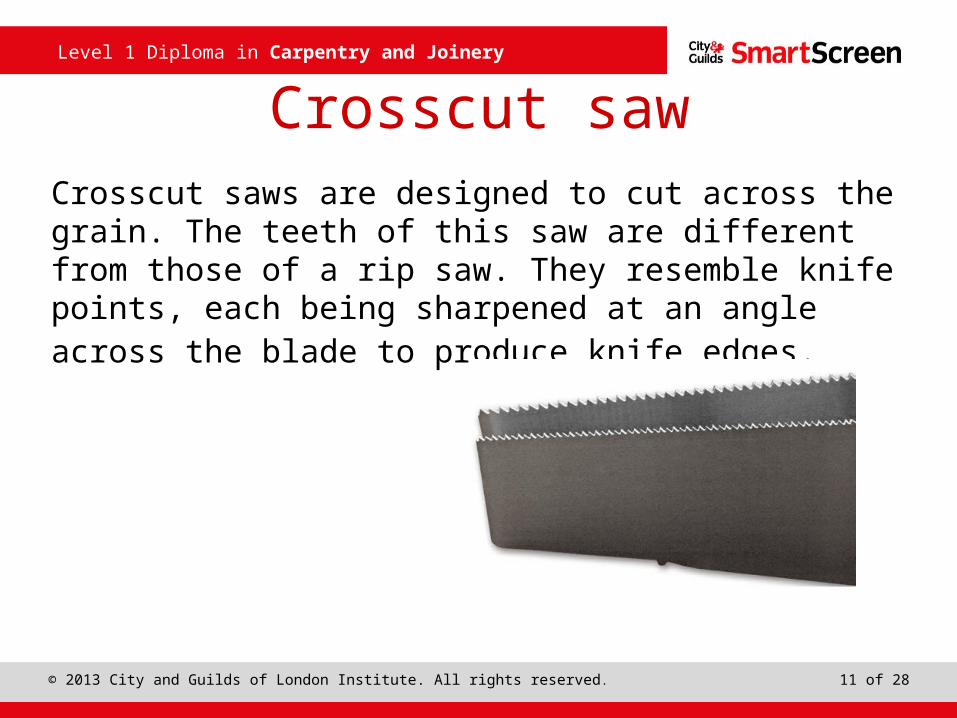
Crosscut sawCrosscut saws are designed to cut across the grain. The teeth of this saw are different from those of a rip saw. They resemble knife points, each being sharpened at an angle across the blade to produce knife edges.
Level 1 Diploma in Carpentry and Joinery
12 of 28© 2013 City and Guilds of London Institute. All rights reserved.
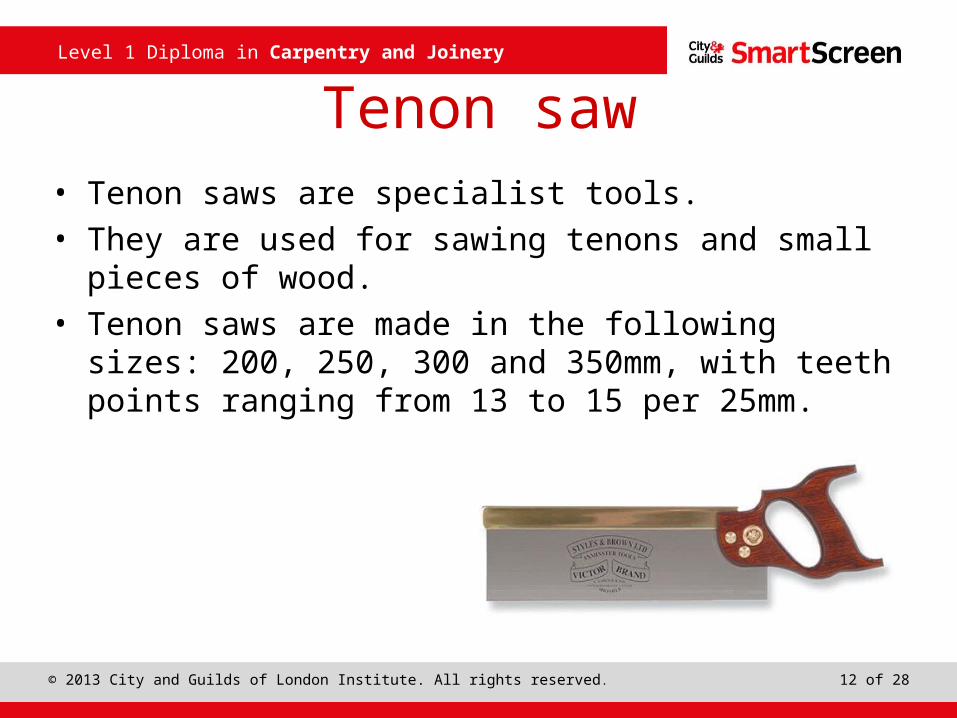
Tenon saw• Tenon saws are specialist tools. • They are used for sawing tenons and small pieces of
wood.• Tenon saws are made in the following sizes: 200, 250,
300 and 350mm, with teeth points ranging from 13 to 15 per 25mm.
Level 1 Diploma in Carpentry and Joinery
13 of 28© 2013 City and Guilds of London Institute. All rights reserved.
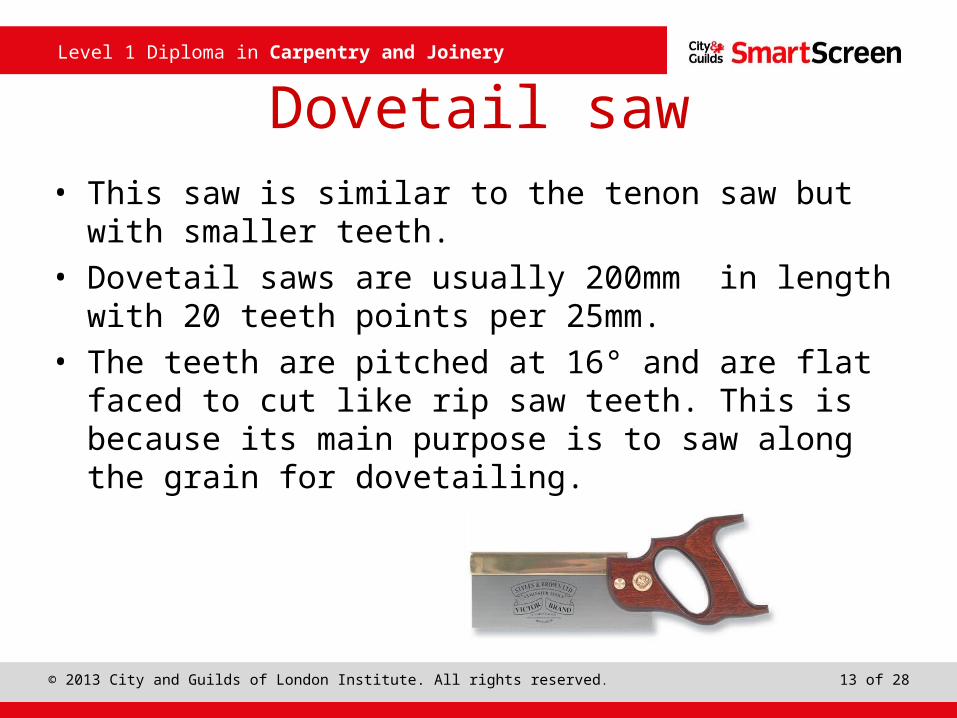
Dovetail saw• This saw is similar to the tenon saw but with smaller
teeth. • Dovetail saws are usually 200mm in length with 20 teeth
points per 25mm. • The teeth are pitched at 16° and are flat faced to cut like
rip saw teeth. This is because its main purpose is to saw along the grain for dovetailing.
Level 1 Diploma in Carpentry and Joinery
14 of 28© 2013 City and Guilds of London Institute. All rights reserved.
Marking out tools
The term marking tools refers to the tools that mark the timber and the tools that are used to assist with the marking of timber.
What marking tools do you use in the workshop?
Level 1 Diploma in Carpentry and Joinery
15 of 28© 2013 City and Guilds of London Institute. All rights reserved.
Marking out tools
Marking tools include:• 600 and 1000mm rules• Marking/mortice gauge• Try/set square • Combination square• Sliding bevel
Level 1 Diploma in Carpentry and Joinery
16 of 28© 2013 City and Guilds of London Institute. All rights reserved.
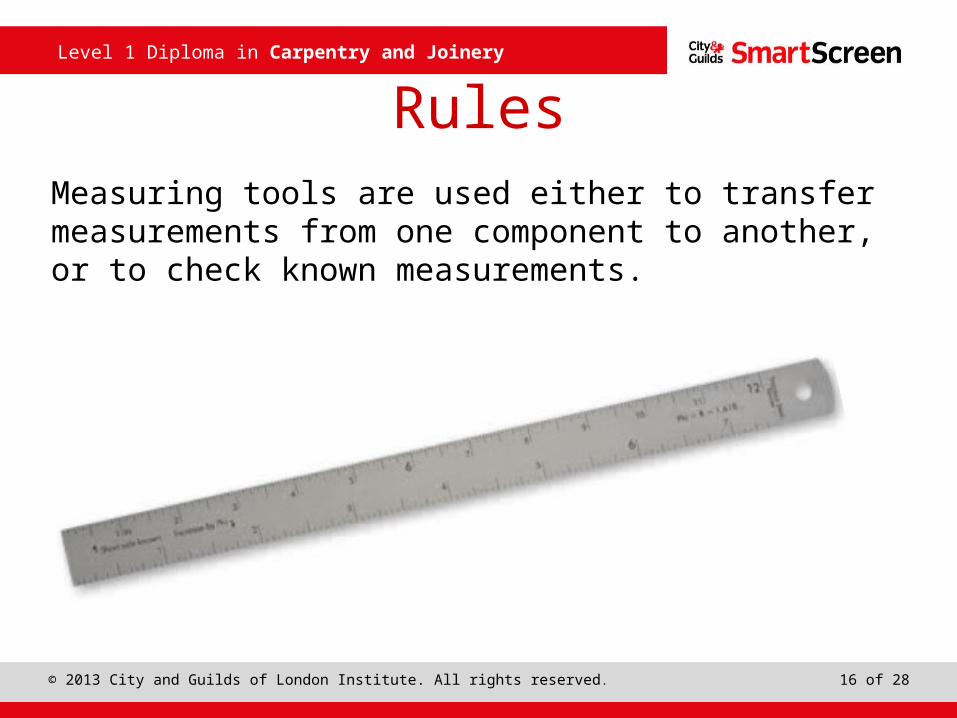
RulesMeasuring tools are used either to transfer measurements from one component to another, or to check known measurements.
Level 1 Diploma in Carpentry and Joinery
17 of 28© 2013 City and Guilds of London Institute. All rights reserved.
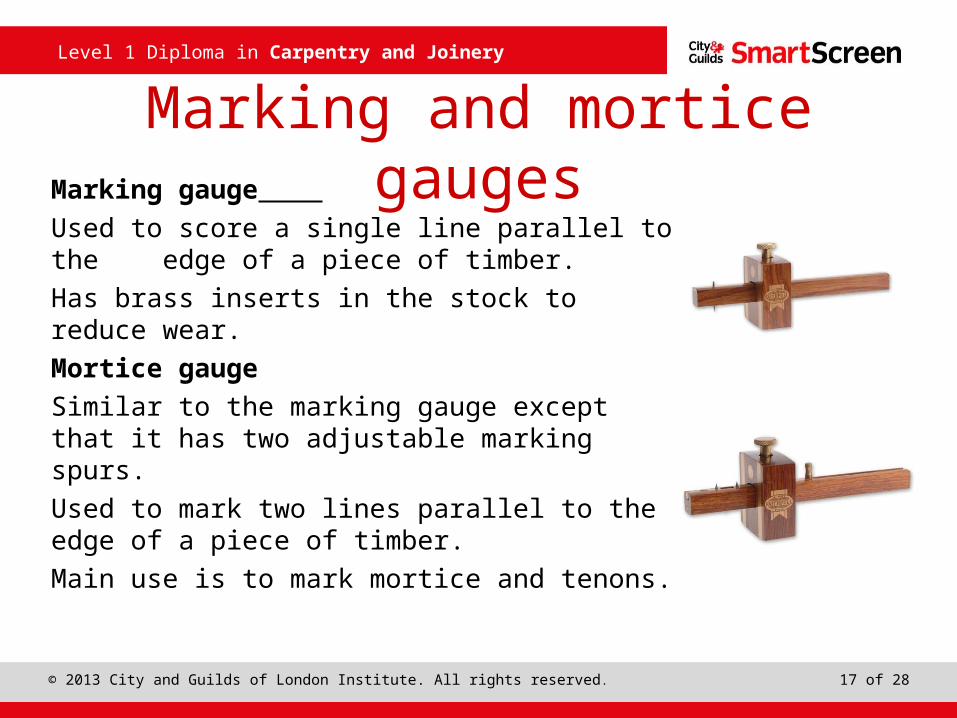
Marking and mortice gaugesMarking gauge
Used to score a single line parallel to the edge of a piece of timber.
Has brass inserts in the stock to reduce wear.
Mortice gauge
Similar to the marking gauge except that it has two adjustable marking spurs.
Used to mark two lines parallel to the edge of a piece of timber.
Main use is to mark mortice and tenons.
Level 1 Diploma in Carpentry and Joinery
18 of 28© 2013 City and Guilds of London Institute. All rights reserved.
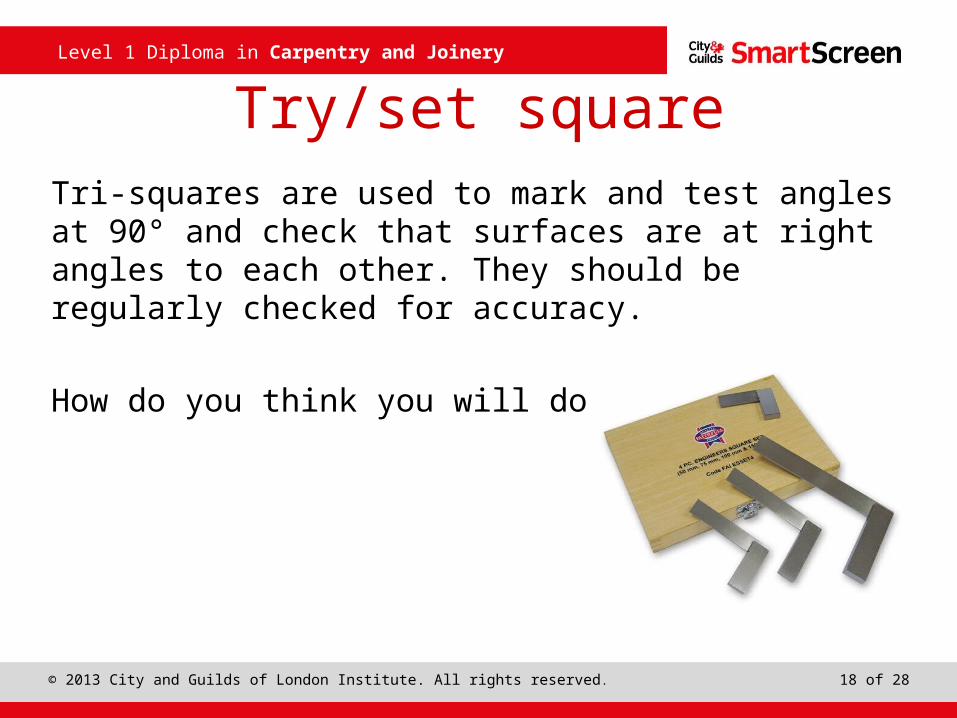
Try/set squareTri-squares are used to mark and test angles at 90° and check that surfaces are at right angles to each other. They should be regularly checked for accuracy.
How do you think you will do this?
Level 1 Diploma in Carpentry and Joinery
19 of 28© 2013 City and Guilds of London Institute. All rights reserved.
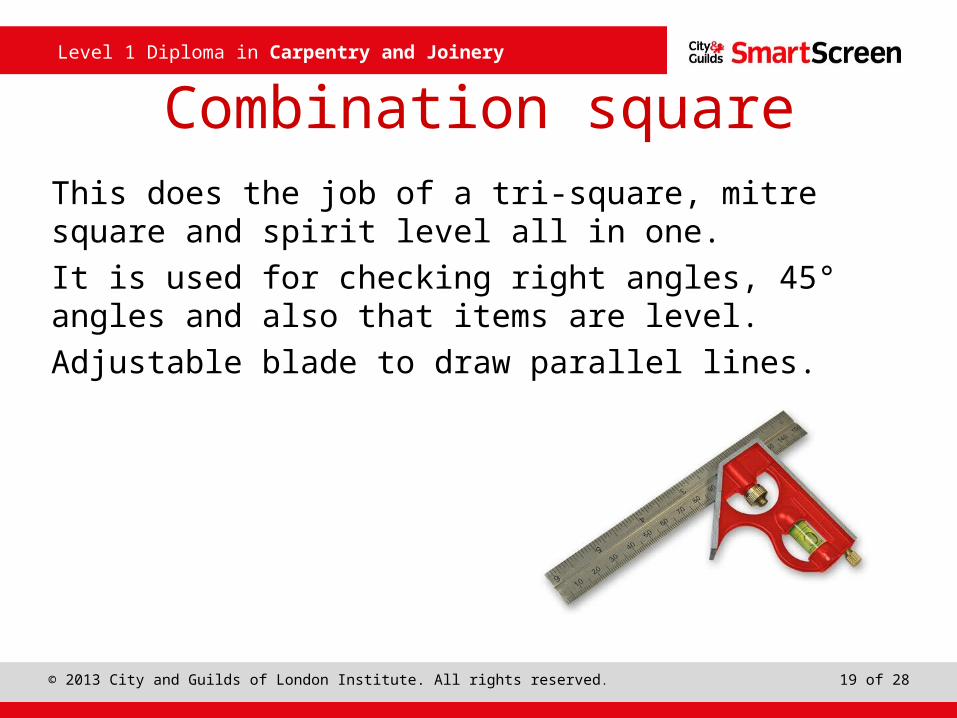
Combination squareThis does the job of a tri-square, mitre square and spirit level all in one.
It is used for checking right angles, 45° angles and also that items are level.
Adjustable blade to draw parallel lines.
Level 1 Diploma in Carpentry and Joinery
20 of 28© 2013 City and Guilds of London Institute. All rights reserved.
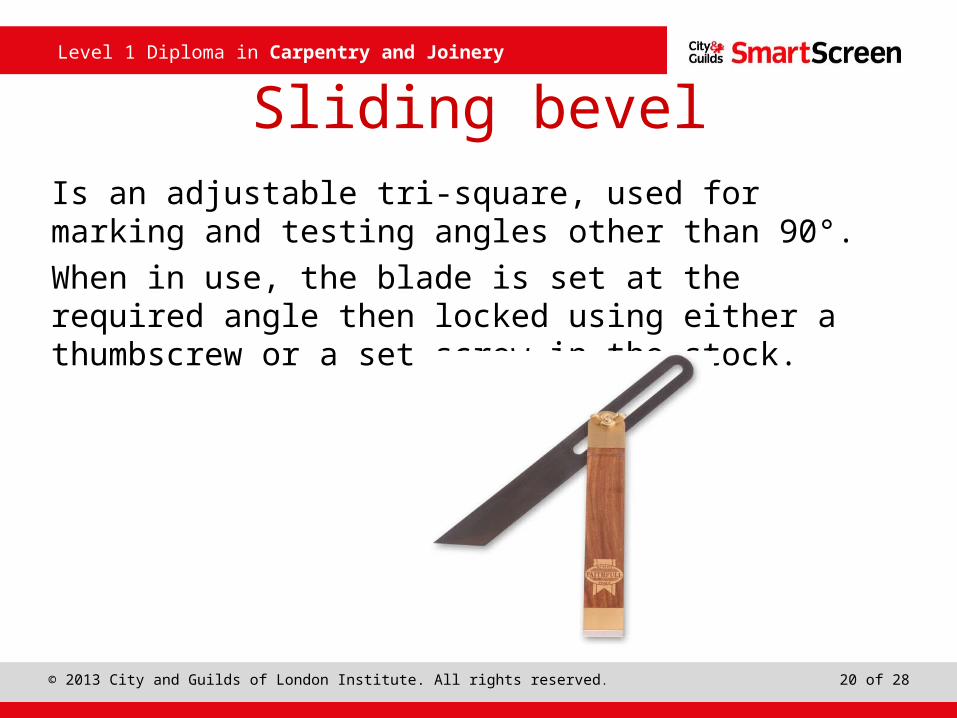
Sliding bevelIs an adjustable tri-square, used for marking and testing angles other than 90°.
When in use, the blade is set at the required angle then locked using either a thumbscrew or a set screw in the stock.
Level 1 Diploma in Carpentry and Joinery
21 of 28© 2013 City and Guilds of London Institute. All rights reserved.
Safety signs
Safety signs can be found in many areas of the workplace and they are put up in order to:• Warn of any hazards• Prevent accidents• Inform where things are• Tell you what to do in certain areas
Level 1 Diploma in Carpentry and Joinery
22 of 28© 2013 City and Guilds of London Institute. All rights reserved.
Safety signsThere are many different safety signs, but each will usually fit into one of four categories:
Prohibition signs – these tell you that something must not be done.
Mandatory signs – these tell you that something must be done.
Warning signs – these signs are there to alert you to a specific hazard.
Information signs – these give you useful information like the location of things
Level 1 Diploma in Carpentry and Joinery
23 of 28© 2013 City and Guilds of London Institute. All rights reserved.
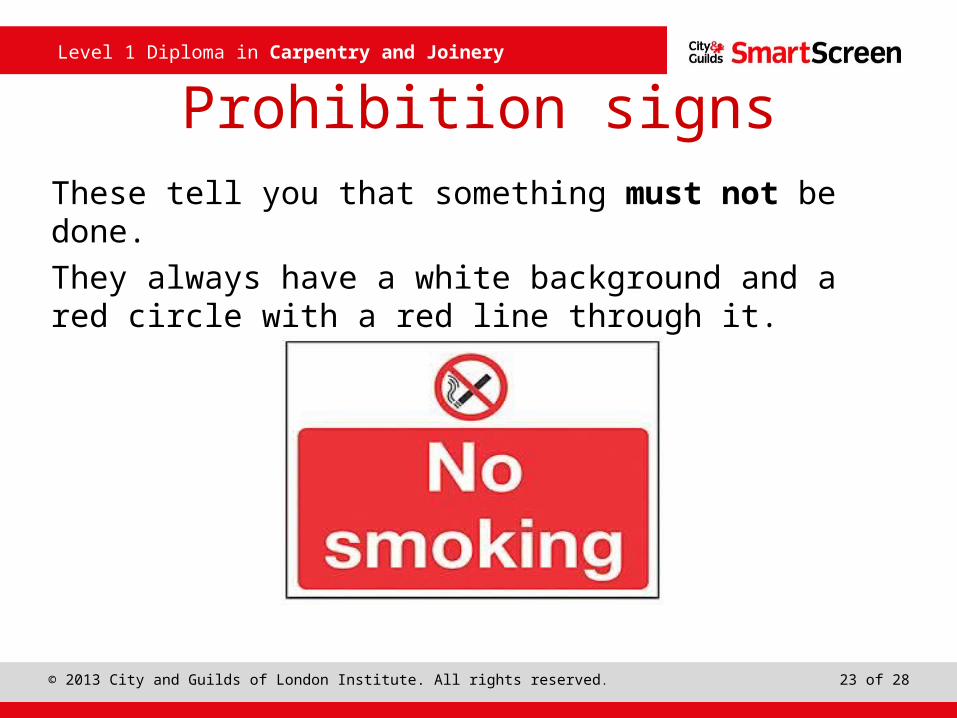
Prohibition signsThese tell you that something must not be done.
They always have a white background and a red circle with a red line through it.
Level 1 Diploma in Carpentry and Joinery
24 of 28© 2013 City and Guilds of London Institute. All rights reserved.
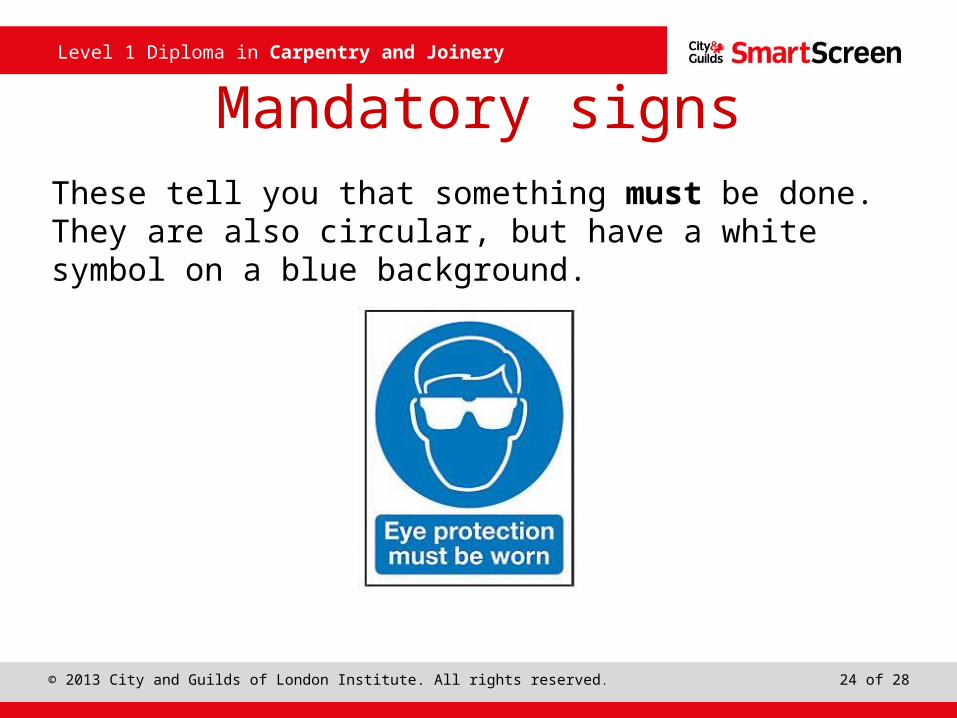
Mandatory signsThese tell you that something must be done. They are also circular, but have a white symbol on a blue background.
Level 1 Diploma in Carpentry and Joinery
25 of 28© 2013 City and Guilds of London Institute. All rights reserved.
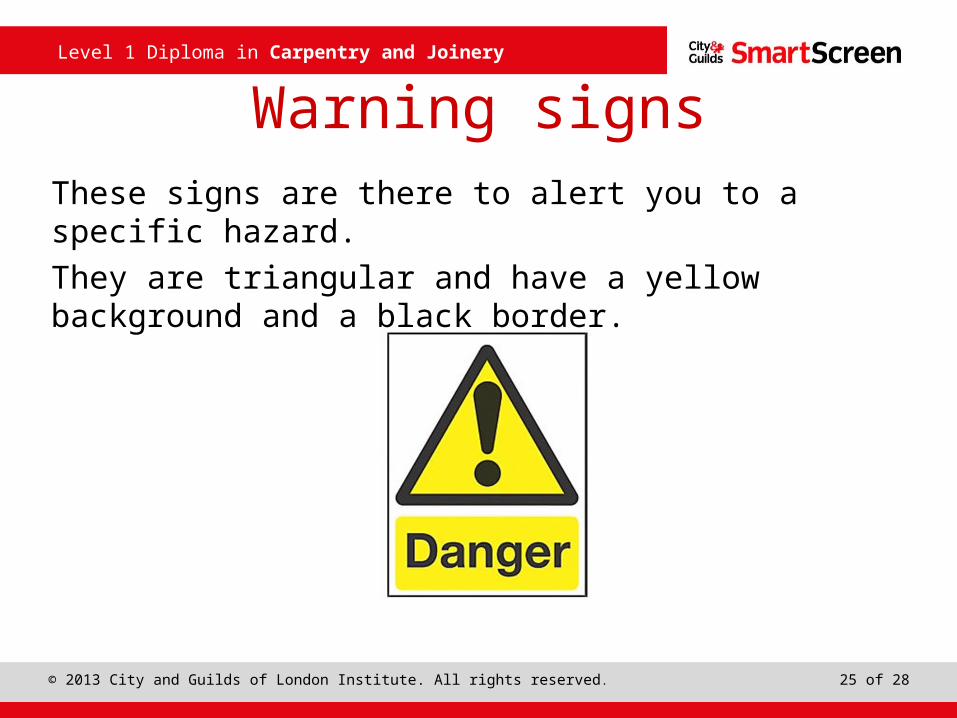
Warning signsThese signs are there to alert you to a specific hazard.
They are triangular and have a yellow background and a black border.
Level 1 Diploma in Carpentry and Joinery
26 of 28© 2013 City and Guilds of London Institute. All rights reserved.
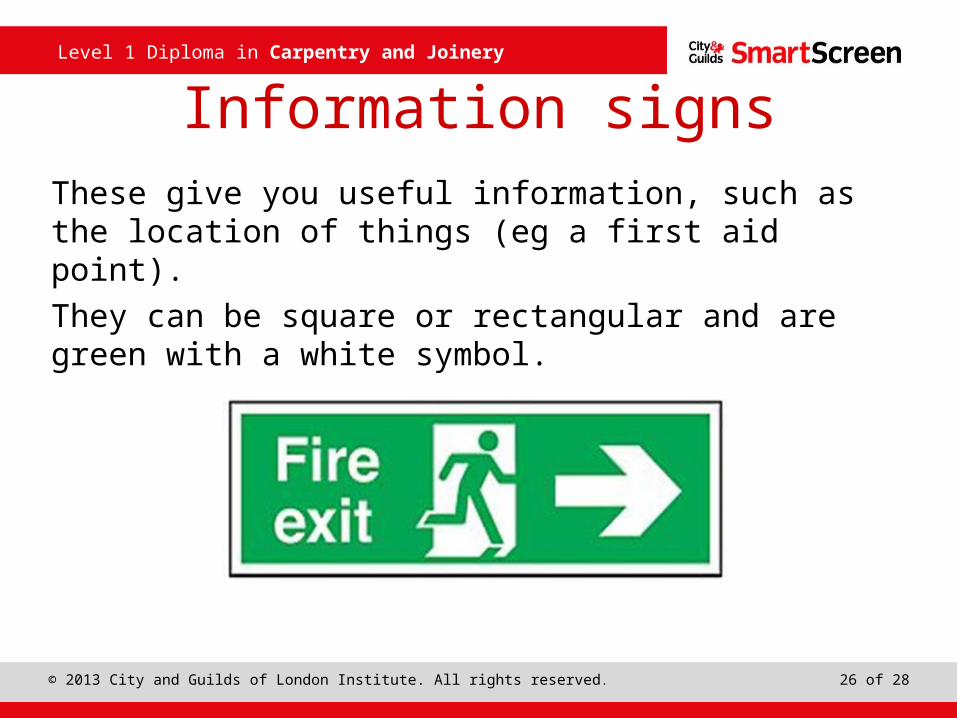
Information signsThese give you useful information, such as the location of things (eg a first aid point).
They can be square or rectangular and are green with a white symbol.

Level 1 Diploma in Carpentry and Joinery
27 of 28© 2013 City and Guilds of London Institute. All rights reserved.
Aims and objectives
Aim:
Introduce learners to the workshop.
Objectives:• Identify at least one type of chisel.• List at least one type of handsaw.• List at least one marking out tool.• Identify at least two health and safety notices.
Level 1 Diploma in Carpentry and Joinery
28 of 28© 2013 City and Guilds of London Institute. All rights reserved.
Any questions?


![Caregiving Workshop PowerPoint Slides [PPT]](https://static.fdocuments.us/doc/165x107/5868c71b1a28abc2638bbc20/caregiving-workshop-powerpoint-slides-ppt.jpg)