winhec Lab3 Append Driver - Sec.ch9.ms · Web viewSimply press F5 (or select Debug | Start...
21
Developing app and driver to access buses resources Abstract: Through this lab, you will learn how to compile and build an UWP app and then deploy it to IoT device directly in Visual Studio 2015. The app can read I2C data directly from I2C controller driver. You don’t need to write additional driver in this case. You will also learn how to compile and build a KMDF driver, configure ACPI table for development use, and deploy the driver into IoT device. Prerequisites: No prior knowledge of Windows 10 IoT Core is required. 1 IoT Development
Transcript of winhec Lab3 Append Driver - Sec.ch9.ms · Web viewSimply press F5 (or select Debug | Start...

Developing app and driver to access buses resources
Abstract: Through this lab, you will learn how to compile and build an UWP app and then deploy it to IoT device directly in Visual Studio 2015. The app can read I2C data directly from I2C controller driver. You don’t need to write additional driver in this case.You will also learn how to compile and build a KMDF driver, configure ACPI table for development use, and deploy the driver into IoT device.Prerequisites: No prior knowledge of Windows 10 IoT Core is required.
1
IoT Development Lab 3
ContentsPart I. I2C Accelerometer Sample.........................................................................................................
Exercise 1: Connect the I2C Accelerometer to your device..................................................3
Exercise 2: Deploying an App with Visual Studio..................................................................4
Part II. Create A Universal Driver (UD) For Your Windows 10 IoT Core Device.......................................
Exercise 1: Source Code And Binaries...................................................................................8
Exercise 2: Installing The Sample Driver.............................................................................10
Appendix A. Using PowerShell to connect and configure a device running Windows 10 IoT
Core...................................................................................................................................................
2
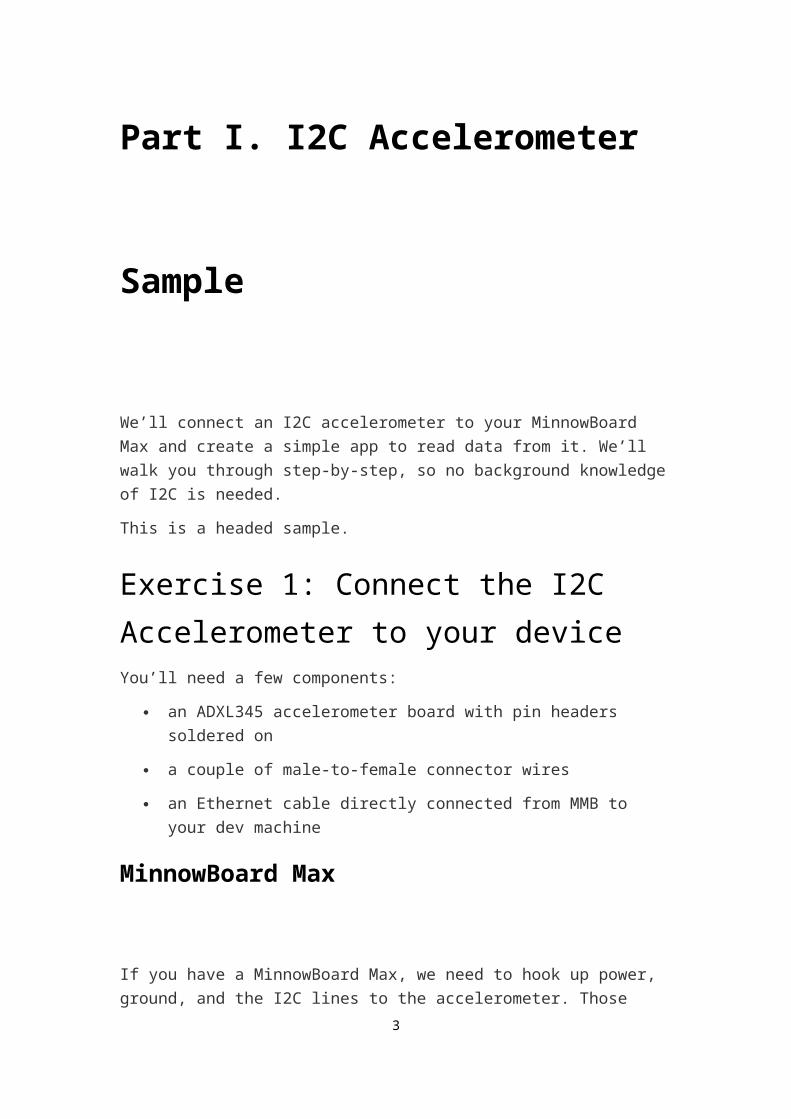
Part I. I2C Accelerometer
Sample
We’ll connect an I2C accelerometer to your MinnowBoard Max and create a simple app to read data from it. We’ll walk you through step-by-step, so no background knowledge of I2C is needed.
This is a headed sample.
Exercise 1: Connect the I2C Accelerometer to
your deviceYou’ll need a few components:
an ADXL345 accelerometer board with pin headers soldered on
a couple of male-to-female connector wires
an Ethernet cable directly connected from MMB to your dev machine
MinnowBoard Max
If you have a MinnowBoard Max, we need to hook up power, ground, and the I2C lines to the accelerometer. Those familiar with I2C know that normally pull-up resistors need to be installed. However, the
3
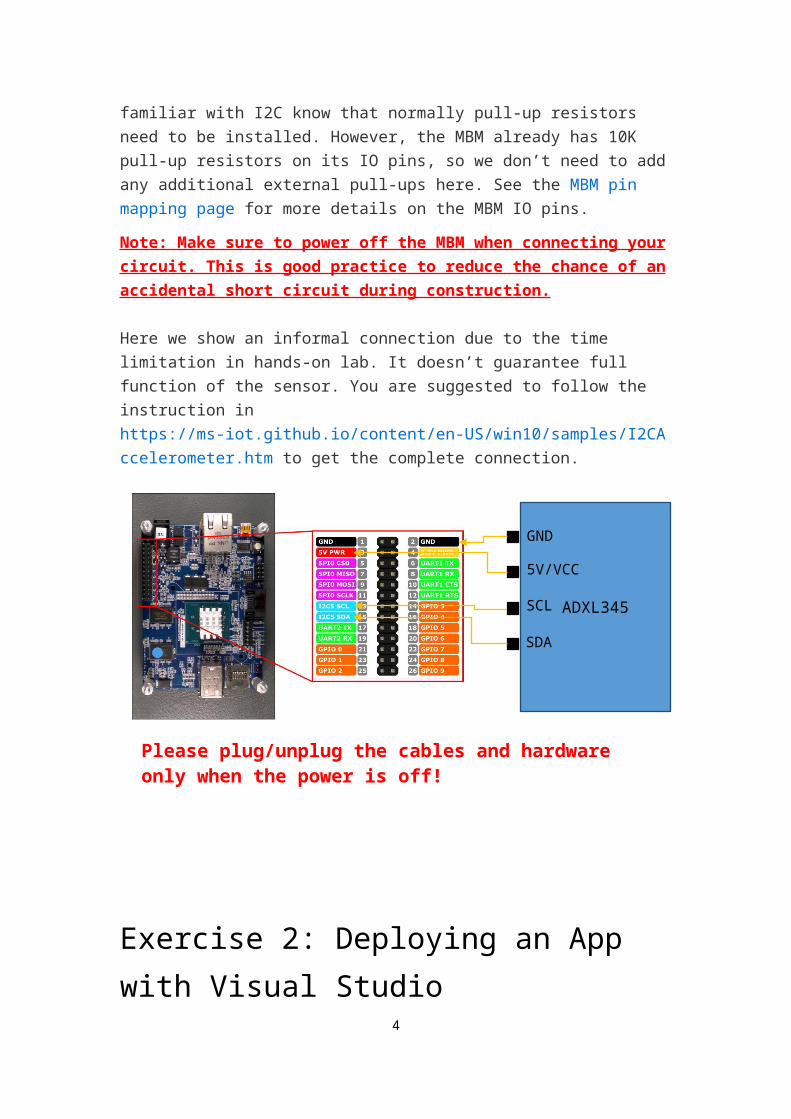
ADXL345
GND
5V/VCC
SCL
SDA
Please plug/unplug the cables and hardware only when the power is off!
MBM already has 10K pull-up resistors on its IO pins, so we don’t need to add any additional external pull-ups here. See the MBM pin mapping page for more details on the MBM IO pins.
Note: Make sure to power off the MBM when connecting your circuit. This is good practice to reduce the chance of an accidental short circuit during construction.
Here we show an informal connection due to the time limitation in hands-on lab. It doesn’t guarantee full function of the sensor. You are suggested to follow the instruction in https://ms-iot.github.io/content/en-US/win10/samples/I2CAccelerometer.htm to get the complete connection.
Exercise 2: Deploying an App with Visual
Studio
4

Load the project in Visual Studio
You can download samples from https://github.com/ms-iot/samples/archive/develop.zip.
You can find the source code for this sample in samples-develop\I2CAccelerometer. Open the project from Visual Studio.
Open the file MainPage.xaml.cs and change the following line from Protocol.NONE to Protocol.I2C:
public sealed partial class MainPage : Page
{
/* Important! Change this to either Protocol.I2C or Protocol.SPI based
on how your accelerometer is wired */
private Protocol HW_PROTOCOL = Protocol.I2C;
// ...
}
Deploying and debugging your application is straightforward with Visual Studio. We’ll use the Remote Debugging feature to deploy the app to your locally connected IoT Core device.
Deploy your app
1. With the application open in Visual Studio, set the architecture in the toolbar dropdown. Since you’re building for MinnowBoard Max, please select x86.
2. Next, in the Visual Studio toolbar, click on the Local Machine dropdown and select Remote Machine
5

3. At this point, Visual Studio will present the Remote Connections dialog. Please use the IP address of your Windows IoT Core device to replace my-device in the following snapshot. After entering the device name/IP select None for Windows Authentication, then click Select.
4. You can verify or modify these values by navigating to the project properties (select Properties in the Solution Explorer) and choosing the Debug tab on the left:
6

5. Now we’re ready to deploy. Simply press F5 (or select Debug | Start Debugging) to start debugging our app. You should see the app come up in Windows IoT Core device screen.
6. If you see an error message that the debugger is too old, please select Properties in the Solution Explorer and choose Build tab on the left. Then unclick Compile with .NET Native tool chain.
7. If you see an error message in Visual Studio when deploying that says Unable to connect to the Microsoft Visual Studio Remote Debugger named ‘XXXX’. The Visual Studio 2015 Remote Debugger (MSVSMON.EXE) does not appear to be running on the remote computer., the Remote Debugger may have timed out. Connect to your device using PowerShell (see Appendix A) and query the active processes by running tlist. If msvsmon.exe is not present in that list, you’ll need to run this command to restart the Remote Debugger (or you can reboot your device): schtasks /run /tn StartMsvsmon.
8. Once deployed, you can set breakpoints, see variable values, etc. To stop the app, press on the ‘Stop Debugging’ button (or select Debug | Stop Debugging).
9. Having successfully deployed and debugged your UWP application, create a Release version by simply changing the
7

Visual Studio toolbar configuration dropdown from Debug to Release. You can now build and deploy your app to your device by selecting Build | Rebuild Solution and Build | Deploy Solution.
8
Part II. Create A Universal
Driver (UD) For Your
Windows 10 IoT Core Device
We will now be walking you through the process of creating and installing a simple peripheral device driver that will run on any Windows 10 IoT Core device. More specifically, we will build a Kernel Mode Device Framework (KMDF) driver using the Windows Driver Kit (WDK) and the Windows Driver Framework (WDF) APIs. This driver will be specifically built to be a universal driver.
Exercise 1: Source Code And BinariesYou can download samples from
https://github.com/ms-iot/samples/archive/develop.zip.
You can find the source code for this sample in DriverSamples\gpiokmdfdemo.
On Your Development PC
9

You will find the VS solution at gpiokmdfdemo\gpiokmdfdemo.sln. Double click to open it in VS 2015.
From the Build menu, click Build Solution(Ctrl+Shift+B). Make sure that you are building for x86.
You will now have a collection of files that make up the driver. Confirm you have both the SYS and INF files for your driver under the \gpiokmdfdemo\Debug\gpiokmdfdemo\ folder.
gpiokmdfdemo.inf gpiokmdfdemo.sys
Next, generate the ACPI table that will be needed for the driver to work correctly on the Windows IoT Core device.
We will use the Microsoft ACPI Source Language compiler (asl.exe) to build the ACPI table. The ASL compiler is distributed with the WDK and can be found in C:\Program Files (x86)\Windows Kits\10\Tools\x86\ACPIVerify\
The ASL compiler takes as input parameter a file with extension ASL. You will find 1 ASL files in the asl directory under DriverSamples\gpiokmdfdemo\asl\
Use gpiokmdfdemo.asl if you are deploying to a MinnowBoard Max.
Copy the ASL file to the C:\Program Files (x86)\Windows Kits\10\Tools\x86\ACPIVerify\ directory
10

Open up a command prompt as Administrator and navigate to the asl compiler directory:
cd "C:\Program Files (x86)\Windows Kits\10\Tools\x86\ACPIVerify"
If you are using MinnowBoard Max, type:
asl.exe gpiokmdfdemo.asl
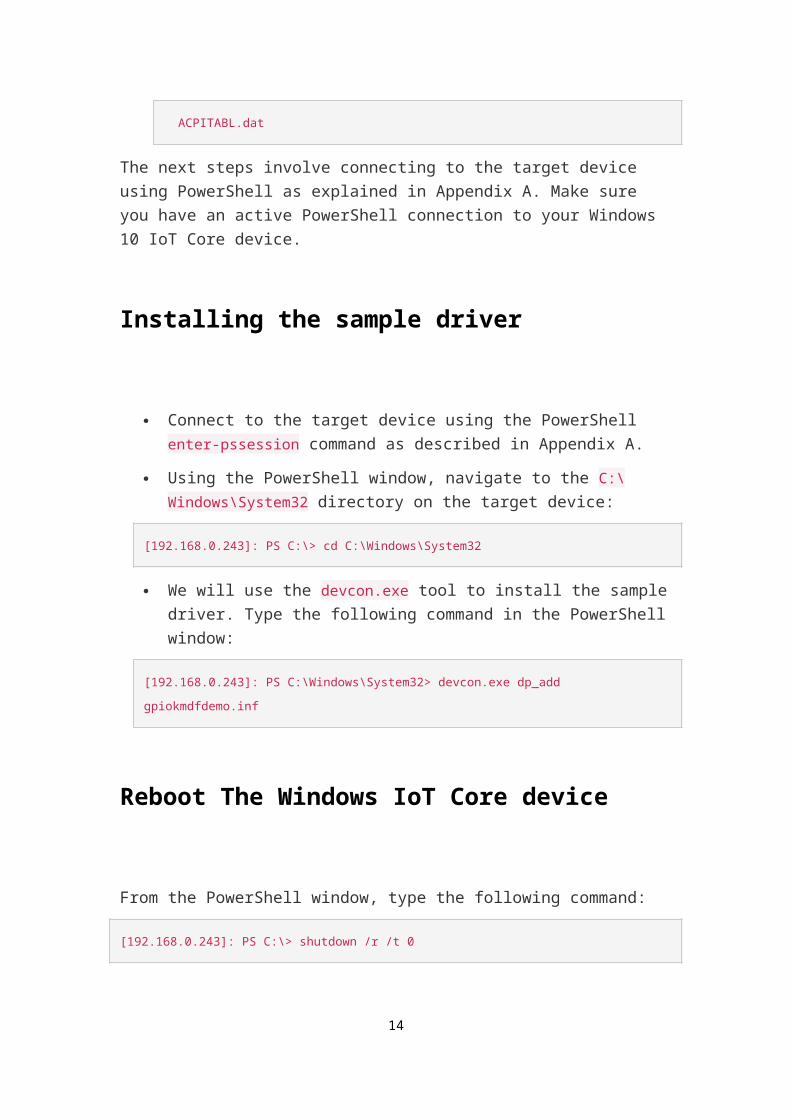
An ACPITABL.dat file will be generated in the same directory(C:\Program Files (x86)\Windows Kits\10\Tools\x86\ACPIVerify\). Verify that this file has been generated.
Exercise 2: Installing The Sample DriverThis section demonstrates how to manually copy and install the driver to a Windows IoT Core device:
We will first use the Server Message Block (SMB) protocol via a File Explorer window to transfer files from the development PC to the target Windwos 10 IoT Core device.
We will then use PowerShell to run a few devcon.exe commands to install the driver.
Transferring Driver Files Using SMB
First, boot up your Windows 10 IoT Core device and make a note of its IP Address as displayed on its attached screen when the device first boots up.
Next, on your development PC, open up a File Explorer window, and in the address bar type \\<TARGET_DEVICE>\C$\ and then hit enter. In this particular case, <TARGET_DEVICE> is the IP Address of your Windows IoT Core device:
11
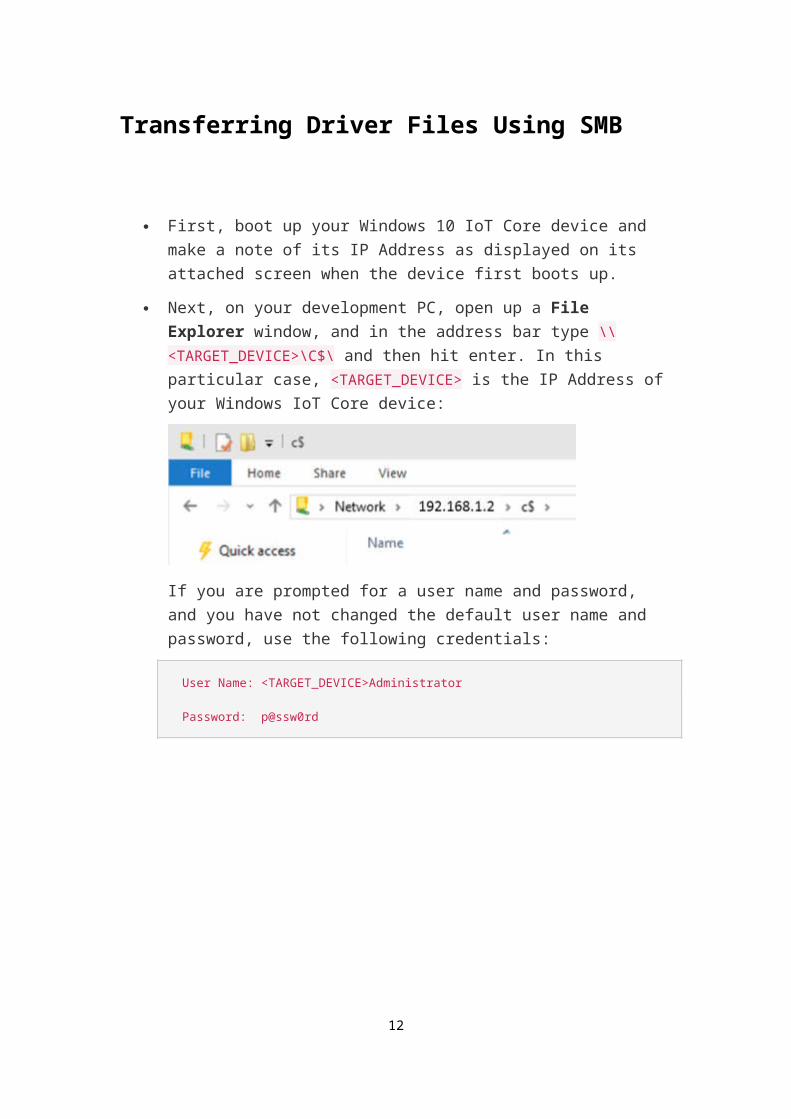
If you are prompted for a user name and password, and you have not changed the default user name and password, use the following credentials:
User Name: <TARGET_DEVICE>Administrator
Password: p@ssw0rd
Drag and drop (copy) the following two files (created in the previous section while building the driver in Visual Studio) from the development machine to the \windows\system32\ folder on your IoT Core device:
gpiokmdfdemo.inf
12
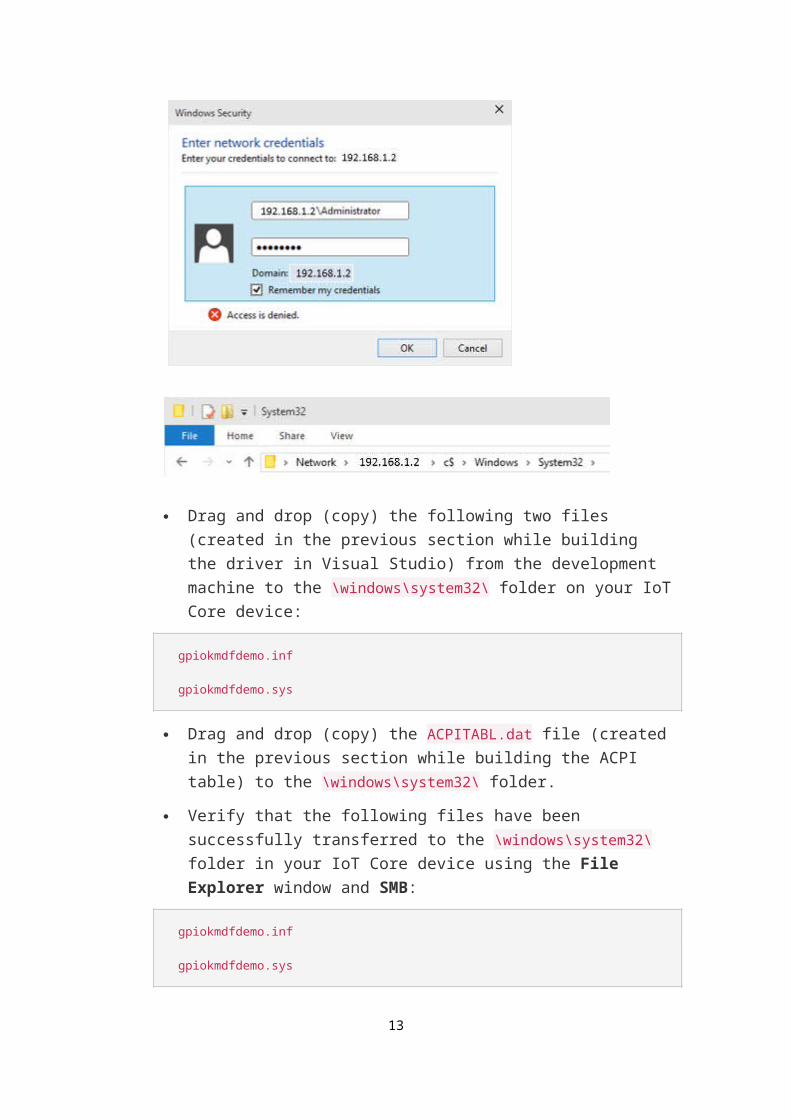
gpiokmdfdemo.sys
Drag and drop (copy) the ACPITABL.dat file (created in the previous section while building the ACPI table) to the \windows\system32\ folder.
Verify that the following files have been successfully transferred to the \windows\system32\ folder in your IoT Core device using the File Explorer window and SMB:
gpiokmdfdemo.inf
gpiokmdfdemo.sys
ACPITABL.dat
The next steps involve connecting to the target device using PowerShell as explained in Appendix A. Make sure you have an active PowerShell connection to your Windows 10 IoT Core device.
Installing the sample driver
Connect to the target device using the PowerShell enter-pssession command as described in Appendix A.
Using the PowerShell window, navigate to the C:\Windows\System32 directory on the target device:
[192.168.0.243]: PS C:\> cd C:\Windows\System32
We will use the devcon.exe tool to install the sample driver. Type the following command in the PowerShell window:
[192.168.0.243]: PS C:\Windows\System32> devcon.exe dp_add
gpiokmdfdemo.inf
13
Reboot The Windows IoT Core device
From the PowerShell window, type the following command:
[192.168.0.243]: PS C:\> shutdown /r /t 0
The target device will reboot. After the reboot, make sure PowerShell is still connected to it, otherwise, re-connect to the target device using the PowerShell enter-pssession command as described in Appendix A.
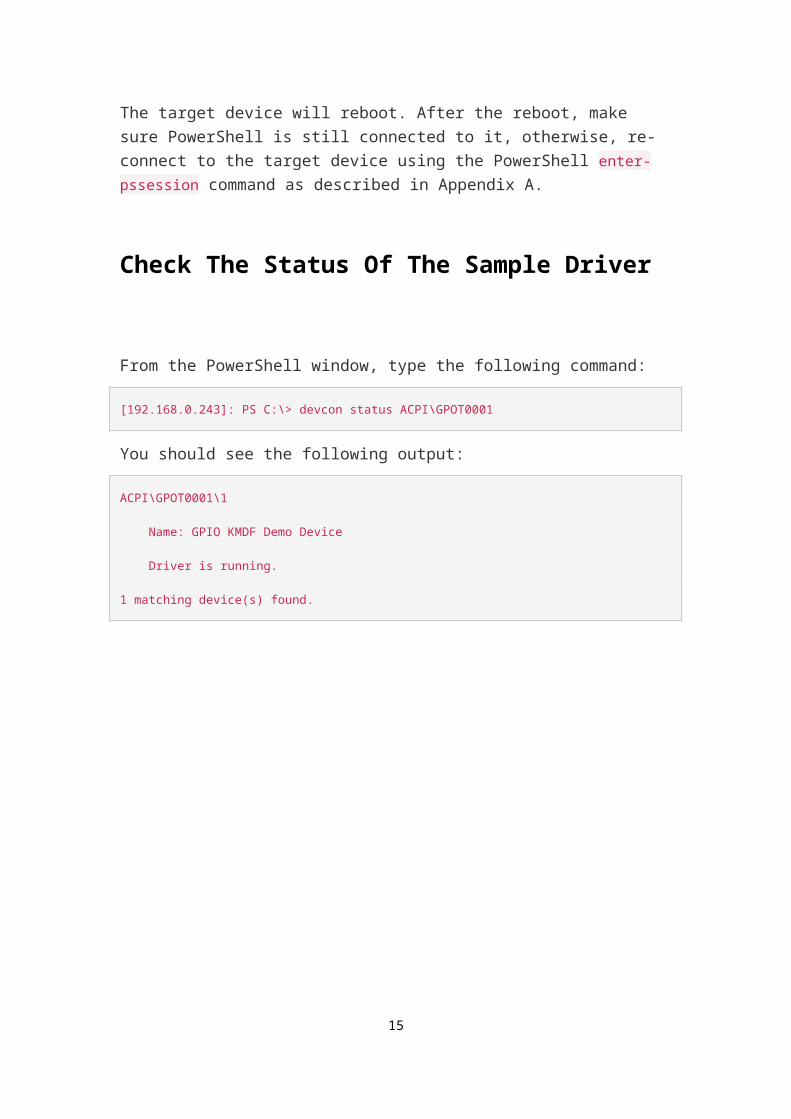
Check The Status Of The Sample Driver
From the PowerShell window, type the following command:
[192.168.0.243]: PS C:\> devcon status ACPI\GPOT0001
You should see the following output:
ACPI\GPOT0001\1
Name: GPIO KMDF Demo Device
Driver is running.
1 matching device(s) found.
14
Appendix A. Using
PowerShell to connect and
configure a device running
Windows 10 IoT Core
Remote Administration and
Configuration
You can remotely configure and manage any Windows 10 IoT Core device using Windows PowerShell. PowerShell is a task-based
15

command-line shell and scripting language, designed especially for system administration.
Make sure to follow these steps to correctly configure your device running Windows 10 IoT Core to work well with Visual Studio 2015.
Initiating a PowerShell (PS) Session
To start a PS session with your Windows 10 IoT Core device, you’ll first need to create a trust relationship between your host PC and your device. After booting your Windows IoT Core device, an IP address will be shown on the screen attached to the device:
You can find the same information on the Windows 10 IoT Core Watcher utility.
Launch an administrator PS console on your local PC. The easiest way to do this is to type ‘powershell’ in the “Search the web and Windows” textbox near the Windows Start Menu: Windows will find PowerShell on your machine:
16

To start PS as an administrator, right click on the “Windows PowerShell” entry and select “Run as administrator”:
17

Now you should see the PS console:
NOTE: you may need to start the WinRM service on your desktop to enable remote connections. From the PS console type the following command:
net start WinRM
From the PS console, type the following, substituting <machine-name or IP Address> with the appropriate value (using your machine-name is the easiest to use, but if your device is not uniquely named on your network, try the IP address):
Set-Item WSMan:\localhost\Client\TrustedHosts -Value <machine-name
or IP Address>
Do enter Y to confirm the change.
18

NOTE: If you want to connect multiple devices, you can use comma and quotation marks to separate each devices.
Set-Item WSMan:\localhost\Client\TrustedHosts -Value "<machine1-name or IP
Address>,<machine2-name or IP Address>"
Now you can start a session with you Windows IoT Core device. From you administrator PS console, type:
Enter-PSSession -ComputerName <machine-name or IP Address> -Credential
<machine-name or IP Address or localhost>\Administrator
In the credential dialog enter the following default password: p@ssw0rd
NOTE: The connection process is not immediate and can take up to 30 seconds.
If you successfully connected to the device, you should see the IP address of your device before the prompt.
Troubleshooting Visual Studio Remote
Debugger
To be able to deploy applications from Visual Studio 2015, you will need to make sure the Visual Studio Remote Debugger is
19

running on your Windows IoT Core device. The remote debugger should launch automatically at machine boot time. To double check, use the tlist command to list all the running processes from powershell. There should be two instances of msvsmon.exe running on the device.
It is possible for the Visual Studio Remote Debugger to time out after long periods of inactivity. If Visual Studio cannot connect to your Windows IoT Core device, try rebooting the device.
20


![Debugging with gdb · Debugging Data Race Conditions: Section 12.2 [Data Race Detection], page 171. Debugging OpenMP*: Section 12.4 [OpenMP* Debugging], page 177. Extended recording](https://static.fdocuments.us/doc/165x107/5f0b5c707e708231d4302334/debugging-with-gdb-debugging-data-race-conditions-section-122-data-race-detection.jpg)