Visual Studio 2010: Office...
20
Hands-On Lab Microsoft Office Programmability in C# and Visual Basic Lab version: 1.0.0 Last updated: 12/10/2010
Transcript of Visual Studio 2010: Office...

Hands-On Lab
Microsoft Office Programmability in C# and Visual Basic
Lab version: 1.0.0 Last updated: 12/10/2010

CONTENTS
OVERVIEW ............................................................................................................................................. 3
EXERCISE 1: CREATING A COLLECTION OF BUSINESS ENTITIES AND INSERTING THEIR
VALUES INTO AN EXCEL WORKSHEET .............................................................................................. 5 Task 1 – Creating a New Console Application and Reference the Microsoft Office Interop Assemblies
........................................................................................................................................................ 5
Task 2 – Creating a Collection of Business Entities ............................................................................ 6
Task 3 – Creating an Excel Workbook and Populate it with Data from the Business Entities ........... 10
Exercise 1: Verification 13
EXERCISE 2: EMBEDDING AN EXCEL WORKSHEET IN MICROSOFT WORD.................................. 14 Task 1 – Embedding your Excel Worksheet into a New Microsoft Word Document ........................ 15
Exercise 2: Verification 17
REMOVING THE PIA DEPENDENCE FROM THE APPLICATION ....................................................... 18 Checking that PIA dependencies are removed by default ............................................................... 19
SUMMARY ............................................................................................................................................ 20

Overview
Microsoft Office provides organizations an environment for rapidly creating business applications in an
environment that is very familiar to end users. Building Office Business Applications present a large
number of opportunities for organizations to take advantage of, including tying into Customer
Relationship Management (CRM) systems, fronting data extracted from line of business applications,
hosting business intelligence reports, and a wealth of other possibilities.
While Office development provides a great number of value opportunities for organizations, previously
it also presented a number of challenges for developing and deploying those applications. Earlier
versions of managed languages also contributed to the friction involved in creating applications using
Office.
Calling numerous Office API methods was often painful due to the large number of parameters involved,
many of which had no use. Visual Basic’s optional parameters feature made this easier, but developers
in C# had to suffer through writing significant amounts of useless initializers or null statements to fill out
required method signature parameters. If you were writing in Visual Basic, you had no access to an
equivalent of C# 3.0’s lambda feature to supply inline methods when invoking delegates.
In this lab you will see how new features in Visual Studio 2010, C# 4.0, and Visual Basic 10 eliminate the
issues in the previous paragraphs. Additionally, you will see a number of other powerful features, which
speed other elements of Office development.
Objectives
In this Hands-On Lab, you will learn how to:
Learn how new language features speed creation of business entities
Discover new language features that make it easier to have business entities interact with Excel
Utilize new language features which enable quick interaction between Office applications
See how the new build process allows easier deployment of Office applications to end users
System Requirements
You must have the following items to complete this lab:
Microsoft Visual Studio 2010
.Net Framework 4
Microsoft Excel 2007

Microsoft Word 2007
Setup
All the requisites for this lab are verified using the Configuration Wizard. To make sure that everything is
correctly configured, follow these steps.
Note: To perform the setup steps you need to run the scripts in a command window with
administrator privileges.
1. Run the Configuration Wizard for the Training Kit if you have not done it previously. To do this,
run the CheckDependencies.cmd script located under the
%TrainingKitInstallationFolder%\Labs\Dev10Office\Setup folder. Install any pre-requisites that
are missing (rescanning if necessary) and complete the wizard.
Note: For convenience, much of the code you will be managing along this lab is available as
Visual Studio code snippets. The CheckDependencies.cmd file launches the Visual Studio
installer file that installs the code snippets.
Exercises
This Hands-On Lab is comprised of the following exercises:
1. Creating a collection of account classes and display the account information in Microsoft Excel
2. Embed the Microsoft Excel worksheet in a Microsoft Word document
3. Alter the VS project files to enable the program to be deployed without PIA
Estimated time to complete this lab: 60 minutes.
Next Step
Exercise 1: Creating a Collection of Business Entities and Inserting their Values into an Excel Worksheet

Exercise 1: Creating a Collection of
Business Entities and Inserting their
Values into an Excel Worksheet
Business entities are a commonly used pattern to carry data through an application or system. Business
entities might reflect a bank account, with a balance and account holder, or they might reflect a
shopping cart with a number of items in it, each of those items being its own business entity.
In this exercise, you will learn how to create a collection of business entities and write the values from
those entities to an Excel worksheet. Along the way, you will be introduced to new language features in
C# 4.0 and Visual Basic 10 that greatly speed the creation of business entities.
Note: To verify that each step is correctly performed, it is recommended to build the solution at the
end of each task.
Task 1 – Creating a New Console Application and Reference the Microsoft Office Interop Assemblies
In this task, you will create a new console application and add in the assemblies needed to begin Office
development.
1. Open Microsoft Visual Studio 2010 from Start | All Programs | Microsoft Visual Studio 2010 |
Microsoft Visual Studio 2010.
2. On the Microsoft Visual Studio Start Page, click the New Project icon.
Note: This lab will be presented in both C# and Visual Basic. Feel free to use which ever
language you are more comfortable with. Along the way new features of each language and
Visual Studo 2010 will be pointed out.
3. In either the C# or Visual Basic projects Templates list, select Windows | Console Application.
4. In the Name field, enter the name “OfficeApplication”
5. In the upper right hand corner, ensure that version 4.0 of the .NET Framework is selected.
6. Accept the default location and Solution Name. Click the OK button. The solution will be created
with a single console application project.
7. Right-click on the OfficeApplication project node and select Add Reference….
8. Under the .NET tab in the Add Reference dialog box, select Microsoft.Office.Interop.Excel. Hold
down the CTRL key and click Microsoft.Office.Interop.Word. Click the OK button.

Note: Since the lab is targeted to Office 2007, make sure version 12.0.0.0 is selected when
adding the references.
When complete, the list of references for your console application should look like this:
Figure 1
References for Office development
Task 2 – Creating a Collection of Business Entities
In this task, you will create a collection of business entities that will be pre-populated with data. Pre-
populating simulates loading the entities with data from a separate source. We are shortcutting here to
focus on things other than data access.
You will start by creating an individual entity.
1. In the Solution Explorer, right click on the node for the OfficeApplication project and select
Add… | Class from the menu.
2. The Add New Item dialog box appears with the Class template already selected. Change the
name to Account.cs (for C#) Account.vb (for Visual Basic) and click the Add button.
a. If you are doing the lab in C#, change the definition of the Account class to be public,
as shown below:
C#
public class Account
{
}

3. Add public properties for ID (integer), Balance (double) and AccountHolder (string) to the
Account as shown:
(Code Snippet – Office Programmability Lab - Ex1 Account properties CSharp)
C#
public class Account
{
public int ID { get; set; }
public double Balance { get; set; }
public string AccountHolder { get; set; }
}
(Code Snippet – Office Programmability Lab - Ex1 Account properties VB)
Visual Basic
Public Class Account
Property ID As Integer
Property Balance As Double
Property AccountHolder As String
End Class
Note: A new feature in Visual Basic is the ability to declare a property without declaring a
separate field to store the value in. These automatically-implemented properties work the
same as if the developer had declared a private field to hold the data and implemented simple
“getters” and “setters.” They are called the same way a traditional property is called. If a more
robust logic is required for property access, traditional properties that store data in private
fields can still be created. Comparable Visual Basic code from VS 2008 would look like the
following example:
Visual Basic
' This is the old style using backing variables instead of
' auto-implemented properties
Public Class Account
Private _id As Integer
Private _balance As Double
Private _accountHolder As String
Property ID() As Integer
Get
Return _id
End Get

Set(ByVal value As Integer)
_id = value
End Set
End Property
Property Balance() As Double
Get
Return _balance
End Get
Set(ByVal value As Double)
_balance = value
End Set
End Property
Property AccountHolder() As String
Get
Return _accountHolder
End Get
Set(ByVal value As String)
_accountHolder = value
End Set
End Property
End Class
4. The Account class represents your individual entity type. Normally an application would create
some sort of collection of these entities and populate them with data from a data store of some
sort. To keep this lab concise and focused you will populate your list by pushing values into the
individual objects at creation. In the Module1.vb (VB) or Program.cs (C#) file, create a new
method called CreateAccountList as shown in the following code:
(Code Snippet – Office Programmability Lab - Ex1 CreateAccountList VB)
Visual Basic
Private Function CreateAccountList() As List(Of Account)
Dim checkAccounts As New List(Of Account) From {
New Account With {
.ID = 1,
.Balance = 285.93,
.AccountHolder = "John Doe"
},
New Account With {
.ID = 2,
.Balance = 2349.23,
.AccountHolder = "Richard Roe"
},
New Account With {
.ID = 3,

.Balance = -39.46,
.AccountHolder = "I Dunoe"
}
}
Return checkAccounts
End Function
Note: The code above highlights another new feature in Visual Basic: collection initializers.
This enables developers to save large amounts of time by declaring the list and initializing the
list’s contents directly at that point. There is no need to instantiate the list and then
individually “new” up items and add them to the list.
(Code Snippet – Office Programmability Lab - Ex1 CreateAccountList CSharp)
C#
private static List<Account> CreateAccountList()
{
var checkAccounts = new List<Account> {
new Account{
ID = 1,
Balance = 285.93,
AccountHolder = "John Doe"
},
new Account {
ID = 2,
Balance = 2349.23,
AccountHolder = "Richard Roe"
},
new Account {
ID = 3,
Balance = -39.46,
AccountHolder = "I Dunoe"
}
};
return checkAccounts;
}
5. Call the CreateAccountList method from the Main method in the Module1.vb (VB) or
Program.cs (C#) file as show:
Visual Basic

Sub Main()
Dim checkAccounts = CreateAccountList()
End Sub
C#
static void Main(string[] args)
{
var checkAccounts = CreateAccountList();
}
Task 3 – Creating an Excel Workbook and Populate it with Data from the Business Entities
In this task, you will create a new Excel workbook. You will then loop through the collection of business
objects and insert the data into the Excel workbook. Finally, you will format the worksheet.
1. The first step is to import the Office namespaces with Imports (VB) or using (C#) statements.
Enter the following code at the top of the Module1.vb (VB) or Program.cs (C#) file:
(Code Snippet – Office Programmability Lab - Ex1 Namespaces VB)
Visual Basic
Imports Microsoft.Office.Interop
Imports System.Runtime.CompilerServices
(Code Snippet – Office Programmability Lab - Ex1 Namespaces CSharp)
C#
using Microsoft.Office.Interop;
using Excel = Microsoft.Office.Interop.Excel;
using Word = Microsoft.Office.Interop.Word;
2. The code to insert the data into Excel is implemented as an Extension method.
The first parameter of this (and all) extension methods indicates the type that the method
operates on (your list of accounts). The second argument, DisplayFunc, is a type of delegate
called Action. Action delegates can take any number of arguments, but always return void.
This block of code creates a new Excel application with a workbook, injects some header text
into the workbook, calls a helper method to display the values of your Account objects, then
sets each column to AutoFit mode to better display each column’s values.
Enter the following code in Module1.vb (vb) or Program.cs (C#) after the Main method:
(Code Snippet – Office Programmability Lab - Ex1 DisplayInExcel VB)
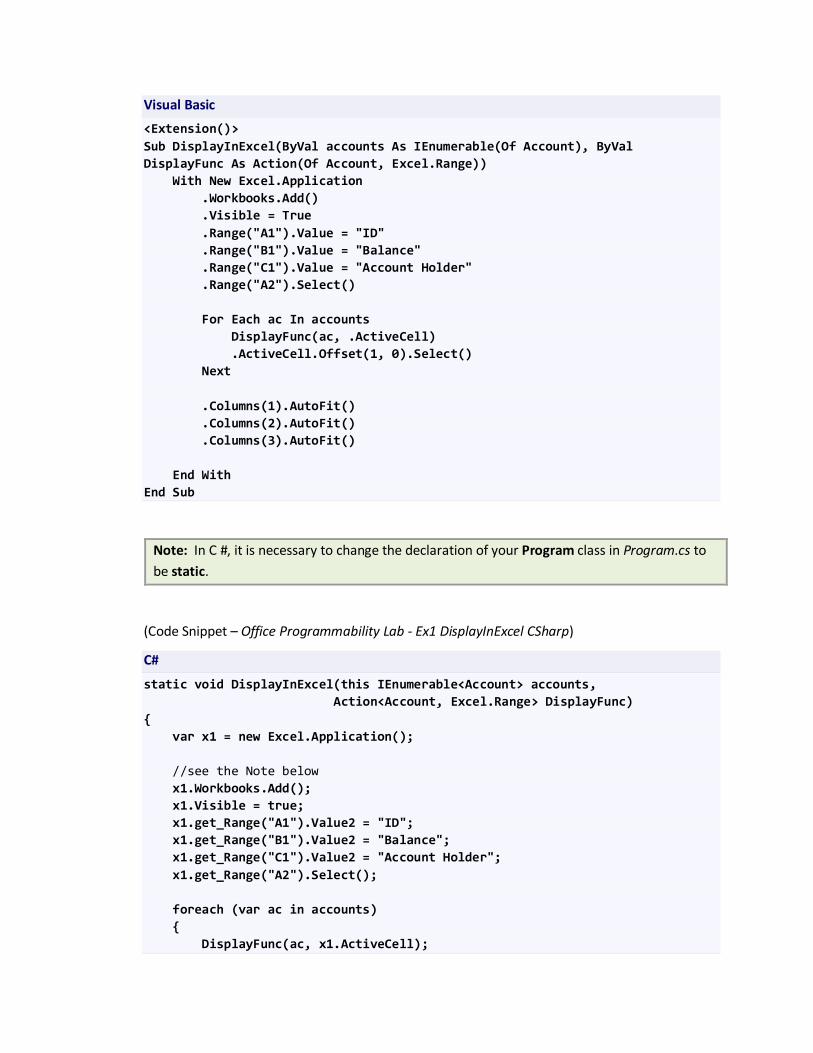
Visual Basic
<Extension()>
Sub DisplayInExcel(ByVal accounts As IEnumerable(Of Account), ByVal
DisplayFunc As Action(Of Account, Excel.Range))
With New Excel.Application
.Workbooks.Add()
.Visible = True
.Range("A1").Value = "ID"
.Range("B1").Value = "Balance"
.Range("C1").Value = "Account Holder"
.Range("A2").Select()
For Each ac In accounts
DisplayFunc(ac, .ActiveCell)
.ActiveCell.Offset(1, 0).Select()
Next
.Columns(1).AutoFit()
.Columns(2).AutoFit()
.Columns(3).AutoFit()
End With
End Sub
Note: In C #, it is necessary to change the declaration of your Program class in Program.cs to
be static.
(Code Snippet – Office Programmability Lab - Ex1 DisplayInExcel CSharp)
C#
static void DisplayInExcel(this IEnumerable<Account> accounts,
Action<Account, Excel.Range> DisplayFunc)
{
var x1 = new Excel.Application();
//see the Note below
x1.Workbooks.Add();
x1.Visible = true;
x1.get_Range("A1").Value2 = "ID";
x1.get_Range("B1").Value2 = "Balance";
x1.get_Range("C1").Value2 = "Account Holder";
x1.get_Range("A2").Select();
foreach (var ac in accounts)
{
DisplayFunc(ac, x1.ActiveCell);

x1.ActiveCell.get_Offset(1, 0).Select();
}
((Excel.Range)x1.Columns[1]).AutoFit();
((Excel.Range)x1.Columns[2]).AutoFit();
((Excel.Range)x1.Columns[3]).AutoFit();
}
Note: The statement x1.Workbooks.Add(); reflects an important change in the .NET
Framework 4.0 and C# 4.0: optional parameters. Previous versions of the
Microsoft.Office.Interop.Excel.Workbook COM interop assembly required passing in a
parameter. Besides, C#’s previous versions had no support for optional parameters, something
Visual Basic developers have enjoyed for years. Earlier the statement would have appeared as
x1.Workbooks.Add(Missing.Value); The new interop assemblies in the .NET Framework 4.0,
coupled with C# 4.0’s new support for optional parameters lets you use a more concise,
clearer syntax.
3. The next step is to call your extension method from the Main method of your program. Add the
following code to the bottom of the Main method:
(Code Snippet – Office Programmability Lab - Ex1 DisplayInExcel call VB)
Visual Basic
checkAccounts.DisplayInExcel(Sub(account, cell)
cell.Value2 = account.ID
cell.Offset(0, 1).Value2 = account.Balance
cell.Offset(0, 2).Value2 = account.AccountHolder
If account.Balance < 0 Then
cell.Interior.Color = RGB(255, 0, 0)
cell.Offset(0, 1).Interior.Color = RGB(255, 0, 0)
cell.Offset(0, 2).Interior.Color = RGB(255, 0, 0)
End If
End Sub)
Note: Here you see another new feature in Visual Basic; statement lambdas. A statement
lambda is an anonymous block of code that is treated like a variable in that it can be passed as
an argument to a method, as you are doing in this example. The syntax for a lambda is to
“declare” a series of arguments, in this case account and cell, and then to supply the logic for
that lambda. When using statement lambdas function or sub names are not required and
argument types are inferred.
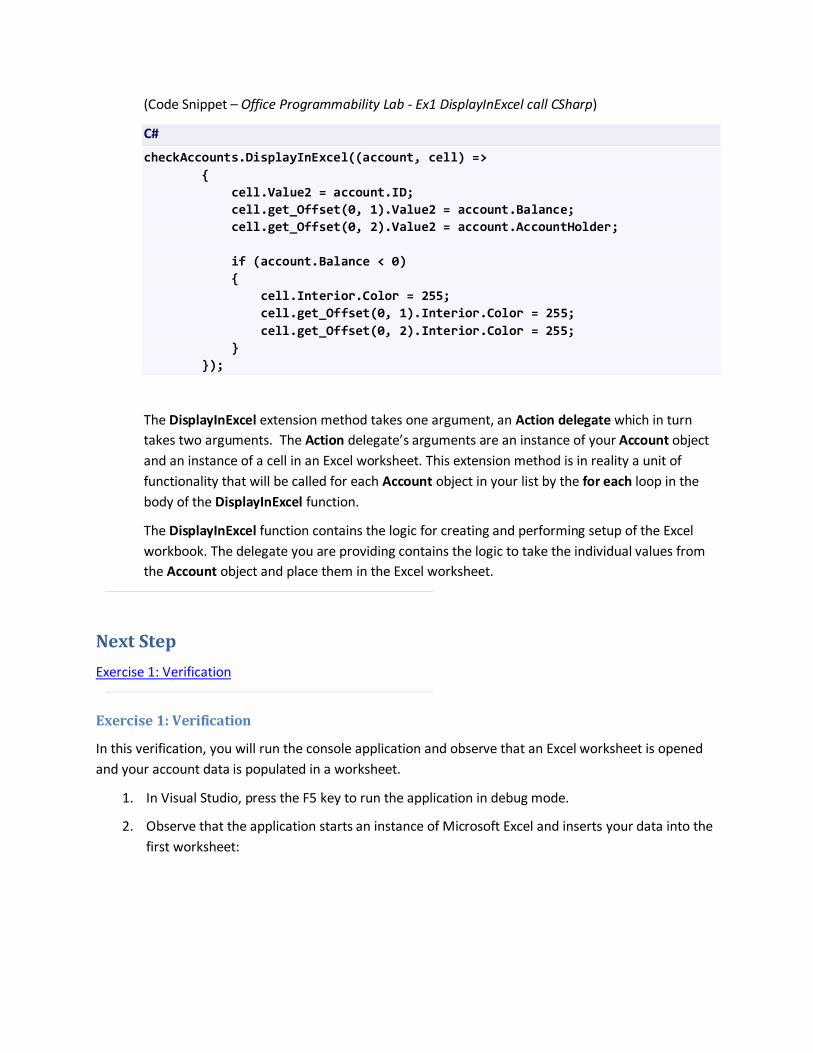
(Code Snippet – Office Programmability Lab - Ex1 DisplayInExcel call CSharp)
C#
checkAccounts.DisplayInExcel((account, cell) =>
{
cell.Value2 = account.ID;
cell.get_Offset(0, 1).Value2 = account.Balance;
cell.get_Offset(0, 2).Value2 = account.AccountHolder;
if (account.Balance < 0)
{
cell.Interior.Color = 255;
cell.get_Offset(0, 1).Interior.Color = 255;
cell.get_Offset(0, 2).Interior.Color = 255;
}
});
The DisplayInExcel extension method takes one argument, an Action delegate which in turn
takes two arguments. The Action delegate’s arguments are an instance of your Account object
and an instance of a cell in an Excel worksheet. This extension method is in reality a unit of
functionality that will be called for each Account object in your list by the for each loop in the
body of the DisplayInExcel function.
The DisplayInExcel function contains the logic for creating and performing setup of the Excel
workbook. The delegate you are providing contains the logic to take the individual values from
the Account object and place them in the Excel worksheet.
Next Step
Exercise 1: Verification
Exercise 1: Verification
In this verification, you will run the console application and observe that an Excel worksheet is opened
and your account data is populated in a worksheet.
1. In Visual Studio, press the F5 key to run the application in debug mode.
2. Observe that the application starts an instance of Microsoft Excel and inserts your data into the
first worksheet:

Figure 2
Account data in an Excel worksheet
Note: Notice that the column widths have been adjusted to be sized based on the contents.
Also notice per the logic in the for each loop of the delegate passed to the DisplayInExcel
function, the account with a negative balance has a red background.
3. Close Excel. Do not save any changes.
Next Step
Exercise 2: Embedding an Excel Worksheet in Microsoft Word
Exercise 2: Embedding an Excel
Worksheet in Microsoft Word
In this exercise, you will embed your Excel worksheet in a Microsoft Word document. This exercise will
also introduce C# developers to optional parameters.

Note: To verify that each step is correctly performed, it is recommended to build the solution at the
end of each task.
Task 1 – Embedding your Excel Worksheet into a New Microsoft Word Document
1. Open Microsoft Visual Studio 2010 from Start | All Programs | Microsoft Visual Studio 2010 |
Microsoft Visual Studio 2010.
2. Open the OfficeApplication.sln solution file. By default, this file is located in the folder:
%TrainingKitInstallFolder%\Labs\Dev10Office\Source\Ex02-EmbeddingWorksheet\Begin\
and choose the language of your preference. Optionally, you can continue working the solution
you created in the previous exercise.
3. Copy your Excel worksheet so that it can be pasted into the Word document. The Copy()
method accomplishes this for you. Add the following code to the end of the DisplayInExcel
method (in the Visual Basic method, this command must be within the With block):
Visual Basic
.Range("A1:C4").Copy()
C#
x1.get_Range("A1:C4").Copy();
4. Now that your worksheet is copied to the clipboard, you need to create a Word document and
past the worksheet into it. In the Module1.vb (VB) or Program.cs (C#) file, create a new method
called EmbedInWordDocument as shown in the following code:
(Code Snippet – Office Programmability Lab - Ex2 EmbedInWordDocument VB)
Visual Basic
Private Sub EmbedInWordDocument()
Dim word As New Word.Application
word.Visible = True
word.Documents.Add()
word.Selection.PasteSpecial(Link:=True, DisplayAsIcon:=False)
End Sub
(Code Snippet – Office Programmability Lab - Ex2 EmbedInWordDocument CSharp)
C#
private static void EmbedInWordDocument()
{
var word = new Word.Application();

word.Visible = true;
word.Documents.Add();
word.Selection.PasteSpecial(Link: true, DisplayAsIcon: false);
}
Note: C# developers will recognize a new feature to C# 4.0 in the call to PasteSpecial: the use
of optional parameters. PasteSpecial actually has seven parameters. In most cases, you do not
need to supply values for these parameters, as the defaults are adequate for the application.
In previous version of C# these values still had to be provided even if the provided value was of
type System.Reflection.Missing.Value, which resulted in called to PasteSpecial that look like
this:
C#
object iconIndex = System.Reflection.Missing.Value;
object link = true;
object placement = System.Reflection.Missing.Value;
object displayAsIcon = false;
object dataType = System.Reflection.Missing.Value;
object iconFileName = System.Reflection.Missing.Value;
object iconLabel = System.Reflection.Missing.Value;
word.Selection.PasteSpecial(ref iconIndex,
ref link,
ref placement,
ref displayAsIcon,
ref dataType,
ref iconFileName,
ref iconLabel);
Note: C# developers should also note that while parameters to PasteSpecial are still by
reference, it is no longer necessary to specify this with the ref keyword.
5. Call the EmbedInWordDocument method from the end of the Main method in the Module1.vb
(VB) or Program.cs (C#) file as show:
Visual Basic
Sub Main()
Dim checkAccounts = CreateAccountList()
checkAccounts.DisplayInExcel(Sub(account, cell)
cell.Value2 = account.ID
cell.Offset(0, 1).Value2 = account.Balance
cell.Offset(0, 2).Value2 = account.AccountHolder

If account.Balance < 0 Then
cell.Interior.Color = RGB(255, 0, 0)
cell.Offset(0, 1).Interior.Color = RGB(255, 0, 0)
cell.Offset(0, 2).Interior.Color = RGB(255, 0, 0)
End If
End Sub)
EmbedInWordDocument()
End Sub
C#
static void Main(string[] args)
{
var checkAccounts = CreateAccountList();
checkAccounts.DisplayInExcel((account, cell) =>
{
cell.Value2 = account.ID;
cell.get_Offset(0, 1).Value2 = account.Balance;
cell.get_Offset(0, 2).Value2 = account.AccountHolder;
if (account.Balance < 0)
{
cell.Interior.Color = 255;
cell.get_Offset(0, 1).Interior.Color = 255;
cell.get_Offset(0, 2).Interior.Color = 255;
}
});
EmbedInWordDocument();
}
Next Step
Exercise 2: Verification
Exercise 2: Verification
In this verification, you will run the console application and observe that in addition to the activities your
application performed in the previous Verification, your Excel worksheet is also embedded in a
Microsoft Word application.
1. In Visual Studio, press the F5 key to run the application in debug mode.
2. Observe that the application starts an instance of Microsoft Excel and inserts your data into the
first worksheet as before.

3. When finished creating the Excel worksheet, the application will start in instance of Microsoft
Word and insert your data into a document:
Figure 3
Account data in a Word document
4. Close Excel and Word. Do not save any changes.
Next Step
Exercise 3: Removing the PIA Dependence from the Application
Removing the PIA Dependence from the
Application

Office programmability relies on types from the Office Primary Interop Assembly (PIA) to be able to
interface with the various applications in the office suite. In the past, this has dramatically impacted
deployment of customized Office applications for a number of reasons. First, different versions of Office
use different versions of the PIA, creating complexity for managing the assemblies. Secondly, IT
personnel had to figure out deployment strategies to ensure required PIA resources were available
across their support base. Additionally, deploying the PIA with an application resulted in a larger
installation than necessary due to the extra, unused features.
Note: Primary Interop Assemblies (PIAs) are a critical part of any .NET framework application needing
to interface with COM components. A regular Interop Assembly is used for describing the COM types,
allowing managed code to bind to the COM types at compile time. Interop Assemblies also help the
CLR understand how those COM types should be marshaled at run time. The Primary Interop Assembly
differs from regular Interop Assemblies in that it is the “official” holder of all type descriptions and is
signed by the vendor to ensure its validity.
Development in Visual Studio 2010 eases these burdens by removing this PIA dependence from
applications. When the dependency is removed, the compiler will import whatever types are needed by
your application from the PIA directly into your application; you simply deploy your application knowing
that all the PIA classes you need are included with your application’s assemblies.
Checking that PIA dependencies are removed by default
In Visual Studio 2010 PIA dependencies are removed by default, to verify this:
1. Open Microsoft Visual Studio 2010 from Start | All Programs | Microsoft Visual Studio 2010 |
Microsoft Visual Studio 2010.
2. Open the OfficeApplication.sln solution file. By default, this file is located in the folder:
%TrainingKitInstallFolder%\Labs\Dev10Office\Source\RemovingPIA\Begin\ and choose the
language of your preference. Optionally, you can continue working the solution you created in
the previous exercise.
3. Expand the project’s References.
a. In Visual Basic, you should select the OfficeApplication project node and click the
Show All Files button in the Solution Explorer in order to see the References node.
4. Right-Click on Microsoft.Office.Interop.Excel in your project’s references, and choose
Properties.
5. Notice that the value of Embed Interop Types is set to True.
6. Right-click on Microsoft.Office.Interop.Word in your project’s references, and choose
Properties.
7. Notice that the value of Embed Interop Types is set to True.

Next Step
Summary
Summary
In this lab you have seen the ease of working with Office to create custom applications. You have
worked with new language features like Visual Basic’s new auto-properties and collection initializers
which enable you to more quickly build up your classes and methods.
Among other language features, you have seen C# 4.0’s new use of optional parameters, and seen how
it makes working with the APIs of Office’s Primary Interop Assemblies much more concise and less error
prone. Furthermore, you have seen how Visual Basic’s addition of multi-line lambdas and statement
lambdas enables you to succinctly deal with handing delegates a suitable statement.
Finally, you have seen how Interop types can be embedded in an Office Business Application to
drastically ease the burden of deploying your Office application. This is a vast improvement over
previous Office development environments which required you to deal with the hardship of
deconflicting multiple version dependencies.
All these improvements in the tools, platform, and languages in the latest release of Visual Studio 2010
should boost your ability to create powerful, flexible Office Business Applications.