UNIT: Oxy-Acetylene Welding, Brazing, Cutting and Heating LESSON: Oxy-Acetylene Welding (OAW)...
18
UNIT: Oxy-Acetylene Welding, Brazing, Cutting and Heating LESSON: Oxy-Acetylene Welding (OAW) LIGHTING AND SHUTTING DOWN THE TORCH Standard B7.2 - Know how to properly set up, adjust, shut down, and maintain an oxy- fuel system
-
Upload
albert-blake -
Category
Documents
-
view
247 -
download
6
Transcript of UNIT: Oxy-Acetylene Welding, Brazing, Cutting and Heating LESSON: Oxy-Acetylene Welding (OAW)...
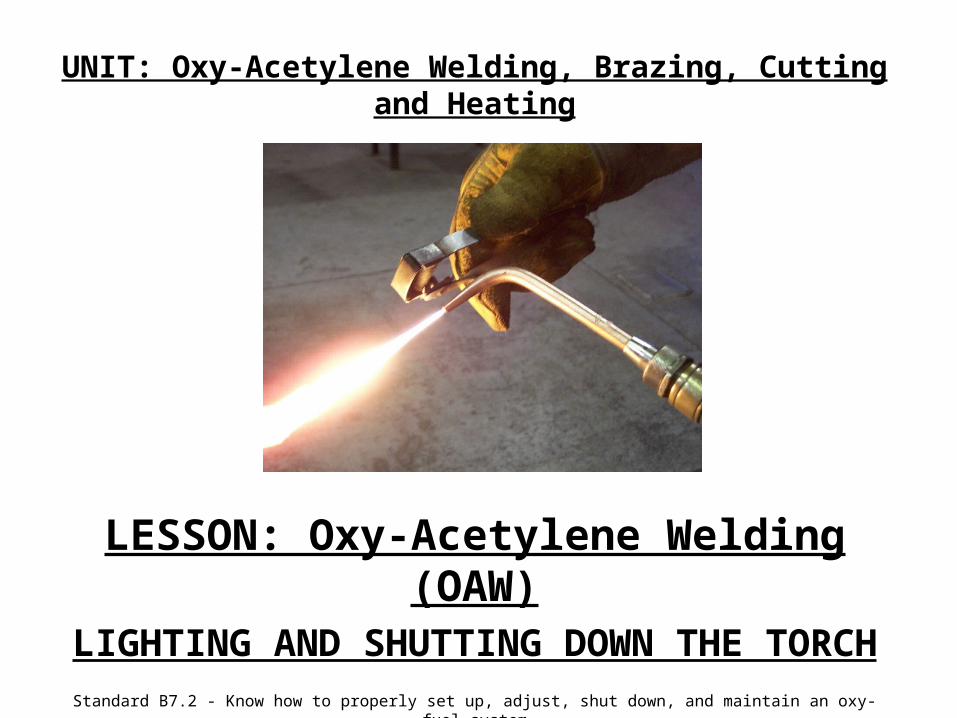
UNIT: Oxy-Acetylene Welding, Brazing, Cutting and Heating
LESSON: Oxy-Acetylene Welding (OAW)LIGHTING AND SHUTTING DOWN THE TORCH
Standard B7.2 - Know how to properly set up, adjust, shut down, and maintain an oxy-fuel system
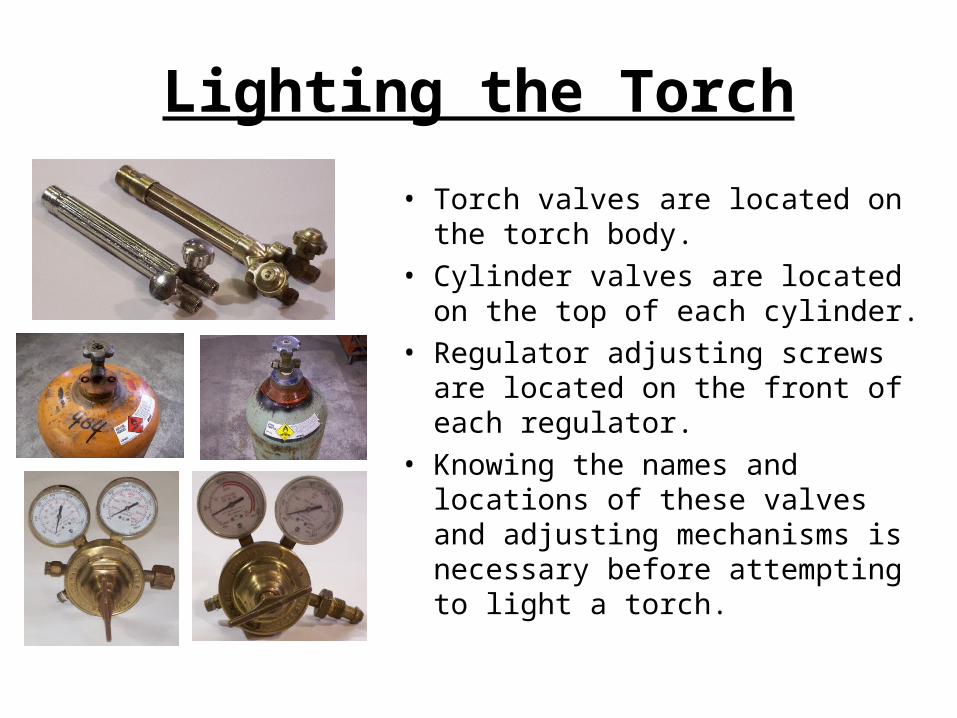
Lighting the Torch
• Torch valves are located on the torch body.
• Cylinder valves are located on the top of each cylinder.
• Regulator adjusting screws are located on the front of each regulator.
• Knowing the names and locations of these valves and adjusting mechanisms is necessary before attempting to light a torch.
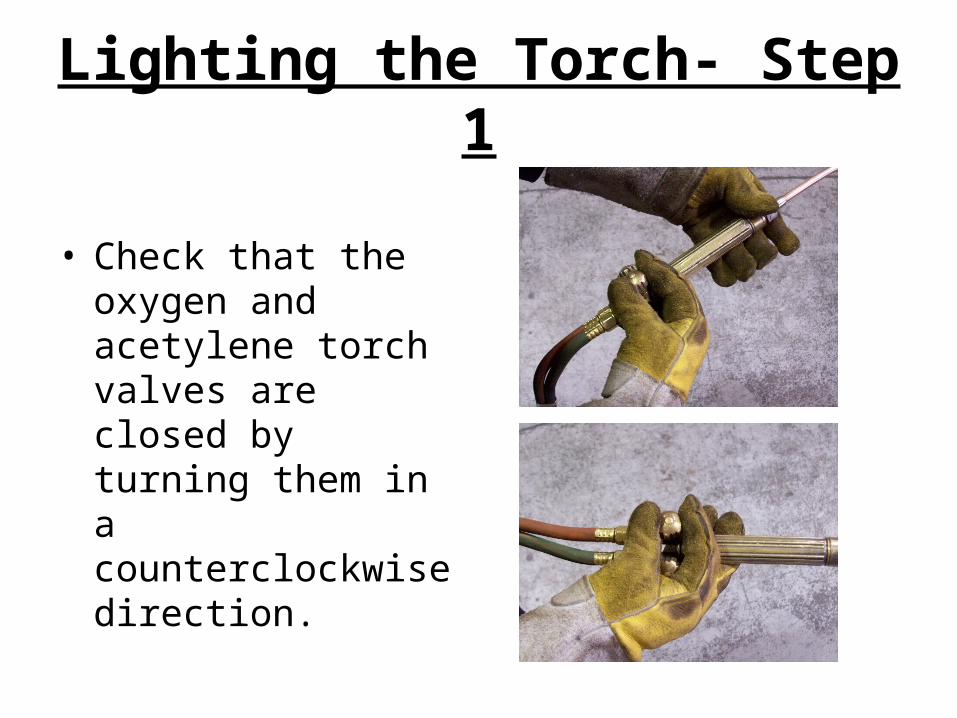
Lighting the Torch- Step 1
• Check that the oxygen and acetylene torch valves are closed by turning them in a counterclockwise direction.
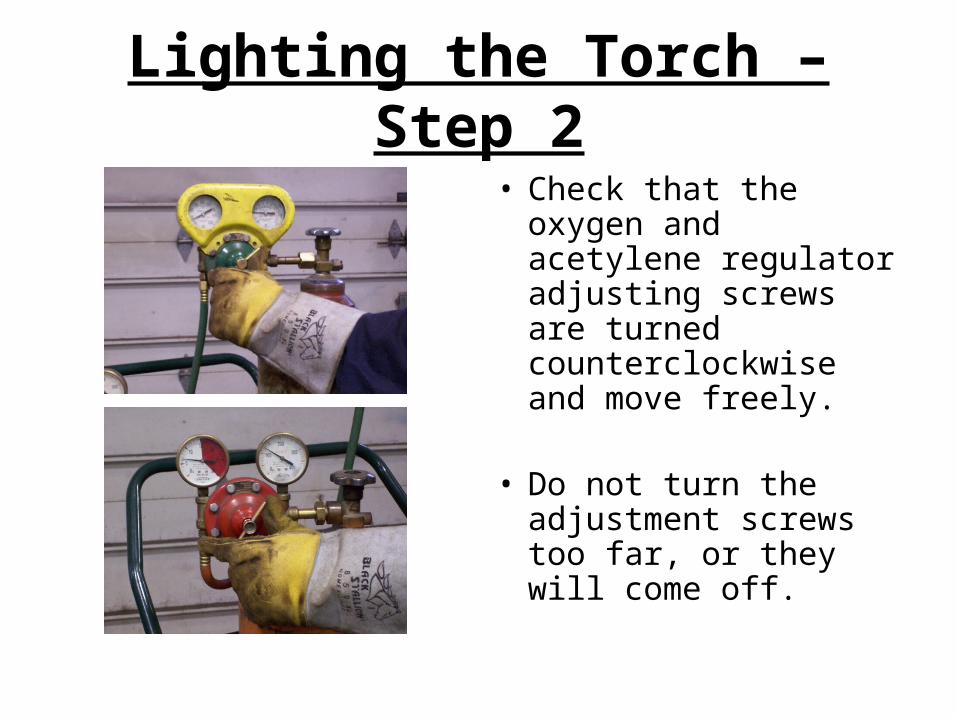
Lighting the Torch – Step 2
• Check that the oxygen and acetylene regulator adjusting screws are turned counterclockwise and move freely.
• Do not turn the adjustment screws too far, or they will come off.
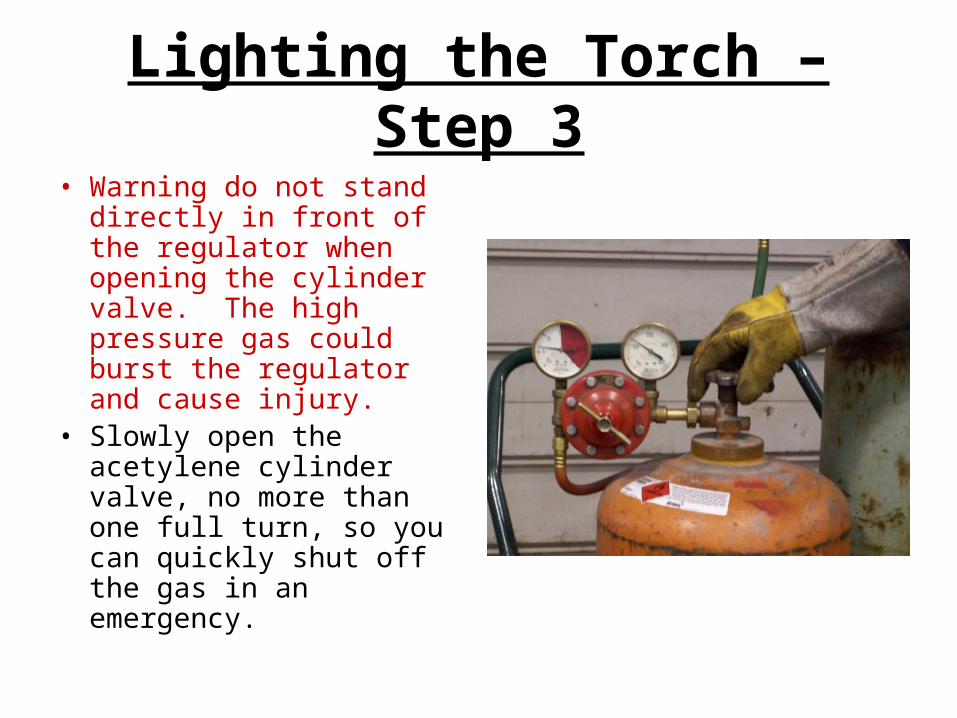
Lighting the Torch – Step 3
• Warning do not stand directly in front of the regulator when opening the cylinder valve. The high pressure gas could burst the regulator and cause injury.
• Slowly open the acetylene cylinder valve, no more than one full turn, so you can quickly shut off the gas in an emergency.
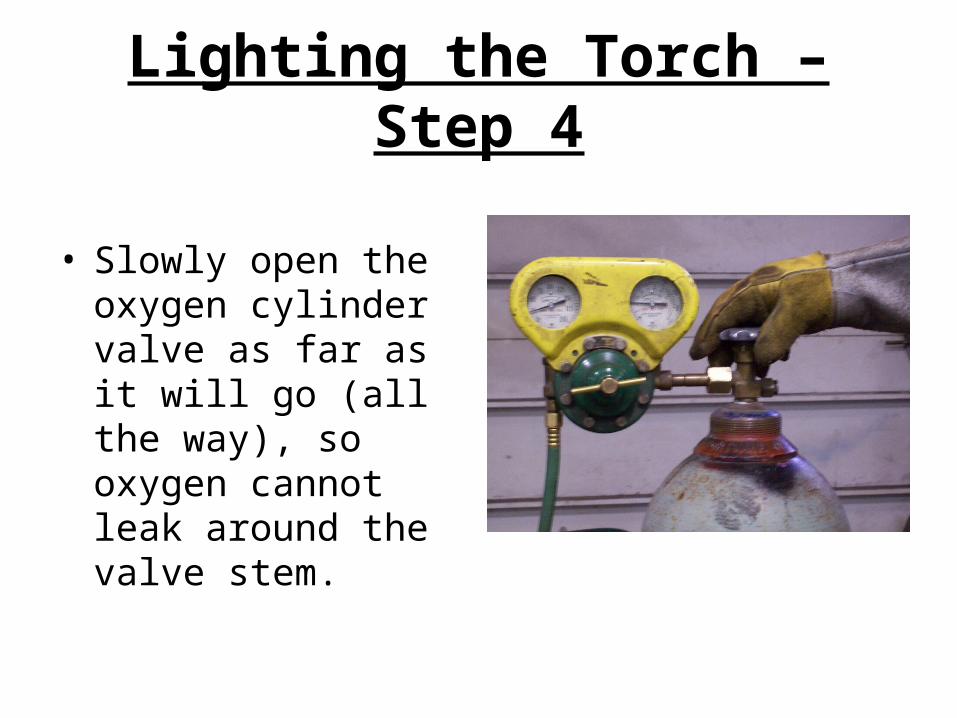
Lighting the Torch – Step 4
• Slowly open the oxygen cylinder valve as far as it will go (all the way), so oxygen cannot leak around the valve stem.
Lighting the Torch – Step 5
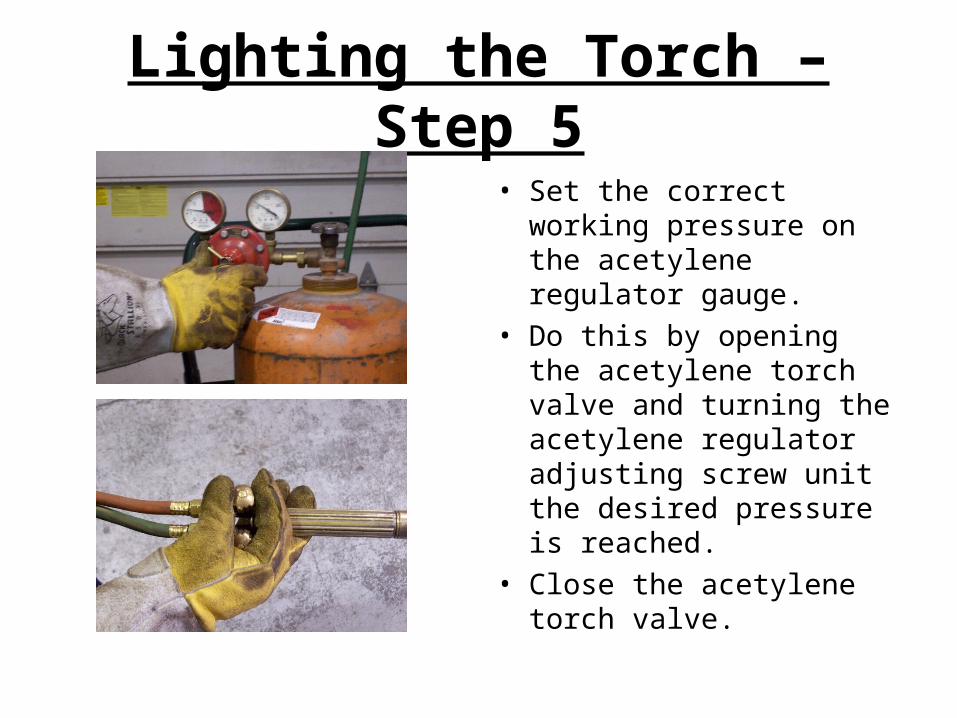
• Set the correct working pressure on the acetylene regulator gauge.
• Do this by opening the acetylene torch valve and turning the acetylene regulator adjusting screw unit the desired pressure is reached.
• Close the acetylene torch valve.
Lighting the Torch – Step 6
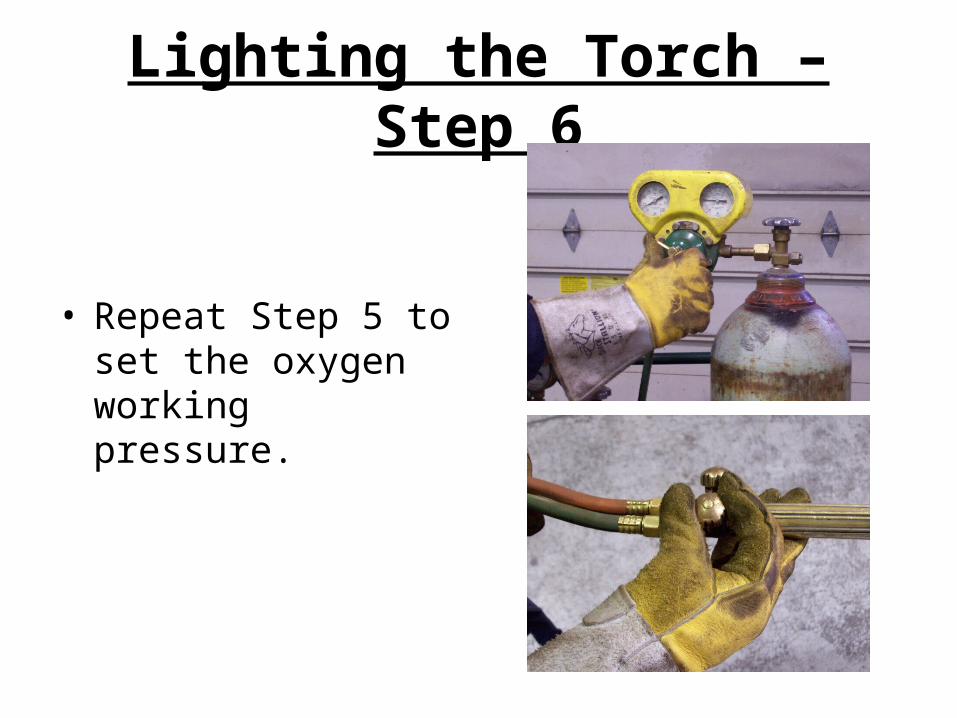
• Repeat Step 5 to set the oxygen working pressure.
Lighting the Torch – Step 7
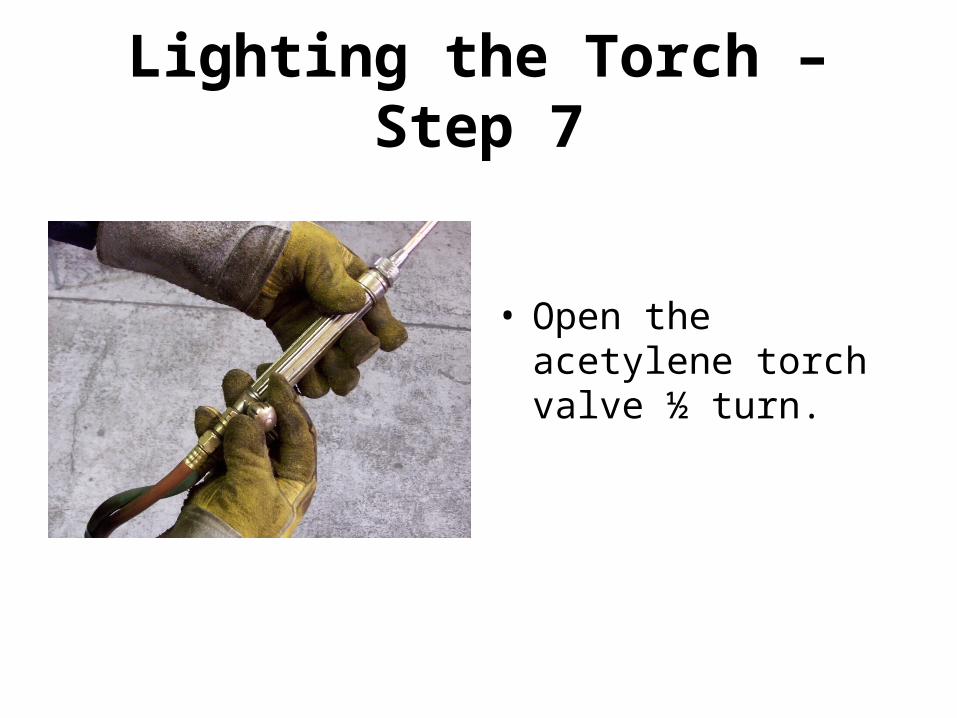
• Open the acetylene torch valve ½ turn.
Lighting the Torch – Step 8
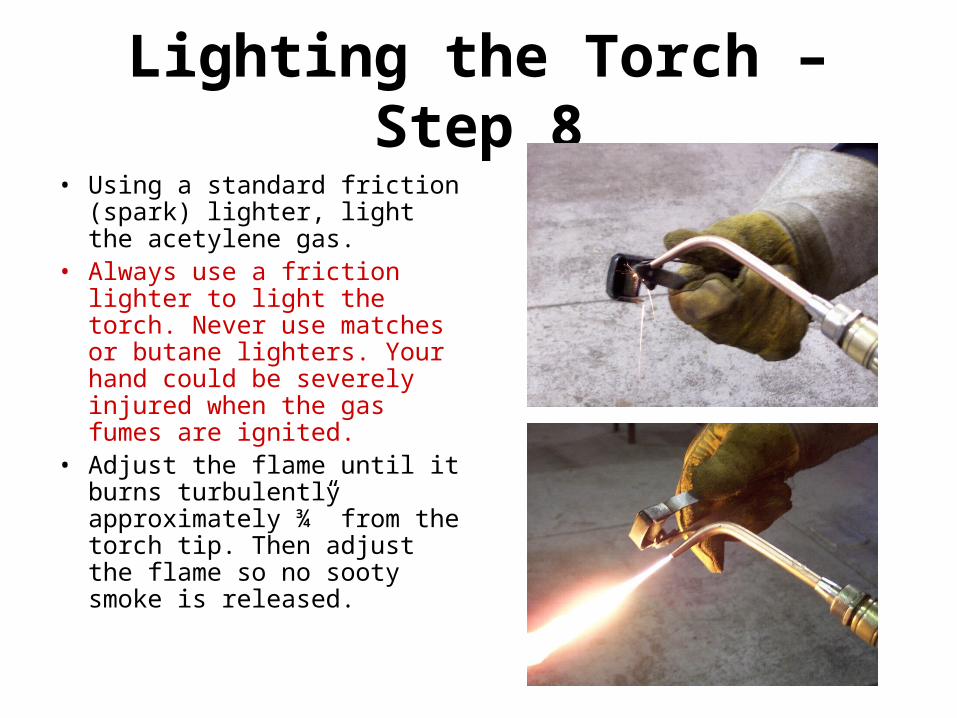
• Using a standard friction (spark) lighter, light the acetylene gas.
• Always use a friction lighter to light the torch. Never use matches or butane lighters. Your hand could be severely injured when the gas fumes are ignited.
• Adjust the flame until it burns turbulently approximately ¾” from the torch tip. Then adjust the flame so no sooty smoke is released.
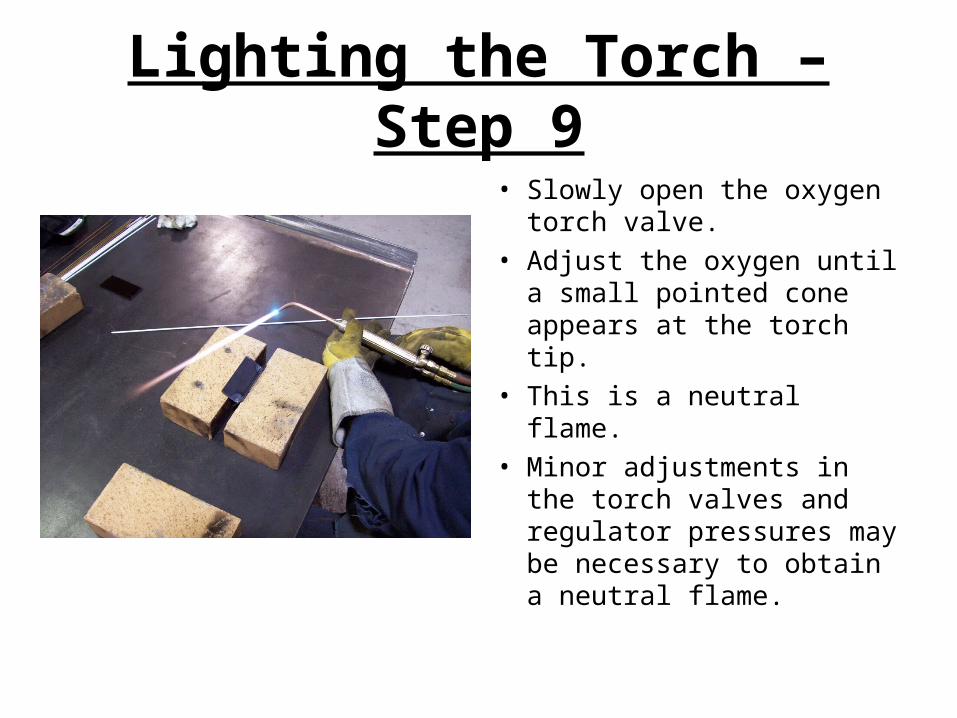
Lighting the Torch – Step 9
• Slowly open the oxygen torch valve.
• Adjust the oxygen until a small pointed cone appears at the torch tip.
• This is a neutral flame.• Minor adjustments in the
torch valves and regulator pressures may be necessary to obtain a neutral flame.
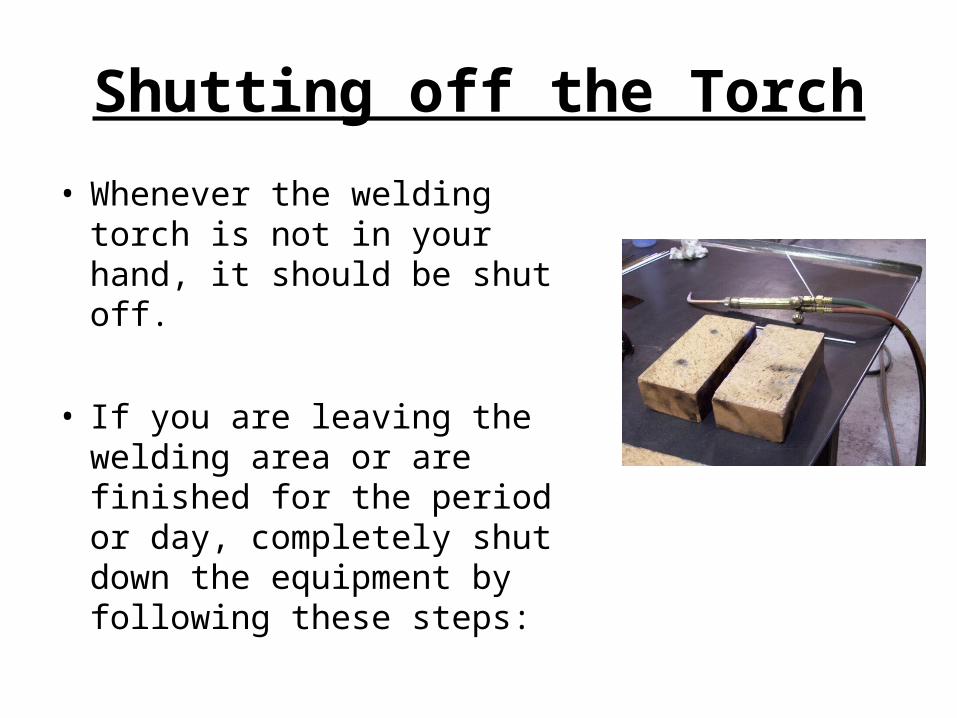
Shutting off the Torch
• Whenever the welding torch is not in your hand, it should be shut off.
• If you are leaving the welding area or are finished for the period or day, completely shut down the equipment by following these steps:
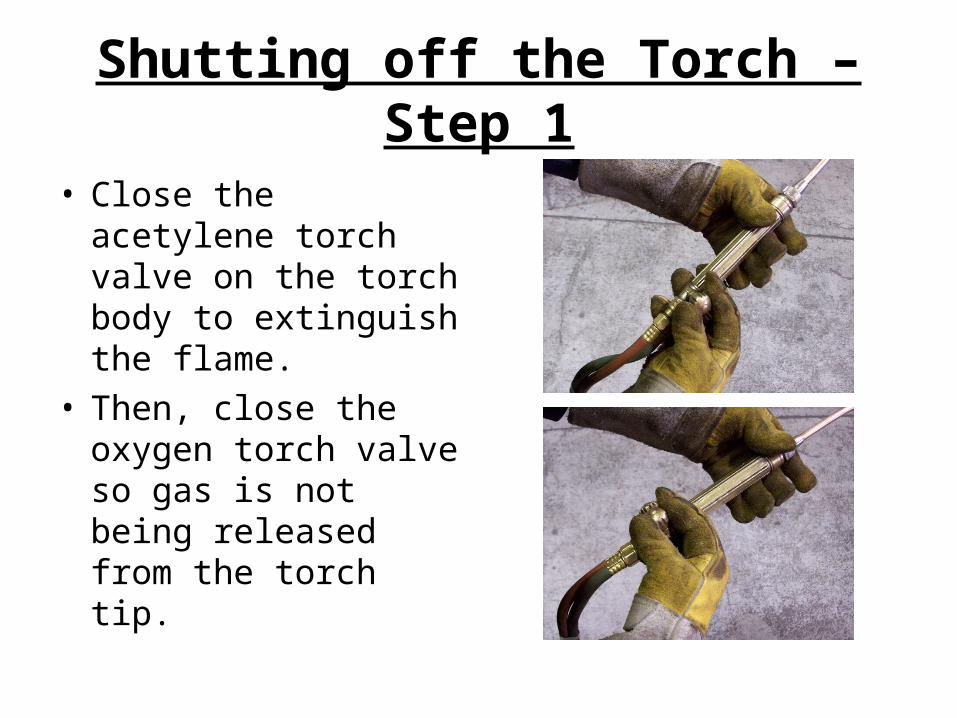
Shutting off the Torch – Step 1
• Close the acetylene torch valve on the torch body to extinguish the flame.
• Then, close the oxygen torch valve so gas is not being released from the torch tip.
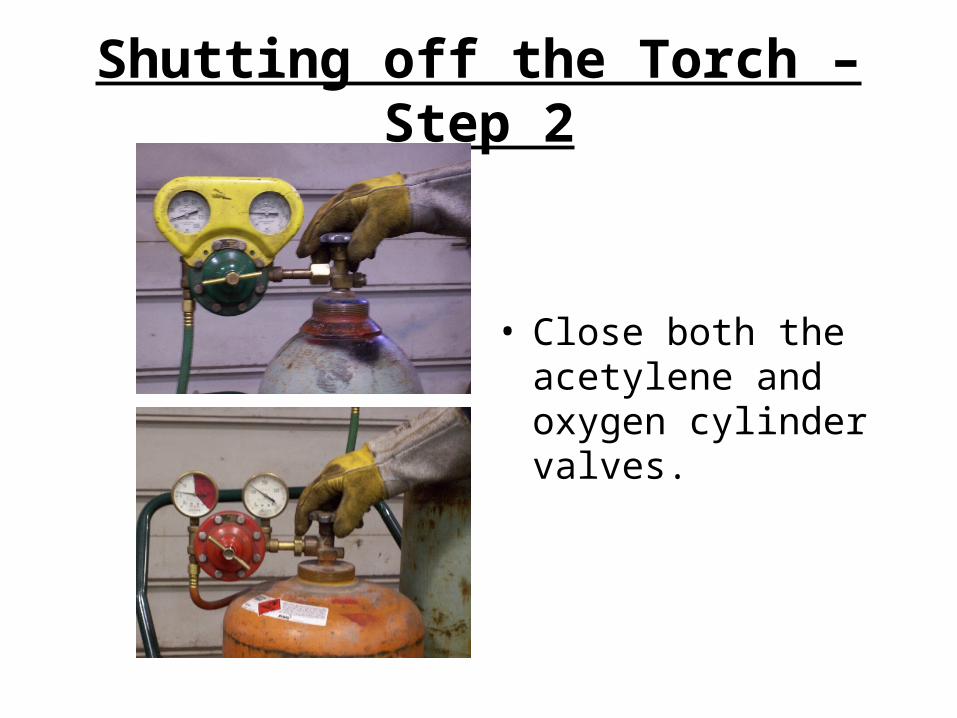
Shutting off the Torch – Step 2
• Close both the acetylene and oxygen cylinder valves.

Shutting off the Torch – Step 3
• Open both torch valves on the torch body to release any gas still in the lines (bleed the lines).
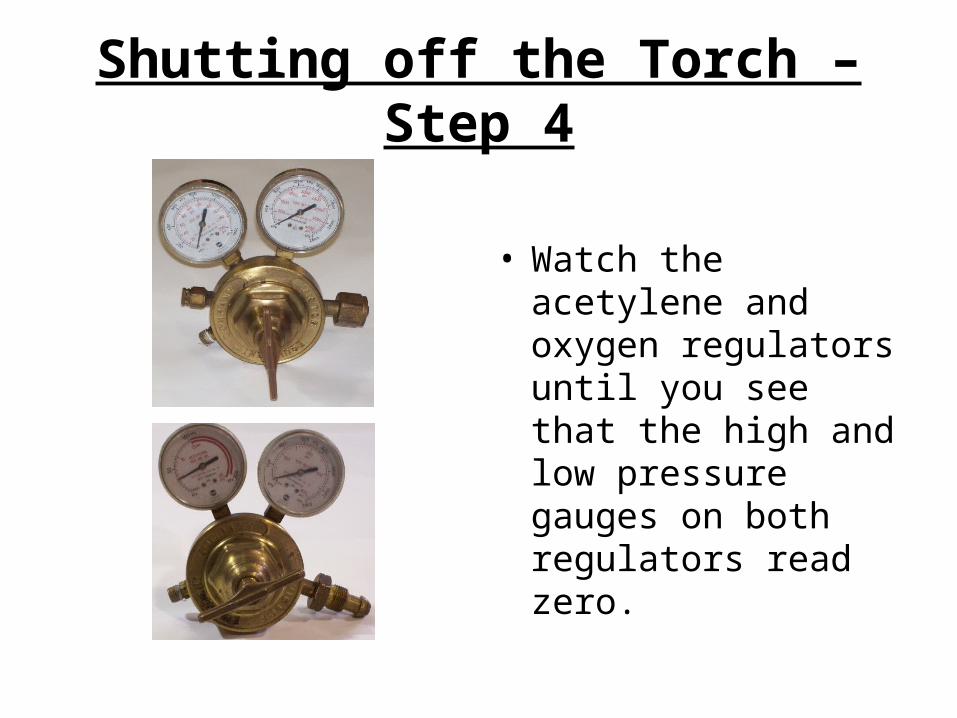
Shutting off the Torch – Step 4
• Watch the acetylene and oxygen regulators until you see that the high and low pressure gauges on both regulators read zero.
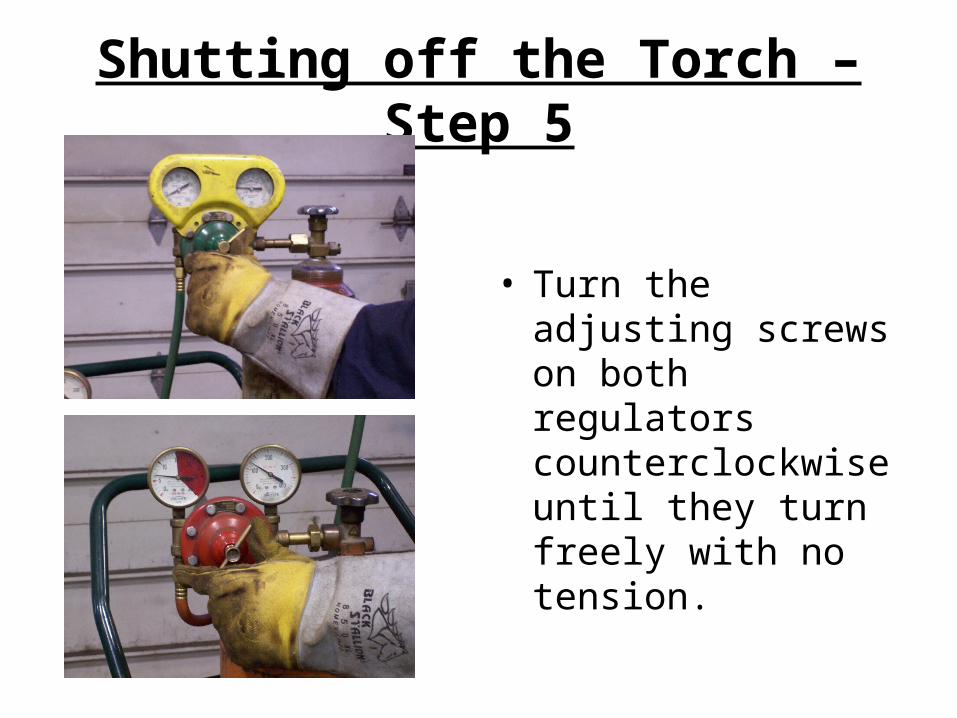
Shutting off the Torch – Step 5
• Turn the adjusting screws on both regulators counterclockwise until they turn freely with no tension.
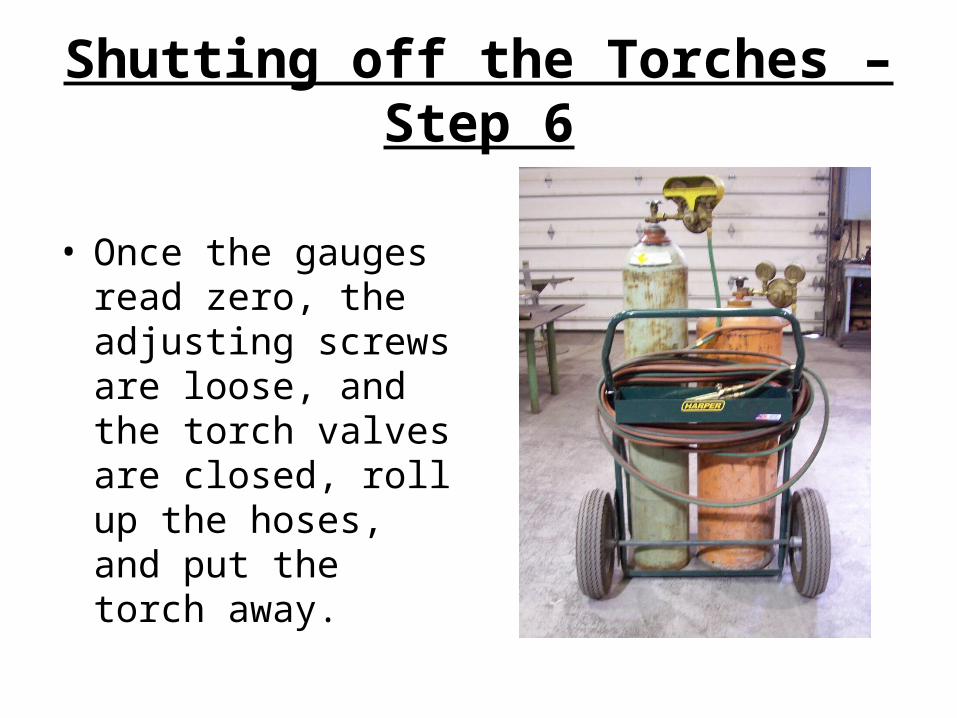
Shutting off the Torches – Step 6
• Once the gauges read zero, the adjusting screws are loose, and the torch valves are closed, roll up the hoses, and put the torch away.