Unit Circle Discovery Project
3
Unit Circle Discovery Teacher Instructions Adapted by Ashli Black from the work of Rhonda Davis who gave a presentation on her version at T3 2009 in Seattle, WA Supplies: Blank sheet, TI calculator, strip of paper (about 1 cm thick and at least as wide as the paper), and a copy of the worksheet for each group. Students will work: Individually or in pairs. I like pairs since one student can measure and the other can scribe the values onto the worksheet. Goals (in no particular order): Get the students used to listening to you for directions and identifying early which kids already have that skill and which will need a bit more chair monitoring (as in, you stand behind their chair to monitor them while talking). Introduction to trig as ratios that are concrete and true for every circle (and thus every triangle) and not some magical calculator button unhinged from reality. That “sin(30)” means you are asking for the ratio of the y-value of the right triangle that can be drawn in the circle to the radius of the circle (which is the hypotenuse of said right triangle). All triangles can have a circle drawn around them and all circles can have triangles drawn within them. I also like to emphasize how this type of pattern (that the ratio is the same over and over and over again at the same degree no matter the size of the circle/triangle) is part of what mathematics strives to describe and the thing that math does a great job making leverage of in situations that may not seem obvious (waves are just circles so I can use trig ratios to describe sound? Say wha?). Steps: 1. Make circles. Assign your groups and have students made a circle on their paper. Any circle. I always had mine grab things from around the room, use water bottles, compass’ if you have them, etc. They really need to be at least 5 inches across, however, or the measuring is going to be hard. I say it should be bigger than your fist. Each circle also needs to have the x and y axis marked off with (0, 0) at the center. If they drew it and have no idea how to find the middle, use the power of folded paper to assist. Two light folds and some back lighting will identify the middle pretty quickly. 2. Make rulers. Here’s where it gets interesting. Students are going to make a ruler out of something they have. Pencil widths, zippers, earrings, etc. I encourage the use of things about a 1 cm wide, though I try not to use that language. Using the object, they mark off the strip of paper from 0 to as far as they can go. 3. Use the protractor. They need to notch off the edge of the circle for the standard 16 points. Emphasize to put the points on the circle—for some reason that is a problem every year.
-
Upload
ashli-black -
Category
Documents
-
view
711 -
download
2
description
Using the unit circle and right triangles to help students understand the nature of sine & cosine.
Transcript of Unit Circle Discovery Project
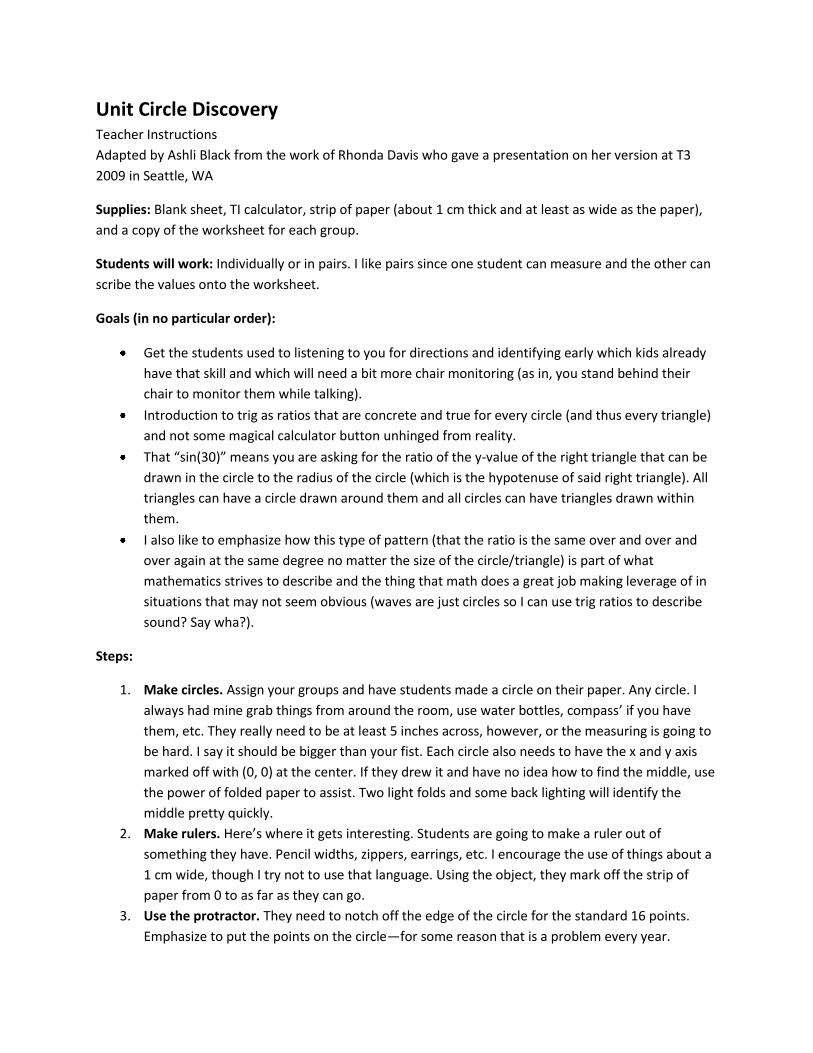
Unit Circle Discovery
Teacher Instructions
Adapted by Ashli Black from the work of Rhonda Davis who gave a presentation on her version at T3
2009 in Seattle, WA
Supplies: Blank sheet, TI calculator, strip of paper (about 1 cm thick and at least as wide as the paper),
and a copy of the worksheet for each group.
Students will work: Individually or in pairs. I like pairs since one student can measure and the other can
scribe the values onto the worksheet.
Goals (in no particular order):
Get the students used to listening to you for directions and identifying early which kids already
have that skill and which will need a bit more chair monitoring (as in, you stand behind their
chair to monitor them while talking).
Introduction to trig as ratios that are concrete and true for every circle (and thus every triangle)
and not some magical calculator button unhinged from reality.
That “sin(30)” means you are asking for the ratio of the y-value of the right triangle that can be
drawn in the circle to the radius of the circle (which is the hypotenuse of said right triangle). All
triangles can have a circle drawn around them and all circles can have triangles drawn within
them.
I also like to emphasize how this type of pattern (that the ratio is the same over and over and
over again at the same degree no matter the size of the circle/triangle) is part of what
mathematics strives to describe and the thing that math does a great job making leverage of in
situations that may not seem obvious (waves are just circles so I can use trig ratios to describe
sound? Say wha?).
Steps:
1. Make circles. Assign your groups and have students made a circle on their paper. Any circle. I
always had mine grab things from around the room, use water bottles, compass’ if you have
them, etc. They really need to be at least 5 inches across, however, or the measuring is going to
be hard. I say it should be bigger than your fist. Each circle also needs to have the x and y axis
marked off with (0, 0) at the center. If they drew it and have no idea how to find the middle, use
the power of folded paper to assist. Two light folds and some back lighting will identify the
middle pretty quickly.
2. Make rulers. Here’s where it gets interesting. Students are going to make a ruler out of
something they have. Pencil widths, zippers, earrings, etc. I encourage the use of things about a
1 cm wide, though I try not to use that language. Using the object, they mark off the strip of
paper from 0 to as far as they can go.
3. Use the protractor. They need to notch off the edge of the circle for the standard 16 points.
Emphasize to put the points on the circle—for some reason that is a problem every year.

4. Find the coordinates. Using their rulers, the groups now need to write the (x, y) coordinates of
each point to the nearest 10th. Some will try to go to the nearest 100th, which is a little silly given
the nature of how the ruler was made and I discourage it. They should start with 0 degrees
toward 90 degrees. This part is going to take time and you may be horrified at their inability to
find x and y coordinates with any form of accuracy. If a group figures out that each quadrant is
just going to be a reflection, that is awesome and give them freedom to rock on by copying quad
1. It did not happen as often as I expected, though it’s a good way to tell what kids are looking
for patterns and which ones are just following directions without any high brain functioning.
5. Putting things into the calculator. After the students are done with Q1, you’ll need to have
them pause to explain that what they are writing down is going to go into the calculator lists,
which is something that most of them have probably never used for math and the lists may be
messed up or missing. I have everyone reset their calculators because that is the easiest way to
make sure all the lists are there and empty. I demo typing things in under the doc cam using
student data and reminding them that due to the different circles and rulers that their data will
not look like the data around them.
a. L1 will be the degrees, 0 to 360.
b. L2 will be the x-values
c. L3 will be the y-values
6. Graphing. This is easier if you’ve had them reset their calcs since the y=’s screen will also now be
clear. For StatPlot1, have them set x’s to L1 and y’s to L2. I say that we are plotting the
horizontal distances of the 16 points as we follow them from 0 to 360, so counterclockwise,
around the circle. In order to see everything, they are going to need to set their WINDOW
correctly. Depending on time, you can write up the window or take suggestions on what would
work here (ex: the x-values should go from 0 to 360 b/c that’s what’s the range of L1, the y-
values should go from the smallest entry of L2 to the largest). The window part is also why I
have them put everything down on paper so they can see it at all times.
Once everything is set, they should be able to press GRAPH and then compare their screens with
those nearby and have everyone see the same shape. Ooh, and ahh and ask why. Ask about
graphs with strange points (typo! Bad data collection!).
7. Convert the data. On the worksheet there are two blank columns next to ‘horizontal’ and
‘vertical’. Here is where I have them calculate their actual data divided by the radius of their
circle. They should see that not only are their shapes of their data the same, but when viewed
through the lens of the ratio with the radius, their data is the same. I like to randomly call on
groups for their values for a few degrees in Q1 to hammer the point in.
8. Sketch the graphs. On the top two axis of the worksheet I have them graph degree vs.
horiz/radius and degree vs. vert/radius. The bottom is for degree vs. vert/horiz, which I like to
leave as homework since they will have to struggle a bit with the quandary of division by zero.
The last column is for them to write in the vert/horiz value. Some may remember asymptotes,
most will not.
9. The next day. So now they have cosine, sine, and tangent, all the same, from a bunch of
different circles and rulers. And that’s why trig is awesome—because it works all the time.

Other things:
I sometimes show them how to do List operations in the calculator because it’s a really quick
and easy way to do monotonous calculations quickly. In example, if L4 is highlighted in the List
screen, students can press ENTER and then at the bottom type in L2/[radius] ENTER to get all
the actual cosine values very quickly.
There is also lots of graphing on the calc can be done. Your call here. It is neat to put the data up
and then have them plot the actual trig function (make sure the MODE is degrees!) to see how
accurate their measurements were.
For a while after this when we are looking at triangles I like to ask them about what the circle
looks like that this triangle can be drawn within, calling back to the unit circle again and again
and again and similar triangles and how we’re just using one idea with many applications.
In the past I have posted the worksheets on the wall along with the circles they go to for
posterity during the trig units.