to download the Text Unbound technique PDF. - Create Mixed Media
5
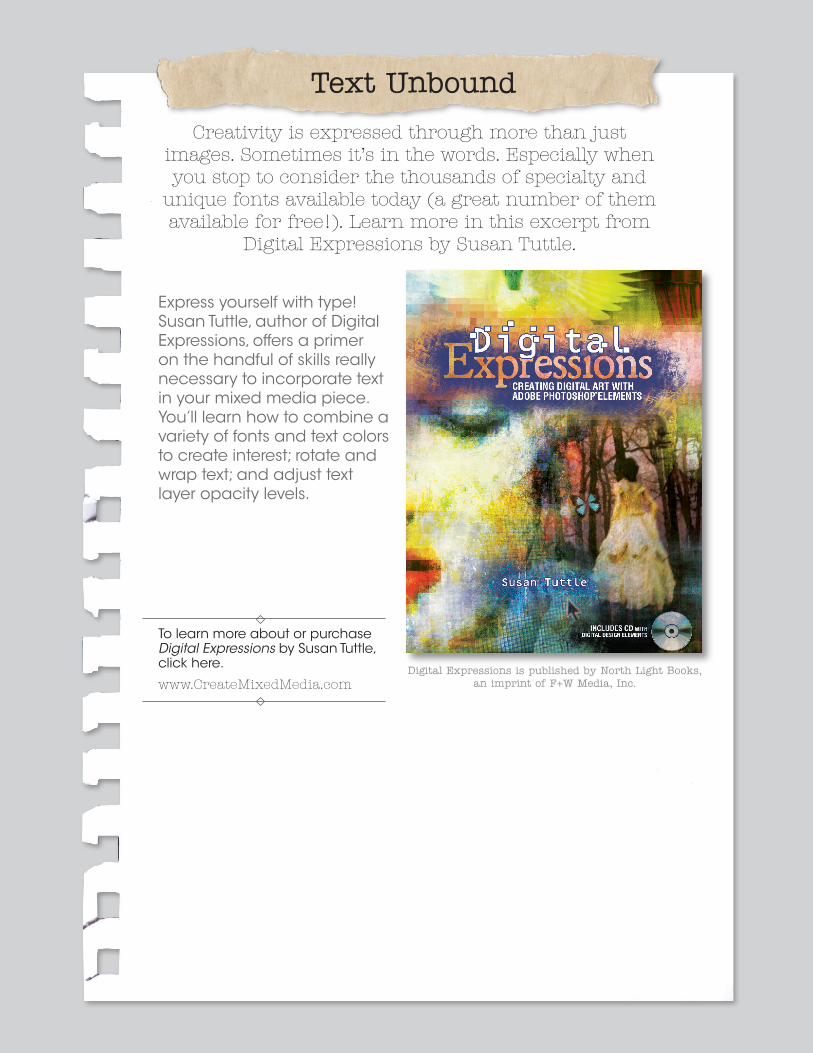
Text Unbound Creativity is expressed through more than just images. Sometimes it’s in the words. Especially when you stop to consider the thousands of specialty and unique fonts available today (a great number of them available for free!). Learn more in this excerpt from Digital Expressions by Susan Tuttle. Express yourself with type! Susan Tuttle, author of Digital Expressions, offers a primer on the handful of skills really necessary to incorporate text in your mixed media piece. You’ll learn how to combine a variety of fonts and text colors to create interest; rotate and wrap text; and adjust text layer opacity levels. To learn more about or purchase Digital Expressions by Susan Tuttle, click here. www.CreateMixedMedia.com Digital Expressions is published by North Light Books, an imprint of F+W Media, Inc.
Transcript of to download the Text Unbound technique PDF. - Create Mixed Media
Text Unbound
Creativity is expressed through more than just images. Sometimes it’s in the words. Especially when you stop to consider the thousands of specialty and
unique fonts available today (a great number of them available for free!). Learn more in this excerpt from
Digital Expressions by Susan Tuttle.
Express yourself with type! Susan Tuttle, author of Digital Expressions, offers a primer on the handful of skills really necessary to incorporate text in your mixed media piece. You’ll learn how to combine a variety of fonts and text colors to create interest; rotate and wrap text; and adjust text layer opacity levels.
To learn more about or purchase Digital Expressions by Susan Tuttle, click here.
www.CreateMixedMedia.comDigital Expressions is published by North Light Books,
an imprint of F+W Media, Inc.
30
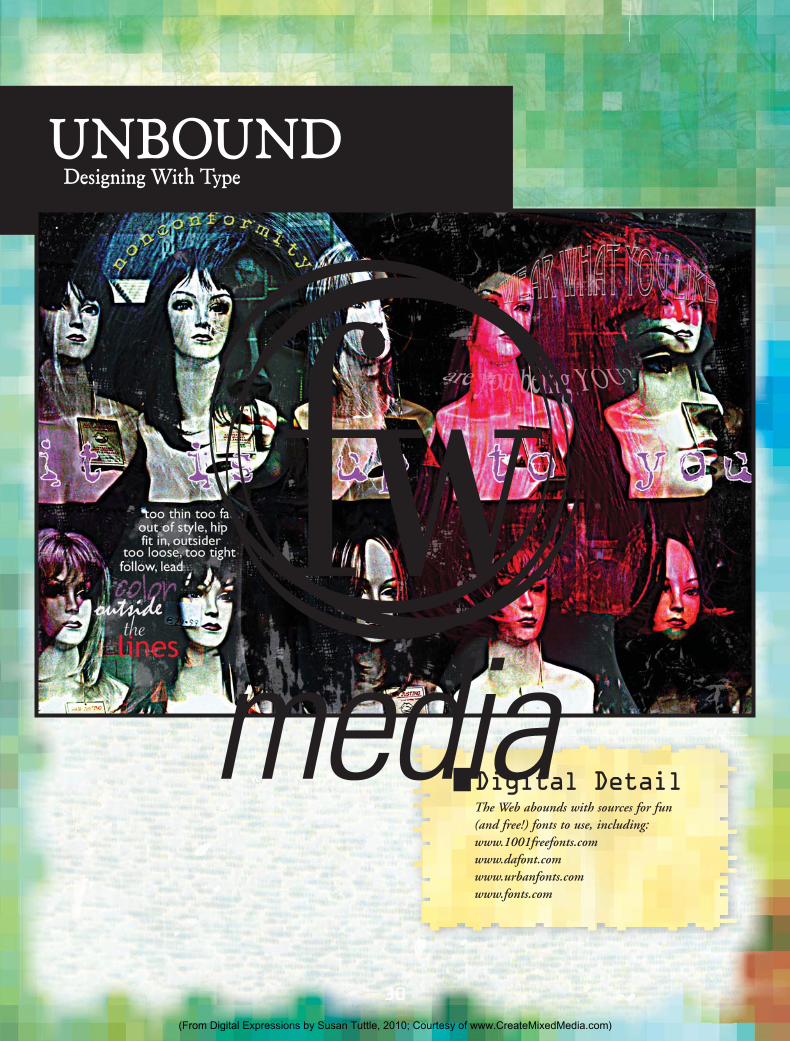
UNBOUNDDesigning With Type
Digital DetailThe Web abounds with sources for fun (and free!) fonts to use, including:www.1001freefonts.comwww.dafont.comwww.urbanfonts.comwww.fonts.com
Z3940_030-037.indd 30Z3940_030-037.indd 30 1/12/10 10:16:31 AM1/12/10 10:16:31 AM
(From Digital Expressions by Susan Tuttle, 2010; Courtesy of www.CreateMixedMedia.com)

31
Subject photos: two photos of different mannequins
Fonts: a variety
Custom brushes: grunge brushes
Sources for projectartwork
Mannequins: www.morguefile.com
Grunge brushes: www.obsidiandawn.com (found on www.deviantart.com as "redheadstock")
Duplicate a mannequin photoOpen the two photos of mannequins. Make a duplicate of one photo. This will be your working file.
1
Add other photo and adjust layerChange the Background layer of the working file to Layer 0. Then move the other mannequin photo (which will become Layer 1) into the work-ing file. Set the blending mode of Layer 1 to Linear Light and adjust the Opacity to 77%. Merge the two layers.
2
WHAT YOU'LL
NEED
DIGITAL MATERIALS
TECHNICAL SKILLS
Duplicating a file
Converting Background to Layer 0
Moving a file into another
Adjusting the blending mode of a layer
Adjusting the Opacity of a layer
Merging layers/flattening an image
Adjusting Sharpness
Using Tools:
Type Tool
Are you being you? At every turn, we are
bombarded with messages telling us how to
be. Sometimes they get so loud, we forget
to listen to our inner voice. Blaring are the
advertisements on what types of things we
must have. The media controls what informa-
tion we are exposed to and often dictates how
we should think. This piece is a reflection on
these observations, which I think about often
and try to be mindful of. It’s about clear-
ing away the noise, resisting conformity and
deciding for ourselves who we really are and
who we really want to be. It’s time to color
outside the lines.
This particular project will show you fun
ways to incorporate text in your piece. You’ll
learn how to combine a variety of fonts and
text colors to create interest, rotate and warp
text, and adjust text layer Opacity levels.
Z3940_030-037.indd 31Z3940_030-037.indd 31 1/12/10 10:17:11 AM1/12/10 10:17:11 AM
(From Digital Expressions by Susan Tuttle, 2010; Courtesy of www.CreateMixedMedia.com)

32
Adjust sharpnessOpen the Sharpness Menu and adjust the sharpness of your new Layer 0. Set the levels as follows: Amount: 500%; Radius: 8.0 pixels; Remove: Gaussian Blur; Angle: 0. Adjusting the sharpness to an extreme level makes the smooth, realistic quality of the mannequins transform into imagery that looks more like a painting or drawing.
3
Add text layersSelect the Type Tool. Type various phrases into different layers in the working file. Choose different fonts, sizes and colors for different phrases, and play with the warped text icon. Font, size, color selection and warped text controls appear in the Type Toolbar. Then change the Opacity of some of the text layers, as desired.
4
Add main text and apply custom brush Select a color and font. Type your main text across the image (here, I typed “it is up to you”). Then load a custom grunge brush (or just select a grunge-like brush in the Brushes Palette). In white at a low Opacity, stamp the brush all over the piece. Next, if you have a graphics tablet and pen, outline the text using the Pencil Tool. I used the Hard Mechanical 4 pixels brush located in the Basic Brushes palette. Alternatively, you can simply add a stroke to the letters. First go to LAYER>SIMPLIFY LAYER. Then EDIT>STROKE (OUTLINE) SELECTION. Choose a width of 1 pixel and adjust the other settings as desired. When the piece is complete, flatten the image and save the file.
5
Digital DetailHere are some tips for working creatively with text:• When you are experimenting with
warped text, you may also want to try more styles in the Style drop-down menu in the Type Toolbar.
• Try rotating some text layers for added interest.
• You can add effects to your text using the various options in the Effects Palette.
Z3940_030-037.indd 32Z3940_030-037.indd 32 1/12/10 10:17:51 AM1/12/10 10:17:51 AM
(From Digital Expressions by Susan Tuttle, 2010; Courtesy of www.CreateMixedMedia.com)

33
INSPIRATION
UNTITLED | BY CHRIS BROWN
"With all my designs, it’s about striking a perfect balance between the photo and the graphic elements," says Chris. He designed this unpublished layout for his magazine Refueled. Instead of using the Text Tool to achieve warped text, Chris used sets of custom brushes designed with text.
CREDITSPhoto: Cheryl SchulkeSoftware: Adobe Photoshop CS2 and Adobe Illustrator CS2
Technique to TryInstead of using the Type Tool to achieve rotated and warped text, download and install a variety of custom brush alphabets. (Check out the selection of custom alphabet brushes at www.graphicxtras.com.)
Z3940_030-037.indd 33Z3940_030-037.indd 33 1/12/10 10:18:22 AM1/12/10 10:18:22 AM
(From Digital Expressions by Susan Tuttle, 2010; Courtesy of www.CreateMixedMedia.com)