Theming Guide
24
The Ultimate Android Themeing Guide By Jairomeo, Manup456, ArmyRanger251, Stericson, Brandenk, SirMex, Beagz, david1171_
-
Upload
linh-break -
Category
Documents
-
view
241 -
download
0
Transcript of Theming Guide

8/3/2019 Theming Guide
http://slidepdf.com/reader/full/theming-guide 1/24
The Ultimate Android Themeing GuideBy
Jairomeo,
Manup456,
ArmyRanger251,
Stericson,
Brandenk, SirMex, Beagz, david1171_

8/3/2019 Theming Guide
http://slidepdf.com/reader/full/theming-guide 2/24
Contents 1. What tools do you need? ...................................................................................................................... 4
2. The Basics .............................................................................................................................................. 4
2.1. A How to from BrandenK ................................................................................................................. 4
3. The Infamous .9.png ............................................................................................................................. 6
3.1. What is a .9 ................................................................................................................................... 6
4. XML Files ............................................................................................................................................... 6
4.1. List of Files to edit ......................................................................................................................... 7
4.2. Examples of xml editing ................................................................................................................ 7
4.3. Links for XML edits ...................................................................................................................... 15
5. Smali Files ............................................................................................................................................ 15
5.1. A lesson in 1’s complement ............................................................................................................ 16
6. MetaMorph ......................................................................................................................................... 18
7. Zipalign ................................................................................................................................................ 18
8. Signing ................................................................................................................................................. 19
9. Other modifications ............................................................................................................................ 20
10. Other Resources .............................................................................................................................. 20
Appendices .................................................................................................................................................. 20
A. Appendix A – XML Edits How to by Stericson ..................................................................................... 20
B. Appendix B .......................................................................................................................................... 24

8/3/2019 Theming Guide
http://slidepdf.com/reader/full/theming-guide 3/24

8/3/2019 Theming Guide
http://slidepdf.com/reader/full/theming-guide 4/24
1. What tools do you need? This is a list of tools you will want or need to have to begin themeing
1) Android SDK http://developer.android.com/sdk/index.html
2) Eclipse http://www.eclipse.org/downloads/ 3) AXMLPrinter http://forum.xda‐developers.com/showthread.php?t=514412
a. This will convert XML’s to txt files
4) Color Change jar http://forum.xda‐
developers.com/showthread.php?t=535630&highlight=colorChange
a. This no longer works for some ROMs so we will need smali and baksmali
5) Ultimate Extractor
6) Smali and Baksmali http://code.google.com/p/smali/downloads/list
7) Signing
Tool
http://forum.xda‐
developers.com/showthread.php?t=473580&highlight=signing
8) Photo‐editing software
a. Photoshop
b. Paint.net
c. GIMP
9) Git for windows http://github.com/guides/using‐git‐and‐github‐for‐the‐windows‐for‐newbies
a. If you’re using Linux then you don’t need this, but will help if in windows
10) HxD or something else to edit the XML files, and TextPad or something else to edit smali files.
Don’t use the notepad in windows, this will add in the return characters and screw things up.
11) An Image optimizer (PNG Gauntlet, or something like that, will help reduce the size of your
theme, which
keeps
better
performance)
2. The Basics 2.1. A How to from BrandenK
I know there are a million and 1 walkthroughs on here for creating themes but after doing it for a while I
have really refined my process and made it as easy as possible. Im just hoping to clear up some of the
confusion so
after
you
know
how
to
sign
your
files
you
will
know
how
to
finish
making
them
into
your
own custom theme.
First you need to get signing setup properly. This topic is covered in many places and my
recommendation is to use the Stericson walkthrough or the Stericson auto‐signing setup tool. Once you
can click on any zip or apk file and get the option to Resign it, you are ready to proceed with making
your own theme.

8/3/2019 Theming Guide
http://slidepdf.com/reader/full/theming-guide 5/24
1. Download an archive manager that allows you to open archives inside of archives without creating
new windows. My recommendation for this is the application 7‐zip. It is tiny, free, easy to use, and on all
my computers it has replaced winzip and winrar.
2. Now
take
a theme
.zip
file
from
a ROM
maker
or
you
can
use
another
theme
as
your
starting
point.
You should also have the original ROM so if there is a problem you can easily reflash back to the default
ROM to overwrite any issues.
3. Open the .zip and inside are typically 3 files, framework, system or app, and META‐INF. Leave META‐
INF alone, you won’t be touching that, this area tells the phone where to install the folders. Inside
framework and system/app is where the files are that you can change. In this case we will open the .zip,
then double click framework and then double click framework‐res.apk (this is where the next archive
will open inside the same window, your life just got a little easier).
4. Now
you
are
looking
at
assets,
META
‐INF,
res,
and
a couple
other
random
files.
Now
open
up
the
folder res and you will see the treasure we are searching for, folders with the name drawable. All of the
folders that start with the name drawable are where we can edit the themes; this includes drawable,
drawable‐land, drawable‐port, and drawable‐finger.
5. Now drag and drop the folders drawable and drawable‐land onto the desktop. Once they are on the
desktop you can edit the .png files in those folders until you are ready to put your theme together.
6. Now in your still open window at \framework\framework‐res.apk\res\ you will open the drawable
folders one at a time and drag and drop your edited files into the archive, only dragging and dropping
the files you edited and not just everything inside the folder.
7. Once you have your new images copied into the archive in the correct place you can just hit the close
button or browse up a couple directories and find other files to edit. Any time you edit an apk and
browse out of it or close it you will be prompted to update it in the archive by 7‐zip (this is my secret
shortcut), always press ok.
8. Now you have a freshly created theme ready to install, all you have to do is right click, chose to Resign
the file, and once it’s done you can copy it to your SDcard and flash your new theme.
It’s literally that easy! And you use this same technique in the system/app folder to edit the apk files for
the individual apps on the phone. Explore around in the theme's .zip and see what you can find, I only
told you about the major items but there is plenty more to find and change. You can always copy a
folder out of the archive and if you can’t edit anything just toss it but if you can find something to edit,
do so and throw it back in the archive. You guys now have all the info I had when I started plus all my
tricks to making that process 10x easier.

8/3/2019 Theming Guide
http://slidepdf.com/reader/full/theming-guide 6/24
3. The Infamous .9.png 3.1. What is a .9
To get
started
here
are
some
links
about
.9’s
and
there
tools.
This first link is from the Android source itself and the draw9patch tool that comes with the Android SDK
http://developer.android.com/guide/developing/tools/draw9patch.html
This link is one written on XDA with some tips on using Photoshop to create .9’s
http://forum.xda‐developers.com/showthread.php?t=580351
More information on .9’s from XDA
http://forum.xda‐developers.com/showthread.php?p=3385304#post3385304
Unless you are trying to change the size of images or anything, you really don’t need to mess with the
headaches of making your own .9 files, which is where I give my tip:
Download the source code from either Cyanogen’s github or from the Android source itself.
Android Source ‐ https://android.git.kernel.org/
Cyanogen’s github ‐ http://github.com/cyanogen
The apps themselves should be pretty straight forward to find. Inside the apk’s you’ll see the icons,
which usually
starts
with
ic_launcher,
and
whatever
else
is
along
with
it.
The framework‐res is not so much. This can be found in android_frameworks_base/core/res if you are
looking at Cyanogen’s or platform/frameworks/base.git if you are getting it from the Android Source.
The framework‐res.apk contains most of the images you see, the text fields, buttons, the status bars,
status bar icons, most of the menu icons (including ones you see inside apps) the title bars, etc. This is
where most of the theme work goes on.
4. XML Files As
provided
earlier
one
of
the
easiest
things
to
start
with
is
getting
the
AXMLPrinter
tool
and
also
having
HxD or any another software that will allow you to open and edit the XML files. Another tool for
AXMLPrinter is a GUi interface that BigBeadMDC on Modaco made, that deanesn lead me to. The GUI
can be found at http://android.modaco.com/content/t‐mobile‐pulse‐pulse‐modaco‐
com/304547/android‐xml‐decompiler/#entry1217176
8/3/2019 Theming Guide
http://slidepdf.com/reader/full/theming-guide 7/24
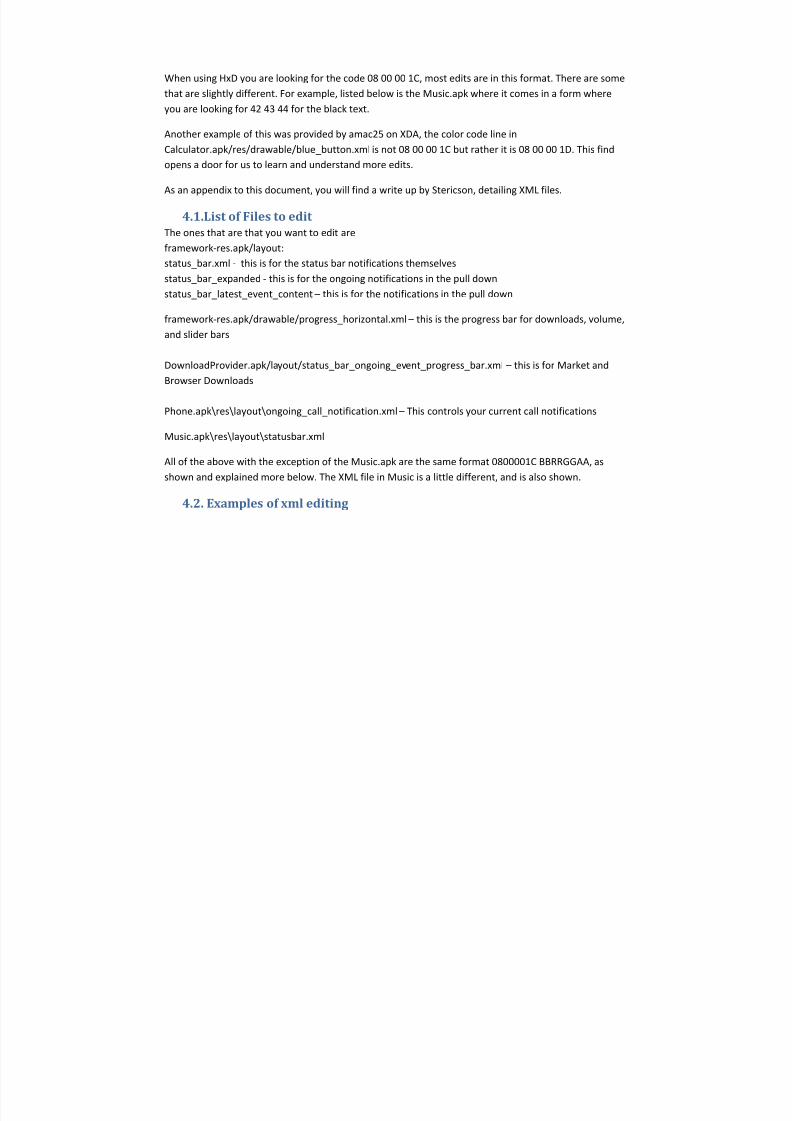
When using HxD you are looking for the code 08 00 00 1C, most edits are in this format. There are some
that are slightly different. For example, listed below is the Music.apk where it comes in a form where
you are looking for 42 43 44 for the black text.
Another example of this was provided by amac25 on XDA, the color code line in
Calculator.apk/res/drawable/blue_button.xml is
not
08
00
00
1C
but
rather
it
is
08
00
00
1D.
This
find
opens a door for us to learn and understand more edits.
As an appendix to this document, you will find a write up by Stericson, detailing XML files.
4.1. List of Files to edit The ones that are that you want to edit are
framework‐res.apk/layout:
status_bar.xml ‐ this is for the status bar notifications themselves
status_bar_expanded ‐ this is for the ongoing notifications in the pull down
status_bar_latest_event_content – this is for the notifications in the pull down
framework‐res.apk/drawable/progress_horizontal.xml – this is the progress bar for downloads, volume,
and slider bars
DownloadProvider.apk/layout/status_bar_ongoing_event_progress_bar.xml – this is for Market and
Browser Downloads
Phone.apk\res\layout\ongoing_call_notification.xml – This controls your current call notifications
Music.apk\res\layout\statusbar.xml
All of the above with the exception of the Music.apk are the same format 0800001C BBRRGGAA, as
shown and explained more below. The XML file in Music is a little different, and is also shown.
4.2. Examples of xml editing

8/3/2019 Theming Guide
http://slidepdf.com/reader/full/theming-guide 8/24
Figure 4‐1 ‐ progress_horizontal.xml by Beagz

8/3/2019 Theming Guide
http://slidepdf.com/reader/full/theming-guide 9/24
Notes from David1171 on editing the progress horizontal
In progress_horizontal.xml there are 9 instances for 08 00 00 1C, the first 3 are the background colors,
the next 6 are for the bar itself.
Make
the
first
three
the
same
color
and
the
last
6
the
same
color.
When you enter the code into HxD it will have to be reversed to BBGGRRAA. though the individual parts
of the code itself will not be flipped. so from the example above 8F will still be 8F not F8. (got it so far)
for example we have RRGGBB=13DAF5 (i have no clue what color this is) we will invert it for HxD into
BBGGRR=F5DA13.
• Now we can edit the .xml
• Open the .xml with HxD
• Press ctrl+f then enter into search for: 08 00 00 1C
• For data type select hex values
• For search direction select forward.
• Don’t worry about Unicode string or case sensitive.
• Once you get to the color code, just enter the hex code you got using the method above.
Below is an example of things you can do when playing around with it. This is mine from Flavored Ice.
You can see that I faded the background (which means I didn’t listen to David)

8/3/2019 Theming Guide
http://slidepdf.com/reader/full/theming-guide 10/24

8/3/2019 Theming Guide
http://slidepdf.com/reader/full/theming-guide 11/24
Figure 4‐2 status_bar.xml

8/3/2019 Theming Guide
http://slidepdf.com/reader/full/theming-guide 12/24
Figure 4‐3 status_bar_expanded.xml

8/3/2019 Theming Guide
http://slidepdf.com/reader/full/theming-guide 13/24
Figure 4‐4 status_bar_latest_content.xml

8/3/2019 Theming Guide
http://slidepdf.com/reader/full/theming-guide 14/24
Figure 4‐5 Music.apk\res\layout\statusbar.xml

8/3/2019 Theming Guide
http://slidepdf.com/reader/full/theming-guide 15/24
In the music example, you will see I circled 44 and 45. These reference black text. To change these to
white, you will need to change them to 41 and 42 respectively.
4.3. Links for XML edits http://forum.xda‐developers.com/showthread.php?t=479019
5. Smali Files Commands for using smali and baksmali –
java -jar baksmali-0.93.jar -o <output directory> <.dex file, typically
classes.dex>
For example: java -jar baksmali-0.93.jar -o out/rogers/dexout/ rogers-
classes.dex
java -Xmx512M -jar smali-0.92.jar <output directory from above step> -o <name
for new .dex output file>
For example: java -Xmx512M -jar smali-0.92.jar out/rogers/dexout/ -o new-rogers.dex
First smali file to edit \com\android\server\status\StatusBarIcon.smali
.line 46
const/high16 v6, -0x100
invoke-virtual {v4, v6}, Landroid/widget/TextView;->setTextColor(I)V
This is the change for the clock color. The ‐0x100 indicates black as the color, change this to
const v6, -0x1
Where ‐0x1 indicates white. If you want to use colors, you can use HEX color codes, however the code in
the small is 1’s complement of the RRGGBB code. I have provided a brief lesson in Hex, Binary and 1’s
complement in Section 5.1

8/3/2019 Theming Guide
http://slidepdf.com/reader/full/theming-guide 16/24
The following are located in \com\android\server\status\StatusBarService,smali
// date color
iput-object v7, p0, Lcom/android/server/status/StatusBarService;-
>mDateView:Lcom/android/server/status/DateView;
// ongoing coloriput-object v7, p0, Lcom/android/server/status/StatusBarService;-
>mOngoingTitle:Landroid/widget/TextView;
// latest color
iput-object v7, p0, Lcom/android/server/status/StatusBarService;-
>mLatestTitle:Landroid/widget/TextView;
// no notifications color
iput-object v7, p0, Lcom/android/server/status/StatusBarService;-
>mNoNotificationsTitle:Landroid/widget/TextView;
// roam text color
iput-object v7, p0, Lcom/android/server/status/StatusBarService;-
>mSpnLabel:Landroid/widget/TextView;
// network text color
iput-object v7, p0, Lcom/android/server/status/StatusBarService;-
>mPlmnLabel:Landroid/widget/TextView;
Above each of these lines you will want to add
const v8, -0x1
invoke-virtual {v7, v8}, Landroid/widget/TextView;->setTextColor(I)V
Where‐0x1
is
giving
it
a white
text
property.
Again,
you
can
make
this
a color,
given
the
instructions
below.
http://forum.xda‐developers.com/showpost.php?p=4152564&postcount=2
Tips for editing smali http://forum.xda‐developers.com/showpost.php?p=5573736&postcount=3
Stericson’s video tutorials on smali http://alldroid.org/threads/13647‐How‐to‐Smali‐
Baksmali?p=512372#post512372
5.1.
A lesson
in
1’s
complement
As stated above, the color codes in smali are 1’s complement Hex codes. This means they are in Hex, but
we have to add some math to convert them to be able to use them.
You first start with the Hex color code you want to use. You will have to first convert your number into
binary, instead of making you have to look that up, I have included tables below. You will then invert the
binary digit (0 becomes 1 and 1 becomes 0) and then you will want to convert this back into Hex. This is
the color you want to use in the smali file.

8/3/2019 Theming Guide
http://slidepdf.com/reader/full/theming-guide 17/24
Hex
Code
Binary
Code
1’s
complement
binary
New
Hex
0
0000
1111
F
1 0001 1110 E
2 0010 1101 D
3 0011 1100 C
4 0100 1011 B
5 0101 1010 A
6 0110 1001 9
7 0111 1000 8
8 1000 0111 7
9 1001 0110 6
A 1010 0101 5
B 1011 0100 4
C 1100 0011 3
D 1101 0010 2
E 1110 0001 1
F 1111 0000 0

8/3/2019 Theming Guide
http://slidepdf.com/reader/full/theming-guide 18/24
To provide an example for you to follow, the Hex code I use is 0DA4F1 to convert this using the table,
• 0 becomes F
• D becomes 2
• A becomes
5
• 4 becomes B
• F becomes 0
• 1 becomes E
So we now have F25B0E, so your smali edit will become ‐0xF25BOE
6. MetaMorph Video tutorial by Stericson on creating the new .xml file for use on MetaMorph:
• http://www.youtube.com/watch?v=Mq4AuHKzNFo
David1171’s write up for the file
• http://forum.xda‐developers.com/showpost.php?p=6163180&postcount=49
A converter to convert old .thm to .xml by danation
• http://forum.xda‐developers.com/showthread.php?t=663686
7. Zipalign Zipalign is something a lot of people don’t know about, and even when they do, they don’t use it. The
definition by Google on zipalign is:
zipalign is an archive alignment tool that provides important optimization to Android application
(.apk) files. The purpose is to ensure that all uncompressed data starts with a particular
alignment relative to the start of the file. Specifically, it causes all uncompressed data within the
.apk, such as images or raw files, to be aligned on 4‐byte boundaries. This allows all portions to
be accessed
directly
with
mmap() even
if they
contain
binary
data
with
alignment
restrictions.
The benefit is a reduction in the amount of RAM consumed when running the application.
This tool should always be used to align your .apk file before distributing it to end‐users. The
Android build tools can handle this for you. When using Eclipse with the ADT plugin, the Export
Wizard will automatically zipalign your .apk after it signs it with your private key. The build
scripts used when compiling your application with Ant will also zipalign your .apk, as long as you
8/3/2019 Theming Guide
http://slidepdf.com/reader/full/theming-guide 19/24
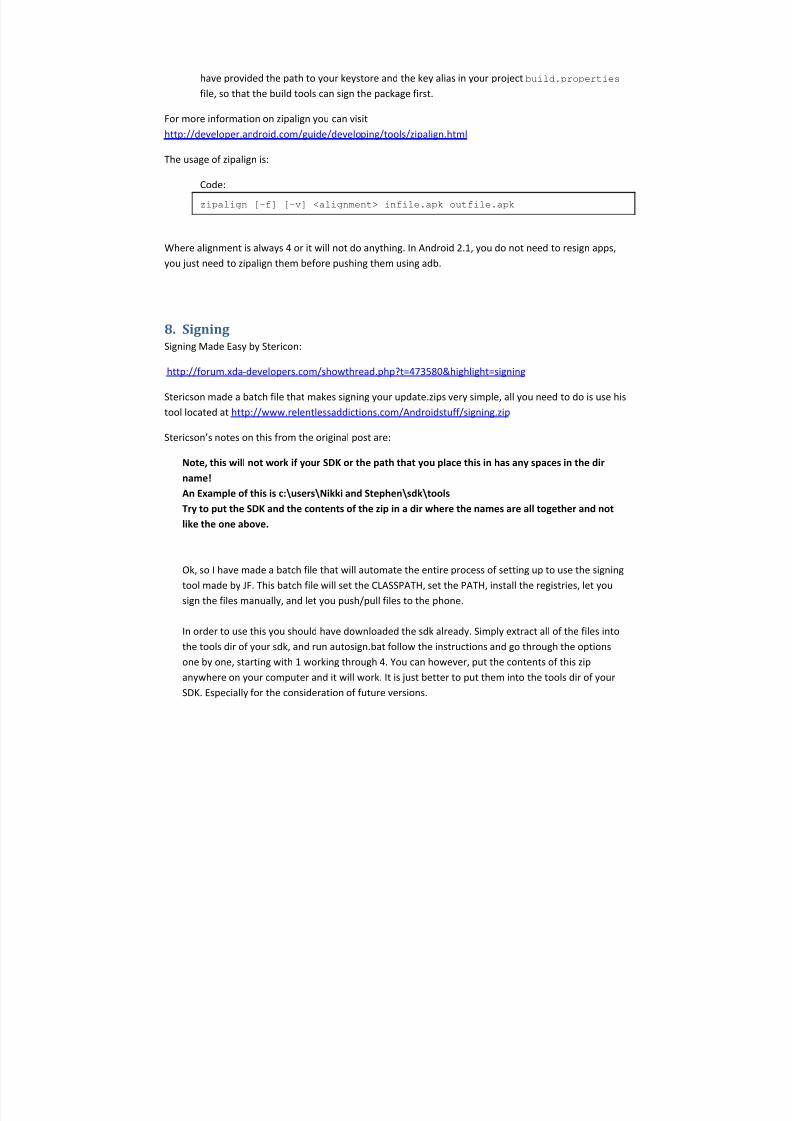
have provided the path to your keystore and the key alias in your project build.properties
file, so that the build tools can sign the package first.
For more information on zipalign you can visit
http://developer.android.com/guide/developing/tools/zipalign.html
The usage of zipalign is:
Code:
zipalign [-f] [-v] <alignment> infile.apk outfile.apk
Where alignment is always 4 or it will not do anything. In Android 2.1, you do not need to resign apps,
you just need to zipalign them before pushing them using adb.
8. Signing Signing Made Easy by Stericon:
http://forum.xda‐developers.com/showthread.php?t=473580&highlight=signing
Stericson made a batch file that makes signing your update.zips very simple, all you need to do is use his
tool located at http://www.relentlessaddictions.com/Androidstuff/signing.zip
Stericson’s notes on this from the original post are:
Note, this will not work if your SDK or the path that you place this in has any spaces in the dir
name!
An Example of this is c:\users\Nikki and Stephen\sdk\tools
Try to put the SDK and the contents of the zip in a dir where the names are all together and not
like the one above.
Ok, so I have made a batch file that will automate the entire process of setting up to use the signing
tool made by JF. This batch file will set the CLASSPATH, set the PATH, install the registries, let you
sign the files manually, and let you push/pull files to the phone.
In order to use this you should have downloaded the sdk already. Simply extract all of the files into
the tools dir of your sdk, and run autosign.bat follow the instructions and go through the options
one by one, starting with 1 working through 4. You can however, put the contents of this zip
anywhere on your computer and it will work. It is just better to put them into the tools dir of your
SDK. Especially for the consideration of future versions.

8/3/2019 Theming Guide
http://slidepdf.com/reader/full/theming-guide 20/24
Enjoy,
Stericson
9. Other modifications • How to change “Verizon” as your network name (Maybe other CDMA also?) courtesy of
52brandon on cyanogenmod.com. Original post
http://forum.cyanogenmod.com/index.php?/topic/1912‐change‐verizon‐in‐pulldown‐
bar/page__view__findpost__p__17198
o the file to change is: framework‐res.apk\res\xml\eri.xml
o Use a Hex editor like HxD to change V.E.R.I.Z.O.N to whatever you want, do not surpass
the amount of letters
• Xeudoxus tool to remove the clock from status bar and other changes
o http://alldroid.org/threads/14738‐app‐script‐xUltimate‐v1.2.4‐**UPDATED‐02‐17‐10**
o Will add the how to edit of the smali file at a later date
10. Other Resources Video Tutorials by Manup456 ‐ http://www.youtube.com/MrManup456
Manup456’s Themeing question thread ‐ http://www.nexus‐nation.com/nexus‐nation‐
forum?func=view&catid=5&id=15
Brandenk’s How to Create a Theme ‐ http://alldroid.org/threads/13678‐How‐to‐Create‐a‐theme
Appendices A. Appendix A – XML Edits How to by Stericson
Original post is located here: http://forum.xda‐developers.com/showthread.php?t=479019
I will be adding information to help people complete XML hacks here, however, This is not a
simple thing to do!
This is not something you just fall into. Sure, I can tell you what to change for certain effects but
8/3/2019 Theming Guide
http://slidepdf.com/reader/full/theming-guide 21/24
you wont learn anything. So other then taking what somebody has done and using it yourself I
will not give direct directions on how to create certain effects.
I will help you learn but I will not do it for you.
The first
thing
to
go
over
is
what
you
will
need.
Download TextPad, and HXD. Look on Google for these, consider it homework.
You no longer need to download the source for a reference.
You can find the entire source here: http://www.netmite.com/android/mydroid/
I use it as a reference all the time when I'm on windows.
I have uploaded a file called resourcetypes/h that contains alot of information in it about how
things are translated to binary, in fact everything I will document below was retrieved from that
file.
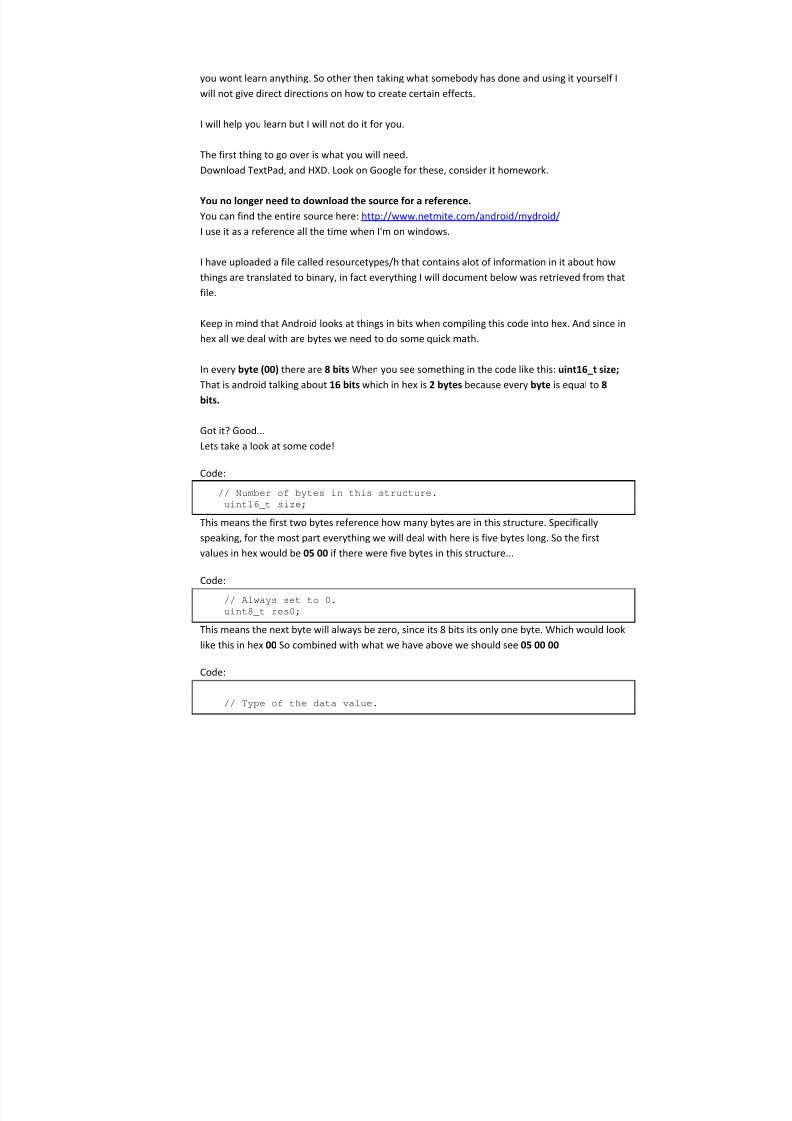
Keep in mind that Android looks at things in bits when compiling this code into hex. And since in
hex all we deal with are bytes we need to do some quick math.
In every byte (00) there are 8 bits When you see something in the code like this: uint16_t size;
That is android talking about 16 bits which in hex is 2 bytes because every byte is equal to 8
bits.
Got it? Good...
Lets take a look at some code!
Code:
// Number of bytes in this structure.
uint16_t size;
This means the first two bytes reference how many bytes are in this structure. Specifically
speaking, for the most part everything we will deal with here is five bytes long. So the first
values in hex would be 05 00 if there were five bytes in this structure...
Code:
// Always set to 0.
uint8_t res0;
This means the next byte will always be zero, since its 8 bits its only one byte. Which would look
like this in hex 00 So combined with what we have above we should see 05 00 00
Code:
// Type of the data value.
8/3/2019 Theming Guide
http://slidepdf.com/reader/full/theming-guide 22/24
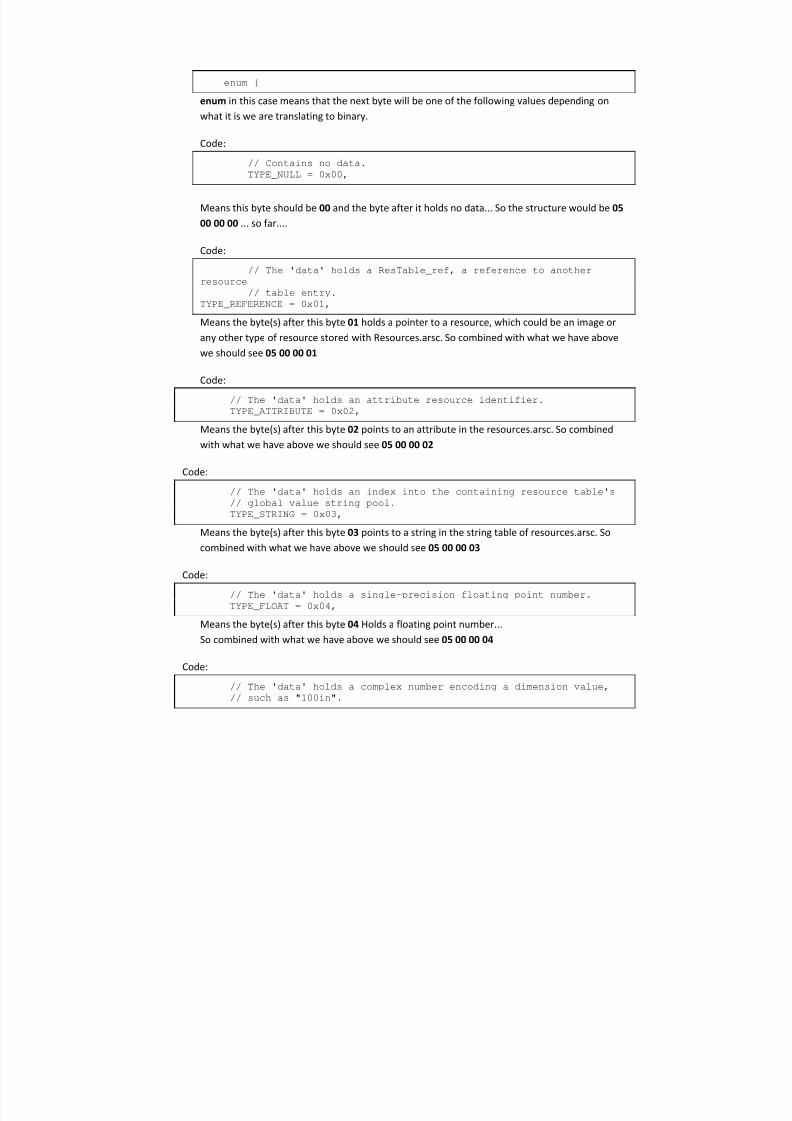
enum {
enum in this case means that the next byte will be one of the following values depending on
what it is we are translating to binary.
Code:
// Contains no data.
TYPE_NULL = 0x00,
Means this byte should be 00 and the byte after it holds no data... So the structure would be 05
00 00 00 ... so far....
Code:
// The 'data' holds a ResTable_ref, a reference to another
resource
// table entry.
TYPE_REFERENCE = 0x01,
Means the byte(s) after this byte 01 holds a pointer to a resource, which could be an image or
any other type of resource stored with Resources.arsc. So combined with what we have above
we should see 05 00 00 01
Code:
// The 'data' holds an attribute resource identifier.
TYPE_ATTRIBUTE = 0x02,
Means the byte(s) after this byte 02 points to an attribute in the resources.arsc. So combined
with what we have above we should see 05 00 00 02
Code:
// The 'data' holds an index into the containing resource table's
// global value string pool.
TYPE_STRING = 0x03,
Means the byte(s) after this byte 03 points to a string in the string table of resources.arsc. So
combined with what we have above we should see 05 00 00 03
Code:
// The 'data' holds a single-precision floating point number.
TYPE_FLOAT = 0x04,
Means the byte(s) after this byte 04 Holds a floating point number...
So combined with what we have above we should see 05 00 00 04
Code:
// The 'data' holds a complex number encoding a dimension value,
// such as "100in".

8/3/2019 Theming Guide
http://slidepdf.com/reader/full/theming-guide 23/24
TYPE_DIMENSION = 0x05,
Means the byte(s) after this byte 05 holds the value of dimension...a lot of times this can be a
vlaue for a height or a width of an object, such as an image. So combined with what we have
above we should see 05 00 00 05
Code:
// The 'data' holds a complex number encoding a fraction of a
// container.
TYPE_FRACTION = 0x06,
Means the byte(s) after this byte 06 holds a complex number encoding a fraction of a container.
So combined with what we have above we should see 05 00 00 06
Code:
// Beginning of integer flavors...
TYPE_FIRST_INT = 0x10,
// The 'data' is a raw integer value of the form n..n.
TYPE_INT_DEC = 0x10,
// The 'data' is a raw integer value of the form 0xn..n.
TYPE_INT_HEX = 0x11,
// The 'data' is either 0 or 1, for input "false" or "true"
respectively.
TYPE_INT_BOOLEAN = 0x12,
Same rules apply here...I dont think I have to keep explaining them all....
Code:
// Beginning of color integer flavors...
TYPE_FIRST_COLOR_INT = 0x1c,
// The 'data' is a raw integer value of the form #aarrggbb.
TYPE_INT_COLOR_ARGB8 = 0x1c,
// The 'data' is a raw integer value of the form #rrggbb.
TYPE_INT_COLOR_RGB8 = 0x1d,
// The 'data' is a raw integer value of the form #argb.
TYPE_INT_COLOR_ARGB4 = 0x1e,
// The 'data' is a raw integer value of the form #rgb.
TYPE_INT_COLOR_RGB4 = 0x1f,
// ...end of integer flavors.
TYPE_LAST_COLOR_INT = 0x1f,
// ...end of integer flavors.
TYPE_LAST_INT = 0x1f
};
Means the byte(s) after this byte holds a color value. If the 4th byte is 1C Then the bytes
afterwards will define a color value that is in the format #FFFFFFFF transparency, red, green,
blue.
8/3/2019 Theming Guide
http://slidepdf.com/reader/full/theming-guide 24/24
If the byte is 1E Then the bytes following will represent a color value in the format #FFF Red,
green, blue.
HOWEVER, one thing important to know here is that regardless of the format of the color
value whether it be RGB or AARRGGBB Android will convert it to hex and it will appear as FF
FF FF
FF
Code:
uint8_t dataType;
This is where the FIFTH byte gets added, whatever it may be...it will be one of the values
listed above.
I will add more stuff later. The file posted below has everything I've added and more....If
you want to know more...open that files up and read it...study it...
B. Appendix B