A book cover is the outside of the book. Each book cover can look different.
theCrafties Fabric Book Cover Tutorialhttp://www.thecrafties.com/
If you can sew a straight line, you are in luck my friend! Six lines equals a cover (only two lines if you go with the
Quick & Dirty version at the end!)
What you'll need:
Fabric (nothing stretchy - I prefer corduroys, linens, and soft canvas myself)
Interfacing (I use medium or heavy weight, depending on how flimsy my fabric choice is)
Ribbon (width is up to you, the ridged ones are great - oh! and a bauble if you like)
Fabric glue (optional - see Step Two)
Fabric marker
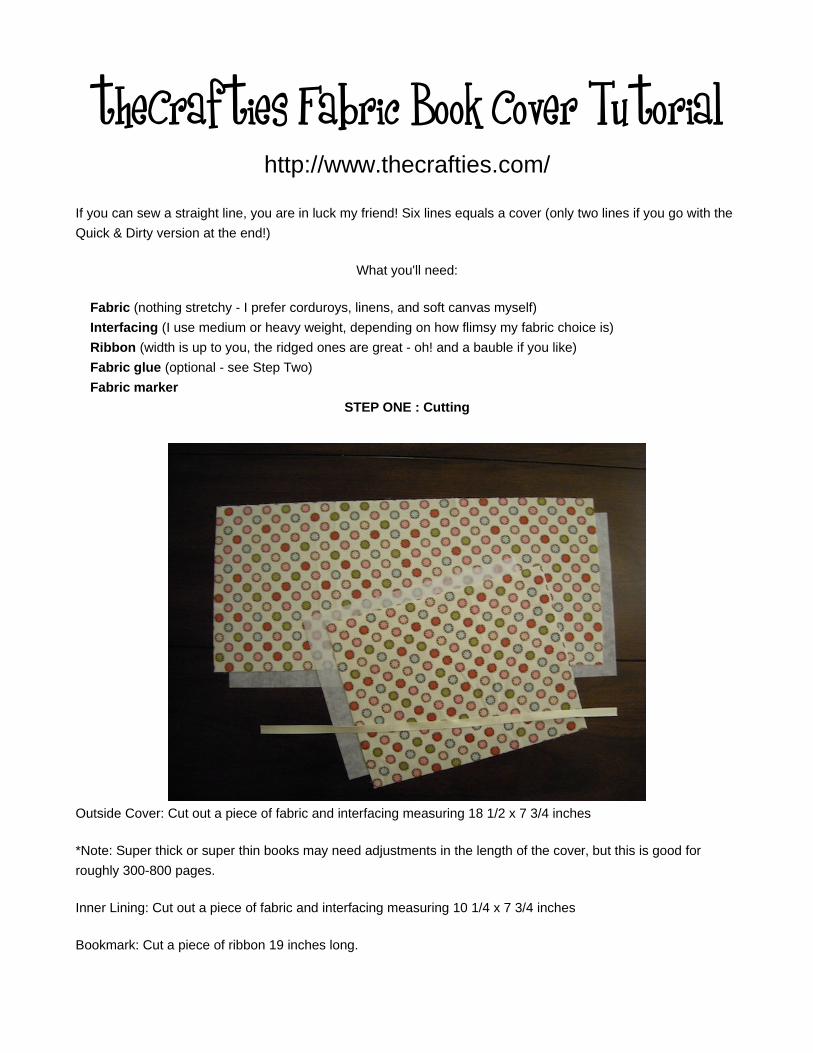
STEP ONE : Cutting
Outside Cover: Cut out a piece of fabric and interfacing measuring 18 1/2 x 7 3/4 inches
*Note: Super thick or super thin books may need adjustments in the length of the cover, but this is good for
roughly 300-800 pages.
Inner Lining: Cut out a piece of fabric and interfacing measuring 10 1/4 x 7 3/4 inches
Bookmark: Cut a piece of ribbon 19 inches long.

STEP TWO: Bookmark
Finger press the ribbon in half.
Attach your bauble - I slip on a circle shell bead, but you can sew a button on the end, or leave it bare, or
whatever you can think of.

Pin the end of the ribbon (I found that miniature clothes pins work great for various sewing projects!). This will
help keep the ribbon in line when you proceed to the next step.
Optional: Use fabric glue along the ribbon to secure the sides together (put a piece of scrap paper underneath!).
Another option is to sew it, but I found that too tricky. Of course, you could also cut the length in half instead of
doubling up and skip this part altogether.

STEP THREE: Fabric and interfacing
Lay each interfacing on top of the Cover and the Lining.
Using a 1/4 inch seam allowance, sew the two short sides of both the Cover and the Lining. You know what else
is cool? It does not matter what color thread you use because you'll never see it:)
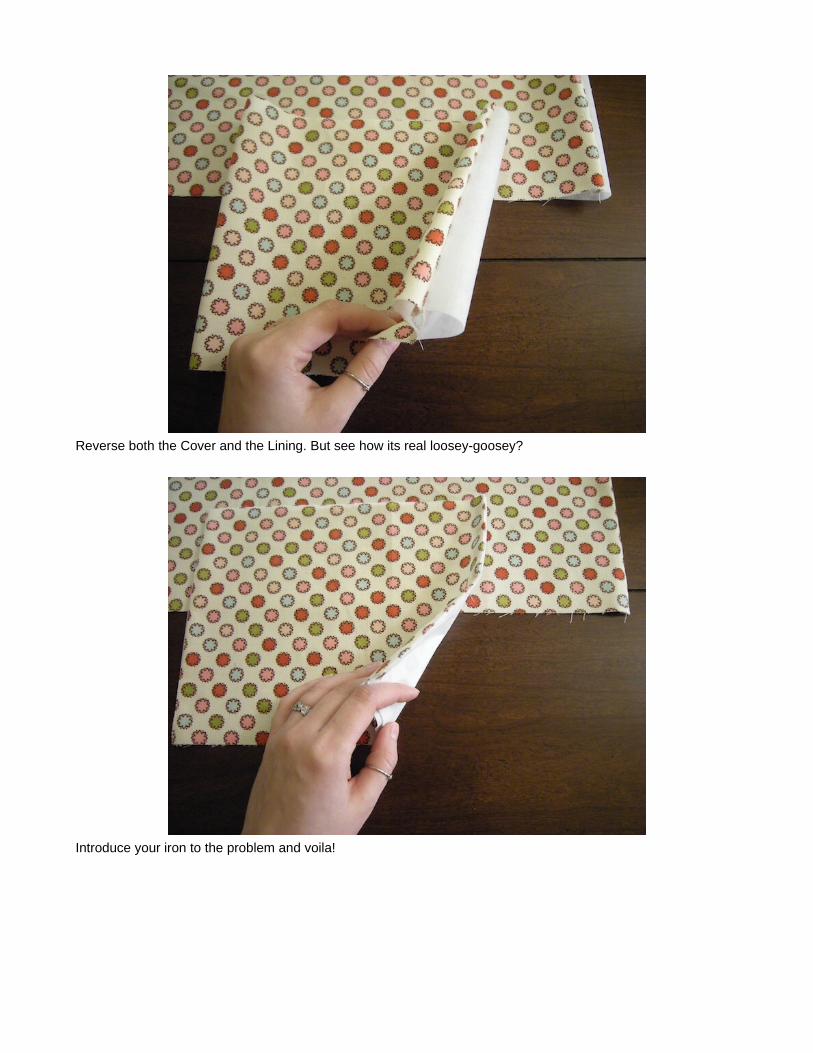
Reverse both the Cover and the Lining. But see how its real loosey-goosey?
Introduce your iron to the problem and voila!

Here is the point where you can add embellishments - ideas: embroidery, buttons, applique, fabric flowers - try
something out! I added a simple ribbon at the middle of the Cover along where the book binding will be.
If you decide to do something on just the front cover, measure where the center is and then measure from that
point (towards the right): half of the depth of your book, and draw a line. This will be the left side of the front
cover. Then measure from that point over by the width of your book and that will be the right side of your cover.
Also remember to stay within the seam allowance along the top and bottom.

STEP FOUR: Folding
Lay the Cover face down. Measuring from both edges, mark 1 3/4 inches. The mark itself will roughly give you
1/8 of an inch for the fold allowance, so you'll then want to move your ruler and mark 2 inches in from that. Do
not worry about the 3 1/2 mark yet.
Flip the Cover over and fold both sides in at the 2 inch mark.

Fold the sides back over themselves at the 1 3/4 inch mark. Have a go with the iron again. Now is the time to
mark the 3 1/2 mark at the top, only on the left side (this will be for placing the book mark).
Pin your bookmark centered over the 3 1/2 mark. Be sure to leave 1/4 of an inch poking passed the cover just to
be extra sure it gets sewn in well during the next step.

**This is really important!!** Make sure that you twist your bookmark out to the side because if you don't, and
you leave it poking down at the bottom, you will sew it into the cover and curse yourself as you rip the seams
out! Trust me!
Lay the Lining facedown on top of the folded Cover. Make sure you see that bookmark poked out of the side,
gosh darnit!

STEP FIVE: Sew it up!
Along the top and bottom, sew with 1/4 seam allowance.
Clip the corners and the 1/4 tab left from the bookmark.

STEP SIX: Flip it out!
Reverse the cover.
Reverse the pockets.
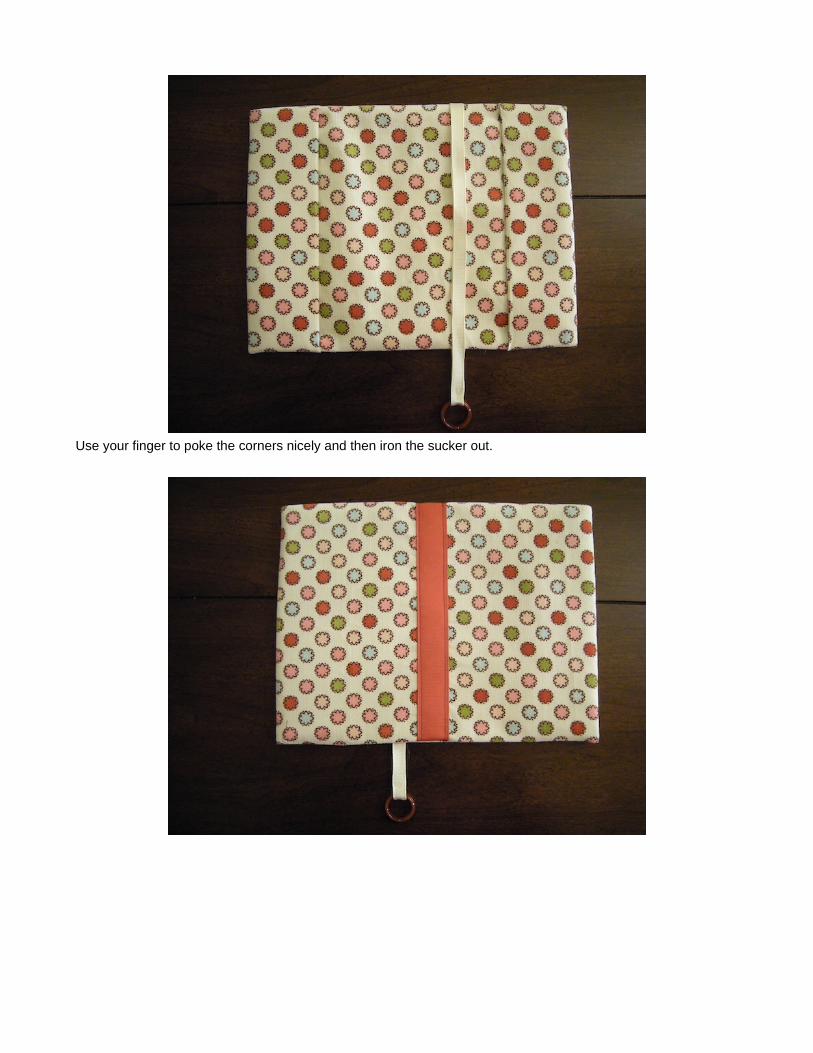
Use your finger to poke the corners nicely and then iron the sucker out.
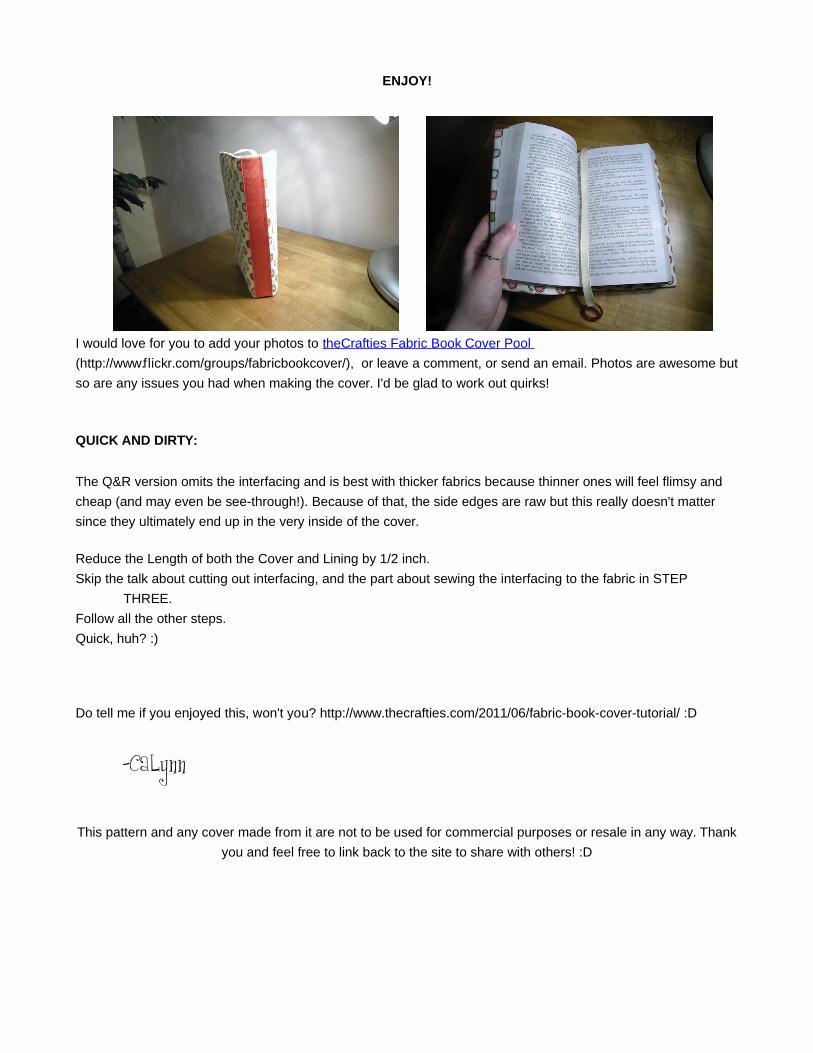
ENJOY!
I would love for you to add your photos to theCrafties Fabric Book Cover Pool
(http://www.flickr.com/groups/fabricbookcover/), or leave a comment, or send an email. Photos are awesome but
so are any issues you had when making the cover. I'd be glad to work out quirks!
QUICK AND DIRTY:
The Q&R version omits the interfacing and is best with thicker fabrics because thinner ones will feel flimsy and
cheap (and may even be see-through!). Because of that, the side edges are raw but this really doesn't matter
since they ultimately end up in the very inside of the cover.
Reduce the Length of both the Cover and Lining by 1/2 inch.
Skip the talk about cutting out interfacing, and the part about sewing the interfacing to the fabric in STEP
THREE.
Follow all the other steps.
Quick, huh? :)
Do tell me if you enjoyed this, won't you? http://www.thecrafties.com/2011/06/fabric-book-cover-tutorial/ :D
-CaLynn
This pattern and any cover made from it are not to be used for commercial purposes or resale in any way. Thank
you and feel free to link back to the site to share with others! :D