Teens 2 lesson six using banking services presentation slides 04/09.
15
Teens 2 lesson six using banking services presentation slides 04/09
-
Upload
bruno-edwards -
Category
Documents
-
view
216 -
download
0
Transcript of Teens 2 lesson six using banking services presentation slides 04/09.
Teens 2
lesson sixusing banking services
presentation slides
04/09

banking terms you should know
• Account • ATM
• Bank
• Checking account
• Credit union
• Interest
• Joint account
• Minimum deposit
• Savings account
• Teller
teens 2 – lesson 6 - slide 6-1a
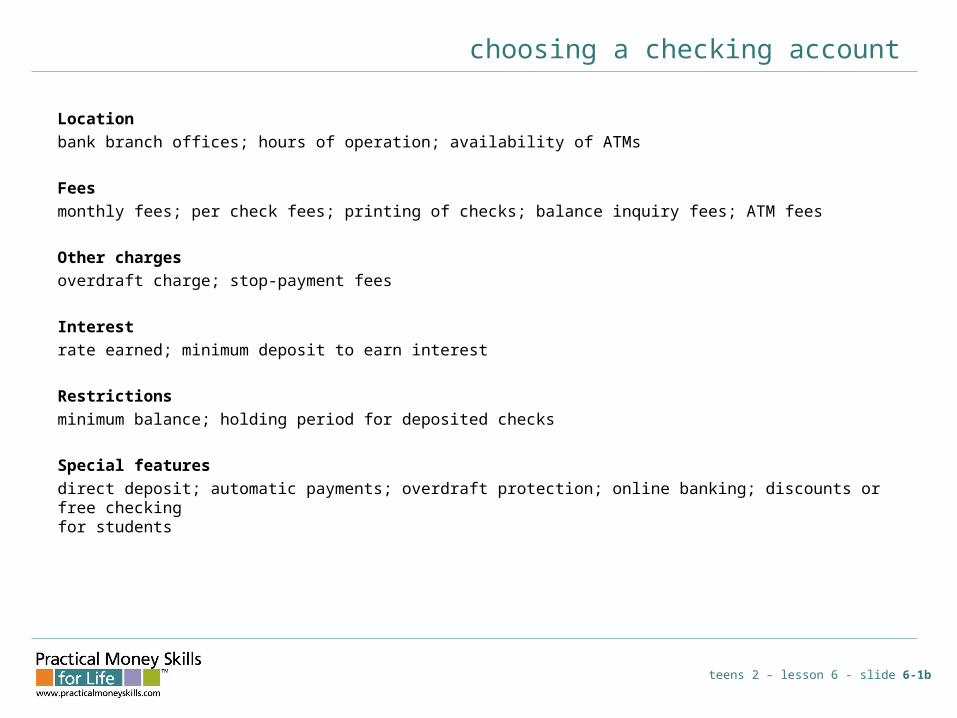
choosing a checking account
Locationbank branch offices; hours of operation; availability of ATMs
Feesmonthly fees; per check fees; printing of checks; balance inquiry fees; ATM fees
Other chargesoverdraft charge; stop-payment fees
Interestrate earned; minimum deposit to earn interest
Restrictionsminimum balance; holding period for deposited checks
Special featuresdirect deposit; automatic payments; overdraft protection; online banking; discounts or free checkingfor students
teens 2 – lesson 6 - slide 6-1b

electronic banking services
Direct depositearnings automatically deposited into bank accounts.
Automatic paymentsan automatic payment system where bills are paid through direct withdrawal from a bank account.
Automatic teller machine (ATM)allows customers to get cash and conduct banking transactions.
Point-of-sale transactionsATM/debit cards accepted at stores or restaurants as payment.
teens 2 – lesson 6 - slide 6-1c

ATM terms you should know
ATM Terms You Should Know
PIN Inquiry
Balance Transaction
Deposit Withdrawal
teens 2 – lesson 6 - slide 6-1d

opening a bank account
teens 2 – lesson 6 - slide 6-2a

parts of a check
What is the date of the check? _______________________
Who is the check made payable to? ___________________
What is the check number?__________________________
What is the check transit number? ____________________(Hint: look for the top part of the two-part number in the upper right corner of the check.)
Where do you endorse a check? ______________________
Where is the account number? _______________________
teens 2 – lesson 6 - slide 6-2b
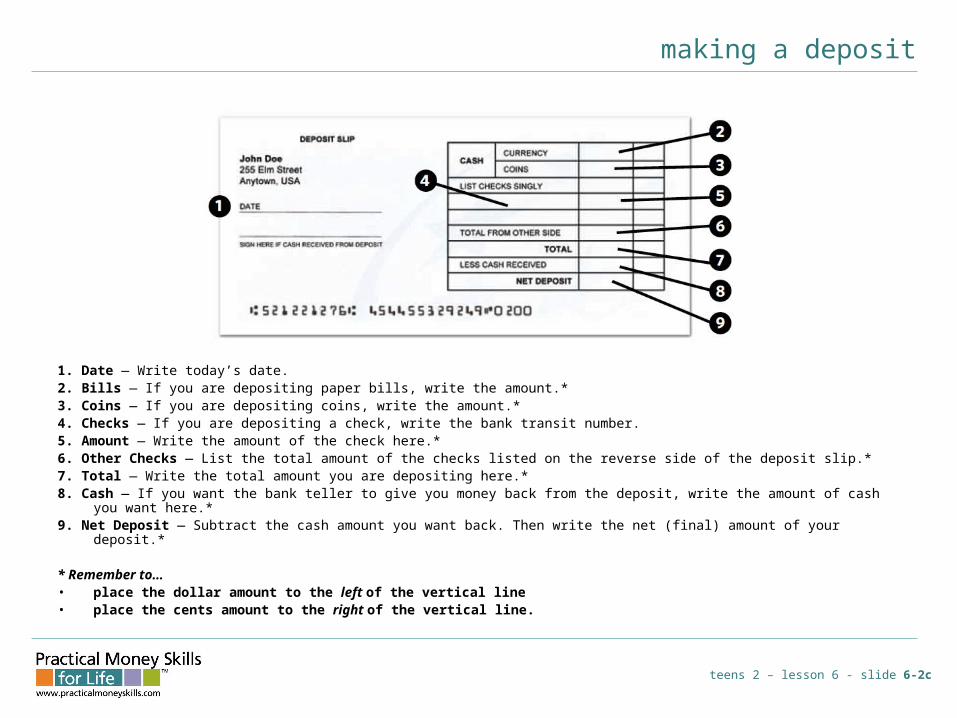
making a deposit
1. Date — Write today’s date.2. Bills — If you are depositing paper bills, write the amount.*3. Coins — If you are depositing coins, write the amount.*4. Checks — If you are depositing a check, write the bank transit number.5. Amount — Write the amount of the check here.*6. Other Checks — List the total amount of the checks listed on the reverse side of the deposit slip.*7. Total — Write the total amount you are depositing here.*8. Cash — If you want the bank teller to give you money back from the deposit, write the amount of cash you want here.*9. Net Deposit — Subtract the cash amount you want back. Then write the net (final) amount of your deposit.*
* Remember to…• place the dollar amount to the left of the vertical line• place the cents amount to the right of the vertical line.
teens 2 – lesson 6 - slide 6-2c
writing the amount of the check in words
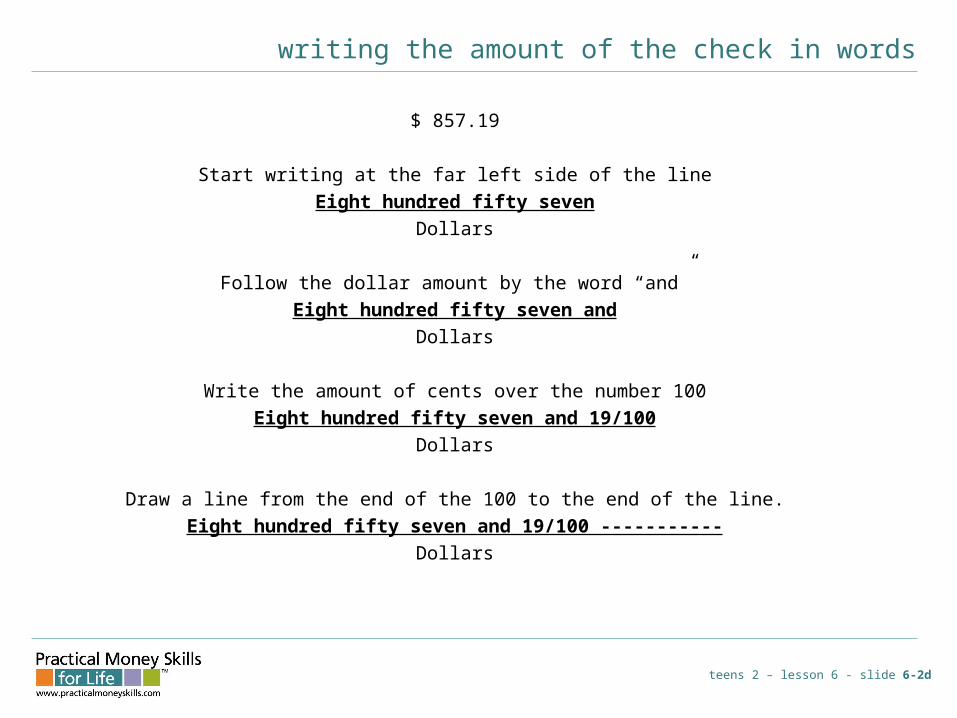
$ 857.19
Start writing at the far left side of the lineEight hundred fifty seven
Dollars
Follow the dollar amount by the word “and”Eight hundred fifty seven and
Dollars
Write the amount of cents over the number 100Eight hundred fifty seven and 19/100
Dollars
Draw a line from the end of the 100 to the end of the line.Eight hundred fifty seven and 19/100 -----------
Dollars
teens 2 – lesson 6 - slide 6-2d

writing a check1. DateWrite today’s date.
2. PayeeWrite the name of the person orcompany that you are paying.
3. Amount of check in numeralsWrite the amount of the check in numbers.Be careful not to leave any space betweenyour numbers.
4. Amount of check in wordsWrite the amount of the check in words.
5. NameYour personal information is printed here. Never list your Social Security number on your printed check.
6. SignatureSign your check the same way you signed your name on the signature card.
7. MemoWrite why you wrote the check. If you are paying a bill, put down any information requested bythe company.
8. Identification numbersThese numbers identify your bank, account number, and the check number. They are printed in special magnetic ink that machines can read.
teens 2 – lesson 6 - slide 6-2e
“check” out these terms!
• Overdraft
• Bounced check
• Canceled check
• Check card/ Debit card
• Clear
• Stop payment
• Service charge
• Voided check
teens 2 – lesson 6 - slide 6-3a

maintaining a checking account
teens 2 – lesson 6 - slide 6-3b
Debit / Check Card
Check Transaction
ATM Card

reading a bank statement
teens 2 – lesson 6 - slide 6-3c

keeping a running balance
teens 2 – lesson 6 - slide 6-3d
CHECKNO.
DATE DESCRIPTION TRANSACTION AMOUNT
DEPOSITAMOUNT
BALANCE
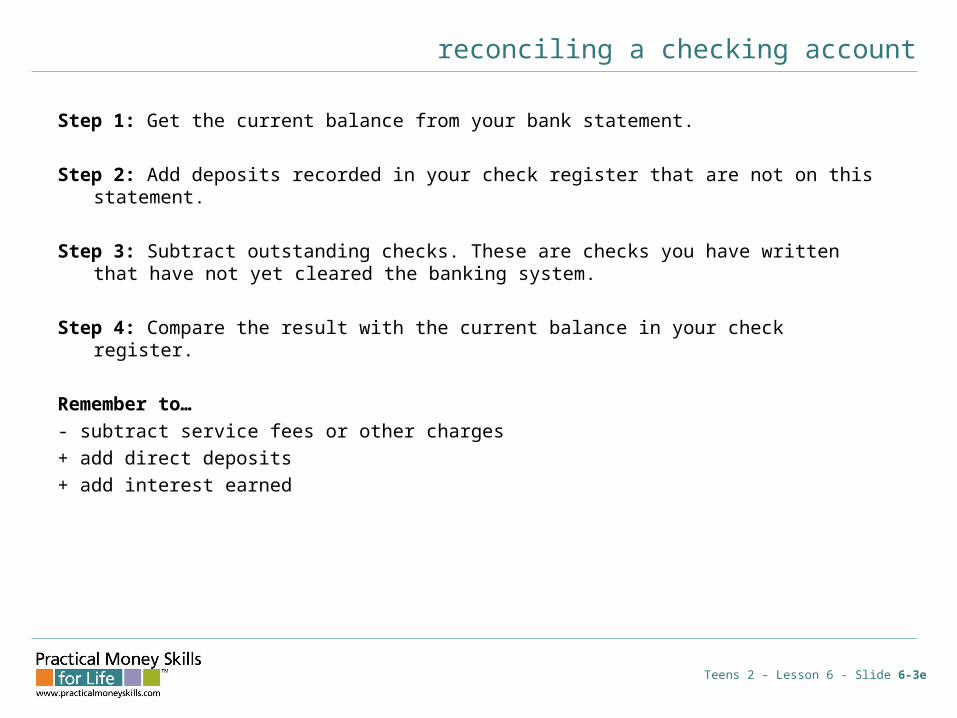
reconciling a checking account
Step 1: Get the current balance from your bank statement.
Step 2: Add deposits recorded in your check register that are not on this statement.
Step 3: Subtract outstanding checks. These are checks you have written that have not yet cleared the banking system.
Step 4: Compare the result with the current balance in your check register.
Remember to…- subtract service fees or other charges+ add direct deposits+ add interest earned
Teens 2 – Lesson 6 - Slide 6-3e