Strain gauge
17
Lennon Pultz, Kyle Stacy & Gabe Palkert Micro Strain Gauge Real Time Measurement
-
Upload
antonio-mondragon -
Category
Education
-
view
2.052 -
download
5
Transcript of Strain gauge
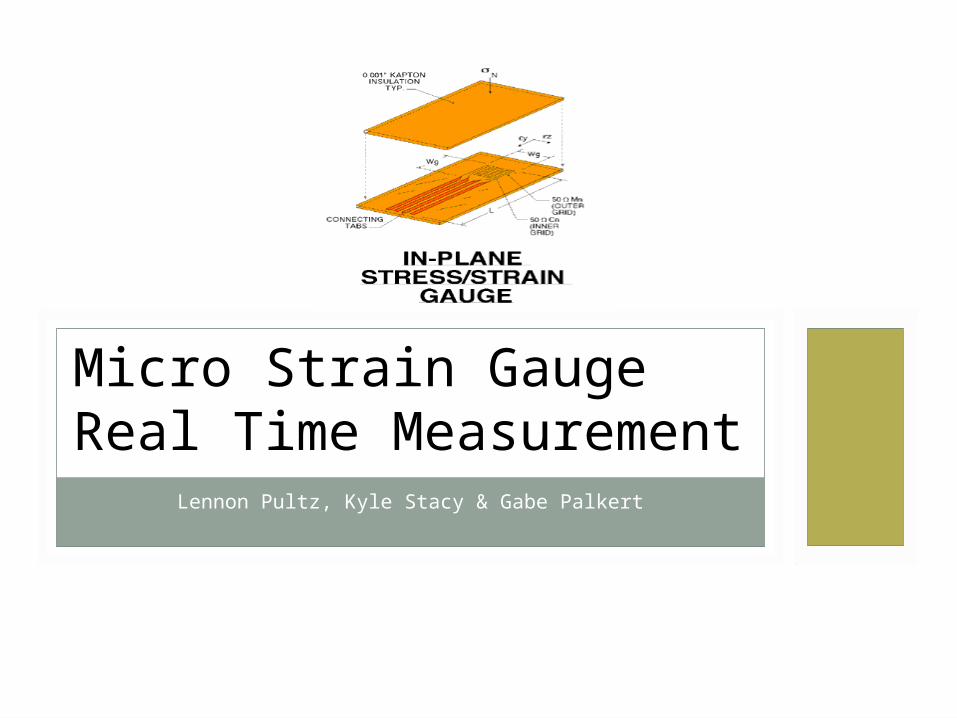
Lennon Pultz, Kyle Stacy & Gabe Palkert
Micro Strain Gauge Real Time Measurement

Video Demonstration
Micro Strain Gauge Real Time Measurement

THE PRODUCT
• Initial product goal:• Produce a real time strain gauge
measurement using more advanced technology than currently exists.
• Our target audience:• Students and faculty of the Mechanical
Engineering & Mechanical Engineering Technology Department
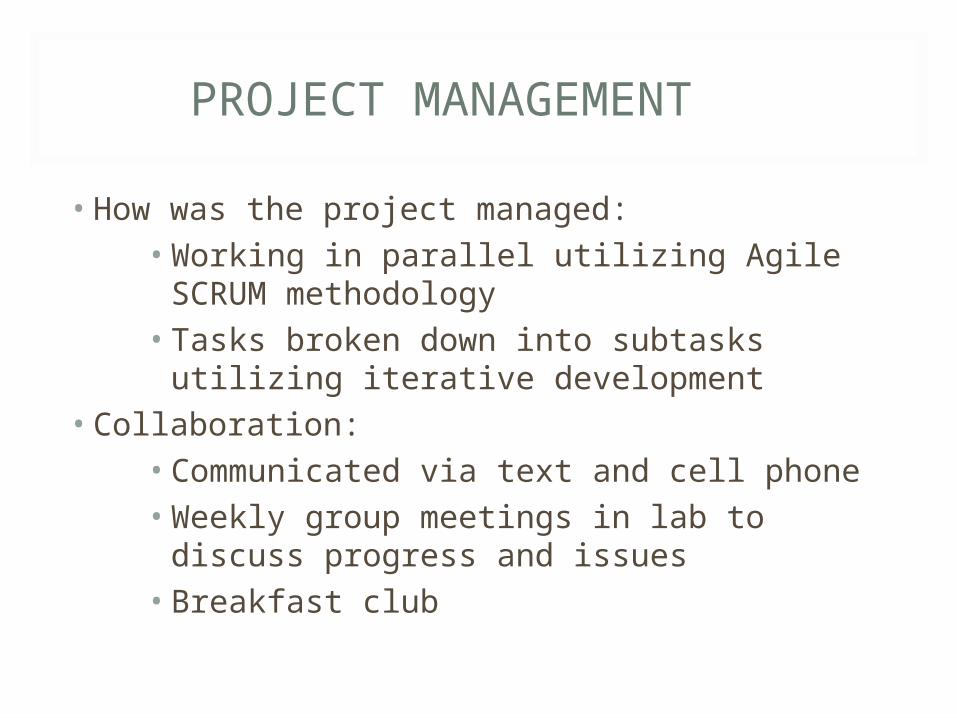
PROJECT MANAGEMENT
• How was the project managed:• Working in parallel utilizing Agile SCRUM
methodology• Tasks broken down into subtasks utilizing
iterative development• Collaboration:
• Communicated via text and cell phone• Weekly group meetings in lab to discuss
progress and issues• Breakfast club
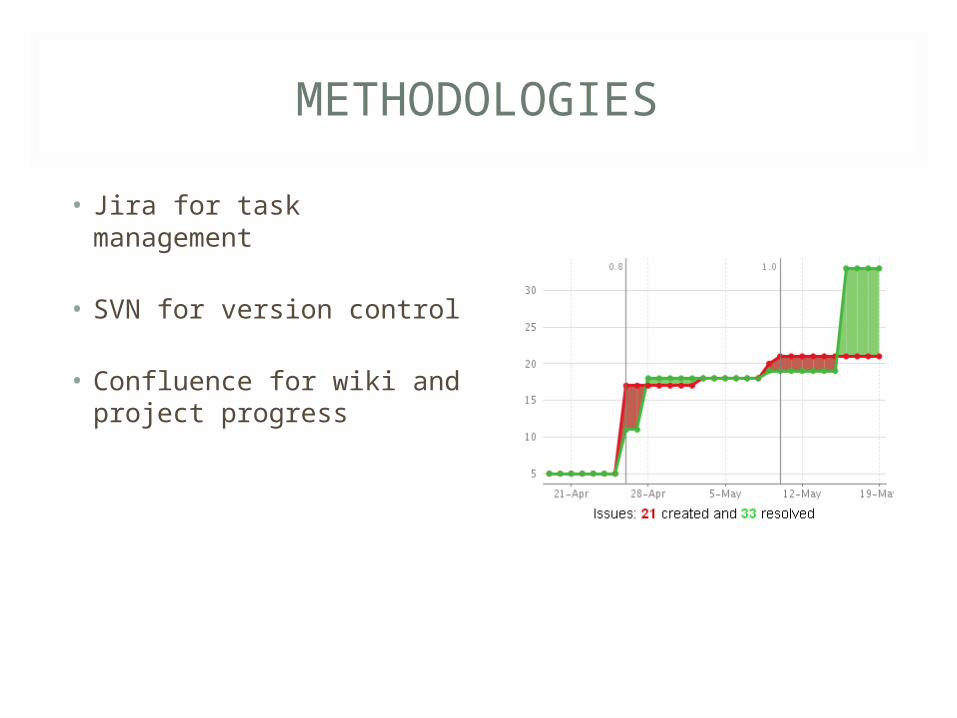
METHODOLOGIES
• Jira for task management
• SVN for version control
• Confluence for wiki and project progress

DEVELOPMENT TIMELINE
• First, developed requirements and a wish list
• Laid out and manufactured the PCB board for the analog to digital conversion
• Create Hardware Prototype of case and design
• Started working on displaying objects on the LCD board –Altera IP here helped
• Started creating file I/O from ADS1231 to text file.

EXTERNAL CASE
• Power Plug
• Key Holes for wall mounting
• Large holes for wires from the strain gauges

CASE PROTOTYPE
• Designed in Solidworks
• Worked with MET Rapid Prototype Lab to have the 3D model printed
• Model Design: 4-6hrs
• Print Time: 4hrs
• Made of plastic

PCB DESIGN & PRODUCTION
• Schematic done in EAGLE• Utilize EAGLE net-list to layout board• Used mill purchased by department to produce
double sided board and drill holes• Used on campus resources to place and solder
parts.

HIGH LEVEL DESIGN SPECIFICATION
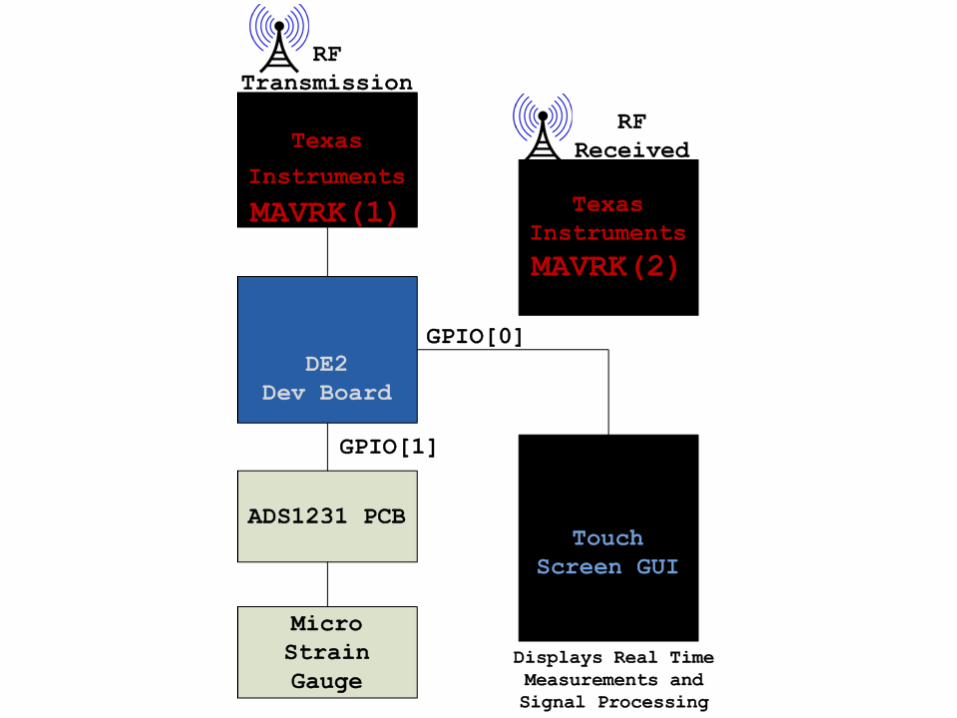
• Strain gauge connected to an in-house fabricated printed circuit board (PCB)
• Connect through GPIO pins to DE2 development board
• Touch Screen GUI is connected through GPIO pins to the DE2
• Bridge was created to go between DE2 & MAVRK through serial i/o (RS-232)

HARDWARE DESIGNVIDEO PROCESSOR
• Utilizes NIOS II/f processor • Needed for fast refresh rates• Interfaces to the LCD Controller• Runs the GUI• Screen resolution: 400 x 240• Color Depth: 16 bits per pixel

IP DESIGN AND REUSE
• Reused a significant amount of code in our system
• LCD drivers• Altera University Program IP• Basic GUI from MP3 Player last year
• Created these components: • VHDL for ADS1231• Test bench for testing ADS1231 component• File I/O average strain measurement

GUI DESIGN
• Image Display• All images are stored in the software code.• All characters are stored as images.
• Touch screen response• Reads a flag controlled by the video processor.• Compares the x and y coordinates to a range represented by
a button.
• Main Menu • Obtain Data• Pause Data Sample• Clear Data
CODE REVIEWS
• Code coverage is a measure used in software testing. It describes the degree to which the source code of a program has been tested..
• Functional verification, in electronic design automation, is the task of verifying that the logic design conforms to specification.
• These generally help to improve coding as you may be doing something wrong that you don’t know

ISSUES IN DEVELOPMENT
• Time management• Communication between platforms• GUI Development• Acquiring hardware from Texas Instruments and digikey
CONCLUSIONS
• Accomplished most of our intended goals• Project was interesting and fun but also
challenging• Lessons learned, recommendations• Future plans