Step by-step iPad Air VPN setup by PureVPN
21
Step-by-Step iPad Air VPN Setup by PureVPN
-
Upload
rachelfarland -
Category
Internet
-
view
718 -
download
2
Transcript of Step by-step iPad Air VPN setup by PureVPN
Step-by-Step iPad Air VPN Setup by PureVPN
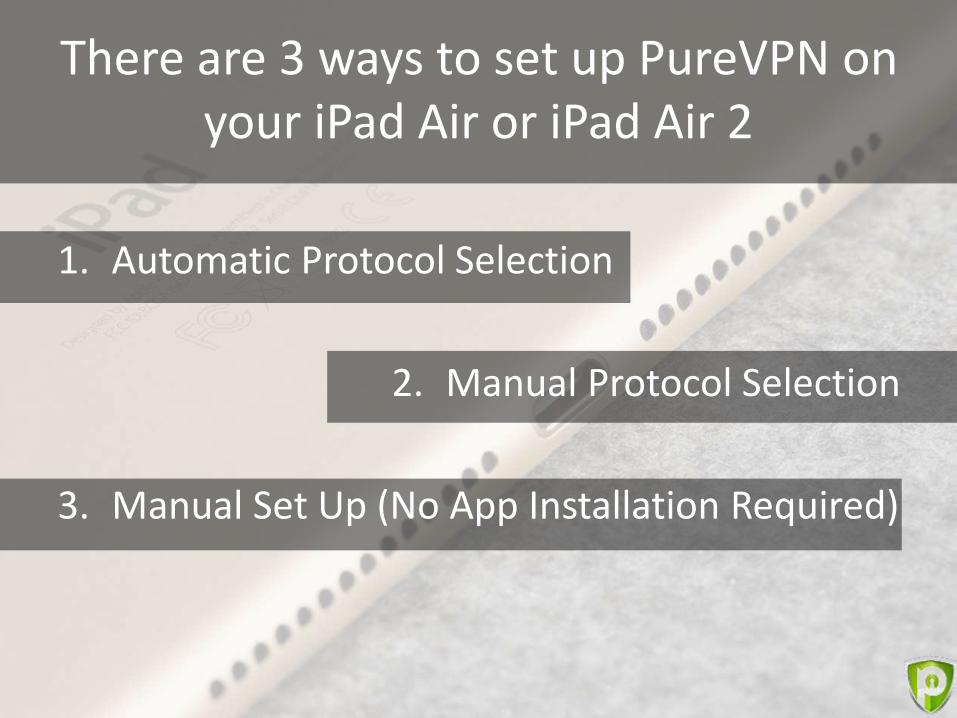
There are 3 ways to set up PureVPN on your iPad Air or iPad Air 2
1. Automatic Protocol Selection
2. Manual Protocol Selection
3. Manual Set Up (No App Installation Required)
1. Automatic Protocol Selection
Follow these Steps for Auto Protocol Selection
Get a PureVPN subscription from the PureVPN Order Page.
Save your registered email ID and password in a separate document.
Your PureVPN login info will be sent to your email in 5 minutes.
Go to the App Store and search for PureVPN.
Download the PureVPN app from the App Store
Continued…
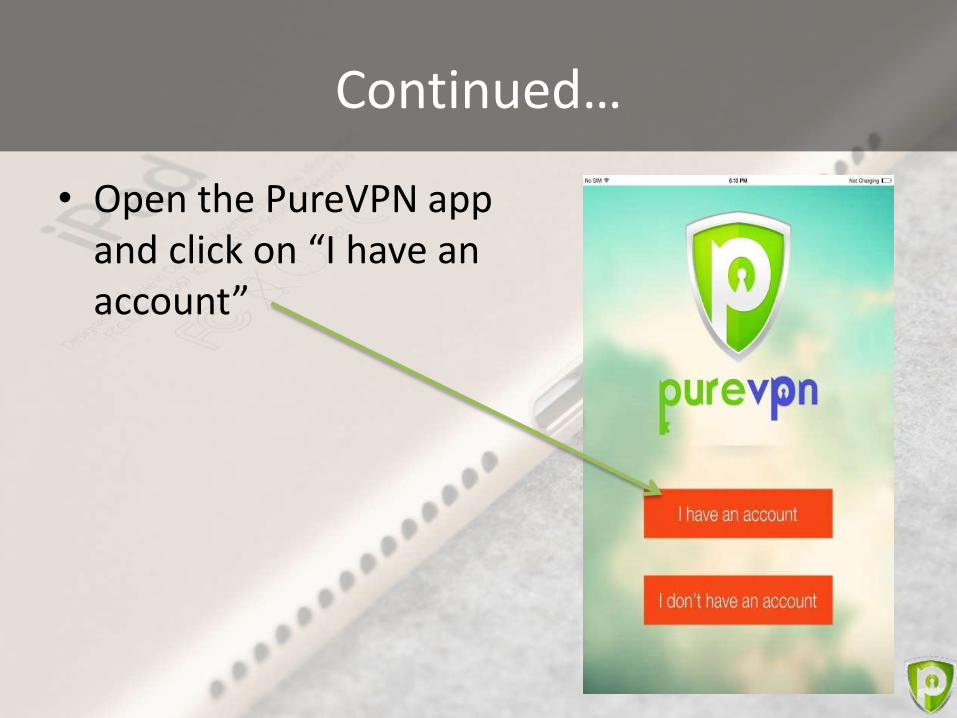
• Open the PureVPN app and click on “I have an account”
Continued…
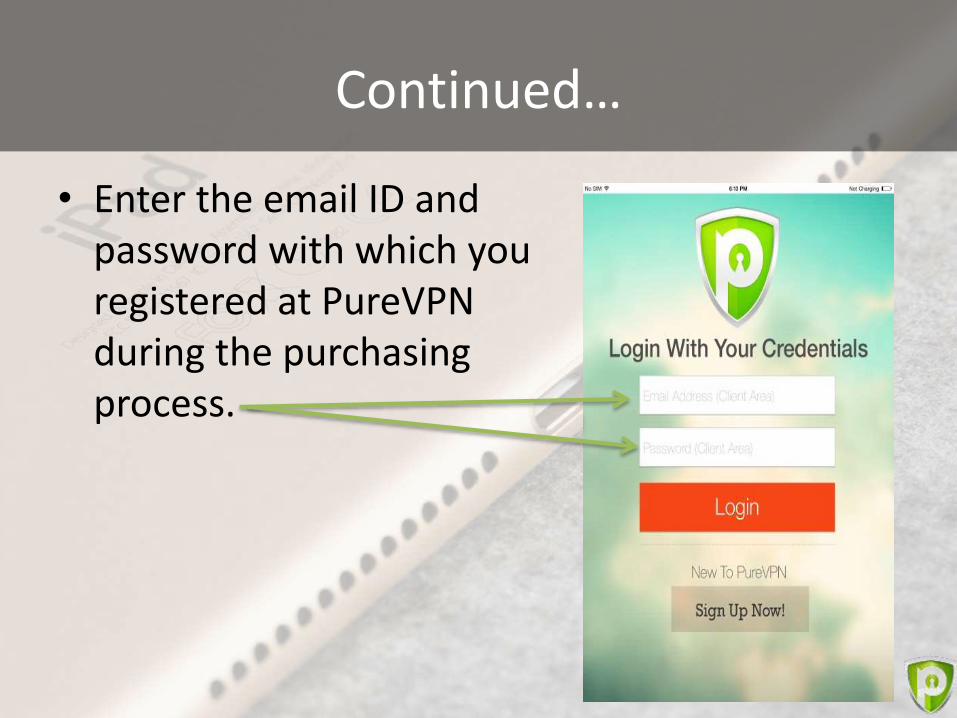
• Enter the email ID and password with which you registered at PureVPN during the purchasing process.
Continued…
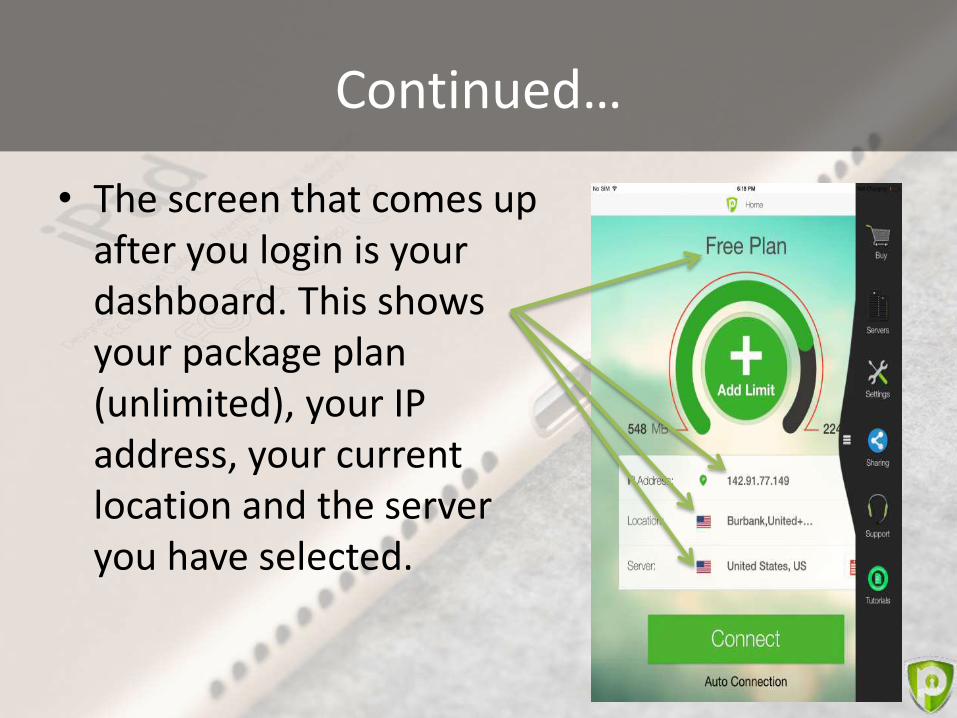
• The screen that comes up after you login is your dashboard. This shows your package plan (unlimited), your IP address, your current location and the server you have selected.
Continued…
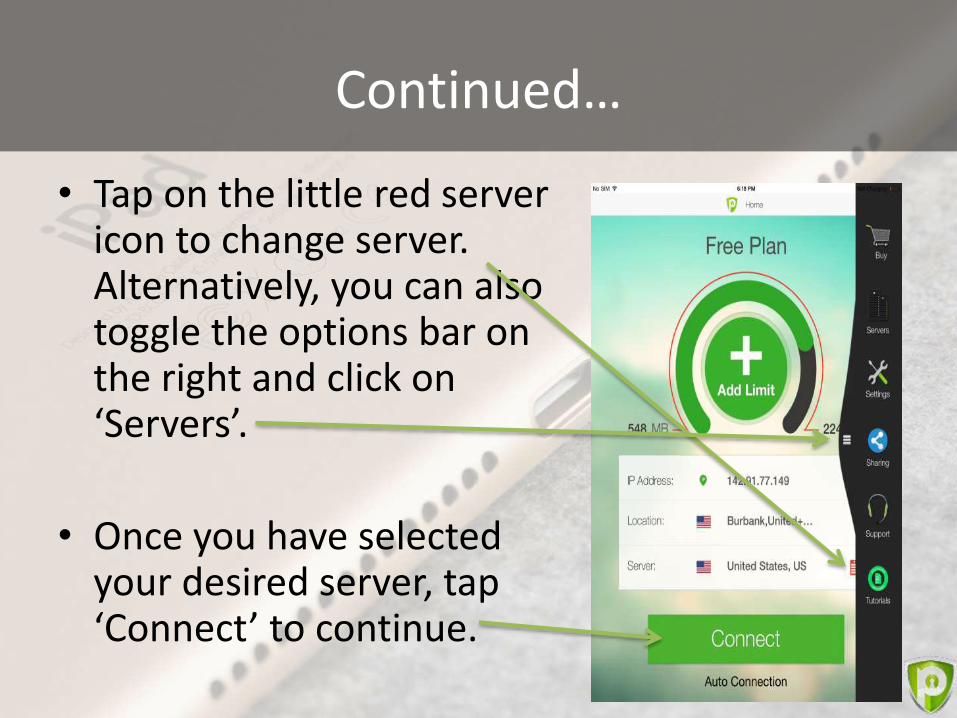
• Tap on the little red server icon to change server. Alternatively, you can also toggle the options bar on the right and click on ‘Servers’.
• Once you have selected your desired server, tap ‘Connect’ to continue.

Continued…
• The next screen will ask you for your VPN credentials. These VPN credentials must be emailed to you by PureVPN by now. Enter these credentials and click on ‘Save’.
purevpn0d7653s
***********
Continued…
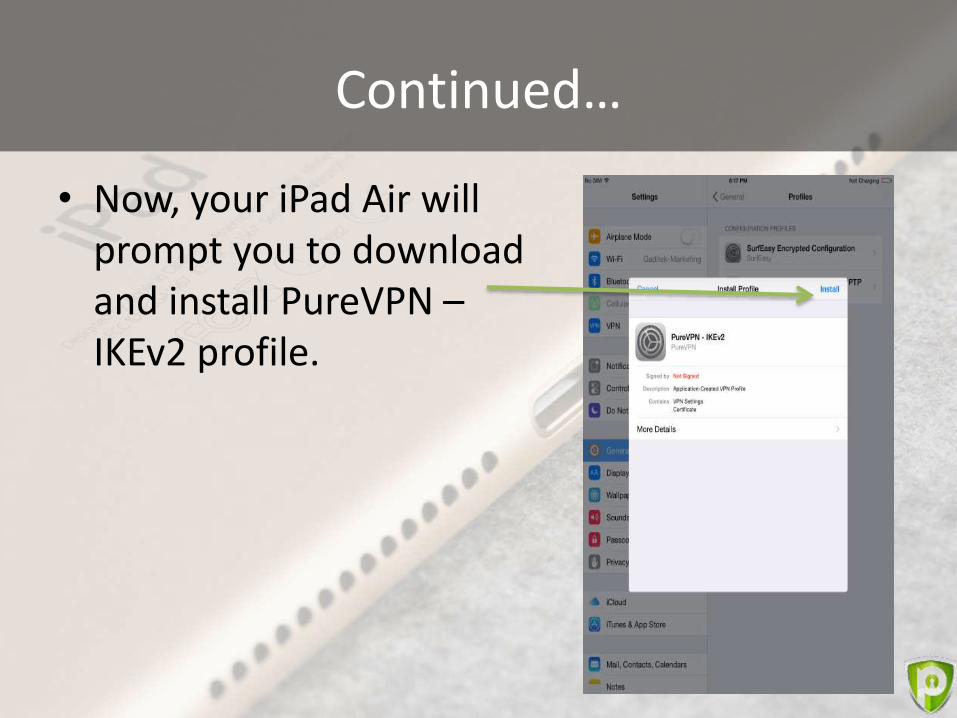
• Now, your iPad Air will prompt you to download and install PureVPN –IKEv2 profile.
Continued…
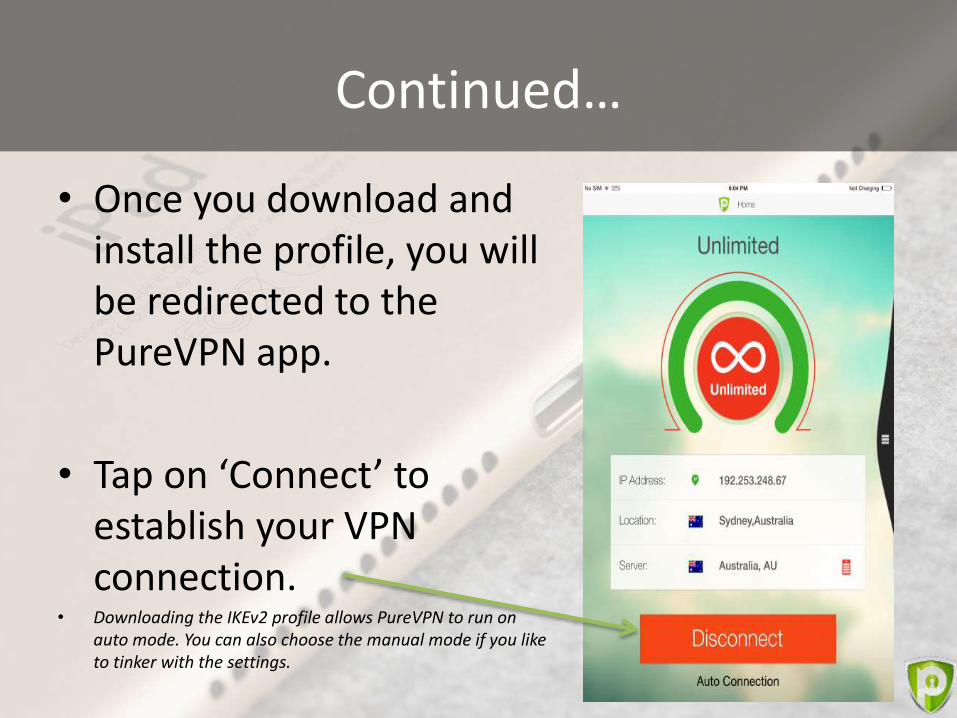
• Once you download and install the profile, you will be redirected to the PureVPN app.
• Tap on ‘Connect’ to establish your VPN connection.
• Downloading the IKEv2 profile allows PureVPN to run on auto mode. You can also choose the manual mode if you like to tinker with the settings.
2. Step-by-Step iPad Air VPN Setup (Manual Protocol)
Follow these Steps for Manual Protocol Selection
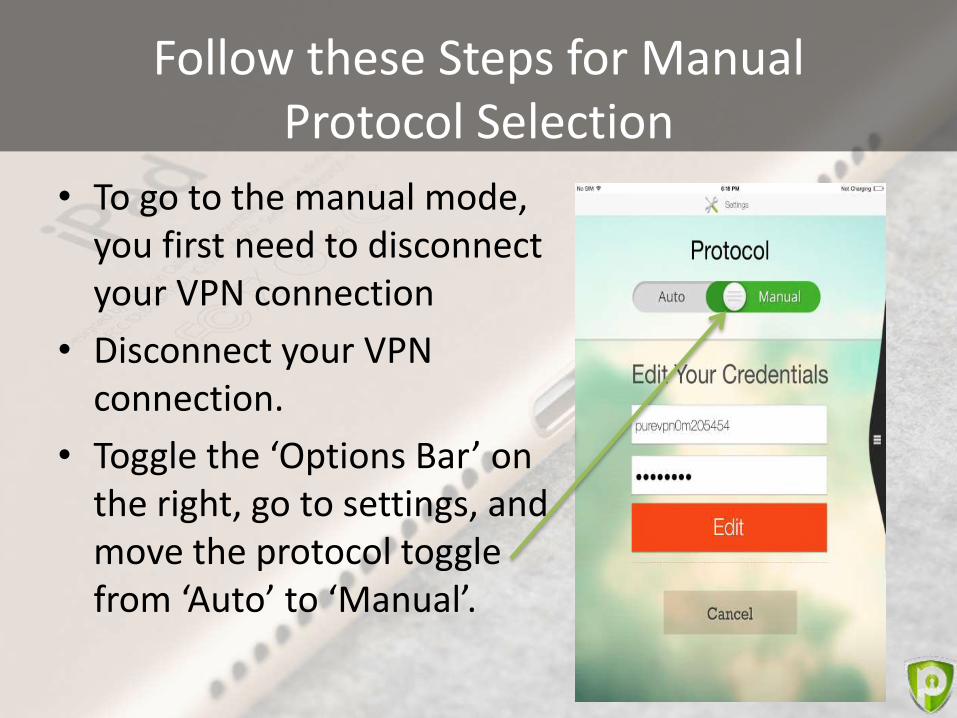
• To go to the manual mode, you first need to disconnect your VPN connection
• Disconnect your VPN connection.
• Toggle the ‘Options Bar’ on the right, go to settings, and move the protocol toggle from ‘Auto’ to ‘Manual’.
Continued…
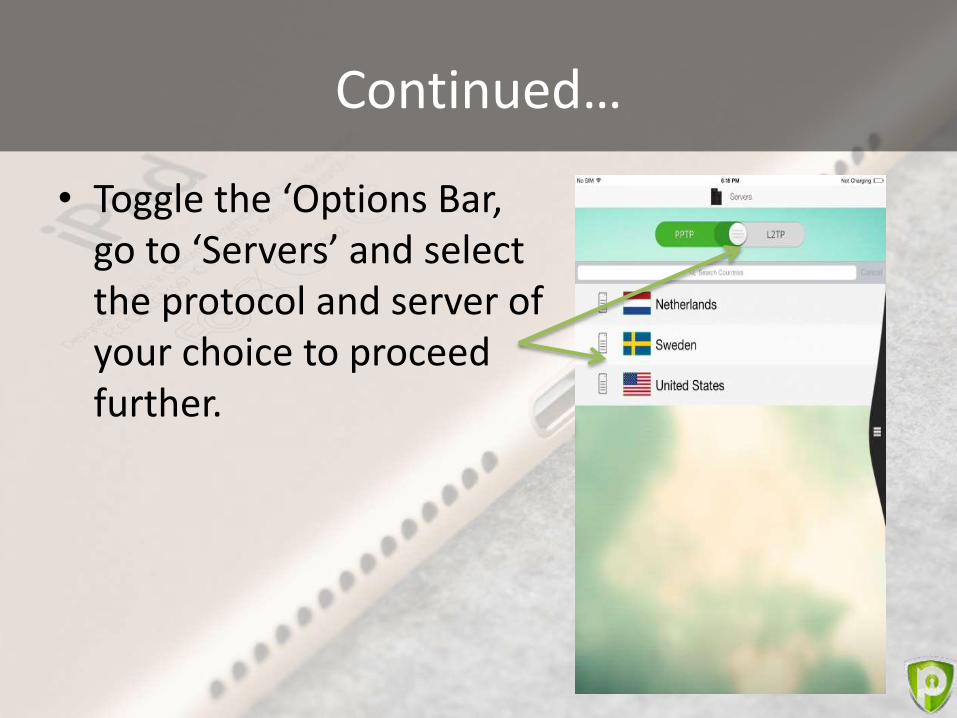
• Toggle the ‘Options Bar, go to ‘Servers’ and select the protocol and server of your choice to proceed further.
Continued…
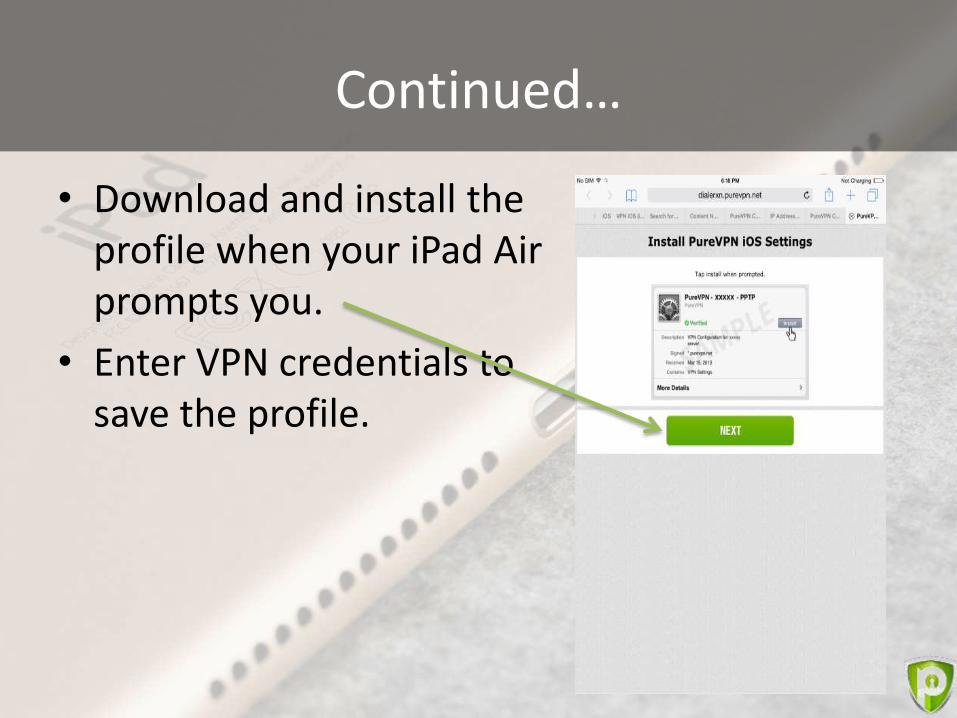
• Download and install the profile when your iPad Air prompts you.
• Enter VPN credentials to save the profile.
Continued…
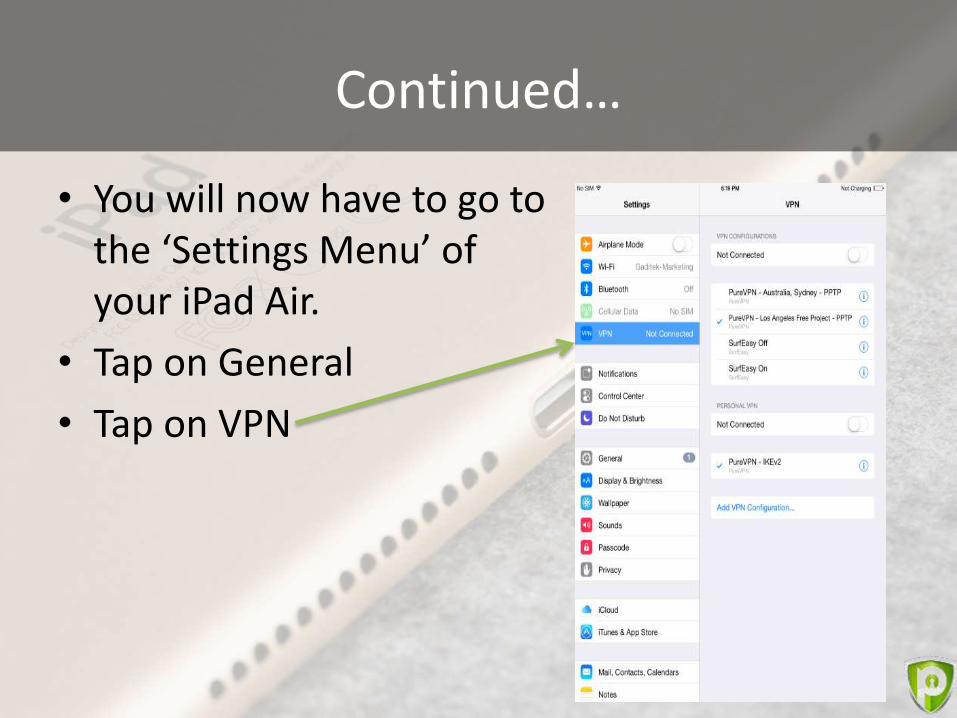
• You will now have to go to the ‘Settings Menu’ of your iPad Air.
• Tap on General
• Tap on VPN
Continued…
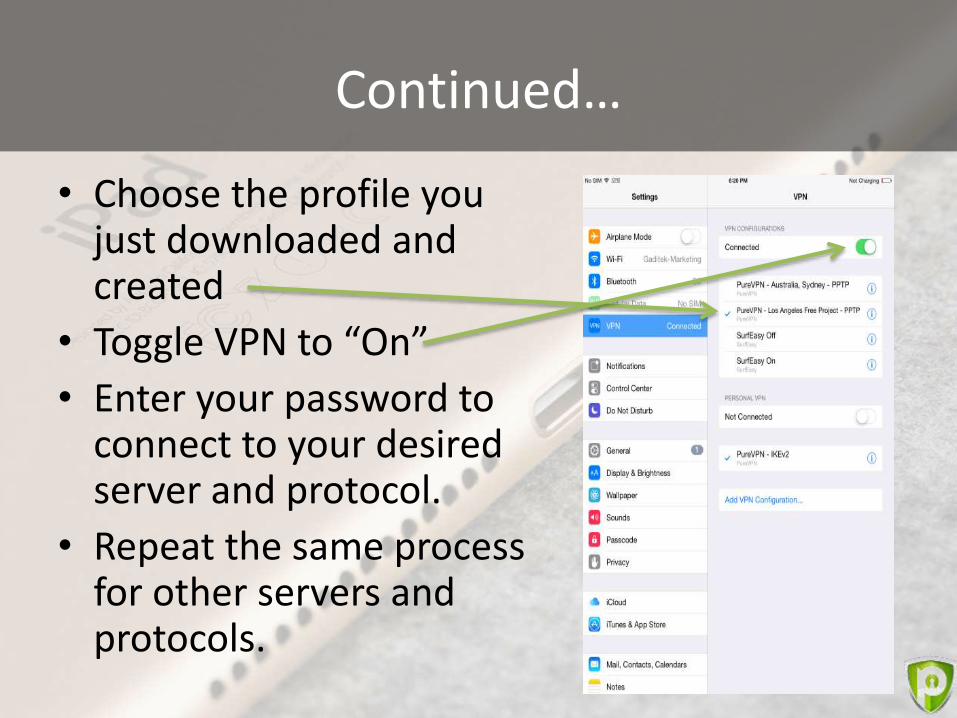
• Choose the profile you just downloaded and created
• Toggle VPN to “On”
• Enter your password to connect to your desired server and protocol.
• Repeat the same process for other servers and protocols.
3. Step-by-Step Manual iPad Air VPN Setup – No App Installation
Required
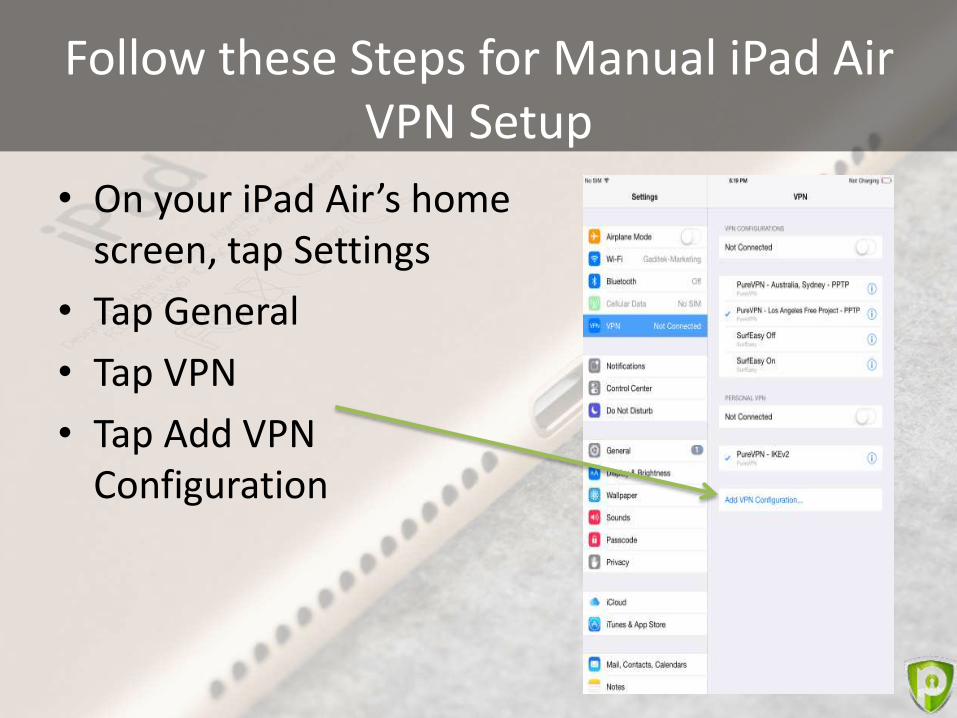
Follow these Steps for Manual iPad Air VPN Setup
• On your iPad Air’s home screen, tap Settings
• Tap General
• Tap VPN
• Tap Add VPN Configuration
Follow these Steps for Manual iPad Air VPN Setup
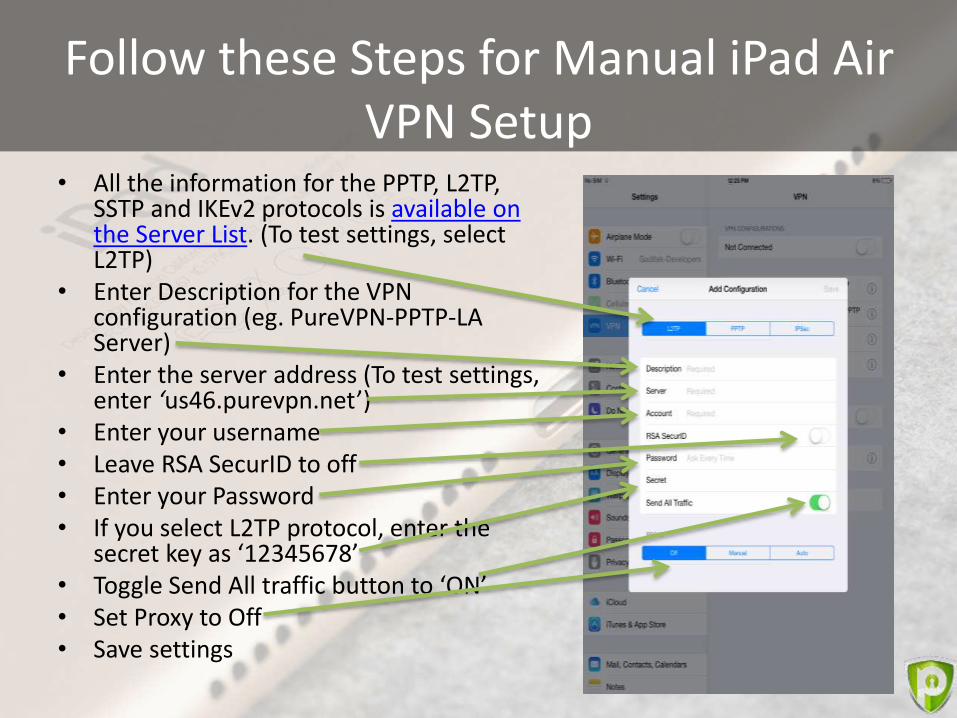
• All the information for the PPTP, L2TP, SSTP and IKEv2 protocols is available on the Server List. (To test settings, select L2TP)
• Enter Description for the VPN configuration (eg. PureVPN-PPTP-LA Server)
• Enter the server address (To test settings, enter ‘us46.purevpn.net’)
• Enter your username• Leave RSA SecurID to off• Enter your Password• If you select L2TP protocol, enter the
secret key as ‘12345678’• Toggle Send All traffic button to ‘ON’• Set Proxy to Off• Save settings

Now, connect using your newly created PureVPN profile!