Skills development journal
19
Skills Development Journal Rosa Rogerson
-
Upload
rosarmedia -
Category
Documents
-
view
81 -
download
0
Transcript of Skills development journal
Skills Development Journal
Rosa Rogerson

Colour splash
Normal image
Select – Colour range – chose the colour I wanted to show (red) – then increased the fuzziness to increase the colour range.

Copy and paste the layer on to itself – then unlock the bottom (background) layer by double clicking it.
Image – Adjustments – Black and white. This turns the background layer black and white but you can still see the colour of the top layer.

College Magazine I created another layer of the top parts of the heads, so go on top of the masthead as I didn’t want to use the whole image.
I also created an outer glow on the ‘CITY COLLEGE NORWICH’ at the top of the magazine so it would be easier to read. I did this by right clicking the layer of text and then selecting blending options. Then going to outer glow.

Using the text tool I wrote ‘METAL’ then rasterized the type to turn it into an image layer

Using the select tool I select the ‘M’
Then Edit- Transform - Skew

From Skew I then pulled the top of the ‘M’ down so it was slightly italic and longer.
I then do a similar thing to the ‘L’ but I pull it the other way.

Right click the layer then go up to ‘Duplicate Layer’
I could change the name of the layer but I want to keep it as ‘Metal Copy’, and then I press ok.

On the second layer(metal copy), I click select – colour range.
Change the colour to grey.

On the rubber tool – select a scratch brush and make sure its 100% opacity.And scratch away until it looks good.

Double click on the image of the second layer.This brings you to layer style.
Change the style to Outer Bevel.The technique to Chisel Hard.Increased the depth and the size.
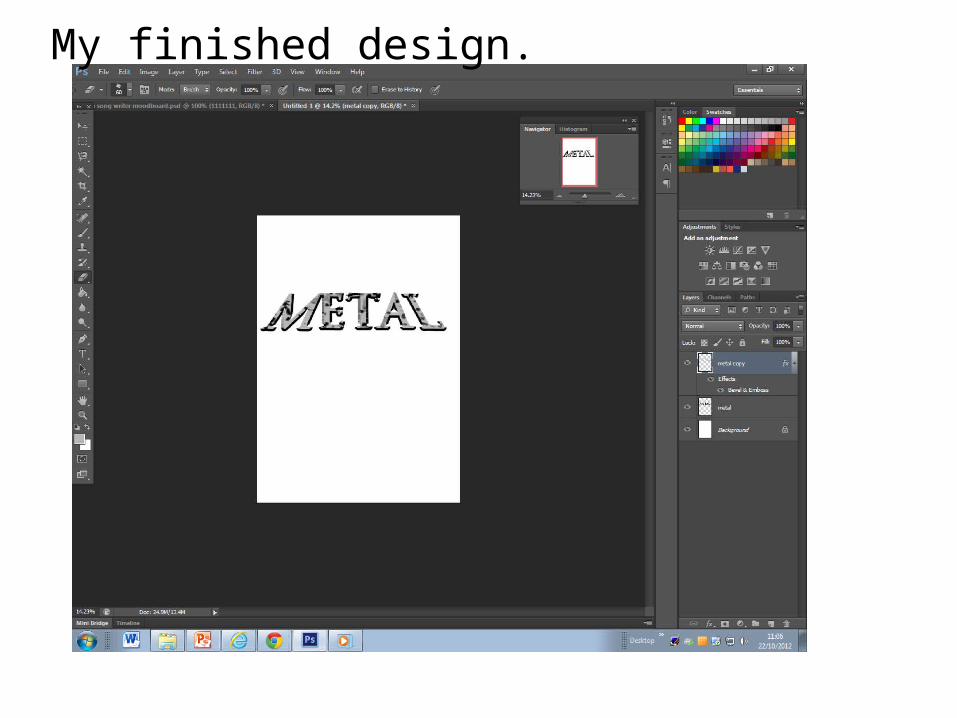
My finished design.
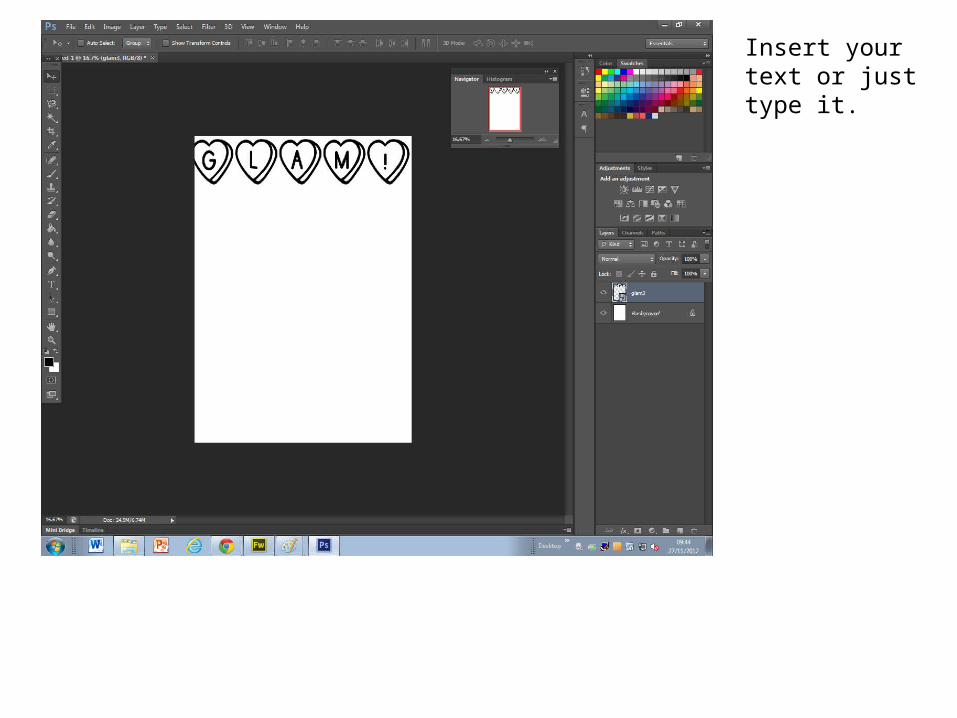
Insert your text or just type it.

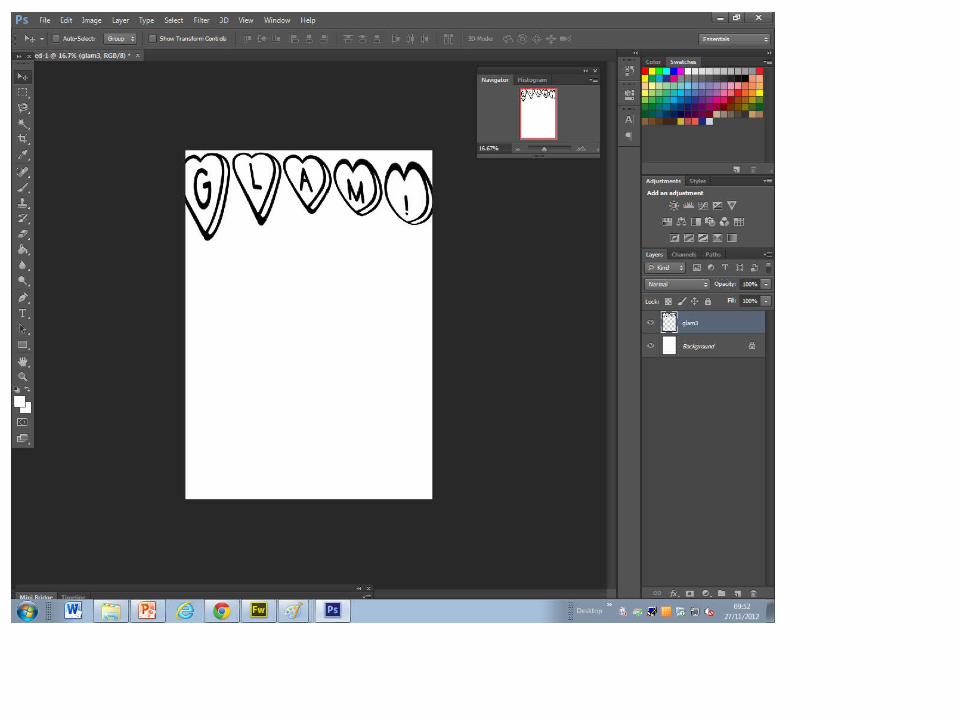
Make sure you have rasterized the layer, then edit, transform, warp. And change it to how you want it to look.

Insert the picture that you want to be used as a colour, then hide all the layers except for the text.
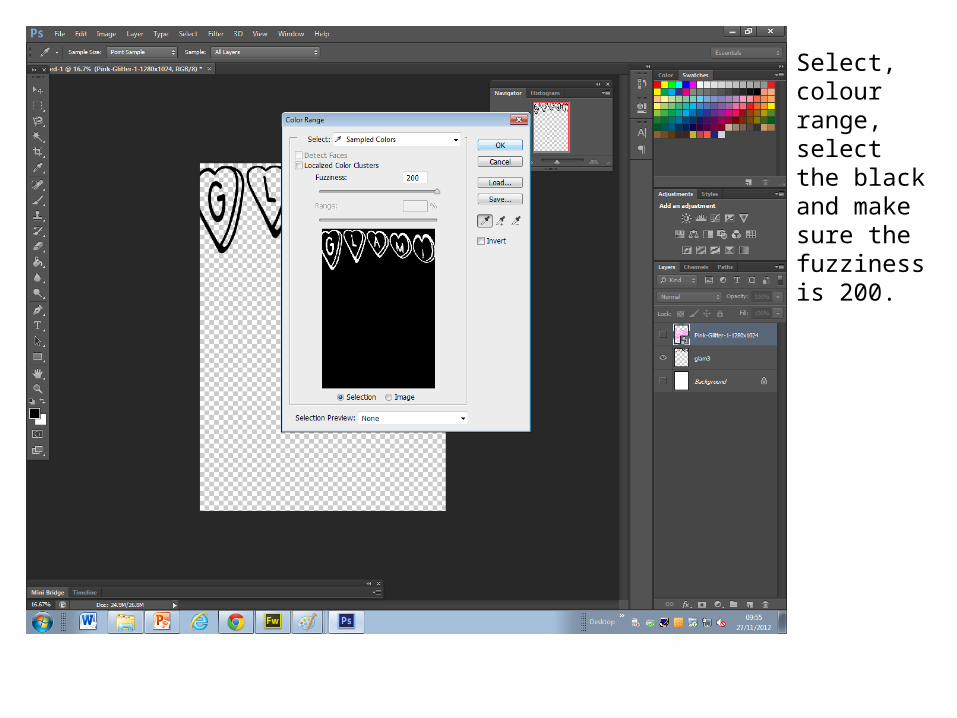
Select, colour range, select the black and make sure the fuzziness is 200.

Put the picture over the text, then select, inverse and then you press delete.
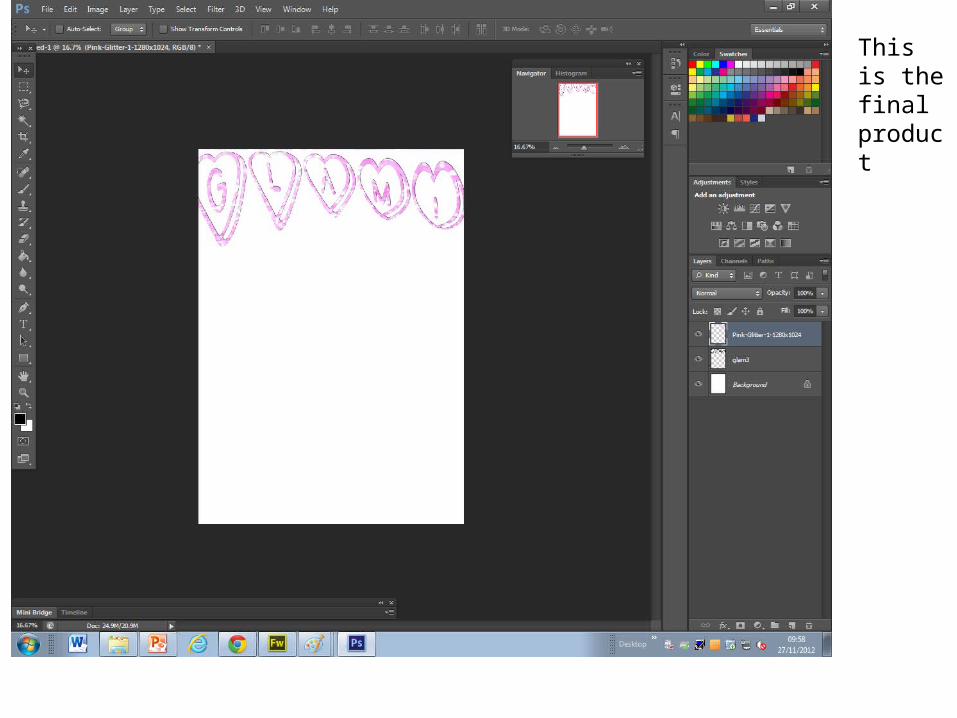
This is the final product