SHOW OFF YOUR STORY: HOW TO CREATE AN …...Want to create an exhibition? Creating an exhibition is...
3
SHOW OFF YOUR STORY: HOW TO CREATE AN EXHIBITION Want to create an exhibition? Creating an exhibition is a great way for students to tell an important local story with words, photographs, audio clips, videos, and even objects. Developing an exhibition is a great way to show off everything you’ve learned about your hometown or any other topic. Follow these easy steps to create an online exhibition or a real one for your local museum! We’ll provide you with an example topic. Find Your Story To get started, you need to decide what story to tell. Is there something exciting that few people know or appreciate about your town? Is there a topic of interest to you or to your community? Visit your local museum, historical society, or library to learn more about important events and people in your area. Historians and librarians can help you explore these untold stories. In our fictional example, the class visits your local history museum and discovers a photo of the MyTown “Hockey Stars.” The team was the first women’s hockey team in your area. Many people in MyTown know little about the Hockey Stars and their contributions to your area’s sports history. Your class decides to research the photo and use an exhibition to tell the team’s story. ❮ Whether you're going for something grand or a llittle more basic, all exhibitions start with background research and some creativity. Photo by James Kegley Early 20th century women’s hockey team. Library of Congress Prints and Photographs Division, National Photo Company Collection, LC-F8- 5183 Smithsonian Institution Traveling Exhibition Service Museum on Main Street
Transcript of SHOW OFF YOUR STORY: HOW TO CREATE AN …...Want to create an exhibition? Creating an exhibition is...

SHOW OFF YOUR STORY: HOW TO CREATE AN EXHIBITION
Want to create an exhibition? Creating an exhibition is a great way for students to tell an important local story with words, photographs, audio clips, videos, and even objects. Developing an exhibition is a great way to show off everything you’ve learned about your hometown or any other topic.
Follow these easy steps to create an online exhibition or a real one for your local museum! We’ll provide you with an example topic.
Find Your Story To get started, you need to decide what story to tell. Is there
something exciting that few people know or appreciate about your town? Is there a topic of interest to you or to your community? Visit your local museum, historical society, or library to learn more about important events and people in your area. Historians and librarians can help you explore these untold stories.
In our fictional example, the class visits your local history museum and discovers a photo of the MyTown “Hockey Stars.” The team was the first women’s hockey team in your area. Many people in MyTown know little about the Hockey Stars and their contributions to your area’s sports history. Your class decides to research the photo and use an exhibition to tell the team’s story.
❮
Whether you're going for something grand or a llittle more basic, all exhibitions start with background research and some creativity. Photo by James Kegley
Early 20th century women’s hockey team. Library of Congress Prints and Photographs Division, National Photo Company Collection, LC-F8- 5183
Smithsonian InstitutionTraveling Exhibition Service
Museum onMain Street
Develop Your Topic So, what’s the main idea of your exhibition? Just like a research paper, your exhibition should
have a thesis statement or a central theme. What’s the point you’re trying to make? For the Hockey Stars project, your class decides that the exhibition’s central theme will be to show that the women who played for the Hockey Stars were pioneers, making it possible for women’s sports to flourish in MyTown.
Research Your Topic The key to learning more about the Hockey Stars is researching both “primary” and “secondary”
source materials. Primary sources are interviews, diaries or personal journals, photographs, and newspaper articles. They tell you what happened, when, why, and who was involved. These are critically important sources because they connect you to real people who experienced real events.
• Are members of the team (or relatives of team members) available to interview? Their personal recollections can provide a wealth of information. What did it mean to them to make hockey more popular in MyTown?
• Do players or family members have letters, journals, photos, or team memorabilia that could be included in the exhibition?
• Object, photo, newspaper, and document collections at your museum and library can also reveal important details about team members, places where the team played, and how MyTown rallied to support the Hockey Stars. Work with your local museum and library to determine which items could be used as objects or images in your exhibition.
Secondary sources like books and articles in historical journals and websites help you place the experiences of the Hockey Stars in the larger context of state and national history. The perspective offered through these sources help you to determine why the team was unique for its time. For example, you can use secondary materials to find out how common women’s teams were in the 1910s and when other women’s sports teams began in your area.
Tell the Story and Use Visuals and Objects to Make it ShineSo, you’ve got your main idea, completed the research, and found images and objects that will illustrate the story. All of these support your central story.
Just like writing a research paper, develop an outline to help organize your thoughts. Your outline will help you decide which elements of the Hockey Stars’ story are the most important, the right order for telling them, and determine where you should place the best examples and illustrations you’ve found in your research.
Remember that in an exhibition, it is often better to limit your text to just a couple of paragraphs for introductory information and a few sentences for a caption, photograph, or object. Use section texts to highlight big ideas and sub-themes that tie back into your central theme. Let the photographs and objects you select help tell the story. In your captions for these items, don’t just describe what is happening in the photo. Take the opportunity to use the photograph to tell an unknown part of the story.
❮
❮
❮
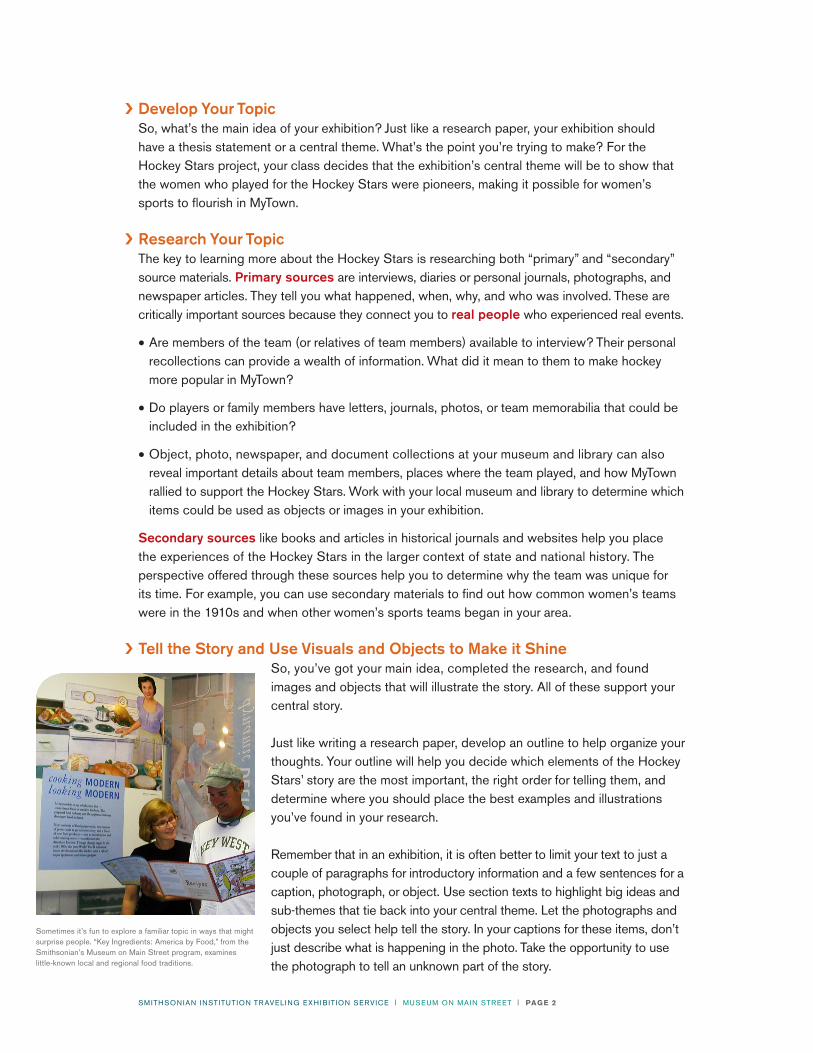
Sometimes it’s fun to explore a familiar topic in ways that might surprise people. “Key Ingredients: America by Food,” from the Smithsonian’s Museum on Main Street program, examines little-known local and regional food traditions.
SM ITHSONIAN INSTITUTION TR AVELING EXHIBIT ION SERVICE | MUSEUM ON MAIN STREET | PAGE 2
For example, to tell the story of how the Hockey Stars recruited players for their team, your class decides to use a photograph of a flier that appeared in local shop windows. The caption for the photograph could start with “Imagine recruiting fans in an age before television and the Internet. Hockey players posted hand-written fliers in shop win-dows to attract a crowd.” Then, try incorporating a quote from the leaflet or from a newspaper report about the game. This is a really fun way of adding depth to your exhibition.
You’ve Done It! After compiling your text, images and objects, it’s time to make your exhibition a reality. There are
many ways to make your exhibition available to your community.
Work with the curators, librarians, and researchers that assisted you with your research to build your exhibition at your local museum, historical society, or library. People that you interviewed during your research may be happy to lend objects and photographs to your local museum for your project.
Or, perhaps your class can work with your local museum to copy photographs and other materials for use in an exhibition at your school. Remember to be sure to only include items in your exhibition that you have clear permission from an owner, a photographer, or your museum or library to use.
Consider creating an online exhibition that will be available to people everywhere! The Smithsonian’s Stories from Main Street website is a home for online exhibitions. Ask your teacher to contact the Smithsonian’s Museum on Main Street program at [email protected] to create an account on the website that your class can use to upload images, videos, and sound clips. Then you can combine those items with text to tell your community’s story.
Resources As you think about creating and developing exhibitions, take a look at these resources for help
and examples:
● “ How to Build a Museum Exhibit in an Hour” from the Morrison County Historical Society, Minnesota
● “ Exhibiting Local Heritage” by the Wisconsin Historical Society, hosted by the Minnesota Historical Society
http://morrisoncountyhistory.org/?page_id=1449
(http://www.mnhs.org/shpo/lhs/exhibit_plan/index.htm)
Did you know that libraries and museums around the world have many of their collections online? Search their catalogues for primary sources! Photo by newfilm.dk. Courtesy Flickr Commons. Attribution-NonCommercial 2.0 Generic
SM ITHSONIAN INSTITUTION TR AVELING EXHIBIT ION SERVICE | MUSEUM ON MAIN STREET | PAGE 3
❮
❮