setTimeout() - University of Delawareyarringt/103/HTML5Info/JST… · Web viewHere is another...
14
JS Tutorial 5 (SetTimeOut, Repositioning images,Parameters) setTimeout() In order to have a function called automatically, we can use JavaScript’s built-in function called setTimeout(). Settimeout does 2 things: It pauses javaScript for a certain number of milliseconds, and then after those milliseconds pause, it then calls a function to make it happen. If setTimeout is inside of a function and it calls that function, it will make that function happen again and again. Here is an example of using setTimeout to call the function displaypic after pausing 2000 milliseconds. var picArray = new Array() picArray[0] = “cat.jpg”; picArray[1] = “dog.jpg”; picArray[2] = “bunny.jpg”; picArray[3] = “bird.jpg”; var num = -1 function displaypic() { num = num + 1 if (num >= picArray.length) { num = 0 } document.getElementById("pic1").src = picArray[num] document.getElementById("p1").innerHTML = num setTimeout(function(){displaypic()},2000) } setTimeout calls the function setTimeout, which causes javascript to STOP running – just freeze! It stops for the number specified (in milliseconds). After that many milliseconds, it calls the function specified setTimeout( function(){displaypic()} , 2000 ) So in the above example, setTimeout freezes javascript for 2000 milliseconds (or 2 seconds), and then after 2 seconds, it calls the function displaypic(), just as if you’d clicked on a button calling it. ****************************************************************************** ****** NOTE: Using function(){displaypic()} in setTimeout to call the function displaypic is currently the preferred way of using setTimeout. However,
Transcript of setTimeout() - University of Delawareyarringt/103/HTML5Info/JST… · Web viewHere is another...

JS Tutorial 5 (SetTimeOut, Repositioning images,Parameters)setTimeout()In order to have a function called automatically, we can use JavaScript’s built-in function called setTimeout(). Settimeout does 2 things: It pauses javaScript for a certain number of milliseconds, and then after those milliseconds pause, it then calls a function to make it happen. If setTimeout is inside of a function and it calls that function, it will make that function happen again and again. Here is an example of using setTimeout to call the function displaypic after pausing 2000 milliseconds.
var picArray = new Array()picArray[0] = “cat.jpg”;picArray[1] = “dog.jpg”;picArray[2] = “bunny.jpg”;picArray[3] = “bird.jpg”;var num = -1 function displaypic() { num = num + 1
if (num >= picArray.length) { num = 0 } document.getElementById("pic1").src = picArray[num] document.getElementById("p1").innerHTML = num setTimeout(function(){displaypic()},2000)
}
setTimeout calls the function setTimeout, which causes javascript to STOP running – just freeze! It stops for the number specified (in milliseconds). After that many milliseconds, it calls the function specified
setTimeout( function(){displaypic()} , 2000 )
So in the above example, setTimeout freezes javascript for 2000 milliseconds (or 2 seconds), and then after 2 seconds, it calls the function displaypic(), just as if you’d clicked on a button calling it.
************************************************************************************
NOTE: Using function(){displaypic()} in setTimeout to call the function displaypic is currently the preferred way of using setTimeout. However, technically it is part of HTML5, which is nonstandard and thus may not work on some browsers. If you have used the above code EXACTLY as I have it above, and your code doesn’t work, you should either try running your code in Firefox, or, as an alternative, you can use a deprecated version of setTimeout as follows:
setTimeout(displaypic(),2000)
*************************************************************************************
Example:
<script>function setToRed ( ){ document.getElementById("colorButton").style.color = "#FF0000"; setTimeout ( function(){setToBlack()}, 2000 );

}function setToBlack ( ){ document.getElementById("colorButton").style.color = "#000000";}</script></head><body> <input type="button" name="clickMe" id="colorButton" value="Click me and wait!" onclick="setToRed()"/>
In the above example, when you click on the button, the function setToRed is called, which sets the text color to be red, and then pauses 2000 milliseconds. After 2000 milliseconds, it will call the function setToBlack, which will set the text color back to black.
Here is another example, in which setTimeout is used to make an image of a lightbulb appear and disappear. Before you start, the count variable is set to 0. Once you click on the body, the function myfunc is called and starts executing. Since count holds 0, count gets changed to hold the value 1. Then the picture in the image with the id ‘img1’ is changed to that of a lightbulb. The function then pauses for 1000 milliseconds, and then the function myfunc() is called again. Since this time, the count variable holds the value 1, the count variable’s value is set to 0 and ‘img1’s image src is changed to nothing. Again, we pause for 1000 milliseconds, and then myfunc is called again. This time count holds 0, so its value is changed to 1, and ‘img1’s src image is set to be the lightbulb. This calling the function with the count being 1 or 0 will continue indefinitely.
<script > var count = 0 function myfunc() { if (count == 1) { count = 0 document. getElementById(“img1”).src = " " }
else if (count == 0) { count = 1 document. getElementById(“img1”).src = "Images/lightbulb.jpg" } setTimeout(function(){myfunc()},1000) } </script> </head> <body onClick = “myfunc()”> <p> <img src = "" width = "189" height = "267" id = "img1"> </p> </body>
In the following example, the script causes each image in the array to be displayed in order continuously and automatically. Each time the function is called, the num variable is increased by 1. If the num’s value is greater than or equal to the length of the array picArray, num will be set back to the value of 0. Then the image with the id of ‘pic1’s src will be set to the image in picArray at whatever value num holds. This is all like the cycling through an array that we did in the previous Tutorial. The difference now is that setTimeout will pause the javaScript for 2000

milliseconds, and then automatically call the displaypic function for us, so the images will be displayed in order automatically, looping back to the beginning of the array when we get to the end.
<!DOCTYPE html><html><head><meta charset= "utf-8" /> <script >
var picArray = new Array()picArray[0]="Images/ kittyfur-back.jpg "picArray[1]=“Images/kittyhimself.jpg"picArray[2]="Images/kittybreakfast.jpg"picArray[3]="Images/kittyno-regrets.jpg"picArray[4]="Images/kttylemon.jpg"
var num = -1 function displaypic()
{ num = num + 1 if (num >= picArray.length) { num = 0 } document.getElementById("pic1").src = picArray[num] document.getElementById("p1").innerHTML = num setTimeout(function(){displaypic()},2000)
}
</script></head><body> <h1> Vacation Pics </h1>
<p><img src = "Images/Leopard.jpg" height = "300" width = "390" alt = "vacation pics" id = "pic1" > </p> <input type = "button" value = “Start Slide Show" onClick = "displaypic()"> <p id = "p1">Image number </p>
</body></html>
OnloadSo far we’ve started function in a couple of ways, primarily onClick and onMouseOver and onMouseOut. But with slide shows showing images, we may want the slide show not only to go to the next picture automatically, but also to start automatically. We can do that by making the function be called when the web page loads into the browser. For that we’ll use onLoad.
For example,
<body onload = “func()”>
Means that when the body of your html page loads into the browser, func() will be executed.
So now we’d have:
<script > var count = 0 function myfunc()

{ if (count == 1) { count = 0 document. getElementById(“img1”).src = " " }
else if (count == 0) { count = 1 document. getElementById(“img1”).src = "Images/lightbulb.jpg" } setTimeout(function(){myfunc()},1000) } </script> </head> <body onLoad = “myfunc()”> <p><img src = "" width = "189" height = "267" id = "img1"> </p> </body>
And the function myfunc() will be started automatically when the web page loads into the browser, and then it will continue automatically because of the setTimeout function.
Repositioning an image:In the following code, the count variable is set to 0 and the xcoord is set to be 800 before any function is called. Then when the page is loaded, the image with the id ‘img1’ style gets set to an absolute positioning. 10 is subtracted from the xcoord. And then the ‘img1’ image is moved to that new position. After 400 milliseconds (about half a second), the function is called again and again 10 is subtracted from the xcoord and the image ‘img1’ is repositioned again. This happens again and again. Thus each time the function is called (with setTimeout) the image is moved across the page. Notice that this all only happens when count is not 50. When the count variable reaches 50, it is set back to 0 and the xcoord value is set back to 800, thus restarting the image’s position back on the other side of the screen (think of a train moving automatically across your screen).<!DOCTYPE html><html><head><meta charset= "utf-8" /><script> var count = 0 var xcoord = 800 function myfunc() { if (count == 50) { count = 0
xcoord = 800 } else
{ document.getElementById('img1').style.position = "absolute"xcoord = xcoord - 10document.getElementById('img1').style.left = xcoord+"px"count = count + 1
} setTimeout(function(){myfunc(),400)
}

</script> </head> <body onLoad = "myfunc()"> <p><img src = "Images/train.jpg" width = "189" height = "267" id = "img1" ></p> </body></html>
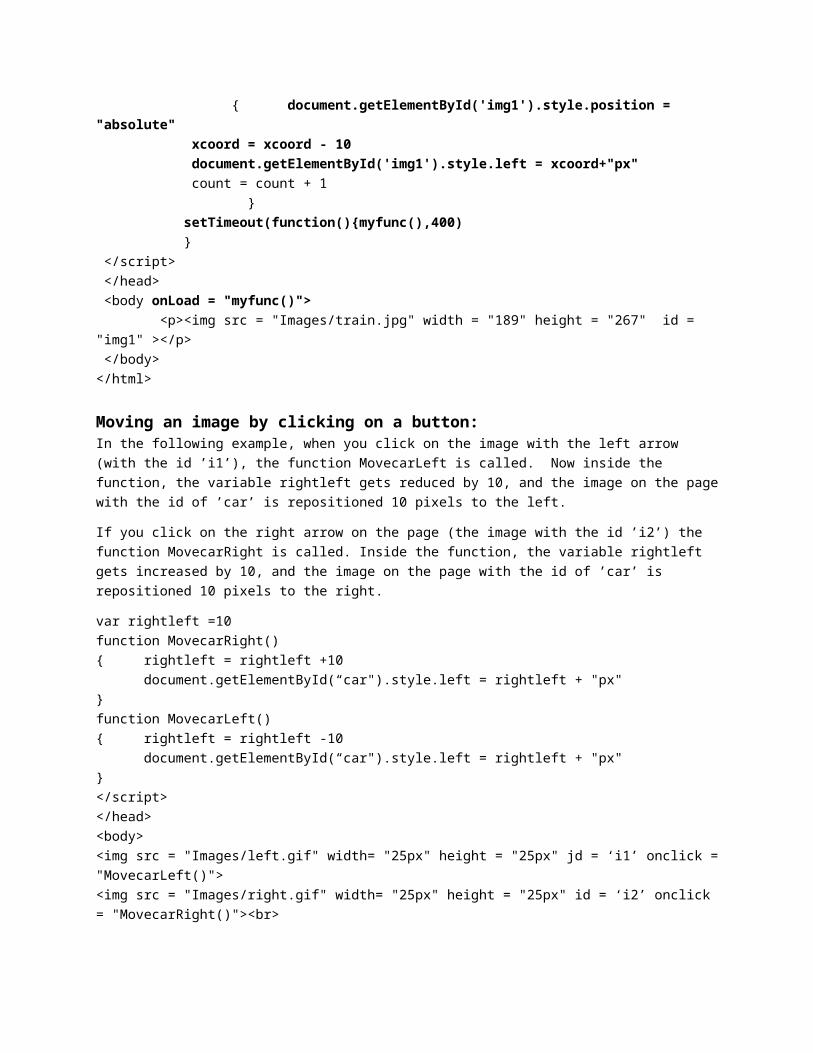
Moving an image by clicking on a button:In the following example, when you click on the image with the left arrow (with the id ’i1’), the function MovecarLeft is called. Now inside the function, the variable rightleft gets reduced by 10, and the image on the page with the id of ’car’ is repositioned 10 pixels to the left.
If you click on the right arrow on the page (the image with the id ’i2’) the function MovecarRight is called. Inside the function, the variable rightleft gets increased by 10, and the image on the page with the id of ’car’ is repositioned 10 pixels to the right.
var rightleft =10function MovecarRight(){ rightleft = rightleft +10
document.getElementById(“car").style.left = rightleft + "px"}function MovecarLeft(){ rightleft = rightleft -10
document.getElementById(“car").style.left = rightleft + "px"}</script></head><body><img src = "Images/left.gif" width= "25px" height = "25px" jd = ‘i1’ onclick = "MovecarLeft()"><img src = "Images/right.gif" width= "25px" height = "25px" id = ‘i2’ onclick = "MovecarRight()"><br>
What if we want to move the car over something? Now if we have something else on the page, how do we tell whether one image has been moved over the other? In other words, let’s say we have a frog image on the road. The following code includes a function called Movefrog that places the frog image somewhere randomly on the road. We can use the arrows to move the car back and forth, including over the frog. So when you click on the button in the web page, the function startit() is called. The function startit() calls Movefrog(), which generates a random number and then positions the frog at that random position on the road. Every 20 seconds, it repositions the frog. In the meantime, we are still able to move the car using the arrows (as described above). So now we can move the car over the frog.
var rightleft =0var xpos =0
function startit(){ Movefrog()}function MovecarRight(){ rightleft = rightleft +10
document.getElementById(“car").style.left = rightleft + "px"
}function MovecarLeft(){ rightleft = rightleft -10
document.getElementById(“car").style.left = rightleft + "px"}
function Movefrog(){ xpos = Math.floor(Math.random() * 650)
document.getElementById(‘frog').style.left = xpos + "px"setTimeout(function(){Movefrog()},20000)
}</script></head><body><div id = "hi" style = "position: relative;"> <img src = “frog.png" id = “frog" width= "150" height = "150" style = "position: absolute; top: 0px; left: 0px;"> <img src = “car.png" id = “car" width = "150" height = "150" style = "position: absolute; top: 0px; left: 0px; "></div><img src = "Images/left.gif" width= "25px" height = "25px" jd = ‘i1’ onclick = "MovecarLeft()"><img src = "Images/right.gif" width= "25px" height = "25px" id = ‘i2’ onclick = "MovecarRight()"><br><input type = "button" value = "start" onClick = "startit()">
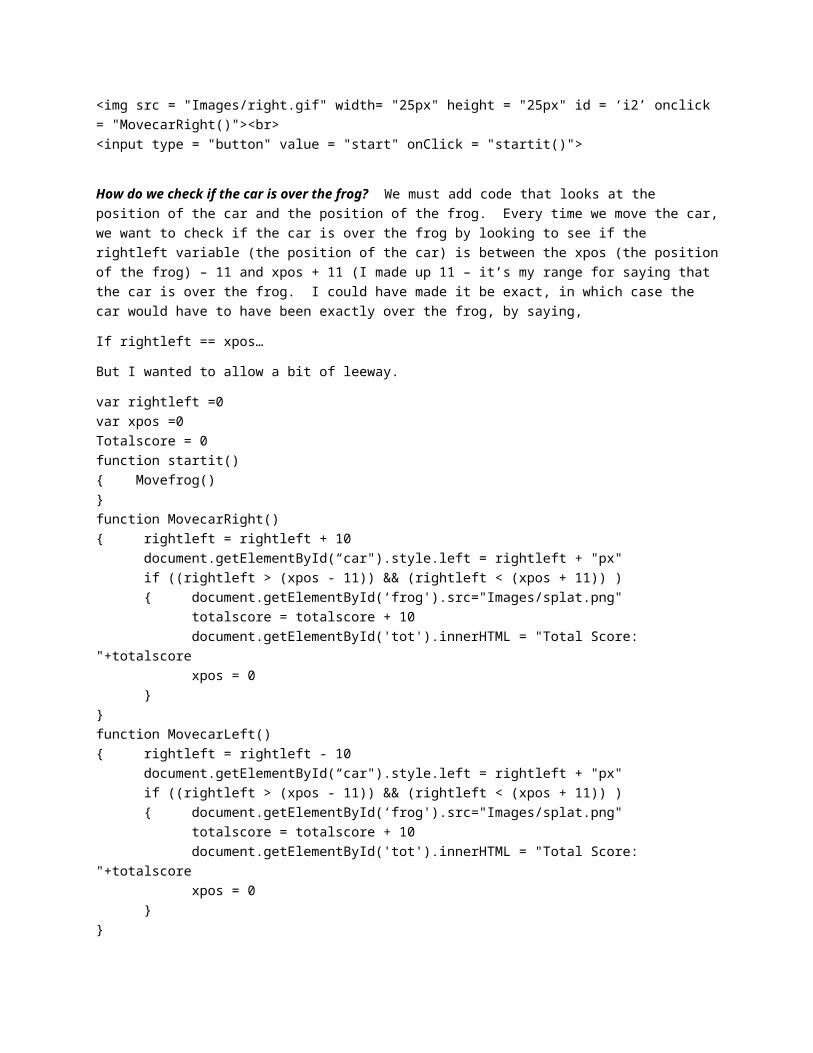
How do we check if the car is over the frog? We must add code that looks at the position of the car and the position of the frog. Every time we move the car, we want to check if the car is over the frog by looking to see if the rightleft variable (the position of the car) is between the xpos (the position of the frog) – 11 and xpos + 11 (I made up 11 – it’s my range for saying that the car is over the frog. I could have made it be exact, in which case the car would have to have been exactly over the frog, by saying,
If rightleft == xpos…
But I wanted to allow a bit of leeway.
var rightleft =0var xpos =0Totalscore = 0function startit(){ Movefrog()}function MovecarRight(){ rightleft = rightleft + 10
document.getElementById(“car").style.left = rightleft + "px"if ((rightleft > (xpos - 11)) && (rightleft < (xpos + 11)) ){ document.getElementById(‘frog').src="Images/splat.png"
totalscore = totalscore + 10document.getElementById('tot').innerHTML = "Total Score: "+totalscorexpos = 0
}}function MovecarLeft()

{ rightleft = rightleft - 10document.getElementById(“car").style.left = rightleft + "px"if ((rightleft > (xpos - 11)) && (rightleft < (xpos + 11)) ){ document.getElementById(‘frog').src="Images/splat.png"
totalscore = totalscore + 10document.getElementById('tot').innerHTML = "Total Score: "+totalscorexpos = 0
}}
function Movefrog(){ document.getElementById(‘frog').src="Images/frog.png“
xpos = Math.floor(Math.random() * 650) document.getElementById(‘frog').style.left = xpos + "px"setTimeout(function(){Movefrog()},20000)
}</script></head><body><p id = “tot”>Score goes here<p><div id = "hi" style = "position: relative;"> <img src = “frog.png" id = “frog" width= "150" height = "150" style = "position: absolute; top: 0px; left: 0px;"> <img src = “car.png" id = “car" width = "150" height = "150" style = "position: absolute; top: 0px; left: 0px; "></div<img src = "Images/left.gif" width= "25px" height = "25px" onclick = "MovecarLeft()"><img src = "Images/right.gif" width= "25px" height = "25px" onclick = "MovecarRight()"><input type = "button" value = "start" onClick = "startit()">
Parameters:Parameters are another way of having something hold a value.
E.g., var x = 3
Now the variable x holds 3. We can use x as if it is the number 3
var narr = new Array()narr[0] = “cat”narr[1] = “dog”Now the array narr at location 1 holds the word “dog”, and we can use narr[1] as if it is the word “dog”
Parameters are another way of placing values into variables. So, for instance, you could have:
function func(easyorhard)
{ If (easyorhard == ‘easy’)
<p onclick = “func(‘easy’)”> click here to call the function with the parameter ‘easy’ </p>
Now when you click on the paragraph, the word ‘easy’ is placed in the parameter easyorhard, so easyorhard can be used as if it is the word ‘easy’
In the following example, depending on the paragraph you click on, the parameter param will hold a different value. So if you click on the paragraph that says, “Click here for snow”, param will hold the word ‘snow’. If you click on the paragraph that says, “Click here for rain”, param will hold rain. If you click on the paragraph that syas, “click here for sun”, param will hold sun.
We’re putting whatever value is within the () in the function call into the parameter.
e.g.,
onClick = showparam(‘rain’) -> function showparam(param)
‘rain’ goes into param
so now param can be used as if it is the word ‘rain’
This is just like variables. We are just putting a value into the parameter when we call the function.
<!DOCTYPE html><html><head><meta charset= "utf-8" /> <script >
function showparam(param) { if (param == 'snow')
{ document.getElementById("h11").innerHTML = "it's snowing!" } else if (param == 'rain') { document.getElementById("h11").innerHTML = "it's raining!" } else if (param == 'sun') { document.getElementById("h11").innerHTML = "it's sunny!" }
} </script></head><body>
<h1 id = "h11"> Different Styles</h1> <p id = "p1" onClick = "showparam('snow')">click here for snow</p><p id = "p2" onClick = "showparam('rain')">click here for rain</p><p id = "p3" onClick = "showparam('sun')">click here for sun</p>
</body></html>
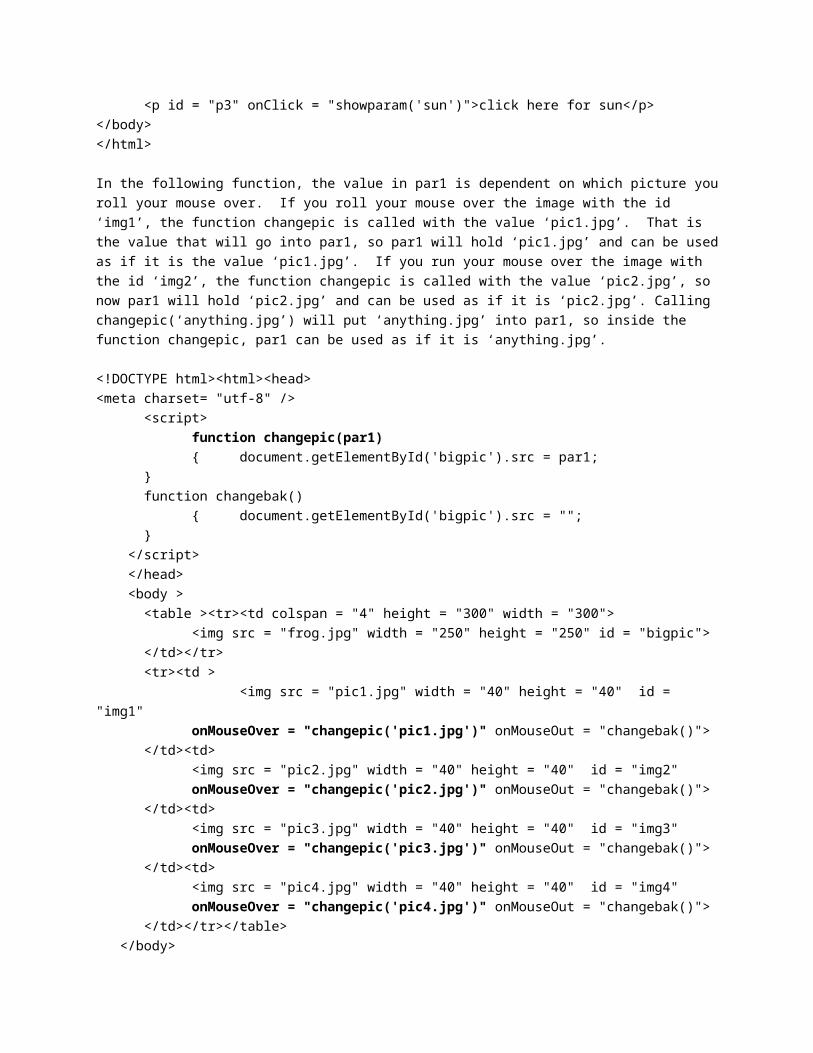
In the following function, the value in par1 is dependent on which picture you roll your mouse over. If you roll your mouse over the image with the id ‘img1’, the function changepic is called with the value ‘pic1.jpg’. That is the value that will go into par1, so par1 will hold ‘pic1.jpg’ and can be used as if it is the value ‘pic1.jpg’. If you run your mouse over the image with the id ‘img2’, the function changepic is called with the value ‘pic2.jpg’, so now par1 will hold ‘pic2.jpg’ and can be used as if it is ‘pic2.jpg’. Calling changepic(‘anything.jpg’) will put ‘anything.jpg’ into par1, so inside the function changepic, par1 can be used as if it is ‘anything.jpg’.

<!DOCTYPE html><html><head><meta charset= "utf-8" />
<script> function changepic(par1) { document.getElementById('bigpic').src = par1;
}function changebak()
{ document.getElementById('bigpic').src = "";}
</script> </head> <body >
<table ><tr><td colspan = "4" height = "300" width = "300"><img src = "frog.jpg" width = "250" height = "250" id = "bigpic">
</td></tr><tr><td >
<img src = "pic1.jpg" width = "40" height = "40" id = "img1" onMouseOver = "changepic('pic1.jpg')" onMouseOut = "changebak()">
</td><td> <img src = "pic2.jpg" width = "40" height = "40" id = "img2"
onMouseOver = "changepic('pic2.jpg')" onMouseOut = "changebak()"></td><td> <img src = "pic3.jpg" width = "40" height = "40" id = "img3"
onMouseOver = "changepic('pic3.jpg')" onMouseOut = "changebak()"></td><td> <img src = "pic4.jpg" width = "40" height = "40" id = "img4"
onMouseOver = "changepic('pic4.jpg')" onMouseOut = "changebak()"></td></tr></table>
</body></html>
Functions can have more than one parameter. When they do, the first value goes into the first parameter, and the second value goes into the second parameter. In the following code, when you click on the first button, myfunction is called with (‘Harry Potter’,’Wizard’).
In the function inside the script (the function definition), we see 2 parameters, name and job, i.e.,
function myFunction(name,job)
‘Harry Potter’ goes into the parameter name, and
‘Wizard’ goes into the parameter job.
This happens because ‘Harry Potter’ came first and ‘Wizard’ was second. So the first value goes into the first parameter, or name, and the second value goes into the second parameter, or job.
In the second example, when we call myFunction(‘Bob’,’Builder’), ‘Bob’ boes into name and ‘Builder’ goes into job, again, because ‘Bob’ was first and ‘Builder’ was second, just as name was the first parameter and job was the second parameter.
<!DOCTYPE html><html><head>

<meta charset= "utf-8" /><script>
function myFunction(name,job){ document.getElementById('p1').innerHTML = "Welcome " + name + ", the " + job;}
</script></head><body>
<p id = "p1">Results go here.</p> <button onclick="myFunction('Harry Potter','Wizard')">Try it</button><button onclick="myFunction('Bob','Builder')">Try it</button>
</body></html>
In this case, we have a function with 2 parameters. The first, par1, will hold the id of an image. The second will hold a number, which will be used to position the image down from the top of the page.
In this example, when you click on the start button, and the startfunc() is called. Now, the startfunc() is what calls the function myfunc(). It first calls the function myfunc() with ‘img1’ and 20. So myfunc’s first parameter, par1, holds ‘img1’. Its second parameter, par2, holds 20. Now in the function, the image with the id ‘img1’ (inside of par1) position is set to be absolute, and 20 (inside of par2) pixels down from the top. Its left position is set to be a random number between 0 and 100, which is added to the old left position. Thus the img1 moves across the page at random speeds.
Back to startfunc. It then calls myfunc() with ‘img2’ and 160. ‘img2’ goes into par1 and 150 goes into par2. So now myfunc sets the position of the image wit the id of img2 (inside of par1) to be absolute, and sets it to be down from the top 160 (inside of par2) pixels down from the top. It then generates another random number and starts moving the ‘img2’ image across the screen randomly. So, in essence, you end up with a racing condition between the two images.
<!DOCTYPE html><html><head><meta charset= "utf-8" />
<script> var ycoord = 5 function myfunc(par1,par2) { document.getElementById(par1).style.position = "absolute"
document.getElementById(par1).style.top = par2 + "px"ycoord = ycoord + Math.floor(Math.random()*100)document.getElementById(par1).style.left = ycoord+"px"setTimeout(function(){myfunc(par1,par2)},400)
} function startfunc()
{ myfunc('img1',20)myfunc('img2',160)
}</script></head><body> <p ><img src = "Images/train.jpg" width = "189" height = "267" id = "img1"
style = "position: absolute; top: 20px; left: 5px"></p>
<p ><img src = "Images/train.jpg" width = "189" height = "267" id = "img2" style = "position: absolute; top: 160px; left: 5px"></p>
<h1 style="color:white;" id = "h11"> </h1><p style = "position: absolute; top: 270px; left: 5px"><input type = "button" onclick = "startfunc()" value = "start" ></p>
</body></html>