RS101 COURSE OUTLINE - Drawspacefiles.drawspace.com/courses/55/outline.pdfRS101 COURSE OUTLINE.indd...
4
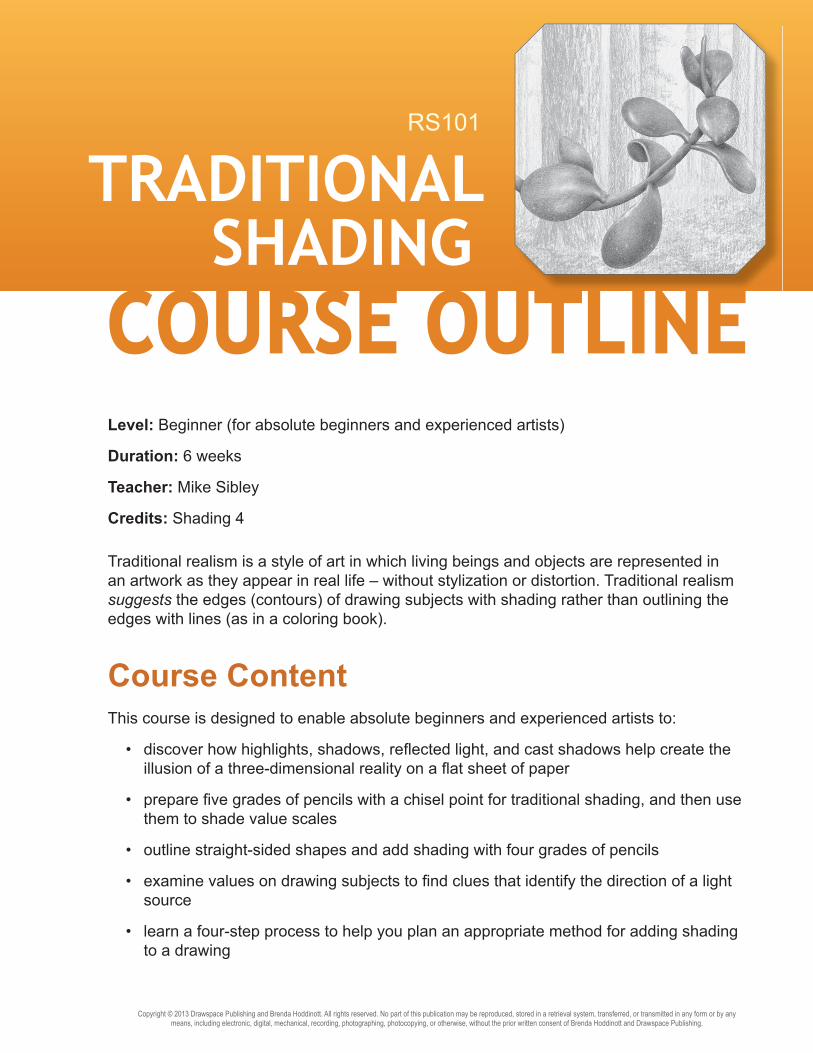
Level: Beginner (for absolute beginners and experienced artists) Duration: 6 weeks Teacher: Mike Sibley Credits: Shading 4 Traditional realism is a style of art in which living beings and objects are represented in an artwork as they appear in real life – without stylization or distortion. Traditional realism suggests the edges (contours) of drawing subjects with shading rather than outlining the edges with lines (as in a coloring book). Course Content This course is designed to enable absolute beginners and experienced artists to: • discover how highlights, shadows, reflected light, and cast shadows help create the illusion of a three-dimensional reality on a flat sheet of paper • prepare five grades of pencils with a chisel point for traditional shading, and then use them to shade value scales • outline straight-sided shapes and add shading with four grades of pencils • examine values on drawing subjects to find clues that identify the direction of a light source • learn a four-step process to help you plan an appropriate method for adding shading to a drawing COURSE OUTLINE RS101 TRADITIONAL SHADING Copyright © 2013 Drawspace Publishing and Brenda Hoddinott. All rights reserved. No part of this publication may be reproduced, stored in a retrieval system, transferred, or transmitted in any form or by any means, including electronic, digital, mechanical, recording, photographing, photocopying, or otherwise, without the prior written consent of Brenda Hoddinott and Drawspace Publishing.
Transcript of RS101 COURSE OUTLINE - Drawspacefiles.drawspace.com/courses/55/outline.pdfRS101 COURSE OUTLINE.indd...
Level: Beginner (for absolute beginners and experienced artists)
Duration: 6 weeks
Teacher: Mike Sibley
Credits: Shading 4
Traditional realism is a style of art in which living beings and objects are represented in an artwork as they appear in real life – without stylization or distortion. Traditional realism suggests the edges (contours) of drawing subjects with shading rather than outlining the edges with lines (as in a coloring book).
Course ContentThis course is designed to enable absolute beginners and experienced artists to:
• discover how highlights, shadows, refl ected light, and cast shadows help create the illusion of a three-dimensional reality on a fl at sheet of paper
• prepare fi ve grades of pencils with a chisel point for traditional shading, and then use them to shade value scales
• outline straight-sided shapes and add shading with four grades of pencils
• examine values on drawing subjects to fi nd clues that identify the direction of a light source
• learn a four-step process to help you plan an appropriate method for adding shading to a drawing
COURSE OUTLINE RS101
TRADITIONAL SHADING
Copyright © 2013 Drawspace Publishing and Brenda Hoddinott. All rights reserved. No part of this publication may be reproduced, stored in a retrieval system, transferred, or transmitted in any form or by any means, including electronic, digital, mechanical, recording, photographing, photocopying, or otherwise, without the prior written consent of Brenda Hoddinott and Drawspace Publishing.
2
Copyright © 2013 Drawspace Publishing and Brenda Hoddinott. All rights reserved. No part of this publication may be reproduced, stored in a retrieval system, transferred, or transmitted in any form or by any means, including electronic, digital, mechanical, recording, photographing, photocopying, or otherwise, without the prior written consent of Brenda Hoddinott and Drawspace Publishing.
• outline three shapes and their value maps, and then use graduated shading to turn a circle, cube, and rectangle into realistic three-dimensional forms
• use traditional shading techniques and fi ve grades of pencils to render a three-dimensional form
• sketch the proportions of a plant, practice a step-by-step process used to add traditional shading, and then add realistic textured and patterned shading
Supplies Needed • Drawing paper and/or a sketchbook• 2H, HB, 2B, 3B, 4B, 5B, 6B, and 7B graphite pencils• Pencil sharpener• Fine sandpaper and/or a sandpaper block• Vinyl eraser• Kneaded eraser • Ruler• Small, soft paintbrush for blending • Scanner or camera that can make high-quality jpg fi les (300 dpi) of your assignments
to upload to your virtual classroom
Before You BeginThis tutorial is available in your classroom as soon as you register and provides fundamental information to help you:
• understand the differences between H and B grades of graphite
• select the right graphite pencils for learning how to draw
• choose the right size, quality, and weight of drawing paper
• select the best sharpeners and erasers for artists who draw
• discover your natural hand movements for drawing straight and curved lines
• learn how to rotate your paper as you use your natural hand movement
• fi nd out how to use a three-step process for transferring the outlines of a drawing or a photograph to a new sheet of drawing paper
• gain an understanding of commonly used art terms

Copyright © 2013 Drawspace Publishing and Brenda Hoddinott. All rights reserved. No part of this publication may be reproduced, stored in a retrieval system, transferred, or transmitted in any form or by any means, including electronic, digital, mechanical, recording, photographing, photocopying, or otherwise, without the prior written consent of Brenda Hoddinott and Drawspace Publishing.
3
Week 1Identifying Light and Shadow on Forms
Discover how highlights, shadows, refl ected light, and cast shadows help create the illusion of a three-dimensional reality on a fl at sheet of paper
Shade Simple Value ScalesPrepare fi ve grades of pencils and then use them to shade two value scales: from light to dark and from dark to light
Shade an Optical IllusionOutline straight-sided shapes and add shading with four grades of pencils
Week 2Identifying Primary Light Sources
Examine values on drawing subjects to fi nd clues that identify the directionality of the dominant light source
Shade Graduations of ValuesA four-step process to help you plan an appropriate method for adding shading to a drawing
How to Use a Value MapOutline straight-sided shapes and add shading with four grades of pencils
Part 1: Use Shading to Create FormsOutline three shapes and their value maps in preparation for adding shading next week
Week 3Part 2: Use Shading to Create Forms
Use value maps and graduated shading to turn a circle, cube, and rectangle into realistic three-dimensional forms
Copyright © 2013 Drawspace Publishing and Brenda Hoddinott. All rights reserved. No part of this publication may be reproduced, stored in a retrieval system, transferred, or transmitted in any form or by any means, including electronic, digital, mechanical, recording, photographing, photocopying, or otherwise, without the prior written consent of Brenda Hoddinott and Drawspace Publishing.
4
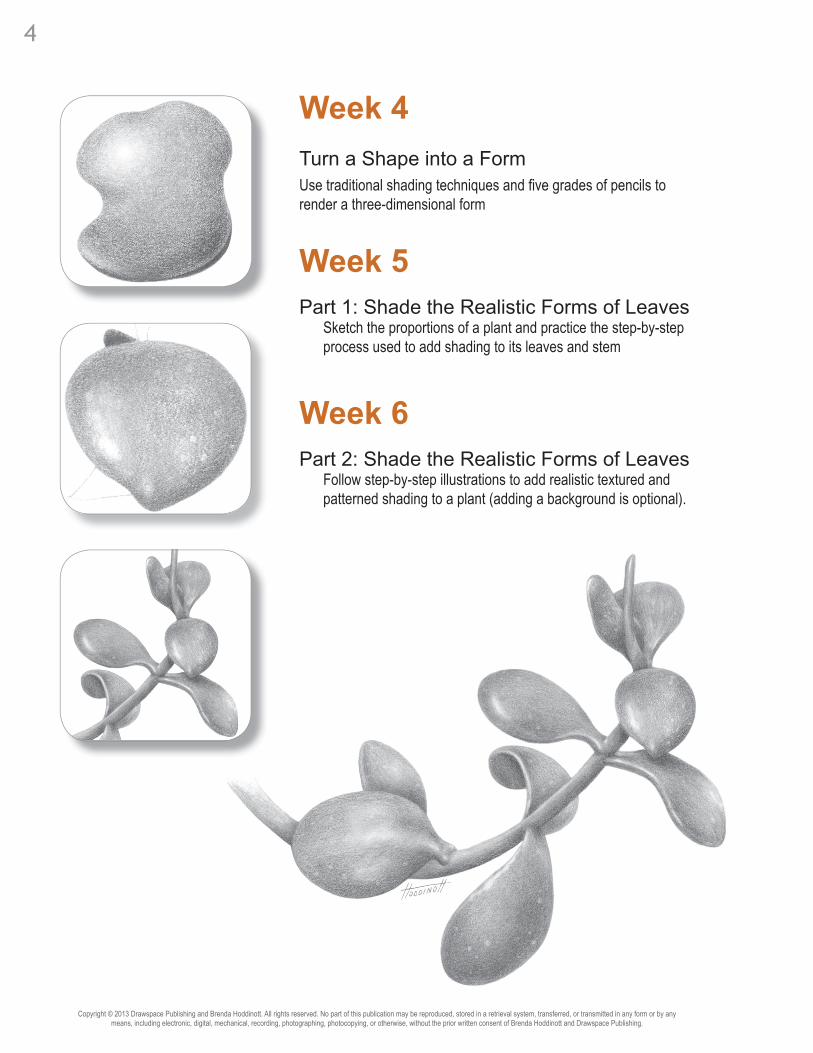
Week 4Turn a Shape into a FormUse traditional shading techniques and fi ve grades of pencils to render a three-dimensional form
Week 5Part 1: Shade the Realistic Forms of Leaves
Sketch the proportions of a plant and practice the step-by-step process used to add shading to its leaves and stem
Week 6Part 2: Shade the Realistic Forms of Leaves
Follow step-by-step illustrations to add realistic textured and patterned shading to a plant (adding a background is optional).