RS Carpet Kit - Revline · RS Carpet Kit with Rear Seat Delete. Final Layout - RS Style Carpet Kit...
38
RS Carpet Kit with Rear Seat Delete
-
Upload
truongdien -
Category
Documents
-
view
221 -
download
2
Transcript of RS Carpet Kit - Revline · RS Carpet Kit with Rear Seat Delete. Final Layout - RS Style Carpet Kit...

RS Carpet Kitwith
Rear Seat Delete

Slide 2Final Layout - RS Style Carpet Kit with Rear Seat Delete
Final Layout
• The follow slides will show how I customized and installed a rear seat delete carpet kit.
• The thin red lines indicate a carpet piece edge or a fold/contour in the carpet.
• The darker/wider red lines indicate a finish seam sewn into the carpet piece.
• The darker yellow bands are where two layers of carpet are overlapping for a clean installation.
• The carpet pieces are numbered in the order they get installed.

Layout - (Rear Seat Delete Kit)
Slide 3Carpet Piece - Layout

Piece #1 - (Rear Seat Delete Kit)
• 1-piece seat back, no finish seams required
• Extend carpet over rear deck 4-6”
Slide 4Carpet Piece #1 - Rear Seat Back
Piece #2 - (Rear Seat Delete Kit)
• 1-piece, underlay at center tunnel.
• No finish seams required.
Slide 5Carpet Piece #2 - Underlay at center tunnel

Piece #3a & 3b - (Standard 944 Kit)
• 2-pieces, front face of rear seat bottom.
• Provide a 3” leather flab that will tuck underneath the rear seats (if keeping rear seat) or be covered by
pieces #4a & 4b included with the rear seat delete kit.
Slide 6Carpet Piece #3a & 3b - Front Face of Rear Seat Bottom

Piece #4a & 4b - (Rear Seat Delete Kit)
• 2-pieces, one each to cover the rear seat bottom.
• Provide a finish seam at the back edge to lay over piece #1.
• Provide a finish seam at the front edge to lay over the leather folds of pieces #3a & 3b.
• Extend width on the inside edge to extend up the center tunnel about 2” so that piece #5 overlaps.
• Extend width on the outside edge to extend up the wheel wells about 2” so that pieces #7 and #11 overlaps.
Slide 7Carpet Piece #4a & 4b - Rear Seat Bottom

Piece #5 - (Rear Seat Delete Kit)
• 1-piece, cover at center tunnel.
• Provide finish seams at all edges.
Slide 8Carpet Piece #5 - Center Tunnel

Piece #6 - (Standard 944 Kit)
• 1-piece, to fit over the fuel fill cowl.
• Provide enough material at the front edge to extend about 2” underneath piece #7.
• Provide enough material at the rear edge to extend about 2” underneath piece #8.
• Provide enough material at the bottom edge to extend about 2” underneath piece #12.
• Provide enough material at the top edge to extend about 2” underneath the plastic molding.
Slide 9Carpet Piece #6 - Fuel Fill Cowl

Piece #7 - (Standard 944 Kit)
• 1-piece, passenger side rear panel.
• Provide a finish seam leading from the front lower seat half continuous up and around to the plastic
molding at the top of the fuel fill cowl.
• Provide enough material at the top edge to extend about 2” underneath the plastic molding and piece #13a.
Slide 10Carpet Piece #7 - Passenger Side Rear Panel

Piece #8 - (Standard 944 Kit)
• 1-piece, passenger side panel at rear hatch.
• Provide a finish seam that begins at the lower back edge that extents forward continuously along the top of
the panel and down along the fuel fill cowl.
• Provide enough material at the lower edge to extend about 2” underneath piece #12.
• Use mechanical fasteners to secure piece along top edge similar to OEM carpet pieces.
Slide 11Carpet Piece #8 - Passenger Side Rear Hatch Panel

Piece #9 - (Standard 944 Kit)
• 1-piece, drivers side rear hatch panel.
• Provide a finish seam that begins at the lower back edge that extents forward continuously along the top of
the panel.
• Provide enough material at the lower edge to extend about 2” underneath piece #12.
• Provide enough material at the front edge to extend about 2” underneath piece #11.
• Use mechanical fasteners to secure piece along top edge similar to OEM carpet pieces.
Slide 12Carpet Piece #9 - Drivers Side Rear Hatch Panel

Piece #10 - (Standard 944 Kit)
• 1-piece, back panel at rear hatch.
• Provide a continuous finish seam along the top front edge extending down at both the passenger and drivers
side.
• Provide enough material at the bottom edge to extend an additional 2” underneath piece #12.
• Use mechanical fasteners to secure piece along top edge similar to pieces #8 & 9.
Slide 13Carpet Piece #10 - Back Panel at Rear Hatch

Piece #11 - (Standard 944 Kit)
• 1-piece, drivers side rear panel.
• Provide a finish seam leading from the front lower seat half continuous up and around to the plastic
molding at the rear quarter window.
• Provide enough material at the top edge to extend about 2” underneath the plastic molding and piece #13b.
Slide 14Carpet Piece #11 - Drivers Side Rear Panel

Piece #12 - (Standard 944 Kit)
• 1-piece, rear hatch mat.
• Provide a continuous finish seam along all edges.
Slide 15Carpet Piece #12 - Rear Hatch Mat

Piece #13a & 13b - (Standard 944 Kit)
• 2-pieces, rear half of floor boards.
• Provide a continuous finish seam that begins at the rear inside edge, adjacent to the tunnel and extends
towards the side terminating at the plastic molding at the door sills.
• Extend width of piece an additional 2” at the inside edge to tuck underneath piece #14.
• Extend width of piece an additional 2” at the outside edge to tuck underneath plastic door sill molding.
Slide 16Carpet Piece #13a & 13b - Rear Half of Floor Boards

Piece #14 - (Standard 944 Kit)
• 1-piece, center tunnel piece.
• Provide a continuous finish seam at all edges.
Slide 17Carpet Piece #14 - Center Tunnel

Slide 18Demo Photo

Slide 19Demo Photo

Slide 20Demo Photo

Slide 21Demo Photo

Slide 22Prep Photo

Slide 23Prep Photo

Slide 24Prep Photo

Slide 25Prep Photo

Slide 261st Generation Mock-Up Photo

Slide 271st Generation Mock-Up Photo

Slide 281st Generation Mock-Up Photo

Slide 291st Generation Mock-Up Photo

Slide 30Final Installation Photo

Slide 31Final Installation Photo

Slide 32Final Installation Photo
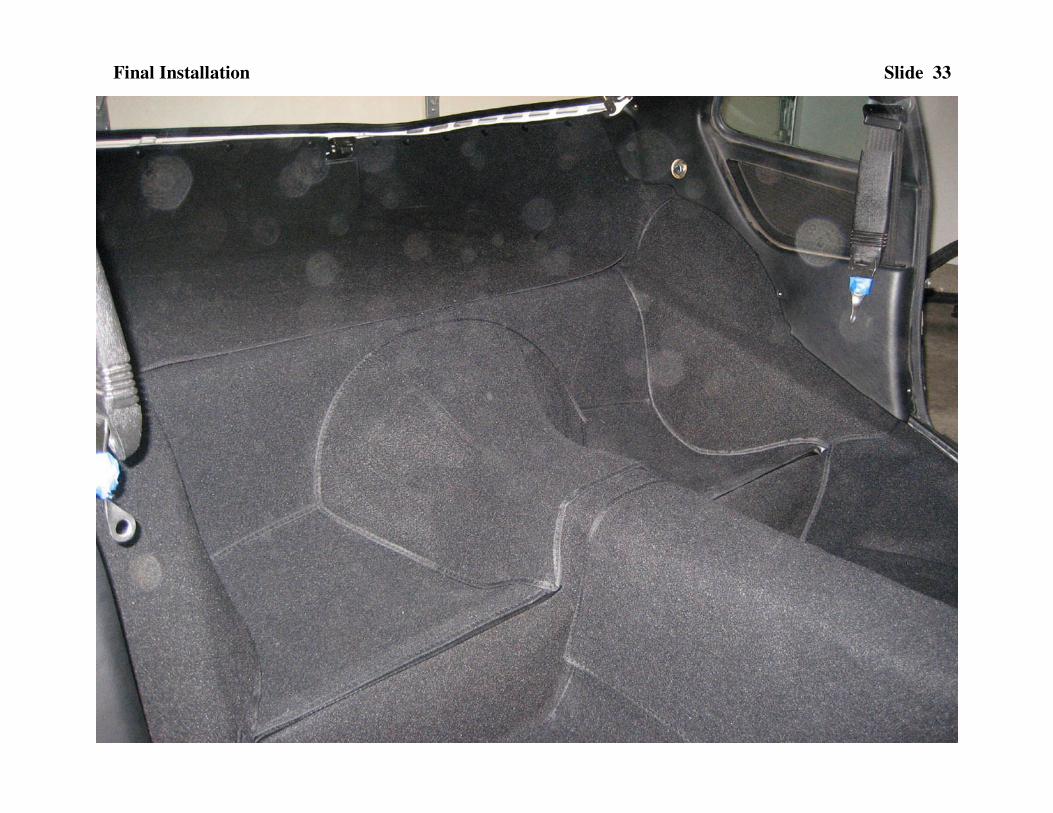
Slide 33Final Installation

Slide 34Final Installation

Slide 35Final Installation

Slide 36Final Installation

Slide 37Final Installation

RS Carpet Kitwith Rear Seat Delete
by
mj951