Rowley project list: Creative Breakfast Nook Window Treatments
8
FABRICATION Rowley project list: Creative Breakfast Nook Add loads of charm to a breakfast nook with creative window treatments that keep the space bright and cozy. We dressed our breakfast nook windows with functional, flat Roman shades and stationary drapery panels with a double pleat header construction. Both treatments were installed on coordinating drapery hardware rods with rings, creating a fresh approach to this style combination. ©2015 Rowley Company LLC | All rights reserved. 1 MATERIALS & SUPPLIES Rowley Products SKU Classic Napped Sateen Lining LN48/W Micro Welt Cord WC85 R-TEX Heavy Weight Interlining RN12/W R-TEX Lead Drapery Weights LW45 Metal Upholstery Nails UN20/MB Upholstery Nail Locks UN11/L Plastic Backs for Nail Locks UN11/W Upholstery Nail Lock Tool MH07 EZ-Rig™ 4' Shade Starter Kit AHKK Plastic Sew-On Rings ST15/W Angle Irons AG15 R-TEX Pressure-Sensitive Adhesive Buckram BNP34/B Window Treatments CREATIVE BREAKFAST NOOK WINDOW TREATMENTS: STEP-BY-STEP INSTRUCTIONS This project guide covers the steps to fabricate a flat, functional Roman shade and stationary double pleat panels. 2 Cut a length of lining by the same width as the back layer fabric finished length - 1" + 6" for hem + 1" for header. 1 Cut a width of fabric down to the width needed once pleated + side hems x depth of back header + 1" for the header. Stationary Panels with a Double Pleat Header: Cutting and Prepping the Back Layer 3 Sew the lining to the back layer fabric.
Transcript of Rowley project list: Creative Breakfast Nook Window Treatments

FABRICATION
Rowley project list: Creative Breakfast Nook
Add loads of charm to a breakfast nook with creative window treatments that keep the space bright and cozy. We dressed our breakfast nook windows with functional, flat Roman shades and stationary drapery panels with a double pleat header construction. Both treatments were installed on coordinating drapery hardware rods with rings, creating a fresh approach to this style combination.
©2015 Rowley Company LLC | All rights reserved. 1
MATERIALS & SUPPLIES
Rowley Products SKU
Classic Napped Sateen Lining LN48/W
Micro Welt Cord WC85
R-TEX Heavy Weight Interlining RN12/W
R-TEX Lead Drapery Weights LW45
Metal Upholstery Nails UN20/MB
Upholstery Nail Locks UN11/L
Plastic Backs for Nail Locks UN11/W
Upholstery Nail Lock Tool MH07
EZ-Rig™ 4' Shade Starter Kit AHKK
Plastic Sew-On Rings ST15/W
Angle Irons AG15
R-TEX Pressure-Sensitive
Adhesive Buckram BNP34/B
Window Treatments
CREATIVE BREAKFAST NOOK WINDOW TREATMENTS: STEP-BY-STEP INSTRUCTIONS
This project guide covers the steps to fabricate a flat, functional Roman shade and stationary double pleat panels.
2 Cut a length of lining by the same width as the back layer fabric finished length - 1" + 6" for hem + 1" for header.
1 Cut a width of fabric down to the width needed once pleated + side hems x depth of back header + 1" for the header.
Stationary Panels with a Double Pleat Header:Cutting and Prepping the Back Layer
3 Sew the lining to the back layer fabric.

FABRICATION
Rowley project list:breakfast nook window treatments
©2015 Rowley Company LLC | All rights reserved. 2
1 Cut one width of face fabric x finished length + 8" for the hem + 1" for the header.
2 Fold in and press the bottom hem to a double 4" hem. Add a layer in interlining to the hem to stop bleed-through to the front fabric. Close bottom hem.
3 Measure and mark for finished length.
Cutting and Prepping the Front Fabric:
4
4
Fold the excess fabric at the top down and press.
Turn right sides out so that the face fabric shows only ½" to the back.
5
5
Cut and make a row of welt cord the cut width of the front fabric.
Place a row of buckram into the header. Set aside.
6 Sew the welt to the top of the front panel at the finished length fold.
7 Cut interlining one width x finished length – 2". Serge the bottom hem.

FABRICATION
Rowley project list:breakfast nook window treatments
©2015 Rowley Company LLC | All rights reserved. 3
8 Flip the panel over and mark for back and front pleats.
1 Lay the front fabric face down.
2 Lay in the layer of interlining.
3 Lay the back pleat header on top, making sure the amount of back pleat you planned for is above the back panel header, and aligning one side.
Tabling the Panel
4 Fold in and press double 1 ½" side hem. Pin.
5 Move the back fabric to align on the other side.NOTE: You will have more fabric in the front than in the back.
6 Fold in and press a double 1 ½" side hem. Pin.
7 Add drapery weights at the corners and side hems.

FABRICATION
Rowley project list:breakfast nook window treatments
©2015 Rowley Company LLC | All rights reserved. 4
1
1
At the machine, fold the fabric to the pleat marks and sew in pleats, sewing down to the front header depth, sewing through all layers.
Flatten the sides of the front pleats and insert decorative nails.
2
2
Finger pleat the back pleats and secure.
Lock the nails in place using the nail lock tool and nail locks.
3
34
Dress the front pleats as you designed.
Cut the nail shank off using wire cutters.
Finish securing the bottom of the front pleat by hand tacking.
Sewing in the Pleats
Adding Decorative Nails to the Front Pleats
FABRICATION
Rowley project list:breakfast nook window treatments
©2015 Rowley Company LLC | All rights reserved. 5
Functional, Flat Roman Shade:
1
1
1
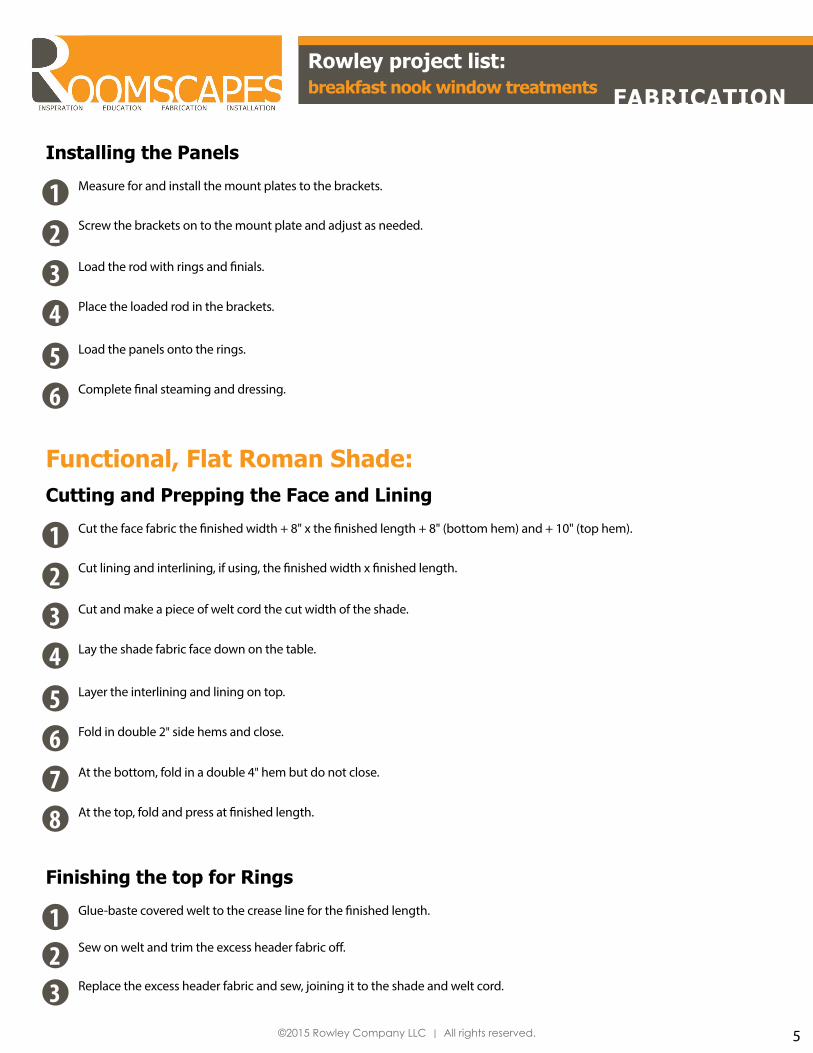
Measure for and install the mount plates to the brackets.
Cut the face fabric the finished width + 8" x the finished length + 8" (bottom hem) and + 10" (top hem).
Glue-baste covered welt to the crease line for the finished length.
2
2
2
Screw the brackets on to the mount plate and adjust as needed.
Cut lining and interlining, if using, the finished width x finished length.
Sew on welt and trim the excess header fabric off.
3
3
3
5
5
7
4
4
6
6
8
Load the rod with rings and finials.
Cut and make a piece of welt cord the cut width of the shade.
Replace the excess header fabric and sew, joining it to the shade and welt cord.
Load the panels onto the rings.
Layer the interlining and lining on top.
At the bottom, fold in a double 4" hem but do not close.
Place the loaded rod in the brackets.
Lay the shade fabric face down on the table.
Complete final steaming and dressing.
Fold in double 2" side hems and close.
At the top, fold and press at finished length.
Installing the Panels
Cutting and Prepping the Face and Lining
Finishing the top for Rings

FABRICATION
Rowley project list:breakfast nook window treatments
©2015 Rowley Company LLC | All rights reserved. 6
56
4Refold the top hem but do not close yet.
Add a layer of buckram and pin closed.
About 3" down, stitch a 1" pocket for the dust board mounting area.
1 At the top fold of the hem, sew in a 1" pocket for the weight bar.
2 Add a layer of stiff buckram to the hem, laying the buckram against the back of the face fabric.
3
5
4
6
Mark and insert decorative nails.
Cut the back shanks off the nails.
Lock nails in place with the nail lock tool, nail locks and nail lock washers.
Refold hem but do not close yet.
Finishing the Bottom of the Shade

FABRICATION
Rowley project list:breakfast nook window treatments
©2015 Rowley Company LLC | All rights reserved. 7
1
1
Measure for lift cord placement.
Add drapery pins to the top of the shade – one for each ring needed.
2
2
For all rows: Sew on bottom rings.
Assemble the lift system and mount to a dust board.
3
3
6
5
8
4
7
Hand tack encased lift cord to shade at marks.
String the lift system.
Close the top and bottom hem.
At the bottom, pull the cord out of the shroud and tie to bottom ring. Run the empty shroud tube down under the hem.
Hand-close the sides of the bottom hem.
At the top, pull the cord from the shroud and run the empty shroud up to the header.
Add the weight bar to the bottom hem.
Adding Encased Lift Cord
Finishing the Shade with Rings

FABRICATION
Rowley project list:breakfast nook window treatments
©2015 Rowley Company LLC | All rights reserved. 8
1 Install inside mount brackets, rod and rings.
2 Load shade onto rings.
3
654
Measure down for dust board installation placement.
Replace the head rail, install tension device and dress the shade.
Lifting the shade out of the way and popping the shade out of the head rail, screw the bottom of the dust board to the angle irons.
Install angle irons at the bottom of the dust board measurement.
Installing the Shade