Restoration Project Photo Essay Page 202 - Piano Promo … Photo Set 15.pdf · Restoration Project...
22
Restoration Project Photo Essay Page 202 Photo 397: A new pile of work is ready for me to dive into. The whippens, removed from the action when it was disassembled and piled in a heap, have not been touched since. Photo 398: The first stage to the process of revitalizing the whippens is to set up a work area. The scrap piece of pinblock material will serve as a cutting board to use in slicing off the old felt of each whippen.
Transcript of Restoration Project Photo Essay Page 202 - Piano Promo … Photo Set 15.pdf · Restoration Project...

Restoration Project Photo Essay
Page 202
Photo 397: A new pile of work is ready for me to dive into. The whippens, removed from the action when it was
disassembled and piled in a heap, have not been touched since.
Photo 398: The first stage to the process of revitalizing the whippens is to set up a work area. The scrap piece of
pinblock material will serve as a cutting board to use in slicing off the old felt of each whippen.

Restoration Project Photo Essay
Page 203
Photo 399: The sticker cloth is cut off of the bottom of the sticker using a sharp chisel in a swivel motion with the
point firmly planted in the chopping block.
Photo 400: The backcheck felt is also removed using the chisel. The flat side of the chisel stays toward the wooden
backcheck to prevent gouging.
Restoration Project Photo Essay
Page 204
Photo 401: Glue and felt adhering to the wooden backcheck are scrapped off leaving a clean surface to glue new
backcheck felt onto.
Photo 402: A broken jack spring signals the necessity to replace the entire set of springs. Once a particular part
start breaking, total replacement of that part is the best course of action to avoid problems down the road.

Restoration Project Photo Essay
Page 205
Photo 403: By placing each whippen in the vise, and using a pair of needle nose pliers, the old springs are
extracted. The bottom coil of each spring rests in a well. The original springs are ordinarily glued into place. The
old glue in this case is brittle, and the springs break loose easily.
Photo 404: A jack spring hole reamer attached to an electric drill makes short work of cleaning out well.

Restoration Project Photo Essay
Page 206
Photo 405: The well cleaned and ready for a new spring.
Photo 406: Before anything new is added, however, a burnishing of the bridle strap wires with a miniature wire
brush in a Dremel tool is done as a final touch in the cleaning up process.
Restoration Project Photo Essay
Page 207
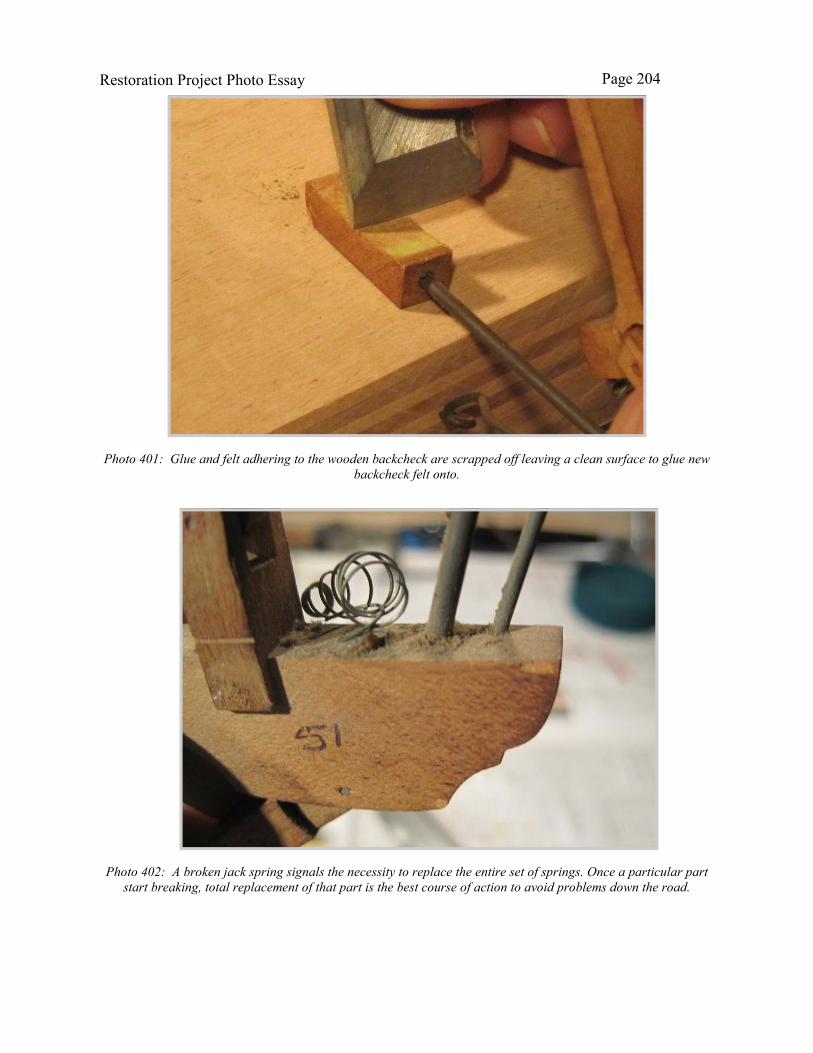
Photo 407: Modern art. If this were 20 feet across, signed by Pablo Picasso and hanging in an art gallery, it would
be worth millions. I've obviously missed my calling in life.
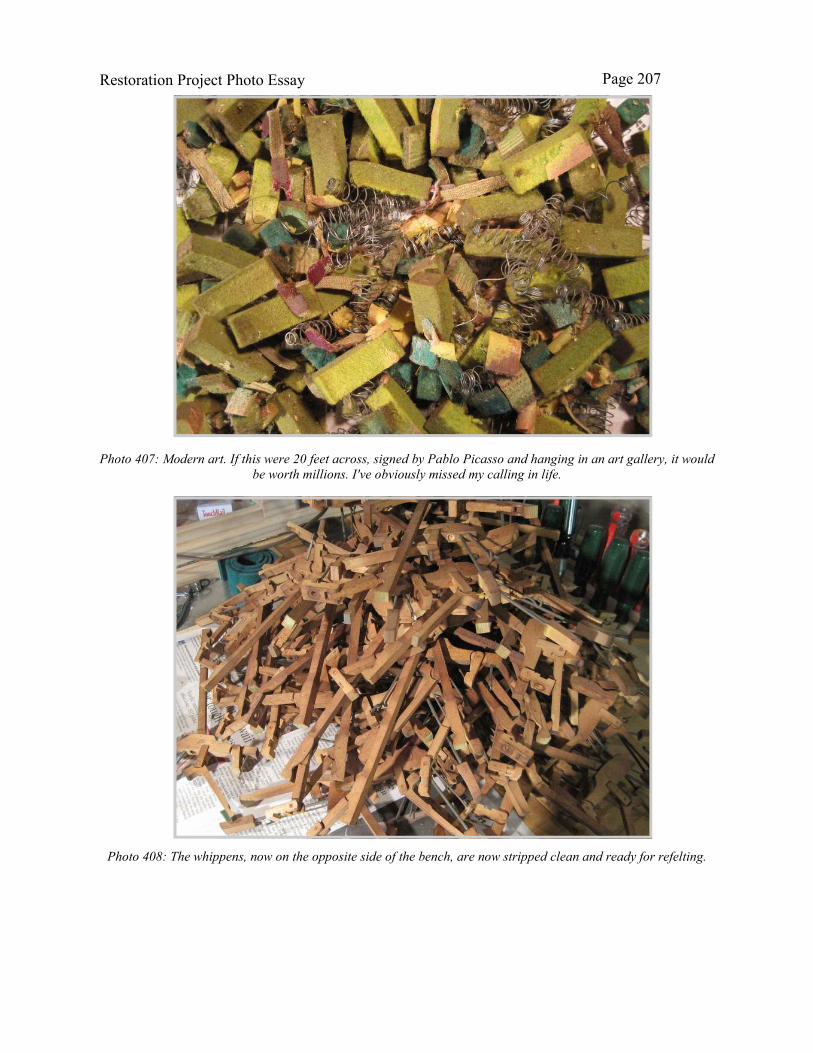
Photo 408: The whippens, now on the opposite side of the bench, are now stripped clean and ready for refelting.

Restoration Project Photo Essay
Page 208
Photo 409: The hot glue, which has been on for some time, is checked for the correct degree of runniness.
Constant monitoring is required to keep the glue at the optimum consistency. The addition of a little water, or a
few glue crystals are needed from time to time.
Photo 410: The bottom coil of the jack spring is swabbed with hot glue.

Restoration Project Photo Essay
Page 209
Photo 411: The bottom coil of the spring is then inserted into the well.
Photo 412: The whippens are then placed on a rack with the springs straight up and down while the glue cools and
cures.

Restoration Project Photo Essay
Page 210
Photo 413: Remaining vestiges of stubborn dirt around the bridle wire and the backcheck wire is removed with a
stiff bristle brush.
Photo 414: Dag® 154 Graphite lubricant is applied with an artist brush to the nose of each jack. This aids in the
free functioning of the jack as it propels the hammer towards the strings. At the last moment before the hammer
makes impact, the jack slips out from the hammer butt buckskin, so that the hammer strikes the strings under its
own momentum.

Restoration Project Photo Essay
Page 211
Photo 415: The heel of each jack is likewise lubricated with Dag, so that it slips freely from under the regulating
button once contact is made.
Photo 416: Newly coated with Dag, the whippens are placed back in the rack to dry once again.
Restoration Project Photo Essay
Page 212
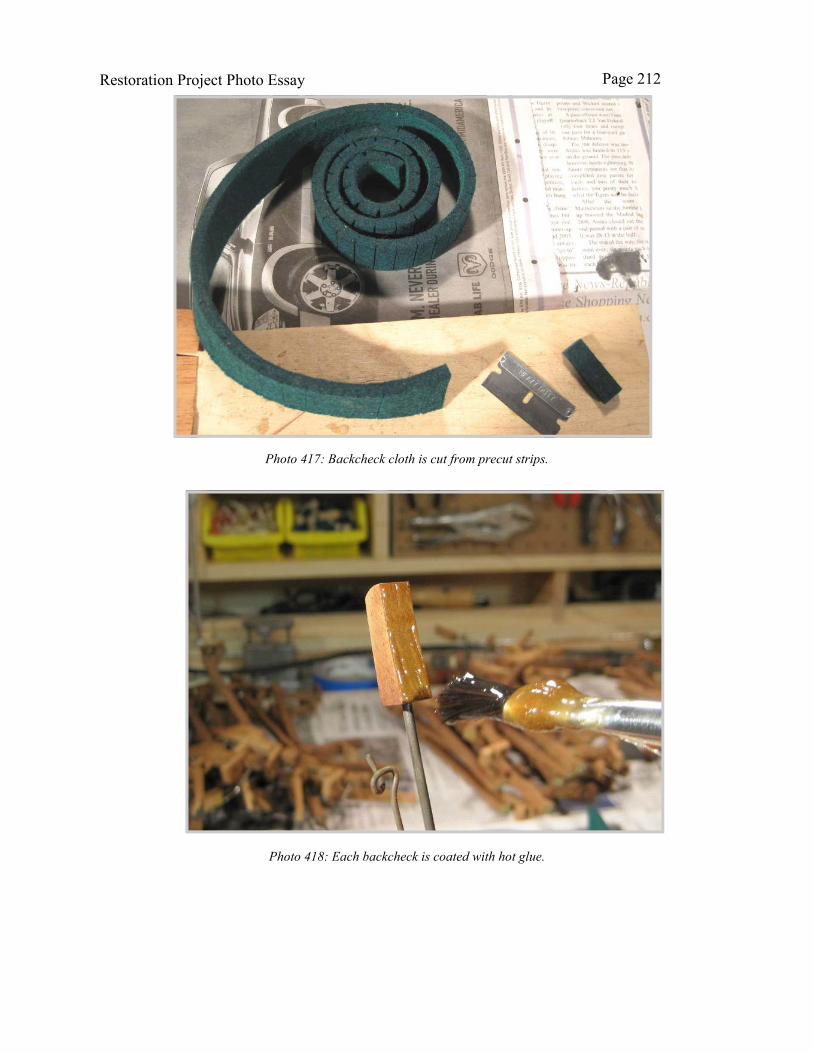
Photo 417: Backcheck cloth is cut from precut strips.
Photo 418: Each backcheck is coated with hot glue.

Restoration Project Photo Essay
Page 213
Photo 419: The backcheck cloth is positioned and held firmly in place for several seconds.
Photo 420: A miniature clamp is then applied with a small rectangle of veneer used to even out the pressure over
the length of the cloth.

Restoration Project Photo Essay
Page 214
Photo 421: For one final time, the whippens are returned to the drying rack to allow the glue to cure.
Photo 422: The last two pieces of felt are made ready. The brown sticker cloth is razor cut from a long roll. The
hammer butt felts for the topside of the jacks comes precut.

Restoration Project Photo Essay
Photo 423: A square of sticker cloth is glued with hot glue to the bottom of the sticker. This is the contact point
between the brass capstan at the back of the key and the whippen.
Photo 424: The final piece of felt to be replaced is the square of hammer butt felt which is glued to the topside of
the jack.
Page 215

Restoration Project Photo Essay
Photo 425: The next order of business is to slice the old felt punchings off of the regulating buttons of the let-off
rail with a sharp chisel. A light sanding with 100 grit paper finishes this job.
Photo 426: Once the punchings are removed, the rail itself is cleaned with a stiff brush.
Page 216
Restoration Project Photo Essay
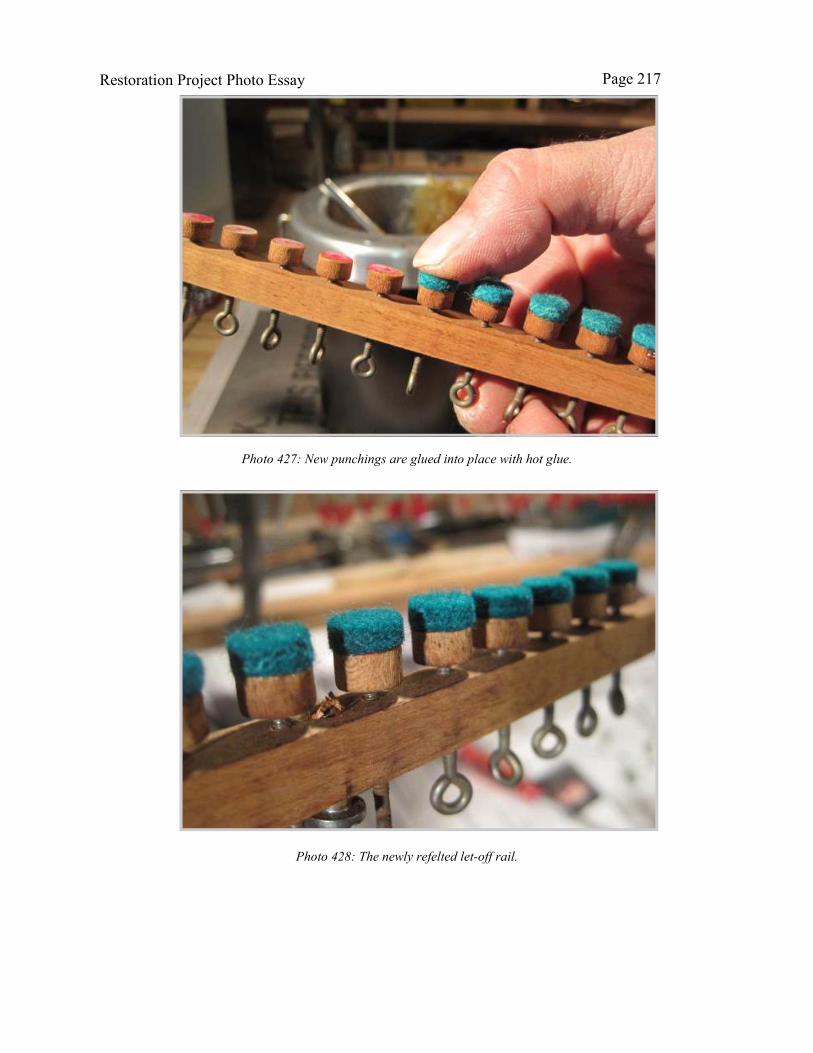
Photo 427: New punchings are glued into place with hot glue.
Photo 428: The newly refelted let-off rail.
Page 217

Restoration Project Photo Essay
Photo 429: The flange screws used to attached the whippens to the action are now polished on the wire wheel. My
daughter, volunteering to help, took each screw from its numbered hole in the screw holder, polished them, and
tossed them in the lid of a jelly jar. Ah, well. Never criticize your children for being helpful.
Photo 430: The whippens are laid out on the bench in the correct order for reattachment.
Page 218

Restoration Project Photo Essay
Photo 431: The jack is held open . . .
Photo 432: . . .and slid into the action on the front side of the main action rail, while the whippen flange goes in
behind it.
Page 219

Restoration Project Photo Essay
Photo 433: Leaning over the top of the action to start the screw for the whippen flange works well.
Photo 434: The sticker flange screw is inserted into the lower action rail.
Page 220

Restoration Project Photo Essay
Photo 435: The jack spring is compressed slightly with a pair of needle nose pliers, so that its upper coil may be
inserted into the well on the bottom of the heel of the jack.
Photo 436: The tab on each bridal strap is inserted onto the bridal wire with one hand, while a finger of the
other hand trips the jack so that it's in the correct position.
Page 221

Restoration Project Photo Essay
Photo 437: The bridal wire is bent slightly to the front or to the back in order to produce just a bit of clearance
between the nose of the jack and the hammer butt buckskin.
Photo 438: With the whippens all reinstalled, the action is returned to the piano for the time being.
Page 222

Restoration Project Photo Essay
This just won't do at all.
With the installation of the whippens a done deal, my attention will next turn to the keys. They
are, to put it mildly, in sorry condition. Capstans will be removed and polished, and new
molded keytops and new bushings will be installed, but only after a thorough cleaning of each
keystick to eliminate all traces of the mouse colony which spent so many years traipsing up and
down on top and underneath the keys. Not the most pleasant of jobs, I will assure you, but one
that must be attended to and quickly, in that only nine short days remain before the piano is
scheduled to be picked up. Yikes! Pass me the Mountain Dew! I need a shot of caffeine!
Page 223