Relative Positions Part 2 of 3lghttp.60951.nexcesscdn.net/80487FB/Downloads/resources/...5. Have...
2
Common Core Standards: Kindergarten Geometry: Describe objects in the environment using names of shapes and describe the relative positions of these objects using terms such as above, below, beside, in front of, behind, and next to. Objectives: 1. Learn and practice relative positions terms. 2. Develop familiarity with the properties of a Rubik’s Cube 3. Practice using position terms that are relative to a Rubik’s Cube Materials: 1. 2x2 Rubik’s Cube 2. Small different colored math manipulatives such as dinosaur or bear counters 3. Index cards Background Knowledge: In order to solve a Rubik’s Cube students need to have a good understanding of the terms “right”, “left”, “top”, “bottom”, “front”, and “back”. Procedure: Before class: *Decide whether your students will work one-on-one or in partners with their Rubik’s cube. *Choose 2 colors of the manipulatives that you are using. Each student or pair of students will need one manipulative of each color. For the purposes of this lesson we will use red and blue. With students: 1. Give each student or partner group a Rubik’s Cube. Allow students 2-3 minutes to become familiar with the Cube. Students should practice gently twisting the faces of the Cube. 2. Give each student or partner group a set of two math manipulatives such as a dinosaur or bear counter. One manipulative should be red, the other should be blue. 3. Have students place the blue manipulative on the far left side of the desk and the red manipulative on the far right sight of the desk. Model the location of left and right for students and check that all students have placed their manipulatives in the correct locations. 4. Give each student or partner group 2 index cards. Guide students to write the word left on one card and the word right on the other card. Model placing the word “left” under the blue manipulative and placing the word “right” under the red manipulative. Relative Positions with a 2x2 Rubik's Cube - Part 2 Early Elementary
Transcript of Relative Positions Part 2 of 3lghttp.60951.nexcesscdn.net/80487FB/Downloads/resources/...5. Have...

Common Core Standards:
Kindergarten Geometry: Describe objects in the environment using names of shapes and describe the relative positions of these objects using terms such as above, below, beside, in front of, behind, and next to.
Objectives: 1. Learn and practice relative positions terms.2. Develop familiarity with the properties of a Rubik’s Cube3. Practice using position terms that are relative to a Rubik’s
Cube
Materials: 1. 2x2 Rubik’s Cube2. Small different colored math manipulatives such as dinosaur or
bear counters3. Index cards
Background Knowledge:
In order to solve a Rubik’s Cube students need to have a good understanding of the terms “right”, “left”, “top”, “bottom”, “front”, and “back”.
Procedure: Before class: *Decide whether your students will work one-on-one or in partners withtheir Rubik’s cube.*Choose 2 colors of the manipulatives that you are using. Each studentor pair of students will need one manipulative of each color. For thepurposes of this lesson we will use red and blue.
With students: 1. Give each student or partner group a Rubik’s Cube. Allow
students 2-3 minutes to become familiar with the Cube.Students should practice gently twisting the faces of the Cube.
2. Give each student or partner group a set of two mathmanipulatives such as a dinosaur or bear counter. Onemanipulative should be red, the other should be blue.
3. Have students place the blue manipulative on the far left side ofthe desk and the red manipulative on the far right sight of thedesk. Model the location of left and right for students and checkthat all students have placed their manipulatives in the correctlocations.
4. Give each student or partner group 2 index cards. Guidestudents to write the word left on one card and the word right onthe other card. Model placing the word “left” under the bluemanipulative and placing the word “right” under the redmanipulative.
Relative Positions with a 2x2 Rubik's Cube - Part 2
Early Elementary
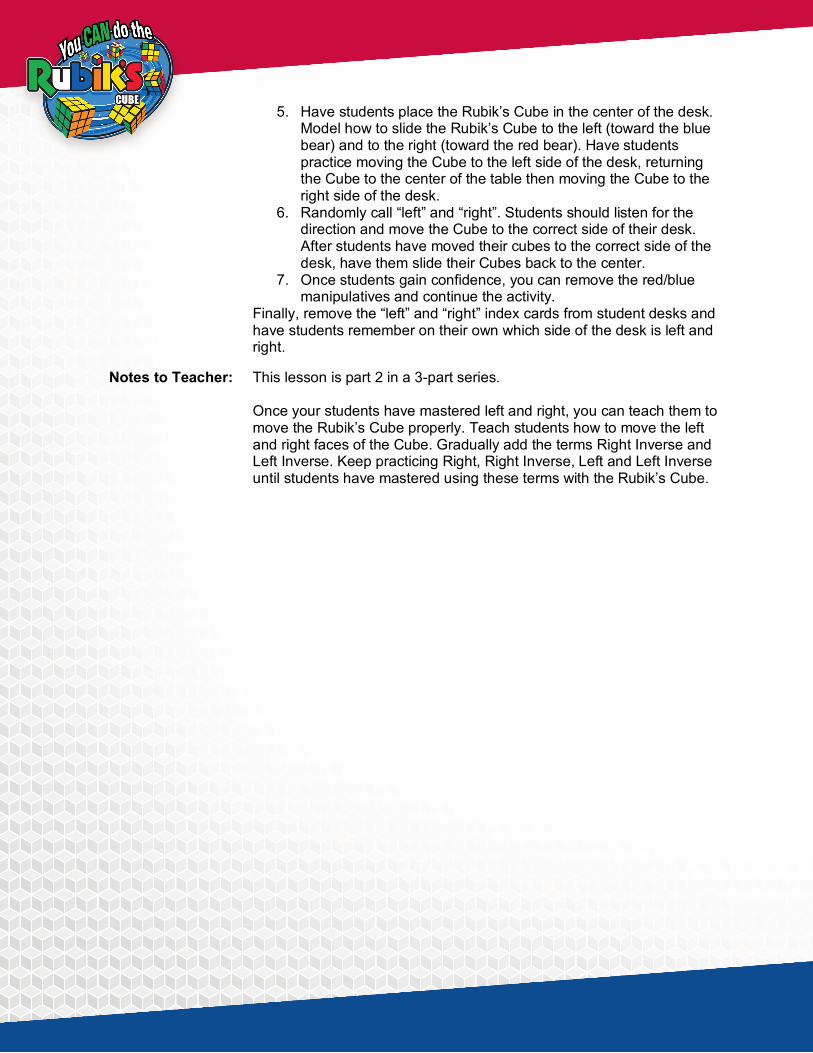
5. Have students place the Rubik’s Cube in the center of the desk.Model how to slide the Rubik’s Cube to the left (toward the bluebear) and to the right (toward the red bear). Have studentspractice moving the Cube to the left side of the desk, returningthe Cube to the center of the table then moving the Cube to theright side of the desk.
6. Randomly call “left” and “right”. Students should listen for thedirection and move the Cube to the correct side of their desk.After students have moved their cubes to the correct side of thedesk, have them slide their Cubes back to the center.
7. Once students gain confidence, you can remove the red/bluemanipulatives and continue the activity.
Finally, remove the “left” and “right” index cards from student desks and have students remember on their own which side of the desk is left and right.
Notes to Teacher: This lesson is part 2 in a 3-part series.
Once your students have mastered left and right, you can teach them to move the Rubik’s Cube properly. Teach students how to move the left and right faces of the Cube. Gradually add the terms Right Inverse and Left Inverse. Keep practicing Right, Right Inverse, Left and Left Inverse until students have mastered using these terms with the Rubik’s Cube.