Quick Start Guide Time Machine Windows Server 2008 for … · Quick Start Guide Time Machine...
34
Quick Start Guide Time Machine Windows Server 2008 for SAP NetWeaver The following is a quick guide to evaluating Solution-Soft’s Time Machine with SAP NetWeaver 7.0.2 on Windows Server 2008 installed on an Intel machine. This paper will show how simple it is to integrate Time Machine to perform date & time (temporal) testing with SAP NetWeaver. This paper also provides a graphical step by step guide for installing SAP NetWeaver which can be skipped if needed. NOTE: This paper is specific to Time Machine for use with Windows Server 2008. For those running on other platforms please refer to the Time Machine manual or contact Solution-Soft support at [email protected] Time Machine for SAP NetWeaver is supported on Windows, AIX, HP-UX, Linux, Solaris System Configuration used in creating this paper: OS: Windows Server 2008, 64 bit, 2 GB Ram Time Machine: Version 7.0.1 for Windows Server 2008 64b Build Date: 10/12/10 SAP NetWeaver: Release 7, Windows Version, Build Number: 7.0.2 Publish Date: September 1, 2011 Contents SAP NetWeaver 7.02 Installation ............................................................................... 2 SAP Front-End GUI Installation ................................................................................ 15 Post Install Configuration SAP ................................................................................. 19 Time Machine Configuration & SAP Example .......................................................... 26 1
Transcript of Quick Start Guide Time Machine Windows Server 2008 for … · Quick Start Guide Time Machine...
Quick Start Guide
Time Machine Windows Server 2008 for SAP NetWeaver
The following is a quick guide to evaluating Solution-Soft’s Time Machine with SAP NetWeaver 7.0.2 on Windows Server 2008 installed on an Intel machine. This paper will show how simple it is to integrate Time Machine to perform date & time (temporal) testing with SAP NetWeaver. This paper also provides a graphical step by step guide for installing SAP NetWeaver which can be skipped if needed.
NOTE: This paper is specific to Time Machine for use with Windows Server 2008. For those running on other platforms please refer to the Time Machine manual or contact Solution-Soft support at [email protected]
Time Machine for SAP NetWeaver is supported on Windows, AIX, HP-UX, Linux, Solaris
System Configuration used in creating this paper: OS: Windows Server 2008, 64 bit, 2 GB Ram Time Machine: Version 7.0.1 for Windows Server 2008 64b Build Date: 10/12/10 SAP NetWeaver: Release 7, Windows Version, Build Number: 7.0.2 Publish Date: September 1, 2011
ContentsSAP NetWeaver 7.02 Installation ............................................................................... 2
SAP Front-End GUI Installation ................................................................................ 15
Post Install Configuration SAP ................................................................................. 19
Time Machine Configuration & SAP Example .......................................................... 26
1
SAP NetWeaver 7.02 Installation
1. Before you begin your Windows Server 2008 64bit machine must meet the following SystemRequirements
• Operating System Windows 7 64 bit Professional (unsupported platform for Trial Installation) or WindowsServer 2008
• JRE 1.4.x or JRE 1.5.x (for installation only, JRE 1.6 is not supported)• Hostname must not exceed 13 characters (Full Qualified Domain Name optional)• NTFS File system• Internet Explorer 6.0 or higher or Firefox 1.0 or higher• Minimum 2 GB RAM (4 GB or more recommended)• Pagefile size according to your RAM settings.• Intel Pentium III/1.1 GHz or higher (or compatible)• 45 GB hard disk space temporary during installation - 36 GB permanent• High-resolution monitor (1024x768 or higher, 256 colors)• Make sure that no other SAP system or MaxDB is installed on your computer or has registry entries
(multiple instances not supported with Trial))• The SAP system requires several ports for communication services. Therefore the file
%WINDIR%\system32\drivers\etc\services must not include an entry for the ports 3200, 3600, 3900 and 8000 .A possible entry can be excluded by using the hash symbol (#). (Note: The entry sapmsNSP 3600 for dialoginstances may not exist, as it is set to 0 in Trial versions).
• If no DHCP server is available on your network (which dynamically determines the IP address) or yourcomputer is not connected to any network , you need to install the virtual interface adapter MS LoopbackAdapter .
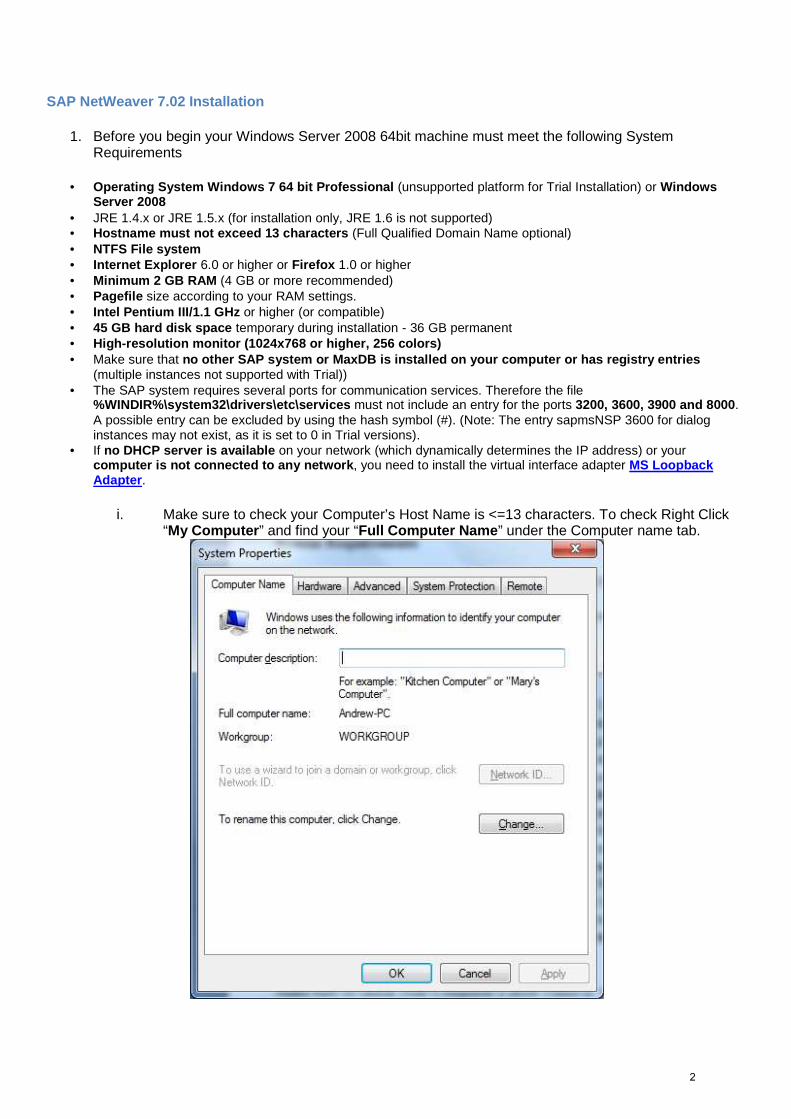
i. Make sure to check your Computer’s Host Name is <=13 characters. To check Right Click“My Computer ” and find your “Full Computer Name ” under the Computer name tab.
2
ii. You must also install Java JRE, only JRE 1.4.x and 1.5.x. Do not use 1.6.x or any otherversion!! Remember the JRE installation directory as it will be asked during the SAP install
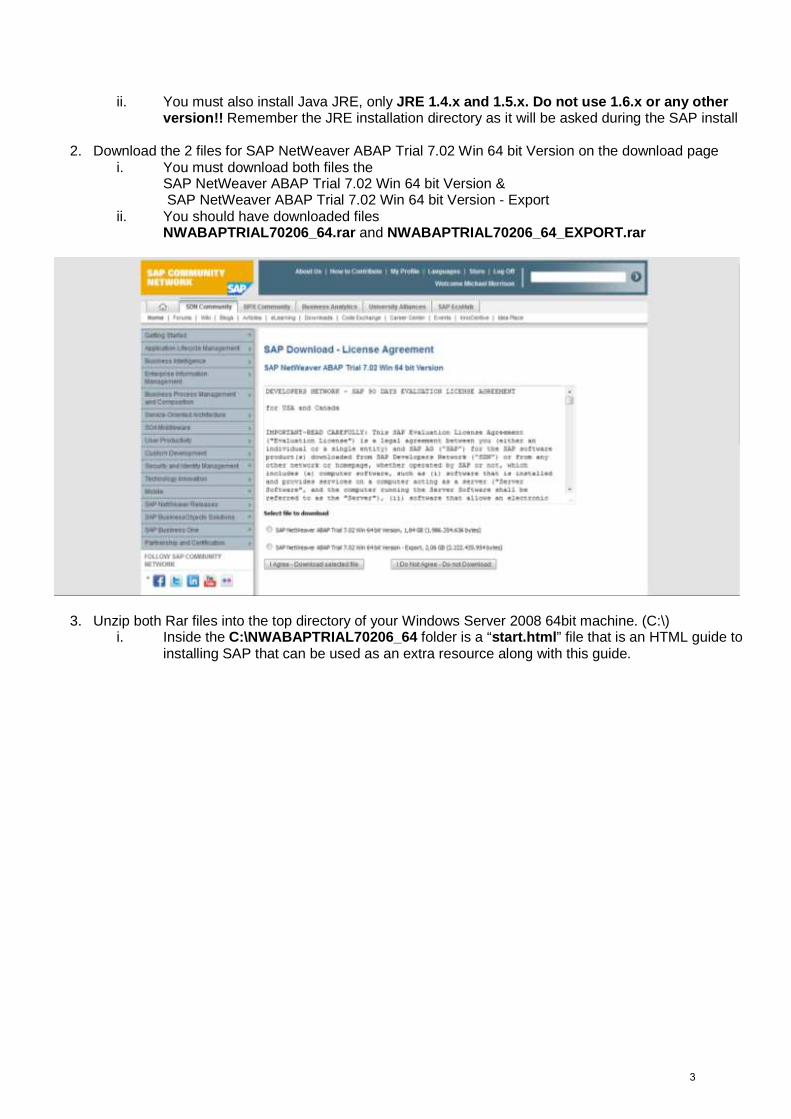
2. Download the 2 files for SAP NetWeaver ABAP Trial 7.02 Win 64 bit Version on the download pagei. You must download both files the
SAP NetWeaver ABAP Trial 7.02 Win 64 bit Version & SAP NetWeaver ABAP Trial 7.02 Win 64 bit Version - Export
ii. You should have downloaded filesNWABAPTRIAL70206_64.rar and NWABAPTRIAL70206_64_EXPORT.rar
3. Unzip both Rar files into the top directory of your Windows Server 2008 64bit machine. (C:\)i. Inside the C:\NWABAPTRIAL70206_64 folder is a “start.html ” file that is an HTML guide to
installing SAP that can be used as an extra resource along with this guide.
3

4. Start the Installer in the folder C:\NWABAPTRIAL70206_64\SAP_NetWeaver_702e_Installation_Master\IM_WINDOWS_X86_64\sapinst.exe .
i. You must be Administrator to complete the install ii. Before installing SAP NetWeaver, close all applications. iii. Make sure no other SAP System is installed on your pc.
4

5. Choose "SAP Application Server ABAP " --> “MaxDB ” --> “Central System ” --> "Central System ". Then click Next
5

6. Click OK on the Message Box asking about logging you off. i. It will restart your computer and boot up a script that will auto-resume the installation
7. Below is what you will see after restart of computer
6
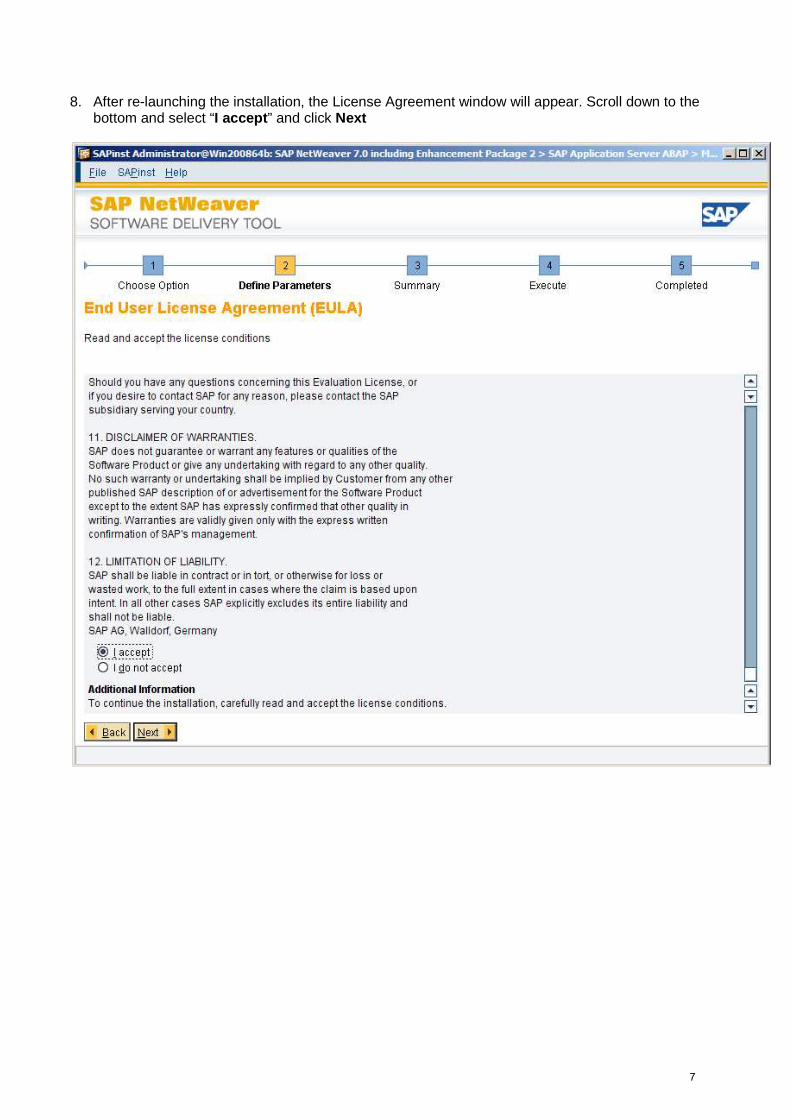
8. After re-launching the installation, the License Agreement window will appear. Scroll down to the bottom and select “I accept ” and click Next
7

9. For Java Runtime Environment, click Browse… and select the directory that JRE is installed under. Then click Next.
8

10. For Master Password, enter an acceptable password. This master password will be used to logon to all components of SAP and the SAP users it creates. Then click Next .
9

11. For Prerequisites Checker > Results, if you receive a popup window, like below, discussing how your system does not meet the prerequisites, just click “Cancel ” to ignore the warning and continue with the installation. For a single user environment PC, skipping this warning is acceptable.
10

12. For Parameter Summary, click Next to start installation. Scroll down to view the full specs of the install.
11

13. Installation may take 8+ hours. Do not interrupt the install. If interrupted, you may continue the current install by choosing "Continue Old Installation " when you re-launch the installer
12

14. Warning, step 16 “Importing ABAP” will take a significant amount of time. It took us ~6 hrs to complete.
13
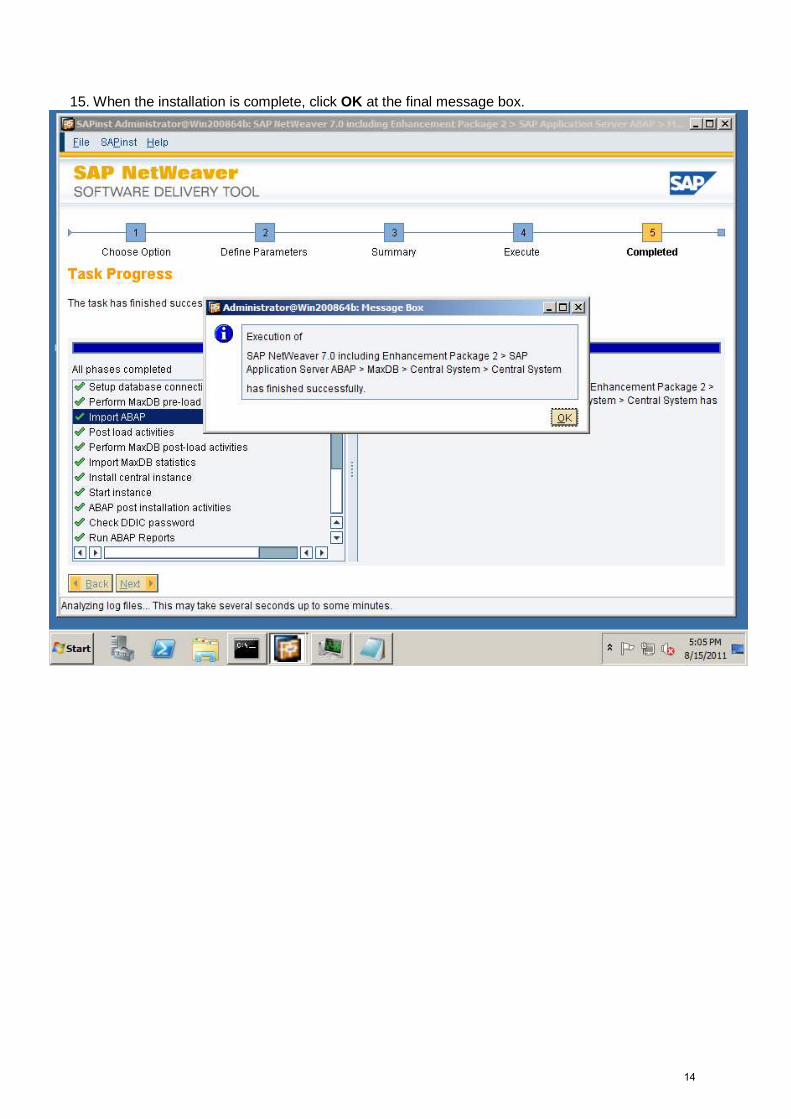
15. When the installation is complete, click OK at the final message box.
14

SAP Front-End GUI Installation
Below we will install the Front-End GUI for Windows. There are 2 other options, a Java and HTML version, which can also be used. Consult SAP online resources or the start.html file inside of the unzipped install files if you wish to install the other versions.
1. After installing SAP NetWeaver, you must install the Front-End GUI in order to interact with the server. Run the installer located in C:\NWABAPTRIAL70206_64\GUI\SAP_GUI_FOR_WINDOWS_720_PL3_CORE
15
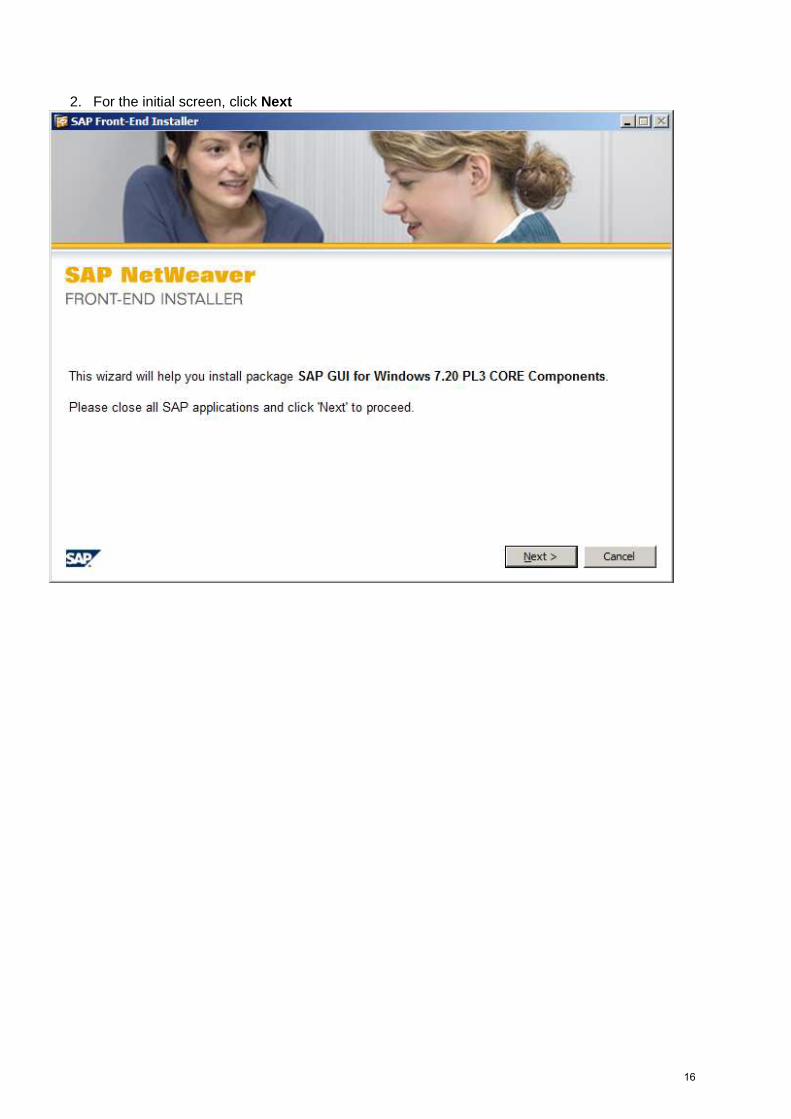
2. For the initial screen, click Next
16

3. For the next window, check the SAP GUI files on left hand side and click Next to begin the install
17
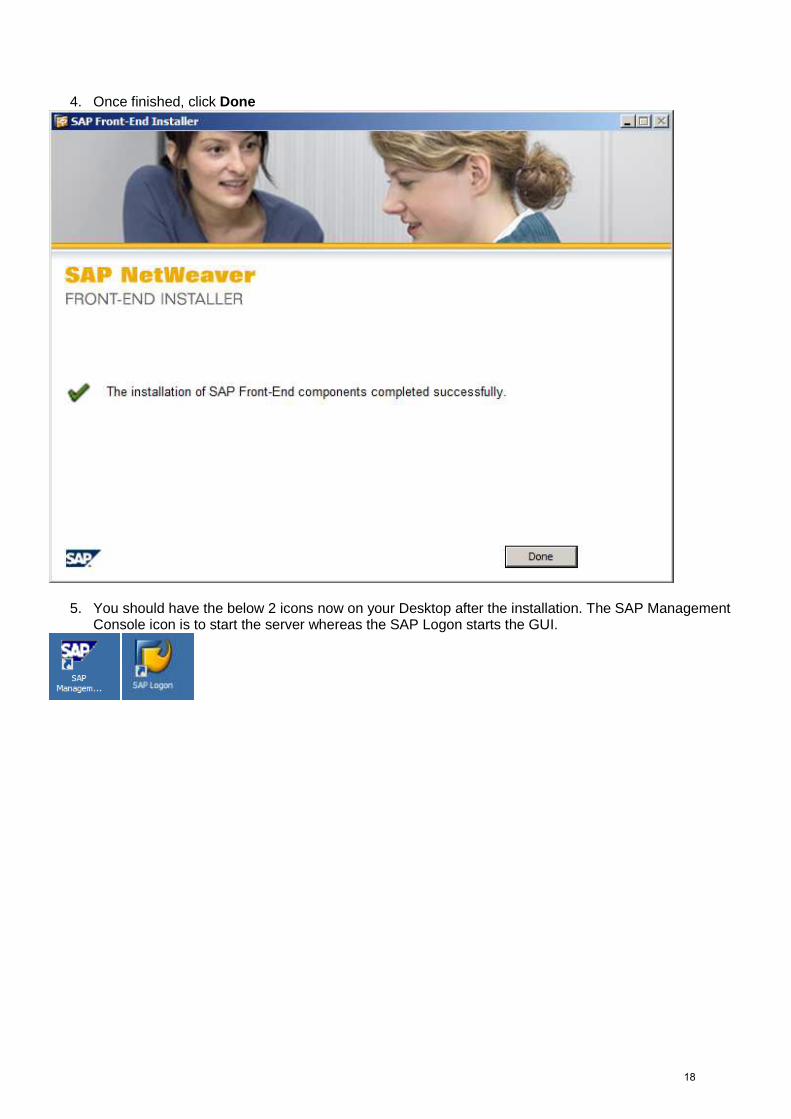
4. Once finished, click Done
5. You should have the below 2 icons now on your Desktop after the installation. The SAP Management Console icon is to start the server whereas the SAP Logon starts the GUI.
18

Post Install Configuration SAP
1. Double click the SAP Management Console icon to open the console. Click ‘+’ on SAP Systems to reveal NSP. Then right click NSP and select Start…
2. If a window displays about SAP timeout period, just click OK
19

3. For Web Service Authentication, enter the Master Password that you created in step 10 of the SAP NetWeaver Install portion of this guide and click OK.
20
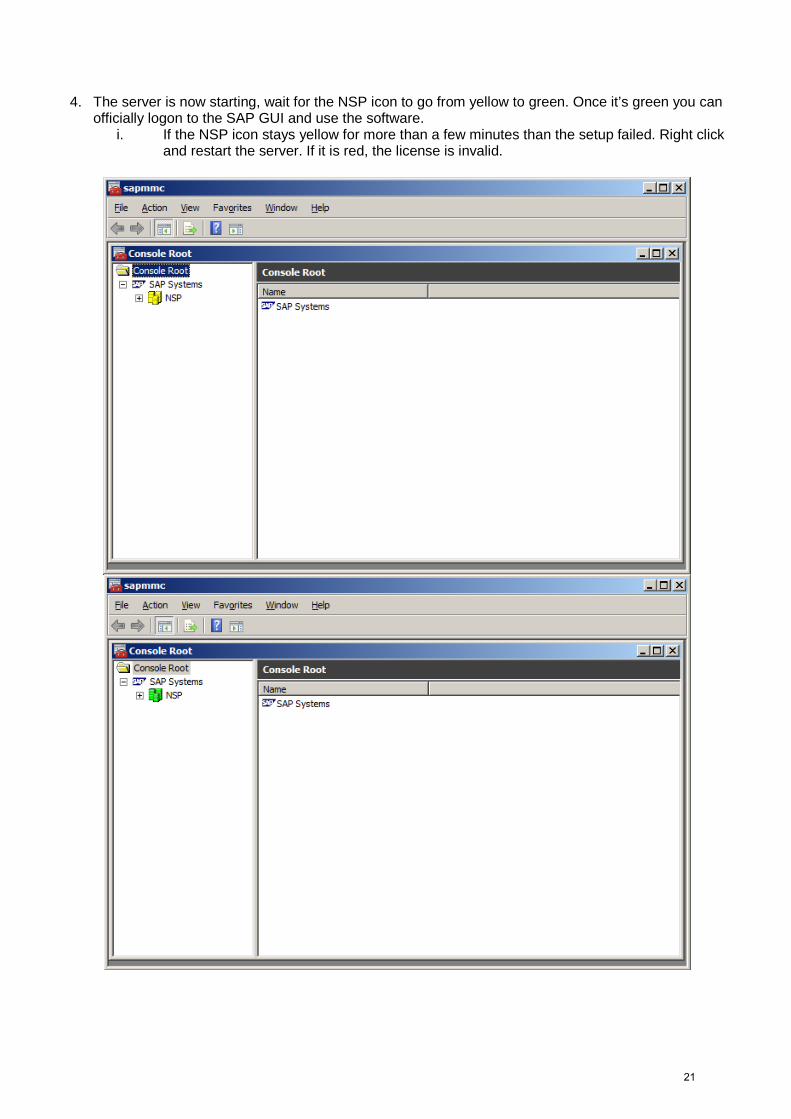
4. The server is now starting, wait for the NSP icon to go from yellow to green. Once it’s green you can officially logon to the SAP GUI and use the software.
i. If the NSP icon stays yellow for more than a few minutes than the setup failed. Right click and restart the server. If it is red, the license is invalid.
21

5. Now double click the SAP Logon icon, , and on the below SAP Logon 720 window click the
“New” icon, , represented by a blank sheet of paper.
22

6. Click New Item /Next then click “User Specified System ” and click Next
23

7. For the next window, enter values shown in the below figure. Then click Finish .
24

8. Afterwards you should see the newly created System Entry in the original SAP Logon window. Before we log on to the SAP system we will create a virtual date and display it in the next portion of the guide.
25

Time Machine Configuration & SAP Example
Below we will use the Time Machine command line to assign a virtual date and demonstrate how the SAP built in calendar app will see the virtual date. After installing SAP, 3 new users will be created (nspadm, sapadm, and sqdnsp). We will assign sapadm a virtual date and show the results.
1. Install Time Machine windows 2008 v7.0.1 for Windows Server 2008 64bit. i. Make sure you are Administrator.
26

2. Afterwards start time machine
27
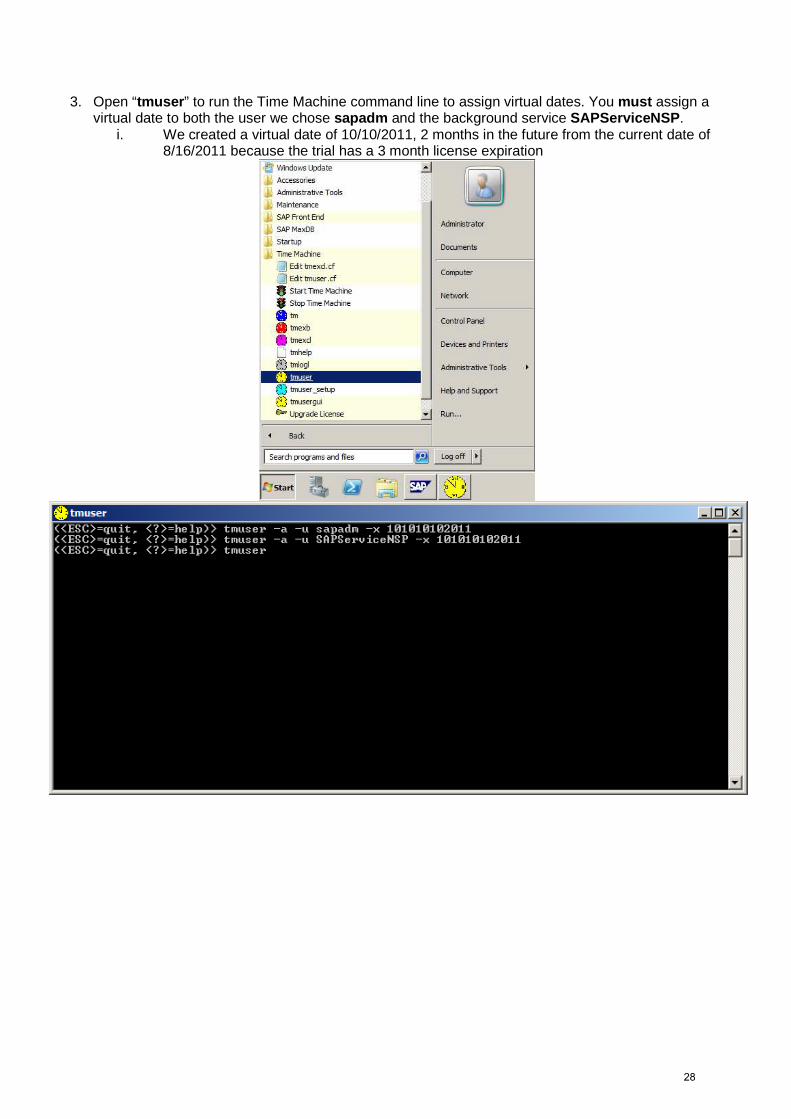
3. Open “tmuser ” to run the Time Machine command line to assign virtual dates. You must assign a virtual date to both the user we chose sapadm and the background service SAPServiceNSP .
i. We created a virtual date of 10/10/2011, 2 months in the future from the current date of 8/16/2011 because the trial has a 3 month license expiration
28

4. Now that the virtual dates have been assigned, log off of Administrator and log into sapadm. Afterwards follow steps 1-5 in Post Installation SAP to start the server and open the SAP Logon.
29

5. Click NSP local , and click the top left Log On .
30

6. The below figure will appear. Log in as the built in user DDIC using the master password you created in step 10 of SAP Install above.
i. On your keyboard press Enter to login. ii. Even though the password area is filled with ****, you must enter your master password
31

7. Now you are officially logged into the SAP GUI and have an array of default tools built-in
32

8. Click Office -> Appointment Calendar -> SSC1 – Owner
33

9. You will now see the virtual date we created 10/10/2011 below in the calendar app. We have now successfully implemented SAP with Time Machine to create/see a future virtual date.
For more help on installing SAP visit these guides.
http://www.sdn.sap.com/irj/scn/weblogs?blog=/pub/wlg/20668
http://www.sdn.sap.com/irj/scn/weblogs?blog=/pub/wlg/20467
*You need a free SAP account to view the above guides.
34