Quick Start Guide For Vera Energy Savings Solution
12
Quick Start Guide For Vera Energy Savings Solution
Transcript of Quick Start Guide For Vera Energy Savings Solution

Quick Start Guide ForVera Energy Savings Solution

Congratulations on Your Purchase of the Vera Energy Savings SolutionYou’ve taken the first step to begin saving energy automatically, while enjoying the ease, convenience and security of advanced home control and home automation! This Vera Energy Savings Solution includes a carefully selected set of components to start providing your home with round the clock energy savings.
Welcome to the World of Easy Home Control & AutomationIn just a few minutes you’ll be able to control lights, check energy use, and adjust your home’s heating and cooling settings, all from your smartphone, tablet or laptop! Your Vera Energy Savings Solution will not only help you save energy, but it can also automate many of your daily routines. From turning lights off and on to turning down the thermostat at night, your Vera Energy Savings Solution can handle these chores according to the schedule you create, or just by tapping a single button on your smartphone or tablet. With optional add-ons you can control even more, to save energy throughout your home.
We’ve created this booklet to make your set up quick and easy. Should you have any questions, each device has its own instructions, or you can refer to our online support at http://getvera.com/support, or call us!

Home Control System Overview: What Is All This Stuff?
We’ve put together best-of-class devices from a variety of manufacturers to provide you with the best possible home control experience. Inside this box are the components of your Vera System. Each component is described separately on the next page, and each also comes with ts own instructions. That’s where this Quick Start Guide comes in—it’s our mission to “pull it all together” for you!
How All These Components Work Together
• AttheheartofyourVeraSystemistheController,anultra-reliablespecialpurposecomputerthat’s on all the time (at very low power), standing by to receive signals from the other Devices. The wireless communications, called “Z-Wave,” allow the Controller to send signals to the Devices, such as to dim lights or open a door lock.
• TheControllerisitselfcontrolledbyyou—usingawebbrowseronyourPCoramobileappon your smartphone, or through automated routines or “Scenes” that you create (such as to adjust the thermostat so energy is only used when someone is home.)
• The Controller is also connected to the Internet, so you can securely operate Devices remotely. Using the Internet the Controller also sends you text and email messages about what’s going on in your home.

Introduction to Vera Home Control InstallationYour new Vera Energy Savings Solution sets up easily. The system consists of a Controller—the brains of the system— and a variety of Devices that “talk” to the Controller.
Let’s start by first identifying each of the components in your Vera System.
Your Vera Energy Savings Solution Controller:
Your Vera Energy Savings Solution System Devices:
VeraLite Controller Expandable up to 50-Devices (the “nerve center” and central processor for your Vera System).
Smart Thermostat Schedule for different temperatures at different times of day; remotely controllable; reports temperature remotely; change settings automatically based on presence of motion in home or other trigger events.
Smart Switch Turns any light or electrical appliance on or off, and measures how much electricity is being used.
Once you’ve identified each component, you’re ready to get started setting up your system!

Easy Wireless Installation!Your new Vera System is easy to install, thanks to wireless technology. Most of the system—just about everything except the main Controller— communicates without hooking up any wires. Plus, a very easy to use and friendly computer control screen—the Vera Dashboard— makes the Vera System fun to use!
About Batteries
The great thing about wireless tech is no wires. Without wires, however, most of the Devices must depend on batteries for power. Fortunately, the extremely low power used by these Devices means their batteries will last at least a year or more. Follow the in-box instructions provided with each device for battery installation procedures.
• WithsomeDevicesabatterymayalreadybeprovidedinaseparatewrapper.
• WithsomeDevicesabatterymayalreadybeinstalled,butyoumustfirstremoveataborplasticstripfoundonthe outside of the device to activate the battery and enable the Device to work.
• Wheninstallingorreplacingabatterybecarefultomatchpolarity(+and-)tothelabelinginthebatterycompartment.
?

Getting Started Locate your home’s router—in most homes this is a Wi-Fi router that provides both wired (Ethernet) network connections and wireless access. (In some homes the router may also be the device that connects to the cable-TV or telephone line, in others this may be a separate box. The router is the box with all the Internet connections.)
You’ll need a computer for the initial setup, and it must be connected to your home network (if you can use the computer with the Internet then it is already connected, you don’t need to do anything else.)
The Controller requires a wired (Ethernet) network connection to your home’s router, so usually the best place to install the Controller is right next to the router. Ideally the Controller should also be centrally located in the home.
Step 1 Connecting your VeraLiteThis step is really easy. There are two connections on the rear of the Controller, for power and Internet (you can ignore the third USB connection.)
First install the batteries in the Controller. (These will be needed later, when you “pair” each Device to the system—the batteries let the Controller work without ACpowersoyoucanbringitwithin3feetofeachnewDeviceforpairing.)
Next use the supplied ACadaptercord to connect power.
Next use the supplied network (Ethernet) cable to connect the Controller to your home’s router (Connection is shown in center. It looks like an oversized telephone connector.)
Step 2 Create Your Vera System Dashboard Congratulations, you’re almost finished with all the “wiring” for your Vera System! Now you’re ready to set up your computer to command your system. Here’s how:
• WaittwominutesafterconnectingyourController.(Lightswillstopblinking.)
• Turnonyourcomputerandopenanybrowser(IE,Firefox,ChromeorSafari).
• Gotohttp://home.getvera.com on your computer’s browser.
• Createanaccount.
• FollowtheonscreeninstructionstoaddyourControllertoyouraccount.
• ClicktheMyDashboardbutton.
• Nextyou’llseeyourDashboardinyourbrowser.
Step3AddDevicestoYourVeraSystem• OpenyourVeraDashboard(loginwithusernameandpasswordandclickMyDashboard).
• ClickAddDevicetolaunchaWizardtoaddeachDevicetoyourVeraSystem.
• DecideonlocationsfortheotherDevicesinyoursystem.
• SelecttheDeviceyou’readdingandfollowtheonscreeninstructions.
Step 4 Controlling Your SystemFrom the Dashboard you can turn the Smart Switch on or off, monitor its energy use, and control you home’s heating and cooling. These remote control functions are available when you log into your account securely from anywhere in the world!

Welcome to the World ofHomeAutomationAfteryoufinishinstallation,youcanentertheexcitingrealmofautomatedhomecontrol! This is where the real power of your system can be enjoyed.
Vera Mobile AppsAsyou’vealreadyseenfromvisitingyourDashboard,youcancontroleach Device in your system remotely, using this Dashboard. You can also control your entire home system from any smartphone or tablet with mobile apps.
• GetFREEmobileappsforiOSandAndroidsmartphonesandtabletsat: http://getvera.com/apps
• Youmayalsodiscoverthird-partyappsforyourVerasystem. Search“Vera”intheiTunesAppsStoreoryourfavoriteAndroidStoretofindthese!
The MiOS App MarketplaceYour Vera Controller utilizes MiOS, a secure operating system developed for home control. Many additional apps have been created for MiOS that work with your Vera System. Some are designed for specific Devices, such as to enable special features on a camera, while others are more general purpose, such as smartphone interfaces. Most apps are free!
• ExploreandinstallMiOSappsat:http://marketplace.mios.com
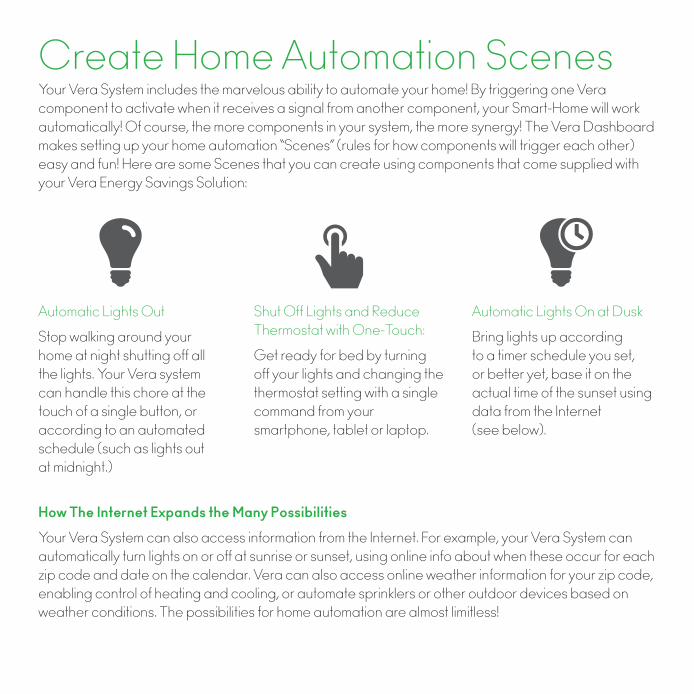
CreateHomeAutomationScenesYour Vera System includes the marvelous ability to automate your home! By triggering one Vera component to activate when it receives a signal from another component, your Smart-Home will work automatically! Of course, the more components in your system, the more synergy! The Vera Dashboard makes setting up your home automation “Scenes” (rules for how components will trigger each other) easy and fun! Here are some Scenes that you can create using components that come supplied with your Vera Energy Savings Solution:
AutomaticLightsOut
Stop walking around your home at night shutting off all the lights. Your Vera system can handle this chore at the touch of a single button, or according to an automated schedule (such as lights out at midnight.)
AutomaticLightsOnatDusk
Bring lights up according to a timer schedule you set, or better yet, base it on the actual time of the sunset using data from the Internet (see below).
Shut Off Lights and Reduce Thermostat with One-Touch:
Get ready for bed by turning off your lights and changing the thermostat setting with a single command from your smartphone, tablet or laptop.
How The Internet Expands the Many Possibilities
Your Vera System can also access information from the Internet. For example, your Vera System can automatically turn lights on or off at sunrise or sunset, using online info about when these occur for each zip code and date on the calendar. Vera can also access online weather information for your zip code, enabling control of heating and cooling, or automate sprinklers or other outdoor devices based on weather conditions. The possibilities for home automation are almost limitless!
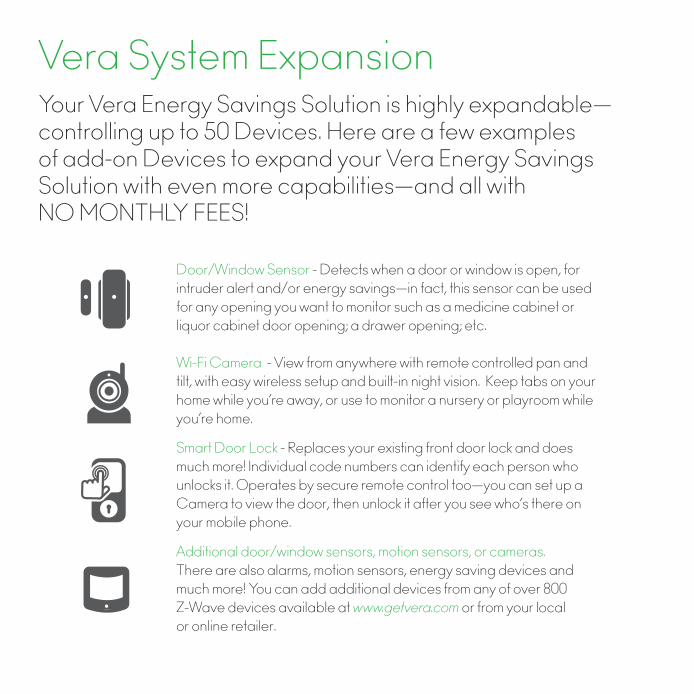
Vera System ExpansionYour Vera Energy Savings Solution is highly expandable—controlling up to 50 Devices. Here are a few examples of add-on Devices to expand your Vera Energy Savings Solution with even more capabilities—and all with NO MONTHLY FEES!
Door/Window Sensor - Detects when a door or window is open, for intruder alert and/or energy savings—in fact, this sensor can be used for any opening you want to monitor such as a medicine cabinet or liquor cabinet door opening; a drawer opening; etc.
Wi-Fi Camera - View from anywhere with remote controlled pan and tilt, with easy wireless setup and built-in night vision. Keep tabs on your home while you’re away, or use to monitor a nursery or playroom while you’re home.
Smart Door Lock - Replaces your existing front door lock and does much more! Individual code numbers can identify each person who unlocks it. Operates by secure remote control too—you can set up a Camera to view the door, then unlock it after you see who’s there on your mobile phone. Additionaldoor/windowsensors,motionsensors,orcameras. There are also alarms, motion sensors, energy saving devices and much more! You can add additional devices from any of over 800 Z-Wave devices available at www.getvera.com or from your local or online retailer.

MoreScenes,MoreHomeAutomationAsyourVeraSystemexpands,theAutomationcapabilitiesmultiply. Each new Device may interact with several other components in your system. With the Devices mentioned previously added to your Vera Energy Savings Solution, here aremoreHomeAutomationScenesyoucancreate:
Lock Door, Lower Thermostat and Dim Lights at midnight Or 2 a.m., or with a touch on your phone. You can also check that windows are shut. Save time, stop touring your home every night to shut off all the lights! You can turn everything on at a pre-set time too, or base it on when the sun goes down. Texting Door Lock Sends you a text message (and/or email) whenever the door is unlocked, telling you who unlocked it and/or who locked it. Can also trigger camera recording of everyone who walks in or out.
Record Camera and Raise Lights When Door Opens Automaticallyrecordvideoeachtimesomeoneunlocksthedoorsoyoucan see who is walking in. Plus, as people walk in they’ll have adequate light to see—no need to fumble for a light switch.
There are many other Home Automation Scene possibilities.
Your Vera Energy Savings Solution is a system that can grow and change as your needs and life routines change. That’s why Vera is The Smarter Home Control System!

QSG101
Have Questions?
Vera Control, Ltd strives to build the very best products possible. But every now and then, you may need a little assistance. Please browse our online support topics and resources to get familiar with our solutions.
If you still have questions, rest assured, we are here to help.
Toll Free: 1 (866) 966-2272
Email: [email protected]
Online Support: http://support.getvera.com
Hours of Operation: Monday – Friday 12:00am to 6:00pm Pacific Time
?