ProSense BELGRADE Deploying SunSPOT SDK and Emulator on your Desktop or Laptop Computer Author:...
16
ProSense BELGRADE Deploying SunSPOT SDK and Emulator on your Desktop or Laptop Computer Author: Stanislava Stanković, B.Sc. student of the School of Electrical Engineering, University of Belgrade
-
Upload
imogen-neal -
Category
Documents
-
view
216 -
download
2
Transcript of ProSense BELGRADE Deploying SunSPOT SDK and Emulator on your Desktop or Laptop Computer Author:...
ProSense BELGRADE
Deploying SunSPOT SDK and Emulator on your Desktop or Laptop Computer
Author:Stanislava Stanković, B.Sc. student of the School of Electrical Engineering, University of Belgrade
ProSense BELGRADE 2/16
SunSPOT SDK and Emulator installation guide
Starting…
Prerequisites:
Java 5, at least
Ant 1.7.0, at least
NetBeans IDE (highly recommended)

ProSense BELGRADE 3/16
1st step Install Java VM (if you don’t have corresponding version installed on your computer)
2nd stepInstall Ant. You have to do the following:Go to: http://ant.apache.org/bindownload.cgiStep into Current Release of Ant section
and download the apache-ant-1.7.0-bin.zip file
SunSPOT SDK and Emulator installation guide
ProSense BELGRADE 4/16
SunSPOT SDK and Emulator installation guide
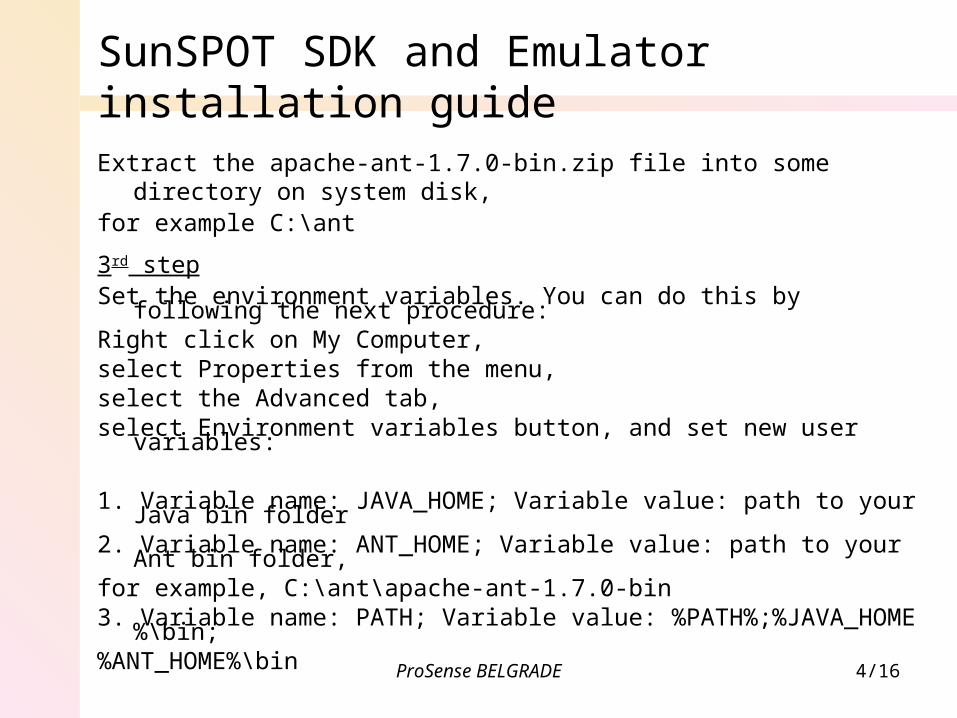
Extract the apache-ant-1.7.0-bin.zip file into some directory on system disk, for example C:\ant
3rd stepSet the environment variables. You can do this by following the next procedure:Right click on My Computer, select Properties from the menu, select the Advanced tab,select Environment variables button, and set new user variables:
1. Variable name: JAVA_HOME; Variable value: path to your Java bin folder2. Variable name: ANT_HOME; Variable value: path to your Ant bin folder, for example, C:\ant\apache-ant-1.7.0-bin3. Variable name: PATH; Variable value: %PATH%;%JAVA_HOME%\bin; %ANT_HOME%\bin

ProSense BELGRADE 5/16
SunSPOT SDK and Emulator installation guide
4th step:Install NetBeans IDE, for example NetBeans 6.05th step: ATTENTIONIt’s highly recommended that you turn off your Kaspersky AntiVirus program,if you have one on your computer before continuing the installation process.
NOW, you are ready to begin with installation of your SunSPOT Emulator.6th step:Send an e-mail to [email protected] with Subject SDK Beta.After some time, you will receive new e-mail, with detail explanation, but the only thing you have to do is click on the link http://www.sunspotworld.com/TorC (or you can just visit the link mentioned).On that page, click on the SunSPOT button to download SPOTManager.jnlp file.Download the file.Launch this .jnlp file, you will see Java Starting… and then Run the application, when the appropriate window appears.This will result in showing the SPOTManager Truth or Consequences shortcut.Click this shortcut to run SPOTManager.
ProSense BELGRADE 6/16
SunSPOT SDK and Emulator installation guide
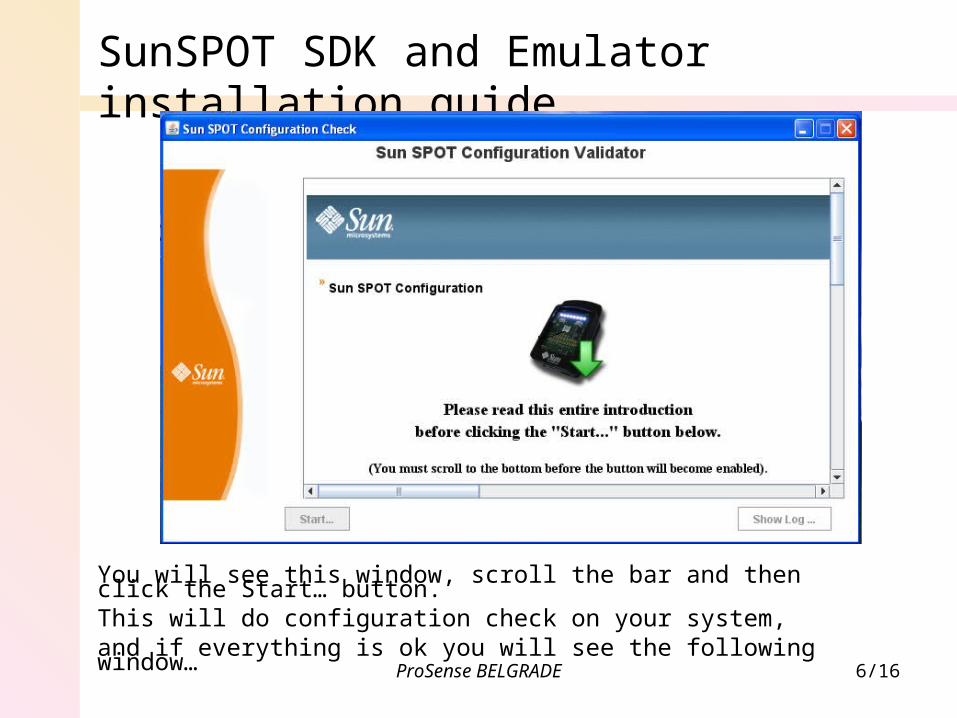
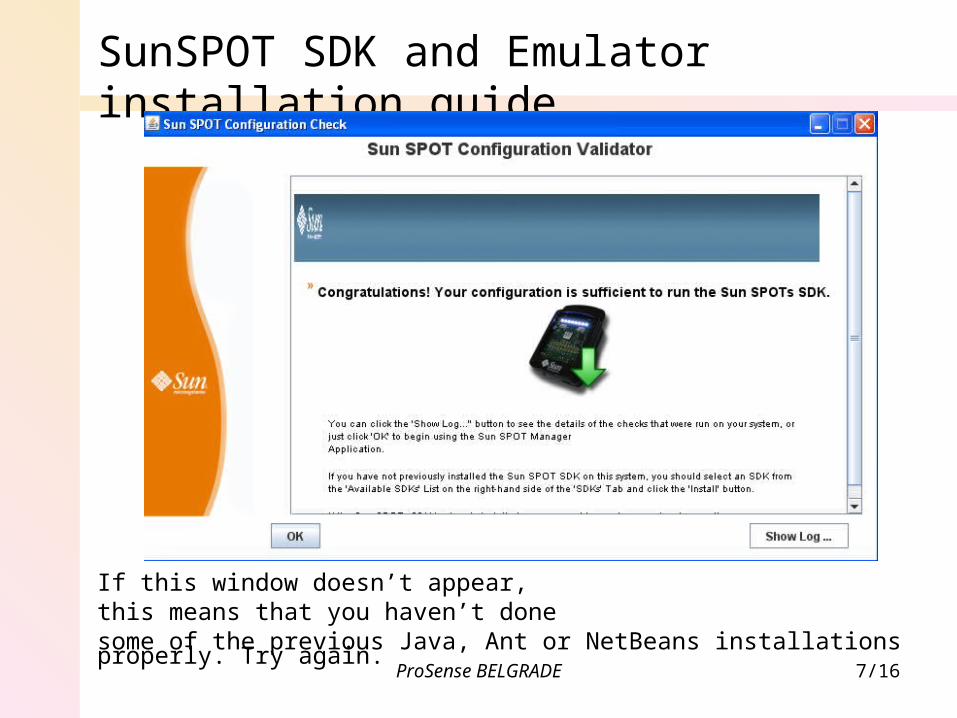
You will see this window, scroll the bar and then click the Start… button.This will do configuration check on your system, and if everything is ok you will see the following window…
ProSense BELGRADE 7/16
SunSPOT SDK and Emulator installation guide
If this window doesn’t appear, this means that you haven’t done some of the previous Java, Ant or NetBeans installations properly. Try again.

ProSense BELGRADE 8/16
SunSPOT SDK and Emulator installation guide
If everything is ok then click OK and you will get the window

ProSense BELGRADE 9/16
SunSPOT SDK and Emulator installation guide
Click on the Preferences tab. Select the Beta Update Center radio button, and then click on the SDKs tab. The window on the picture will appear.

ProSense BELGRADE 10/16
SunSPOT SDK and Emulator installation guide
Select Purple Beta RC4 folder and click Install button bellow the folder.If everything is ok, you will see the following:
In the section New SDK Directory Location type C:/SunSPOT, or any other directory name, without spaces or your SDK will not work properly. Click Install.

ProSense BELGRADE 11/16
SunSPOT SDK and Emulator installation guide
Installation process will begin.
If everything is OK then downloading will end in 5 minutes, the most.Otherwise, turn off your AntiVirus program, because that could be a potential problem.

ProSense BELGRADE 12/16
SunSPOT SDK and Emulator installation guide
The installation output look’s like this:
If your SDK is not Currently Active, activate it using the Activate button.

ProSense BELGRADE 13/16
SunSPOT SDK and Emulator installation guide
Now, close your SPOTManager.Go to the link http://blogs.sun.com/davidgs/entry/netbeans_6_0_and_sun,click on UpdateCenter Plugin and download the com-sun-sunspot-updatecenter.nbm file.
Launch your NetBeans IDE. Select Tools – Plugins, then Downloaded taband click on the button Add Plugins… and select the previously dowloaded .nbm file.Click Install.
Select the tab Available Plugins and click on the Reload Catalog button.Now, the number of available plug-ins will be increased by 4 plug-ins, and you need to check all plug-ins in the SunSPOTs category and click on the Install button.
Now, you need to restart your NetBeans IDE in order to reload these plug-ins.
After you have finished this, you have to start your SPOTManager again.

ProSense BELGRADE 14/16
SunSPOT SDK and Emulator installation guide
After launching the SPOTManager, select the tab Solarium, and click on the Refresh button.Select the SDKs tab, and click on the Demos button.
This should load your SunSPOT directory with the Demos folder, where you can find the EmulatorDemo application which you can run on your virtual SPOTs.

ProSense BELGRADE 15/16
SunSPOT SDK and Emulator installation guide
Congratulations,
you have managed to deploy SunSPOT SDK and Emulator on your computer.
Now, you are ready to run the Emulator.
Select the Solarium tab, click on the Refresh button.
Choose Virtual SPOTs instead of No SPOTs Connected and finally, click on the Solarium button.
This will run the SPOTWorld on your Computer and now you can create virtual spots and deploy available demo or your own applications on them:Just select the Emulator, New virtual SPOT. Right click on the virtual SPOT, click on Specify application jar file..., and select the application emulator_demo,then again right click on the SPOT, click on Run MIDlet and select one…
Further details are another story !!!

ProSense BELGRADE 16/16
SunSPOT SDK and Emulator installation guide
P. S. Updated version
Now, new SunSPOT SDKs are available.Instead of downloading the Beta version you may do the following:Click on the Preferences tab. Select the Dev Preview radio button, and then click on the SDKs tab.Select the Blue SDK (Latest Update) and download it, as previously described.Use the same folder C:\SunSPOT.
Other steps are also the same, as previously described.
Interface of the Emulator is slightly differrent,but nothing you can’t handle, I’m sure !