Printing from Mac OS - Xerox Document Management, Digital Printing

Printing Guide For Mac
Look through the slides to see the steps!

Printing Basics
A. You must have enough money on your printing account to use the printers.

Printing Setup: Step 1
A. Use the Link below to access the printing setup
page on the DANIELS website:
https://www.daniels.utoronto.ca/info/current-stud
ents/undergraduate/it-support/printing-plotting
B. Download the Mac OS X 10.9 - 10.10.

Printing Setup: Step 2
A. Click on the Daniels Printers Folder on your
desktop to begin the Installation Process.

Printing Setup: Step 3
A. After opening the Daniels Printers folder, click on
Popup.pkg.

Printing Setup: Step 4
A. Begin the Installation Process.

Printing Setup : Step 5
A. After Selecting the Disk where you would like to
Install the Pharos Popup, Click Continue.
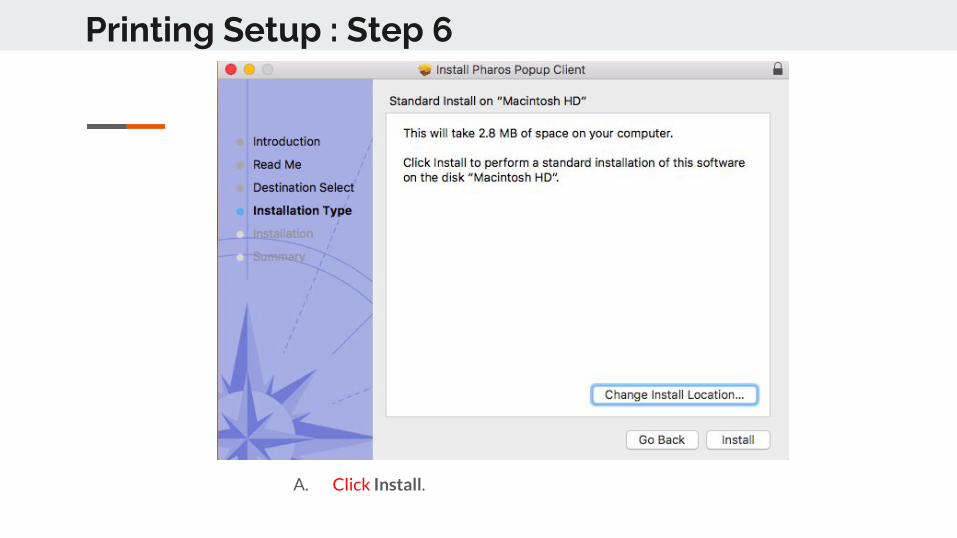
Printing Setup : Step 6
A. Click Install.

Printing Setup : Final Step

Printing: Step 1
A. Make sure your computer is connected to the
Daniels Wi-Fi.
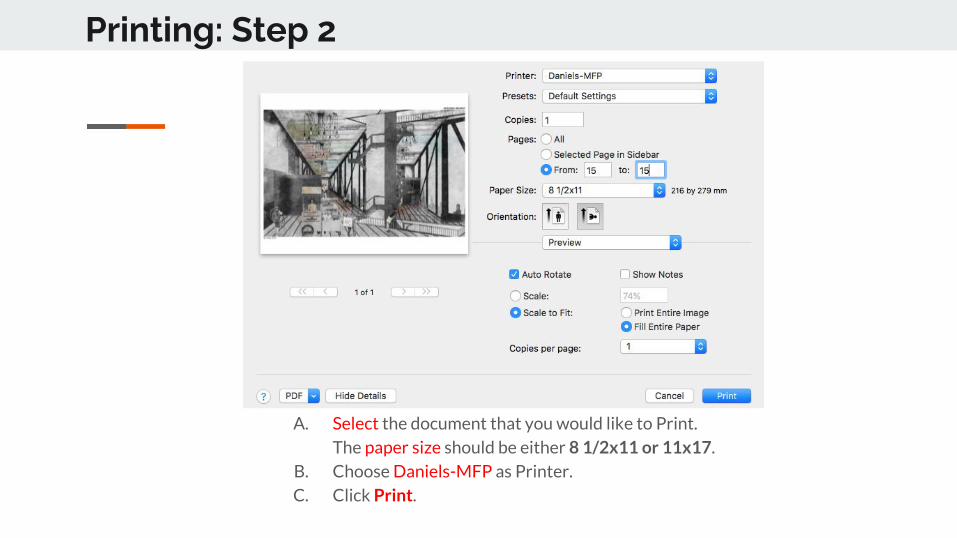
A. Select the document that you would like to Print.
The paper size should be either 8 1/2x11 or 11x17.
B. Choose Daniels-MFP as Printer.
C. Click Print.
Printing: Step 2

Printing: Step 3
A. Enter your utorid as Username.
B. Click Print.
Using the Printer: Step 1
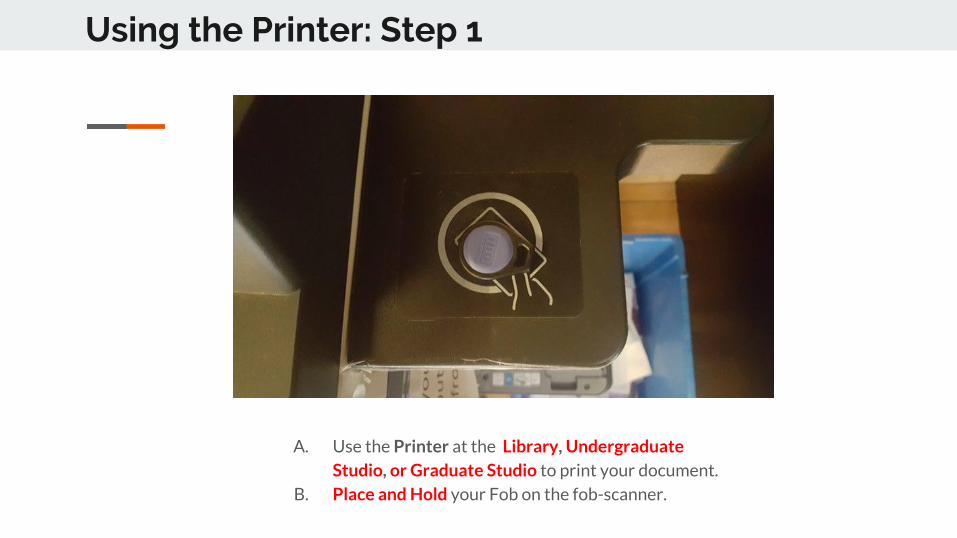
A. Use the Printer at the Library, Undergraduate Studio, or Graduate Studio to print your document.
B. Place and Hold your Fob on the fob-scanner.

Using the Printer: Step 2
A. Select your document and Press the Start button
below the screen.
Using the Printer: Final Step
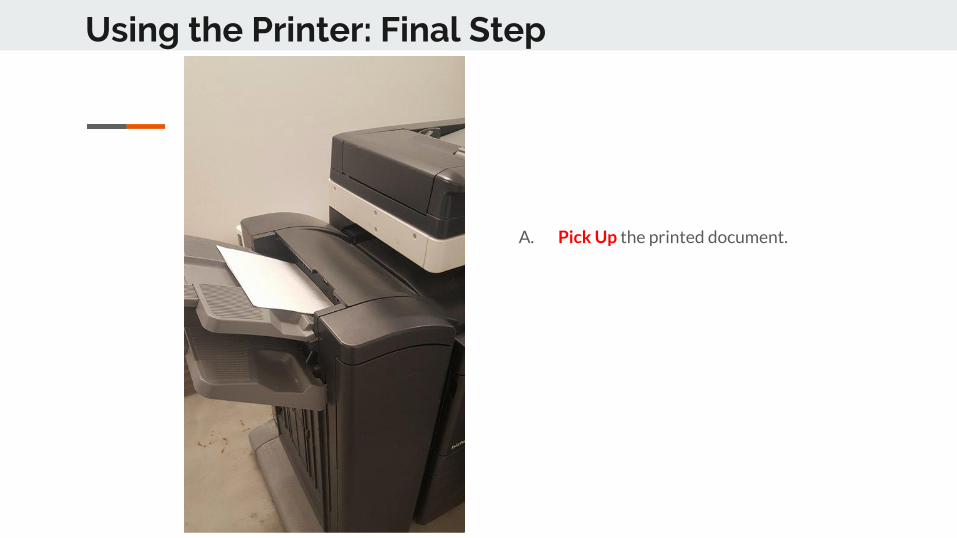
A. Pick Up the printed document.