Premium Features - Netgear€¦ · 3 This document describes how to use the premium features of...
16
Premium Features A Guide for Using the Premium Features of your WNDR3800 Router
Transcript of Premium Features - Netgear€¦ · 3 This document describes how to use the premium features of...
Premium Features
A Guide for Using the Premium Featuresof your WNDR3800 Router
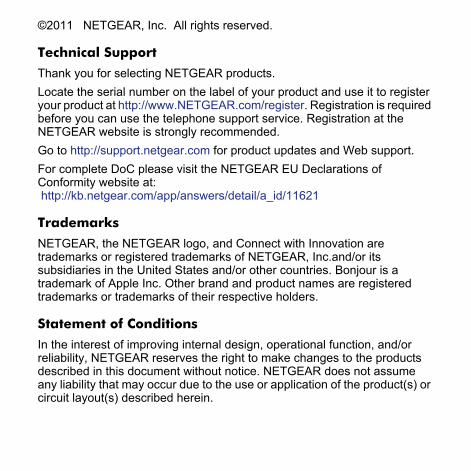
©2011 NETGEAR, Inc. All rights reserved.
Technical Support
Thank you for selecting NETGEAR products. Locate the serial number on the label of your product and use it to register your product at http://www.NETGEAR.com/register. Registration is required before you can use the telephone support service. Registration at the NETGEAR website is strongly recommended.Go to http://support.netgear.com for product updates and Web support. For complete DoC please visit the NETGEAR EU Declarations of Conformity website at: http://kb.netgear.com/app/answers/detail/a_id/11621
Trademarks
NETGEAR, the NETGEAR logo, and Connect with Innovation are trademarks or registered trademarks of NETGEAR, Inc.and/or its subsidiaries in the United States and/or other countries. Bonjour is a trademark of Apple Inc. Other brand and product names are registered trademarks or trademarks of their respective holders.
Statement of Conditions
In the interest of improving internal design, operational function, and/or reliability, NETGEAR reserves the right to make changes to the products described in this document without notice. NETGEAR does not assume any liability that may occur due to the use or application of the product(s) or circuit layout(s) described herein.
This document describes how to use the premium features of your NETGEAR WNDR3800 router:
• “ReadySHARE Cloud” on page 4• “ReadySHARE Printer” on page 6• “Video Mode” on page 9• “ClearChannel Selector” on page 10• “NETGEAR Genie” on page 12• “Time Machine” on page 13
For more information about the features described in this booklet, see the User Manual by clicking the Documentation link in the router management interface or on the WNDR3800 product page on the Support website (http://support.netgear.com).
3
ReadySHARE CloudReadySHARE Cloud gives you remote access over the Internet to a USB storage device that is connected to your router’s USB port.
To enable ReadySHARE Cloud, log in to the router management interface at http://routerlogin.net, and go to the ReadySHARE page. Follow the instructions to register your router with the ReadySHARE Cloud server.
Using this feature, you can also invite friends and family members to access the shared contents on the USB device.
If your friends and family do not have a ReadySHARE Cloud account, they will be invited to create one so they can access the shared contents.
Visit http://readyshare.netgear.com and create an account to make your files and folders accessible at any time, from anywhere.
4

In addition to remotely sharing anything stored on the USB device connected to your router, you can:
• Control friend and family access to each item stored on the USB device.
• Invite new users to access the shared contents.
5
ReadySHARE PrinterReadySHARE Printer lets you connect a USB printer to the router’s USB port, and access it wirelessly.
To set up ReadySHARE Printer:
Step 1: Connect the USB printer to the router’s USB port with a USB printer cable.
Step 2: Install the USB printer driver software on each computer that will share the printer.
If you do not have the printer driver, contact the printer manufacturer to find and download the most recent printer driver software.
Step 3: On each computer that will share the printer, download and install the NETGEAR USB Control Center utility. You MUST install this utility before you can use the ReadySHARE Printer feature.
Note: The NETGEAR USB Control Center utility has a Mac version and a Windows version.
6

For more information on the ReadySHARE features, see http://www.netgear.com/readyshare.
Step 4: Follow the instructions in the utility to connect to the printer from your computer and print. If the printer is not in the Available state, select the printer from the list and click Connect.
7
Note: Some firewall software, such as Comodo, will block the ReadySHARE Printer utility from accessing the USB printer. If you don’t see the printer in the utility, you can disable the firewall temporarily to make it work.
For scanning: If your printer supports scanning, make sure that the printer is in the Available state, and click the Network Scanner button. This activates the Scanner window so you can use the printer for scanning.
For further ReadySHARE information, see http://www.netgear.com/readyshare.
8
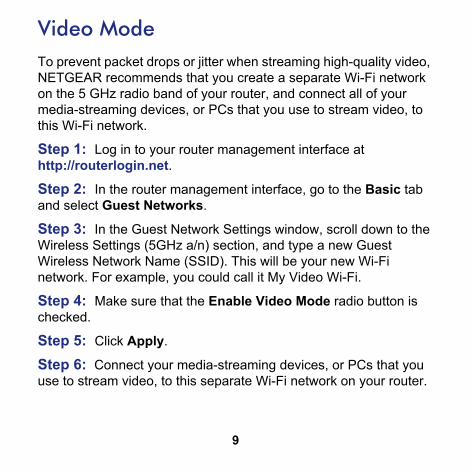
Video ModeTo prevent packet drops or jitter when streaming high-quality video, NETGEAR recommends that you create a separate Wi-Fi network on the 5 GHz radio band of your router, and connect all of your media-streaming devices, or PCs that you use to stream video, to this Wi-Fi network.
Step 1: Log in to your router management interface at http://routerlogin.net.
Step 2: In the router management interface, go to the Basic tab and select Guest Networks.
Step 3: In the Guest Network Settings window, scroll down to the Wireless Settings (5GHz a/n) section, and type a new Guest Wireless Network Name (SSID). This will be your new Wi-Fi network. For example, you could call it My Video Wi-Fi.
Step 4: Make sure that the Enable Video Mode radio button is checked.
Step 5: Click Apply.
Step 6: Connect your media-streaming devices, or PCs that you use to stream video, to this separate Wi-Fi network on your router.
9
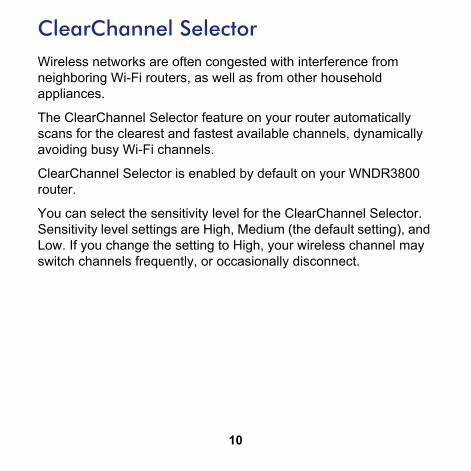
ClearChannel SelectorWireless networks are often congested with interference from neighboring Wi-Fi routers, as well as from other household appliances.
The ClearChannel Selector feature on your router automatically scans for the clearest and fastest available channels, dynamically avoiding busy Wi-Fi channels.
ClearChannel Selector is enabled by default on your WNDR3800 router.
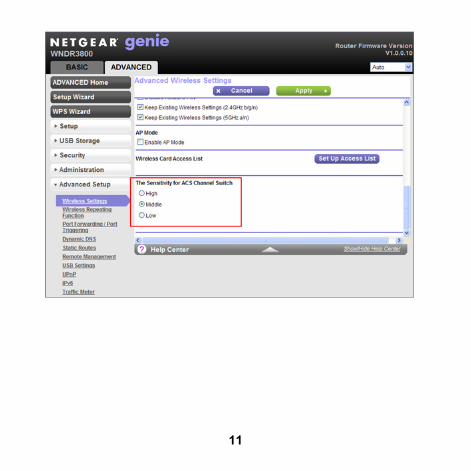
You can select the sensitivity level for the ClearChannel Selector. Sensitivity level settings are High, Medium (the default setting), and Low. If you change the setting to High, your wireless channel may switch channels frequently, or occasionally disconnect.
10
11
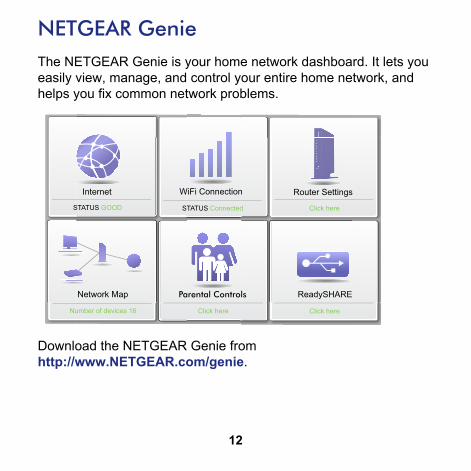
NETGEAR GenieThe NETGEAR Genie is your home network dashboard. It lets you easily view, manage, and control your entire home network, and helps you fix common network problems.
Download the NETGEAR Genie from http://www.NETGEAR.com/genie.
Internet
STATUS GOOD
Network Map
Number of devices 16 Parental Controls
WiFi Connection
STATUS Connected
Router Settings
Click here
ReadySHARE
Click hereClick here
12
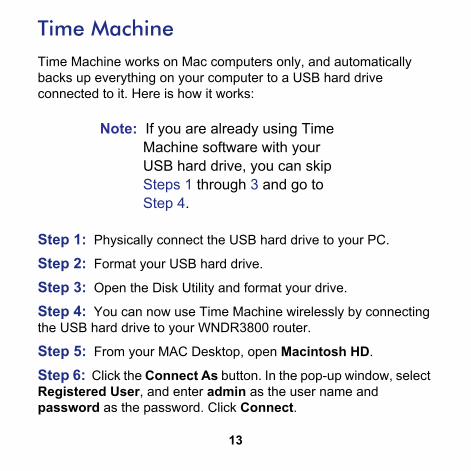
Time MachineTime Machine works on Mac computers only, and automatically backs up everything on your computer to a USB hard drive connected to it. Here is how it works:
Note: If you are already using Time Machine software with your USB hard drive, you can skip Steps 1 through 3 and go to Step 4.
Step 1: Physically connect the USB hard drive to your PC.
Step 2: Format your USB hard drive.
Step 3: Open the Disk Utility and format your drive.
Step 4: You can now use Time Machine wirelessly by connecting the USB hard drive to your WNDR3800 router.
Step 5: From your MAC Desktop, open Macintosh HD.
Step 6: Click the Connect As button. In the pop-up window, select Registered User, and enter admin as the user name and password as the password. Click Connect.
13
Step 7: After connecting successfully, you can list your connected devices. Note that you see one extra device, called admin, whenever you log in as admin.
Step 8: Click the Use for Backup button to complete your selection.
Step 9: Enter the password (password), and the backup begins.
14

NETGEAR, Inc.350 East Plumeria Drive
San Jose, CA 95134 USA
December 2011