Patriotic Heart Pillow Cover - Janome ·...
18
Patriotic Heart Pillow Cover Created by: Sam Hunter www.huntersdesignstudio.com Make this quick pillow cover, or make multiple Heart blocks for a wall hanging! Block is 7 1/2'' square, finished. Pillow cover is 15'' square, finished. Skill Level: Confident beginner (all straight seams, no bias edges). Skills required: Basic rotary cutting and sewing paperpiecing, accurate rotary cutting and accurate 1/4'' seam. Time: 3 Hours Janome Supplies Required: Sam uses the Horizon Memory Craft 8900 QCP 1/4'' Foot O Satin Stitch Foot F or Straight Stitch Foot A AcuFeed Flex Dual Feed Foot or Walking Foot Fabric and Notions Required: • 1/8 yard red cotton • 1/8 yard blue cotton • 1/8 yard white cotton • 1/8 yard light blue cotton or chambray
Transcript of Patriotic Heart Pillow Cover - Janome ·...

Patriotic Heart Pillow Cover Created by: Sam Hunter www.huntersdesignstudio.com Make this quick pillow cover, or make multiple Heart blocks for a wall hanging! Block is 7 1/2'' square, finished. Pillow cover is 15'' square, finished.
Skill Level: Confident beginner (all straight seams, no bias edges). Skills required: Basic rotary cutting and sewing paper-‐piecing, accurate rotary cutting and accurate 1/4'' seam. Time: 3 Hours Janome Supplies Required: Sam uses the Horizon Memory Craft 8900 QCP 1/4'' Foot O Satin Stitch Foot F or Straight Stitch Foot A AcuFeed Flex Dual Feed Foot or Walking Foot Fabric and Notions Required:
• 1/8 yard red cotton • 1/8 yard blue cotton • 1/8 yard white cotton • 1/8 yard light blue cotton or chambray
• 3/4 yard lightweight denim or dark blue chambray • 1 pillow form 16'' x 16'' (note: the pillow cover finishes at 15'' x 15'' -‐ using a 16'' form in a
slightly smaller cover makes it plump up nicely). • 1 square 20'' x 20'' of batting (omit if not quilting the cover) • Thread to match (plus one wound bobbin of the thread) • Thread for optional quilting • Rotary cutting supplies (ruler, cutter, mat, etc.) • Usual sewing supplies (scissors, seam ripper, iron, etc.) • Access to a printer for printing the pattern • Sticky notes and a pen for labeling pieces
I used the following Kaufman Kona Solids for the Heart:
• Deep Blue 1541 • Rich Red 1551 • White 1387 • Dresden Blue 1123, or Light Blue Carolina Chambray
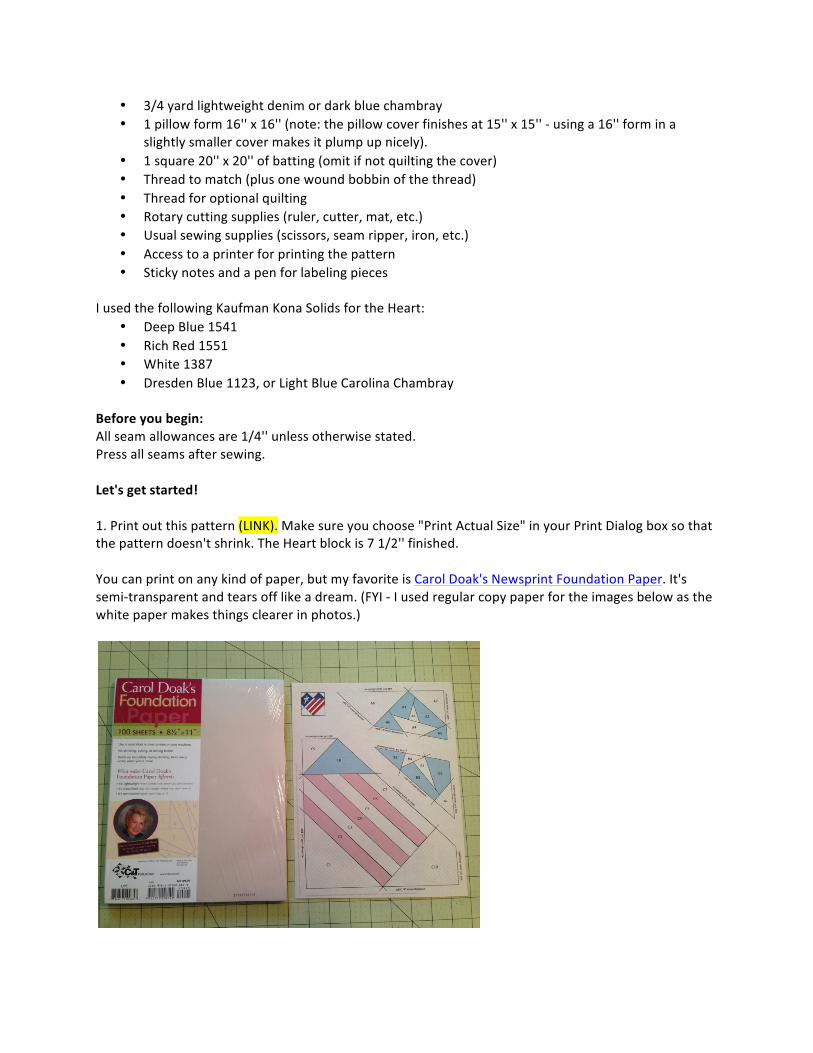
Before you begin: All seam allowances are 1/4'' unless otherwise stated. Press all seams after sewing. Let's get started! 1. Print out this pattern (LINK). Make sure you choose "Print Actual Size" in your Print Dialog box so that the pattern doesn't shrink. The Heart block is 7 1/2'' finished. You can print on any kind of paper, but my favorite is Carol Doak's Newsprint Foundation Paper. It's semi-‐transparent and tears off like a dream. (FYI -‐ I used regular copy paper for the images below as the white paper makes things clearer in photos.)
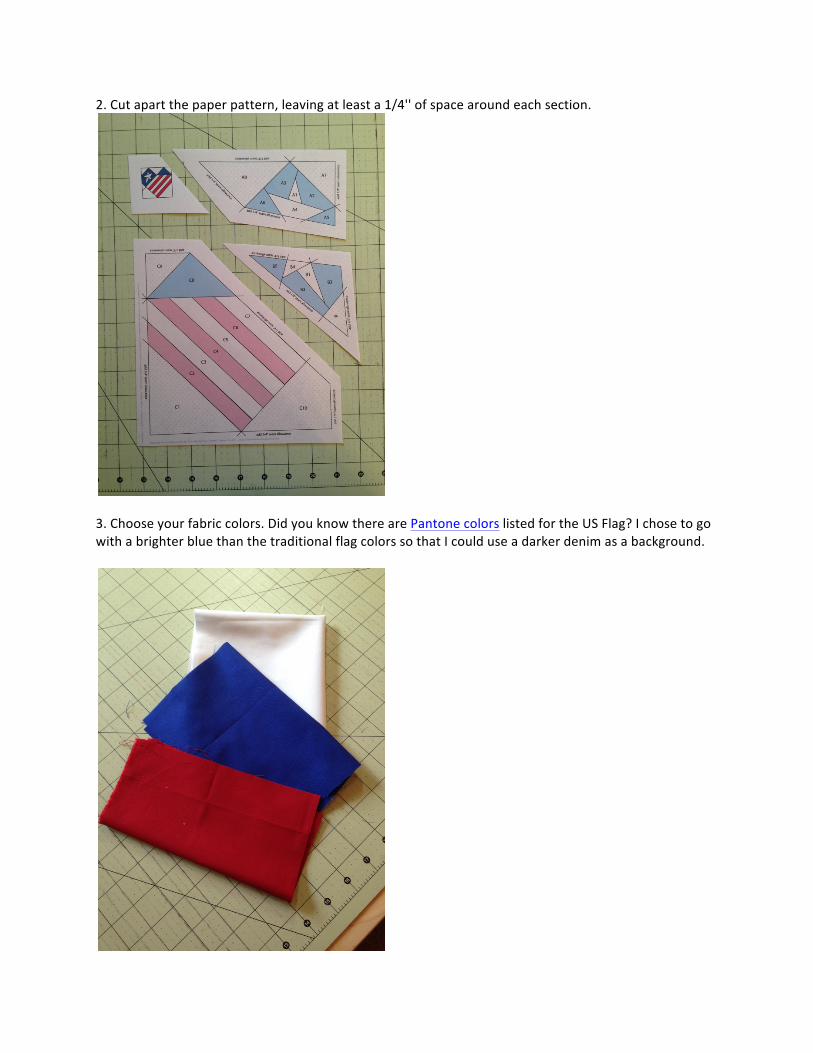
2. Cut apart the paper pattern, leaving at least a 1/4'' of space around each section.
3. Choose your fabric colors. Did you know there are Pantone colors listed for the US Flag? I chose to go with a brighter blue than the traditional flag colors so that I could use a darker denim as a background.

4. Cut the fabrics. All of the cuts listed below are approximately 1'' bigger than the area they are supposed to fit. I find that making generous pre-‐cuts for paper-‐piecing minimizes fabric waste, and makes for faster and easier construction. You can either cut and label each piece, or cut it and stack it with the section it belongs to. Labeling helps you get the right pieces to the right place.
NOTE that the D pieces listed below build the Heart block into the Front Cover -‐ label them and put them aside for the Front Cover steps. From the Blue Fabric, cut and label the following: A2: 3'' x 2 1/2'' A3: 2 1/2'' x 2 1/2'' A5: 2 1/2'' x 2 A6: 2 1/2'' x 2 1/2'' B2: 3'' x 2 1/2'' B3: 3 1/2'' x 2'' B5: 2'' x 2 1/2'' C8: 5'' x 3'' D2 (cut 2): 3 1/2'' x 2'' From the Red Fabric, cut and label the following: C2: 1 1/2'' x 7''

C4: 1 1/2'' x 8'' C6: 1 1/2'' x 6 1/2'' D1 (cut 2): 3 1/2'' x 3 1/2'' From the White Fabric, cut and label the following: A1: 2'' x 1 1/2'' A4: 3 1/2'' x 3'' B1: 2 1/2'' x 1 1/2'' B4: 2 1/2'' x 1 1/2'' C3: 1 1/2'' x 8'' C5: 1 1/2'' x 7'' C7: 1 1/2'' x 6 1/2'' D3: 2'' x 2'' From the Light Blue Chambray Fabric, cut and label the following: A7: 4'' x 2 1/2'' A8: 4'' x 4'' B6: 2 1/2'' x 2 1/2'' C1: 4'' x 6 1/2'' C9: 4'' x 2 1/2'' C10: 5'' x 3 1/2'' From the Dark Blue Lightweight Denim, cut and label the following: D4: 3 1/2'' x 12 1/2'' D5: 3 1/2'' x 8'' D6: 5'' x 8'' D7: 5'' x 11'' Back of Cover (cut 2): 15 1/2'' x 20'' 5. Set up your machine for paper piecing. Use a Straight Stitch A or Satin Stitch foot F, needle set to center, and a stitch length of 1.9. Your stitches should be just big enough to wiggle a seam ripper into, but no bigger. This also makes the paper tear off easily, too.

6. Paper piece each section, trimming threads and excess from the seams as you go. Be sure to extend your seams into the seam allowance for strong construction (follow the "leading" lines in the seam allowances).
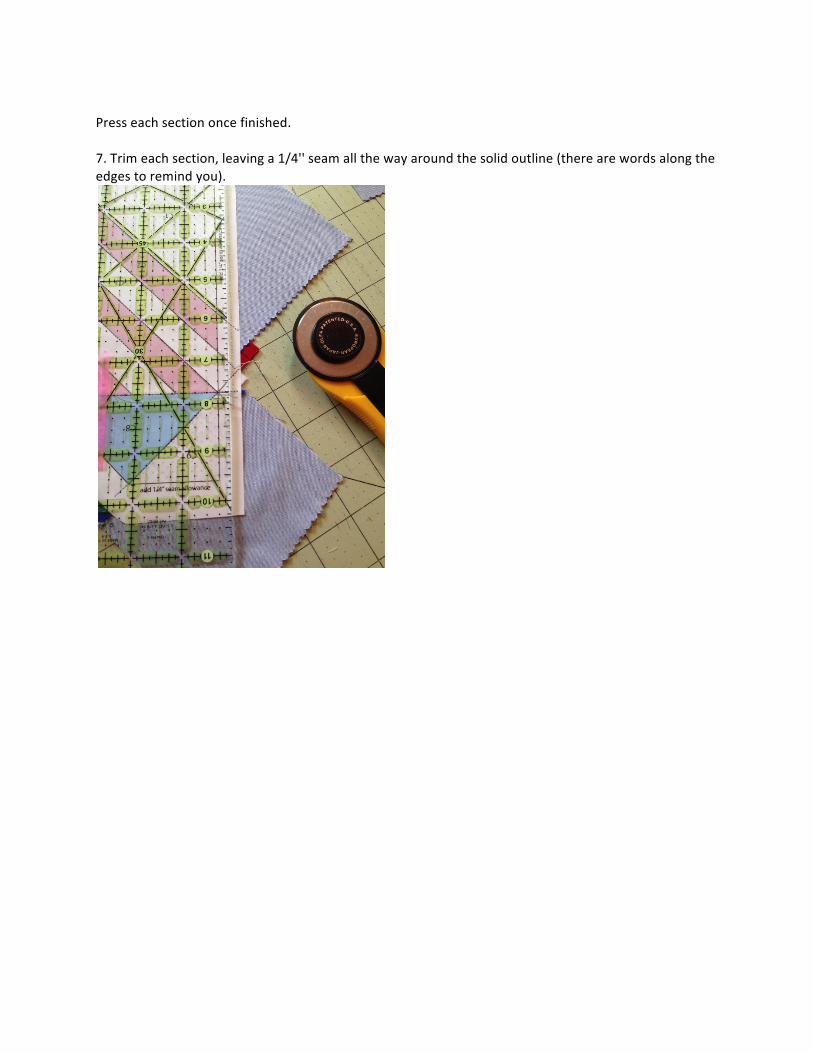
Press each section once finished. 7. Trim each section, leaving a 1/4'' seam all the way around the solid outline (there are words along the edges to remind you).

8. Assemble the Heart. Start with sections A and B. Place pins through the intersections of the star and seam allowance on Section A, and through to the same on Section B to align the halves of the star. Hold in place with more pins or clips. Stitch.
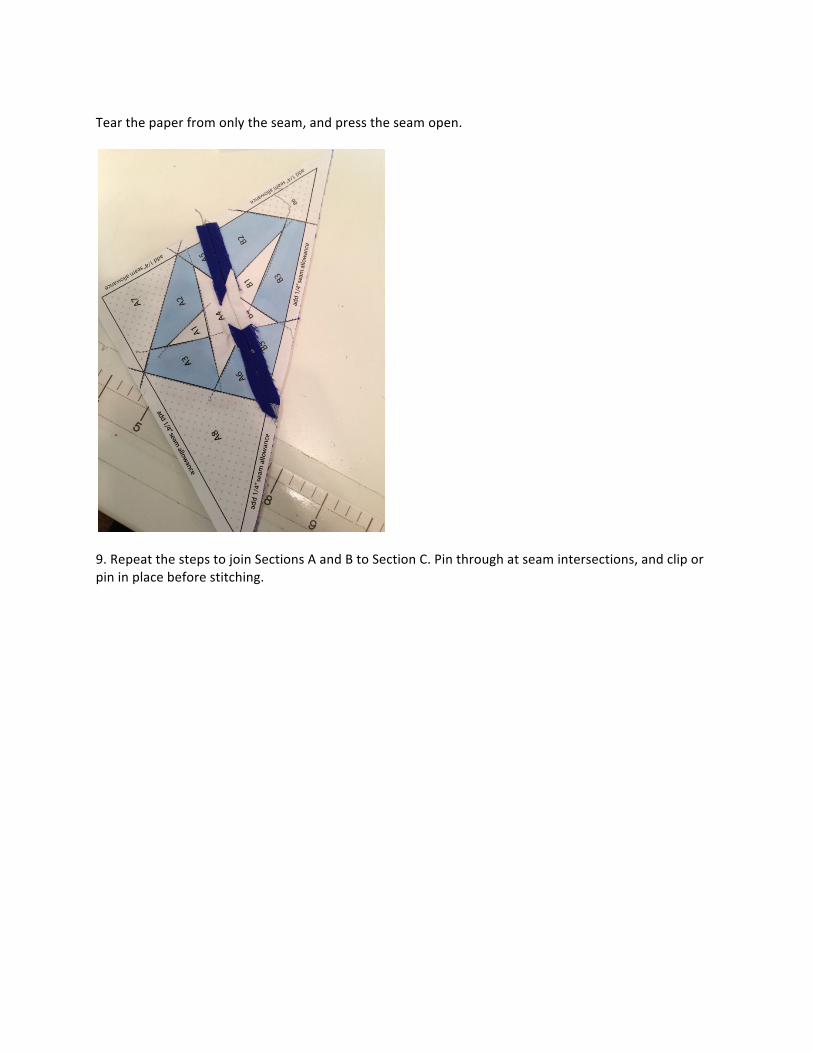
Tear the paper from only the seam, and press the seam open.
9. Repeat the steps to join Sections A and B to Section C. Pin through at seam intersections, and clip or pin in place before stitching.

Peel the paper from the seam only and press open. Trim any dog ears. 10. Peel the paper from the entire block and press well. If the block feels a bit wiggly, lightly starch it.

11. Using the drawing below, layout the rest of the front cover.

Switch to the 1/4'' O Foot on your machine. Assemble the parts using the steps below:
• Sew D5 to the top of the Heart • Sew D6 to the bottom of the Heart • Sew D1 to D4, and sew it to the left side of the Heart • Sew D3 to D2 • Sew D2 to D1, and sew it to the step above. • Sew D7 to the step above, and then sew the right section to the right side of the Heart. • Press well.
12. Quilt the Front Cover (this step is optional) Pin baste or lightly spray baste the Front Cover to the batting.

Change to the AcuFeed Flex Dual Feed Foot or your Walking Foot, and change your thread to something pretty for quilting. I chose to use a dark blue that is close to the background color, and did just a few simple lines of quilting about 1/4'' from the major seams in the Front Cover. I choose the distance for my quilting lines by sighting off the walking foot. In the image below, see that I aligned the seam to the edge of the clear section in the toe.

13. Once the quilting is done, trim the excess batting from the Front Cover and square it to 15 1/2'' x 15 1/2'' 14. Make the Back Covers Fold each Back cover piece wrong sides together so that they measure 15 1/2'' x 10''. Press the fold, and run a machine top stitch along it. Again, I sight off an easy line on the walking foot.

15. Add the Back Covers to the Front Cover Lay one Back Cover rectangle over the Front Cover, right sides together, with the topstitched edge towards the center.
Lay the other rectangle in the opposite direction, overlapping the first and pin generously:
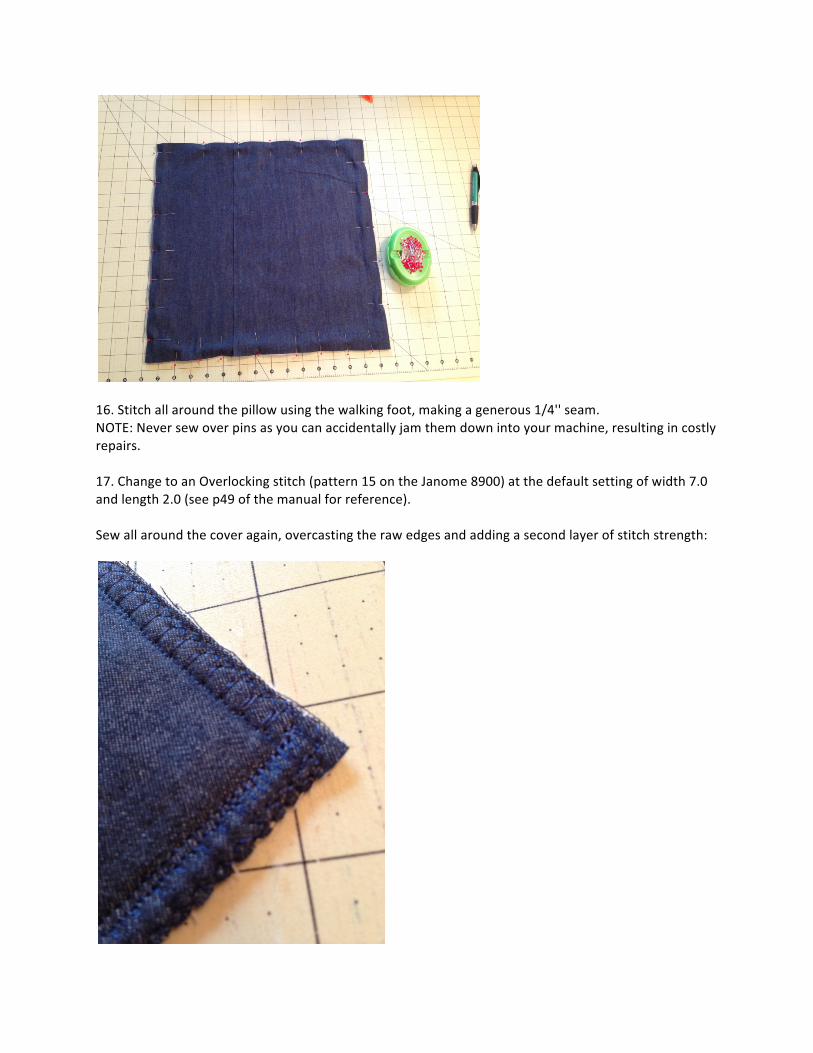
16. Stitch all around the pillow using the walking foot, making a generous 1/4'' seam. NOTE: Never sew over pins as you can accidentally jam them down into your machine, resulting in costly repairs. 17. Change to an Overlocking stitch (pattern 15 on the Janome 8900) at the default setting of width 7.0 and length 2.0 (see p49 of the manual for reference). Sew all around the cover again, overcasting the raw edges and adding a second layer of stitch strength:

18. Clip the corners.
19. Turn the pillow cover right side out and press well.

20. Stuff the pillow into the cover, and enjoy!