ORACLE ADF Tutorial: - Kansas State Universitypeople.cis.ksu.edu/~hankley/d764/tut04/… · Web...
21
ORACLE ADF tutorial: Open a new application workspace. Change the application template to Web Application (Default).This allows us to specify the technology used in the application to simplify and personalize the environment according to the technology preferences.
Transcript of ORACLE ADF Tutorial: - Kansas State Universitypeople.cis.ksu.edu/~hankley/d764/tut04/… · Web...
ORACLE ADF tutorial:
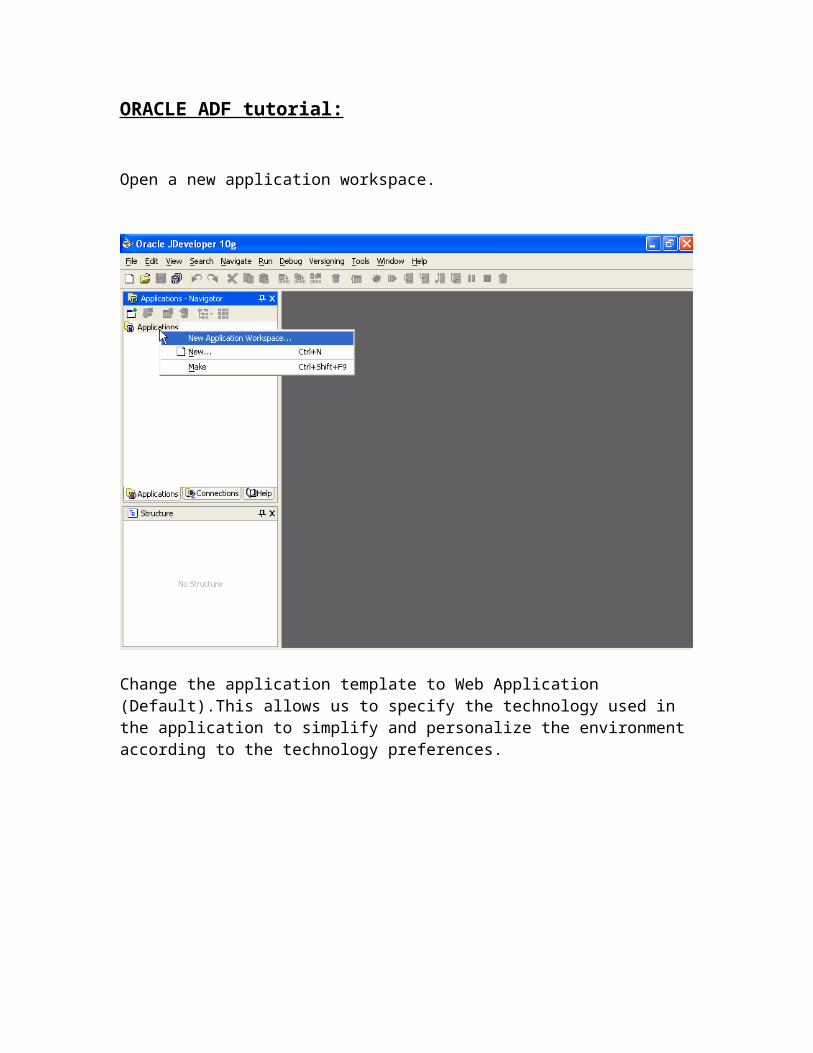
Open a new application workspace.
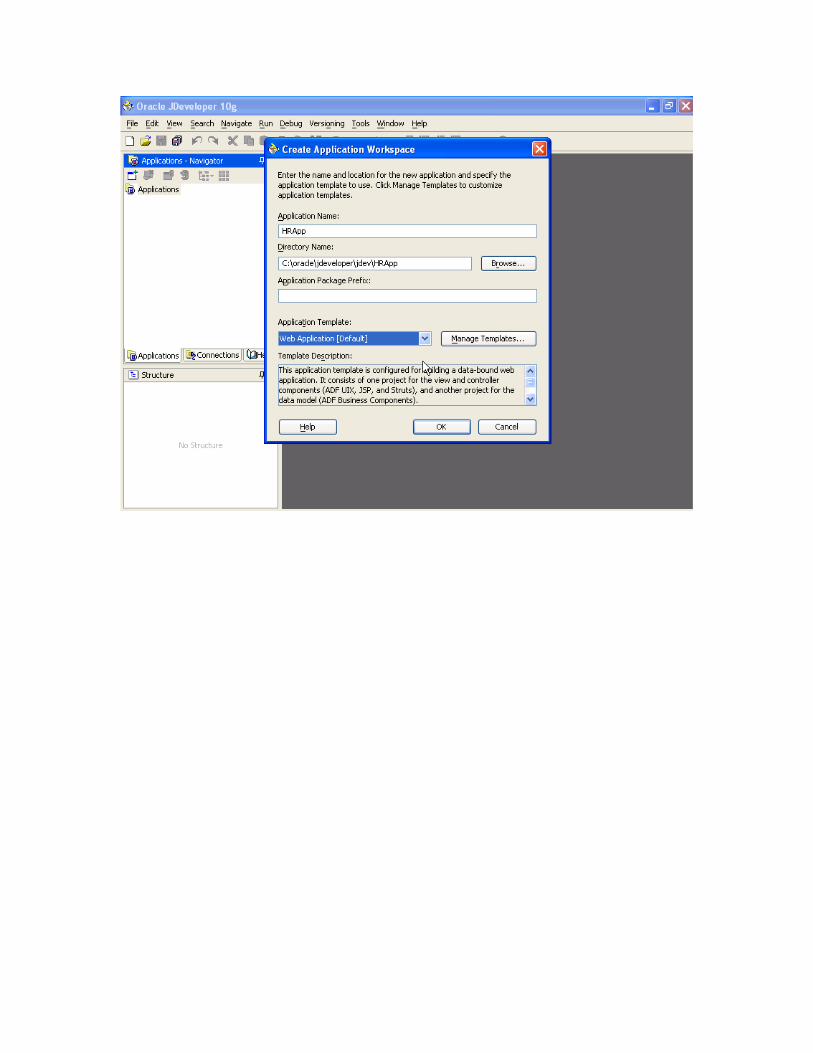
Change the application template to Web Application (Default).This allows us to specify the technology used in the application to simplify and personalize the environment according to the technology preferences.
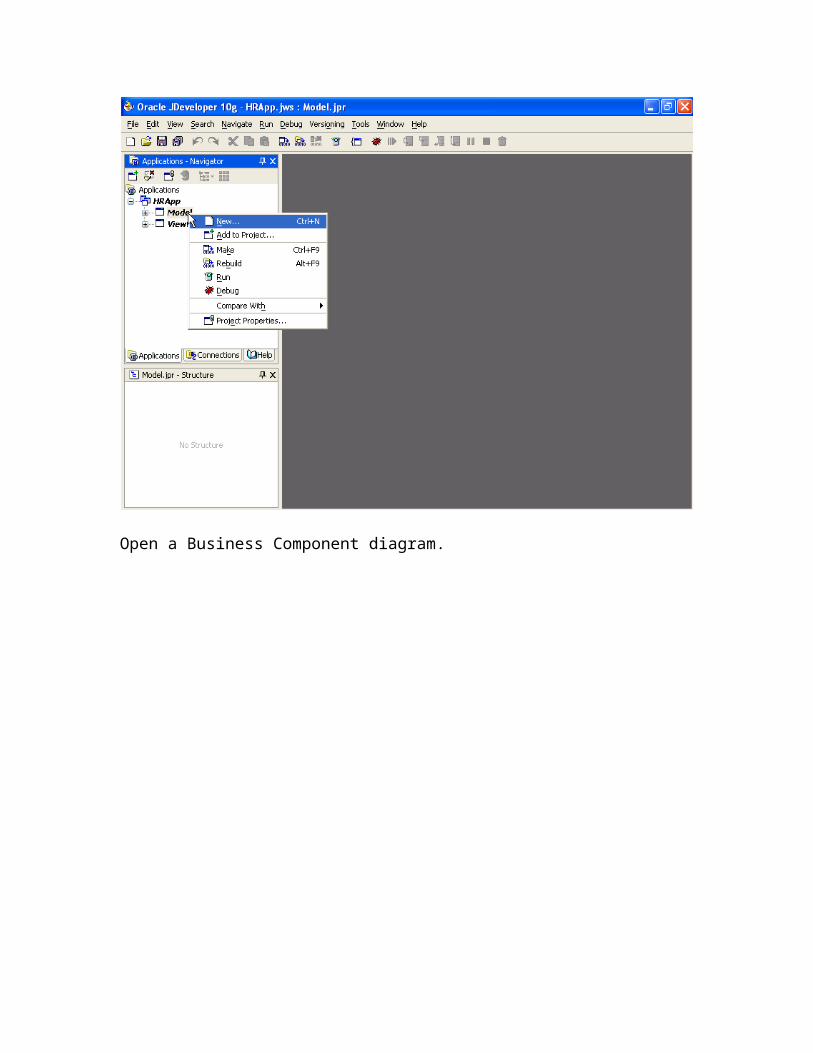
Open a Business Component diagram.

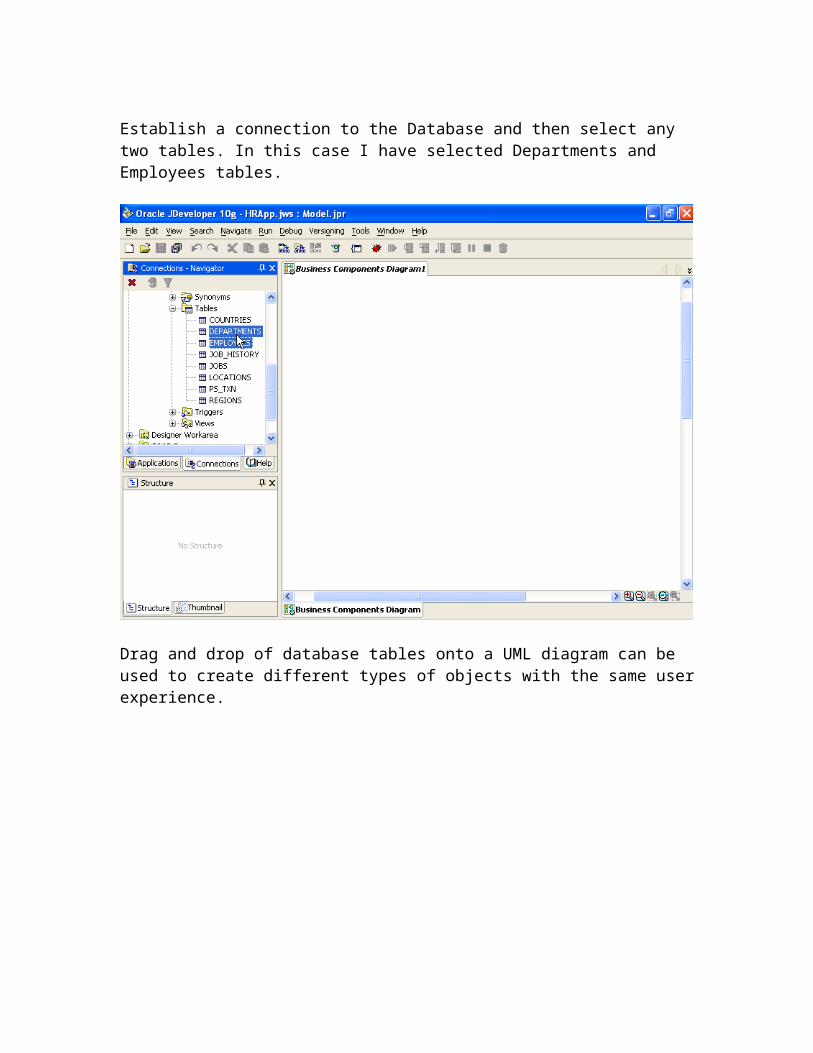
Establish a connection to the Database and then select any two tables. In this case I have selected Departments and Employees tables.
Drag and drop of database tables onto a UML diagram can be used to create different types of objects with the same user experience.
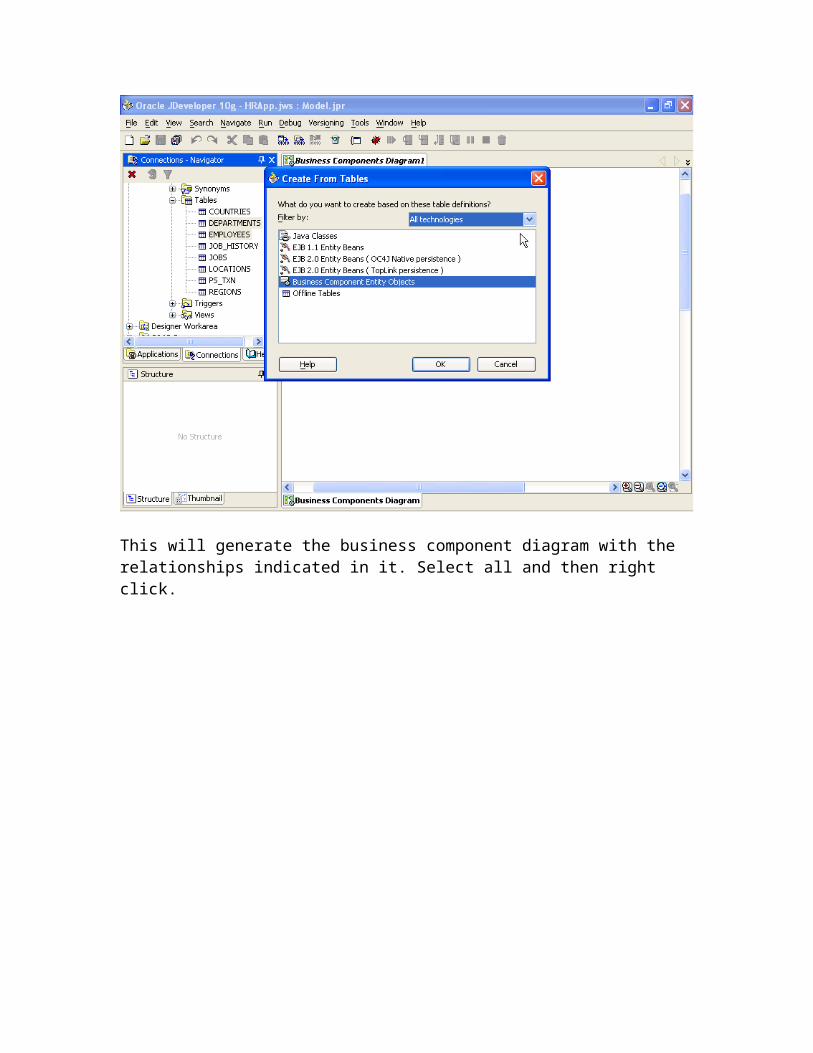
This will generate the business component diagram with the relationships indicated in it. Select all and then right click.

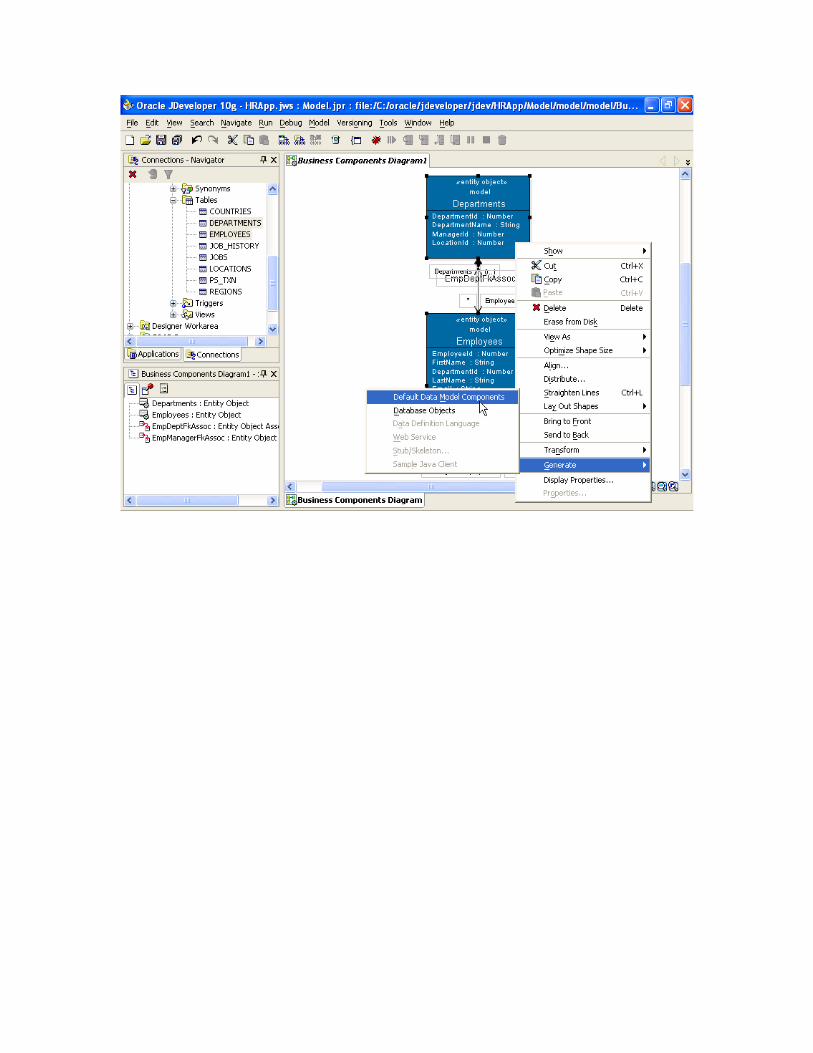
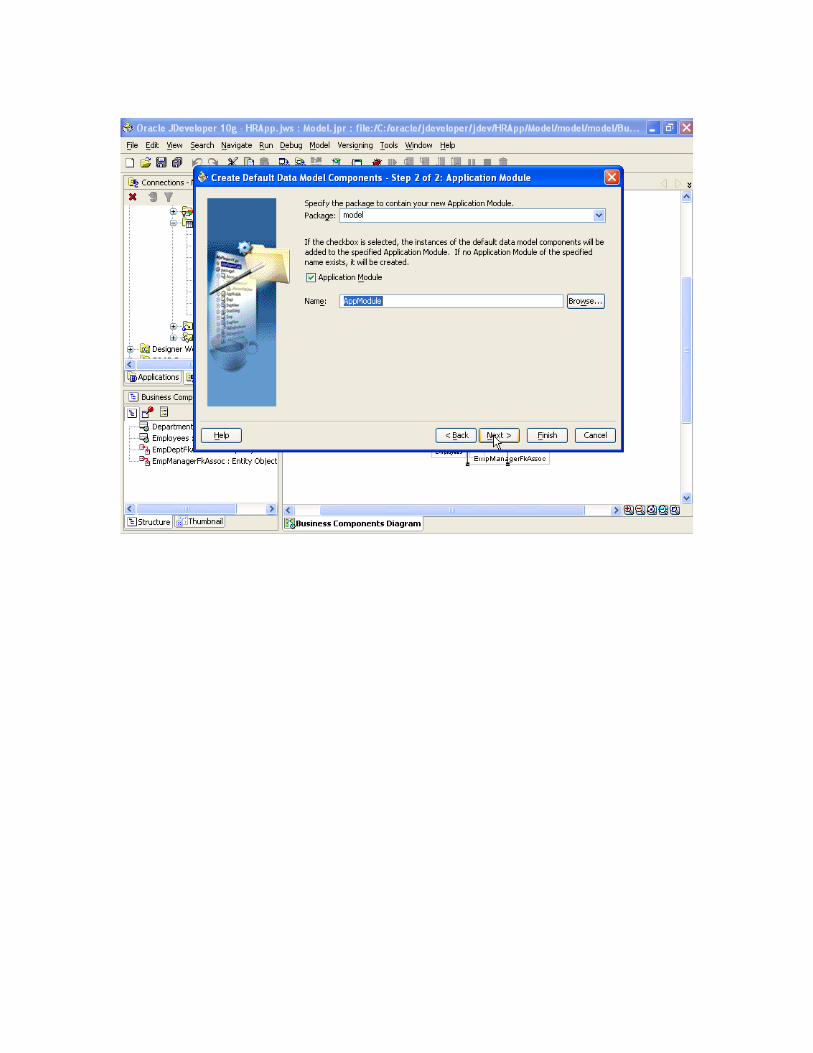
Now select Default Data Model Components which are business components that collect data and present it to the client.


Open page flow editor which allows you to visually and declaratively define the flow of application. This can also be done by right clicking on the ViewController.
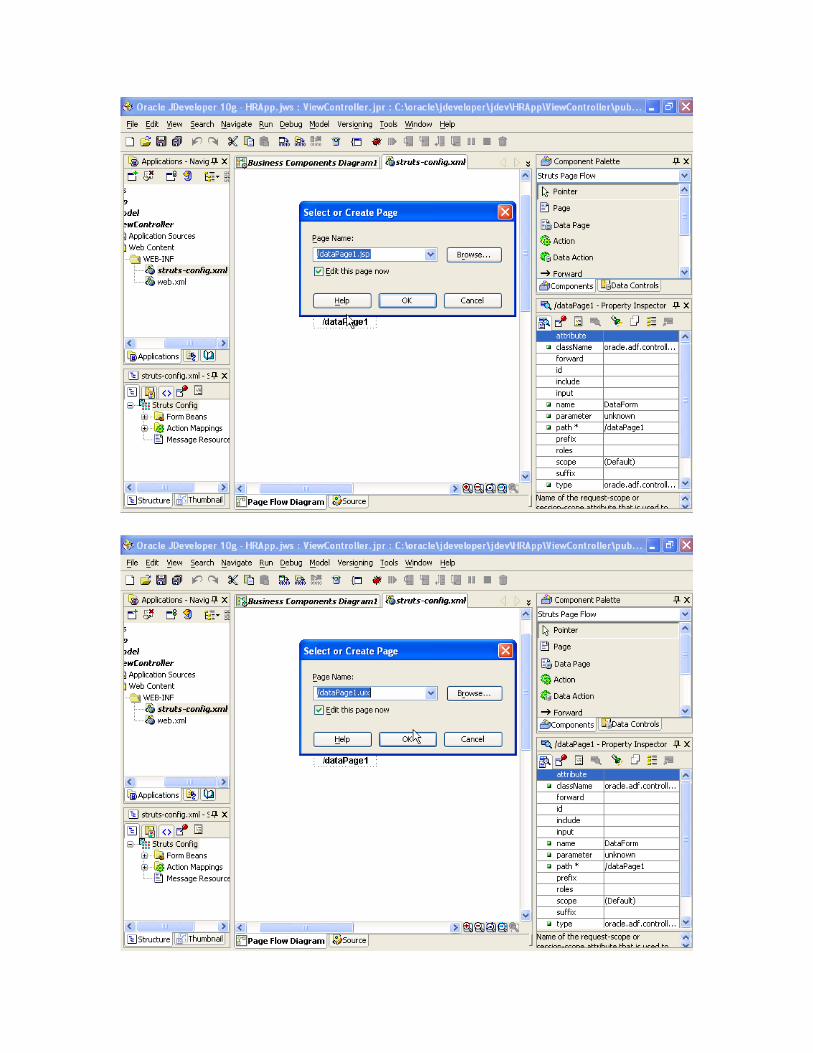
Drag and drop a Data Page from the component palette onto the screen.
Double click on the DataPage1 and then select dataPage1.uix to open a new UIX page.

Now open the data controls and double click on AppDataModuleControl and do the following steps. All previously created business services are exposed in the Data Control Palette.
Then drag and drop the Employeeview2 onto the uix page which will give you the following page.

Then change the names Master and Detail to the respective table names in the Property inspector by selecting the respective tables.
And repeat the same steps for another Datapage2 and select the Input form this time instead of one to many.

Then drag and drop the same onto the UIX page.
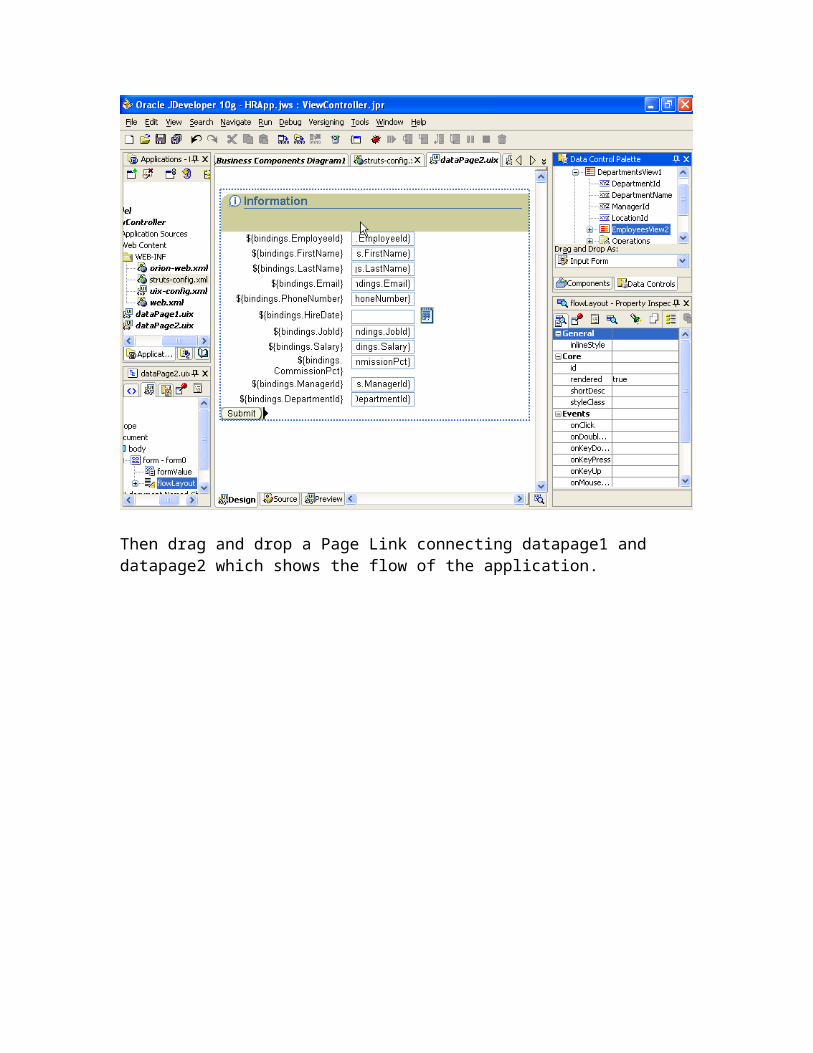
Then drag and drop a Page Link connecting datapage1 and datapage2 which shows the flow of the application.

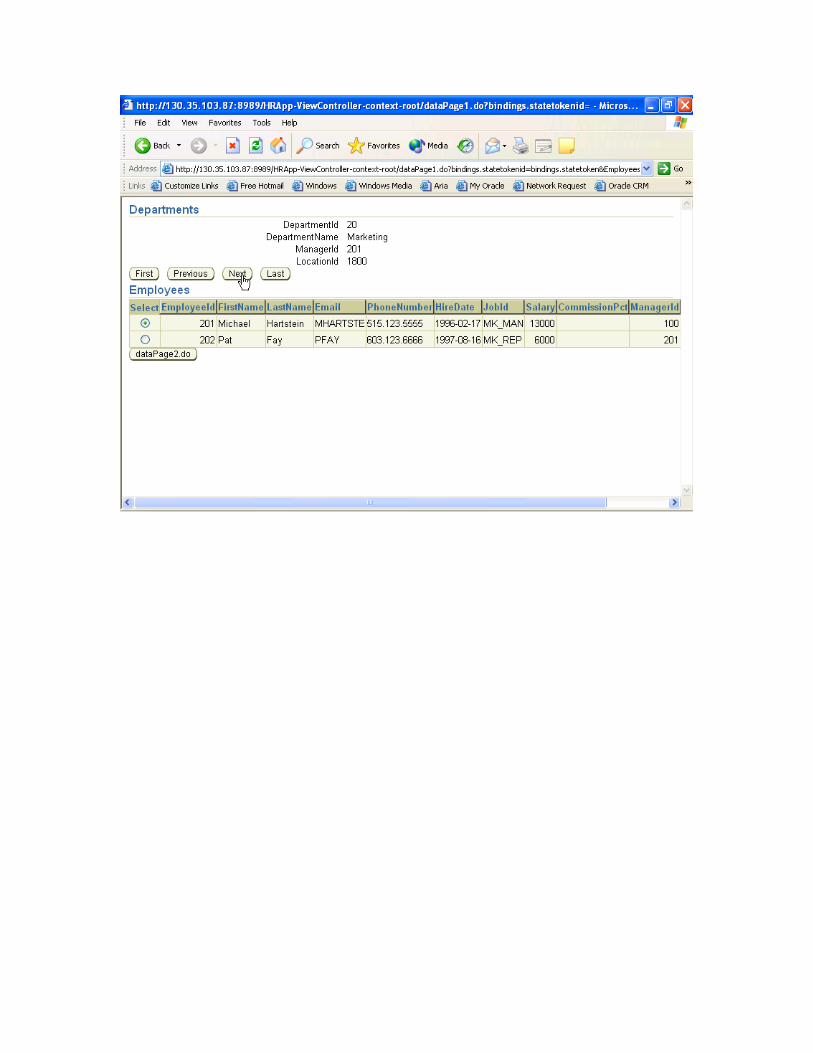
Now right click on the dataPage1 and run the application.

This will generate the following screen.