My Mind's Eye May 2011 Newsletter
7
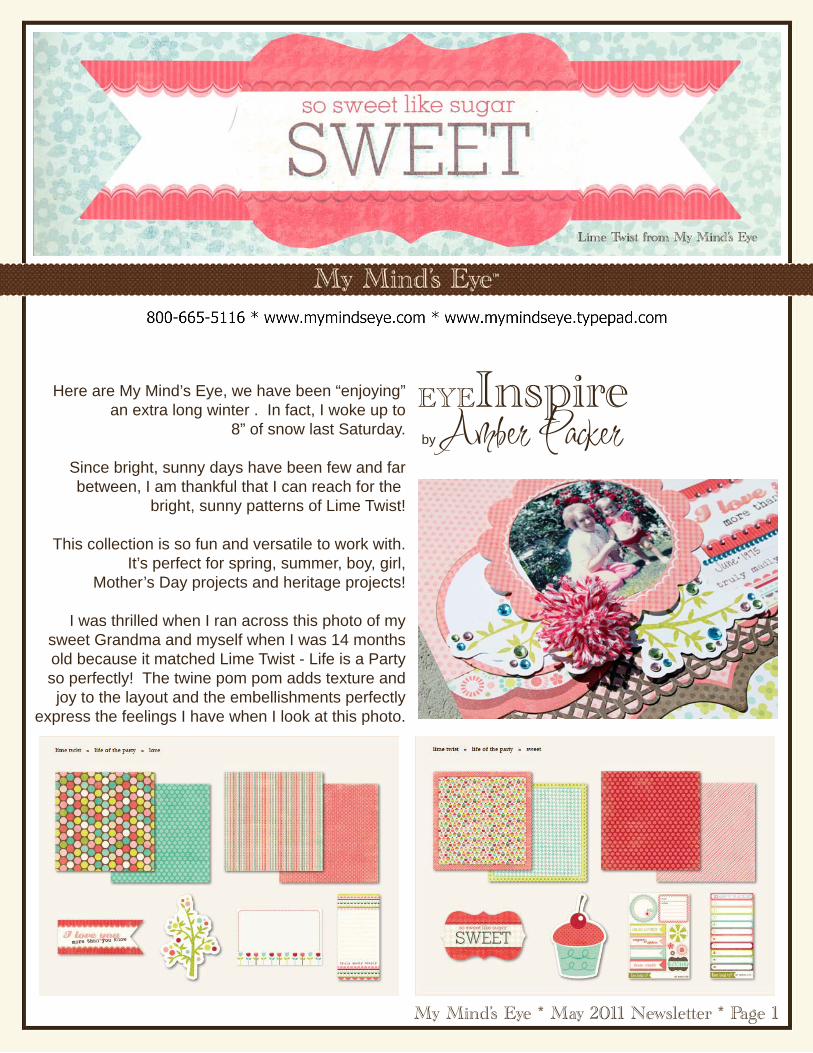
Here are My Mind’s Eye, we have been “enjoying” an extra long winter . In fact, I woke up to 8” of snow last Saturday. Since bright, sunny days have been few and far between, I am thankful that I can reach for the bright, sunny patterns of Lime Twist! This collection is so fun and versatile to work with. It’s perfect for spring, summer, boy, girl, Mother’s Day projects and heritage projects! I was thrilled when I ran across this photo of my sweet Grandma and myself when I was 14 months old because it matched Lime Twist - Life is a Party so perfectly! The twine pom pom adds texture and joy to the layout and the embellishments perfectly express the feelings I have when I look at this photo. EYEInspire by Amber Packer My Mind’s Eye * May 2011 Newsletter * Page 1
-
Upload
amber-packer -
Category
Documents
-
view
215 -
download
1
description
My Mind's Eye May 2011 Newsletter
Transcript of My Mind's Eye May 2011 Newsletter
Here are My Mind’s Eye, we have been “enjoying”an extra long winter . In fact, I woke up to
8” of snow last Saturday.
Since bright, sunny days have been few and farbetween, I am thankful that I can reach for the
bright, sunny patterns of Lime Twist!
This collection is so fun and versatile to work with.It’s perfect for spring, summer, boy, girl,
Mother’s Day projects and heritage projects!
I was thrilled when I ran across this photo of mysweet Grandma and myself when I was 14 monthsold because it matched Lime Twist - Life is a Partyso perfectly! The twine pom pom adds texture andjoy to the layout and the embellishments perfectly
express the feelings I have when I look at this photo.
EYEInspireby Amber Packer
My Mind’s Eye * May 2011 Newsletter * Page 1

My Mind’s Eye * May 2011 Newsletter * Page 2
EYEInspireby Amber Packer
More Than You KnowFeatured Collection: Lime Twist
Supplies:1 - Be You Blossom paper (12” x 12”)1 - Happy Day Meadow paper (10 1/4” h x 10 3/4” w and left over bracket strip)1 - Charmed Ric-rac paper (2 1/2” h x 12” w)1 - Love Title1 - Happy Day Frame1 - Love Journaling Card2 - Love Tree Diecut1 - Happy Day TwineLush 2 Turquoise self-adhesive rhinestonesLush Green self-adhesive rhinestonesLush Pink self-adhesive rhinestones
Also used: Brown ink, brown pen, border punch, diamond glaze
Instructions:Step 1: Trim papers to sizes listed above and ink edges, if desired.Step 2: Adhere diecut paper to top left corner.Step 3: Punch border on brown side of ric-rac paper and adhere as shown.Step 4: Layer floral side of bracket strip on top and cut off excess.Step 5: Starting with journaling spot, layer diecut pieces and photo as shown (using inside of frame)Step 6: Wrap twine around one finger about 50 times and gently slide off. Cut a 4” piece of twine and tie tightly around center of wrapped twine. Cut one side (that’s your pom pom) and fluff. Adhere to bottom left corner of frame using diamond glaze.Step 7: Add rhinestones to title and “berries” as desired.Step 8: Add diamond glaze to words, let dry.Step 9: Add journaling and ENJOY!
Download our FREE banner at:http://www.4shared.com/photo/MJfurA1B/Lime_Twist_banner_web.html
Newsletter Archive Link:http://mymindseye.com/Newsletter.asp

My Mind’s Eye * May 2011 Newsletter * Page 3
EYESketch
Ske
tch
Des
igne
r: Ja
na E
uban
kD
esig
ner:
Tam
ara
Jens
en; F
eatu
red
Col
lect
ion:
Lim
e Tw
ist
Des
igne
r: Ti
ffani
Sm
ith; F
eatu
red
Col
lect
ion:
Lim
e Tw
ist
Des
igne
r: Ja
na E
uban
k; F
eatu
red
Col
lect
ion:
Ste
lla &
Ros
eD
esig
ner:
Kim
Wat
son;
Fea
ture
d C
olle
ctio
n: S
tella
& R
ose
You’ll LOVE what our fabulous designers: Kim Watson (April Guest Designer),
Tamara Jensen, Jana Eubank and Tiffani Smithhave created using this wonderful sketch
designed by Jana Eubank.

My Mind’s Eye * May 2011 Newsletter * Page 4
EYECreate
Supplies: Happy Go Lucky "Hello" Zig Paper - 7" x 12" folded in half to create card base, 5" x 6"Happy Go Lucky "Cute" Buttons Paper - 5 1/4" x 6 1/4"Happy Go Lucky "Perfect" Butterflies Paper - 4" x 5" cut from centerHappy Go Lucky "Hello" FrameHappy Go Lucky "perfect" Accessories SheetLife of the Party "Be You Twine"Happy Go Lucky "Happy" TwineHappy Go Lucky "Perfect" Butterfly Die CutLush 2 Buttons FuchsiaLush Flocked Chipboard Alphabets Green
Instructions:1. Pop up "Hello" frame over "Perfect" Butterflies Paper. Attach to "Hello" Zig Paper and then center on "Cute" Buttons Paper- green side up. Attach to front of card.2. Use Lush Flocked Chipboard letters to spell "MOM" on purple lines journal sticker on "Perfect" Accessories Sheet. Tie "Happy" twine around top and pop up on card front.3. Secure "Practically Perfect in every way" sentiment sticker across bottom of frame leaving enough room to secure 3- LUSH2 buttons in lower right corner of frame with glue dots (tie "Be You" Twine through holes and trim ends first). 4. Curl Wings on "Perfect" Butterfly Die Cut and pop up in upper right corner of frame. Randomly place butterfly stickers using a pop dot on the bodies only so yo can also curl their wings.
by Trisha Ladouceur Mom CardFeatured Collection: Lime Twist

My Mind’s Eye * May 2011 Newsletter * Page 5
EYECreate
Supplies: Out of the Blue "Remember" Dots paperOut of the Blue "Boy" Spots Paper Out of the Blue "Smile" Float Paper - 6 1/2" x 9", 3" x 5 1/2"Out of the Blue "Playful"Galaxy Paper - 6 3/4" x 10" -- punch 1 decorative border - 2" x 3" - punch 1 decorative borderOut of the Blue "Family" Speckle Paper - 4 3/4" x 7", 5 1/4” x 8"Out of the Blue "Boy" Accessories SheetOut of the Blue "Family" accessories SheetOut of the Blue "Smile" TitleOut of the Blue "Boy" TitleStella & Rose - Gertie Delightful Trims (red gingham)LUSH Blue Printed Chipboard AlphabetLUSH 2 Navy Trims
Instructions:1. Attach "Remember" Dots Paper to "Boy" Spots Paper.2. Use craft knife to cut around bottoms of clouds on "Smile" Float Paper. Attach to "Playful" Galaxy Paper (decorative punched edge pointing down).3. Mat photo on "Family" Speckle Paper (blue side) and then adhere to "Family" Speckle Paper (dotted side up) centered between top, bottom and right edge. Attach to other mat tucking top edge beneath clouds. It will extend off the left edge. Attach Navy LUSH 2 trim and Stella and Rose Red Gingham Ribbon across bottom of photo mat. Add "all boy" sticker on left edge and "date" sticker on bottom left corner of photo.4. Use pop dots to attach to center of background page. Be sure to leave space free of adhesive to tuck tag behind photo mat.5. Place title using LUSH Chipboard Letters along right edge of photo mat.6. Pop up "Smile" Title over lower right of photo mat. Add "You are my Sunshine..." sticker beneath, trim excess.7. Attach "Boy" Title over upper left corner of photo. Embellish with star stickers and "Loved..." sticker.8. Use a fine tipped brown pen to add decorative pen detailing around papers, chipboard letters and embellishments as desired.9. Create tag by securing ""Playful" Galaxy Paper to "Smile" Float Paper. Notch top corners to create a tag shape. Embellish with ribbons and stickers. Tuck behind photo mat.
by Trisha Ladouceur Boy LayoutFeatured Collection: Lime Twist

My Mind’s Eye * May 2011 Newsletter * Page 6
EYEDecorate
Supplies:
My Mind's Eye Stella Rose Hattie Papers 6x6 Paper PadMy Mind's Eye Stella Rose Love Letters PaperMy Mind's Eye Stella Rose Girly Diamonds paperMy Mind's Eye Stella Rose Hattie Buddies Layered ChipboardMy Mind's Eye Happy Bits & PiecesMy Mind's Eye Buddies ButtonsMy Mind's Eye Happy Decorative BradsMy Mind's Eye Stella Rose Hattie layered StickersMy Mind's Eye Lost & Found 7 Glittered Die cutsMy Mind's Eye Lost & Found Portobello Road Family StickersMy Mind's Eye Memories TrimsMy Mind's Eye Stella Rose Lovely Decorative BradsMy Mind's Eye Lush 2 Collection Navy ButtonsLime Twist Out of The Blue Twine
Also Used: Printers tray, string, metal clock & gear, Memento Brown Ink
**All items have been inked with brown ink
Instructions:
1. Adhere 3 - 4” x 6” photos onto tray in spaces shown.2. Top Left: Adhere the owl banner in the upper left hand corner of photo.3. Top Middle: Cut ledger paper to 4” x 6”, and insert into tray. Cut a 2 1/2” x 3 1/2” rectangle from diamonds paper, and layer as shown. Layer the handsome glitter die cut with pop dots on top of rectangle cardstock. Adhere the letters b, o & y onto three canvas banners. Attach banners with the twine. Adhere at the top of this panel. (I used a hot glue gun to adhere.)4. Top Right: Layer tag, with camera circle die cut, and finish with the tiny chipboard word happy. Adhere the train chipboard to the top of the tray, in the upper right hand corner.5. Bottom left: Cut woven paper to 4" x 6" and adhere. Journal poem on to solid blue paper, and adhere. Cut the zipper ribbon to 4" and attach along the bottom of your journaling block. Attach brad onto a metal clock, and adhere clock as shown. Embellish the top of this panel with the chipboard airplane, finish with blue brad.6. Bottom Middle: Photo7. Bottom Right: Cut Happy Polka Dots Paper to 4” x 6, and adhere to panel. Cut love letters to 3 1/2“ x 5 1/2”, and adhere on top. Take your buttons card, and adhere one of the tiny banners from the layered sticker sheet. Attach the word “sweet” to the center of this sticker. Punch a circle from the tapestry paper, and layer as shown. Finish with the star from the bits & pieces. Finish tag with string.8. Final detail: Tie ribbon to handle, embellishing with button, and brad.
by Suzanne Sergi Printer’s TrayFeatured Collection: Stella & Rose - Hattie
My Mind’s Eye * May 2011 Newsletter * Page 7
My Mind’s Eye Contact Information: KC, Sales Director: [email protected]: 1-800-665-5116 Sean, Sales: [email protected]@mymindseye.com Nick, Sales: [email protected]@mymindseye.com Newsletter Editor: Amber Packer
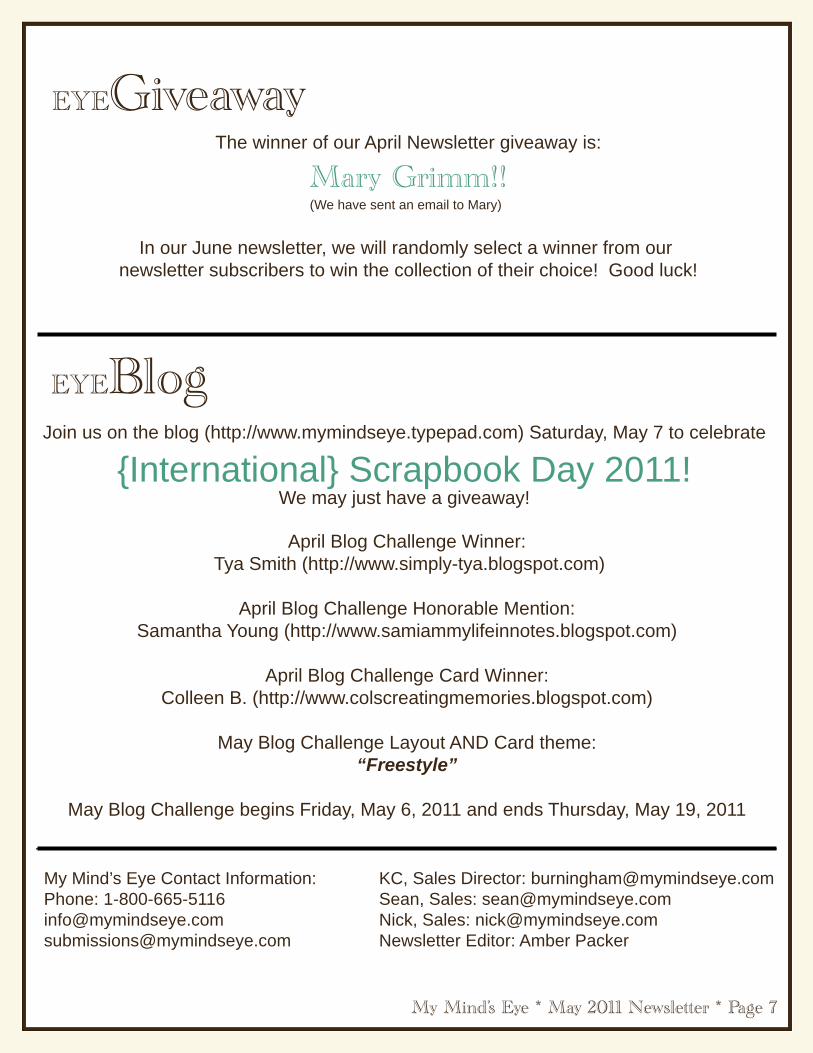
EYEGiveaway
EYEBlog
April Blog Challenge Winner: Tya Smith (http://www.simply-tya.blogspot.com)
April Blog Challenge Honorable Mention:Samantha Young (http://www.samiammylifeinnotes.blogspot.com)
April Blog Challenge Card Winner:Colleen B. (http://www.colscreatingmemories.blogspot.com)
May Blog Challenge Layout AND Card theme:“Freestyle”
May Blog Challenge begins Friday, May 6, 2011 and ends Thursday, May 19, 2011
Join us on the blog (http://www.mymindseye.typepad.com) Saturday, May 7 to celebrate
{International} Scrapbook Day 2011!We may just have a giveaway!
The winner of our April Newsletter giveaway is:
Mary Grimm!!(We have sent an email to Mary)
In our June newsletter, we will randomly select a winner from our newsletter subscribers to win the collection of their choice! Good luck!